

Ghostbusters ECTO-1 (10274): a display car with a Technic chassis underneath
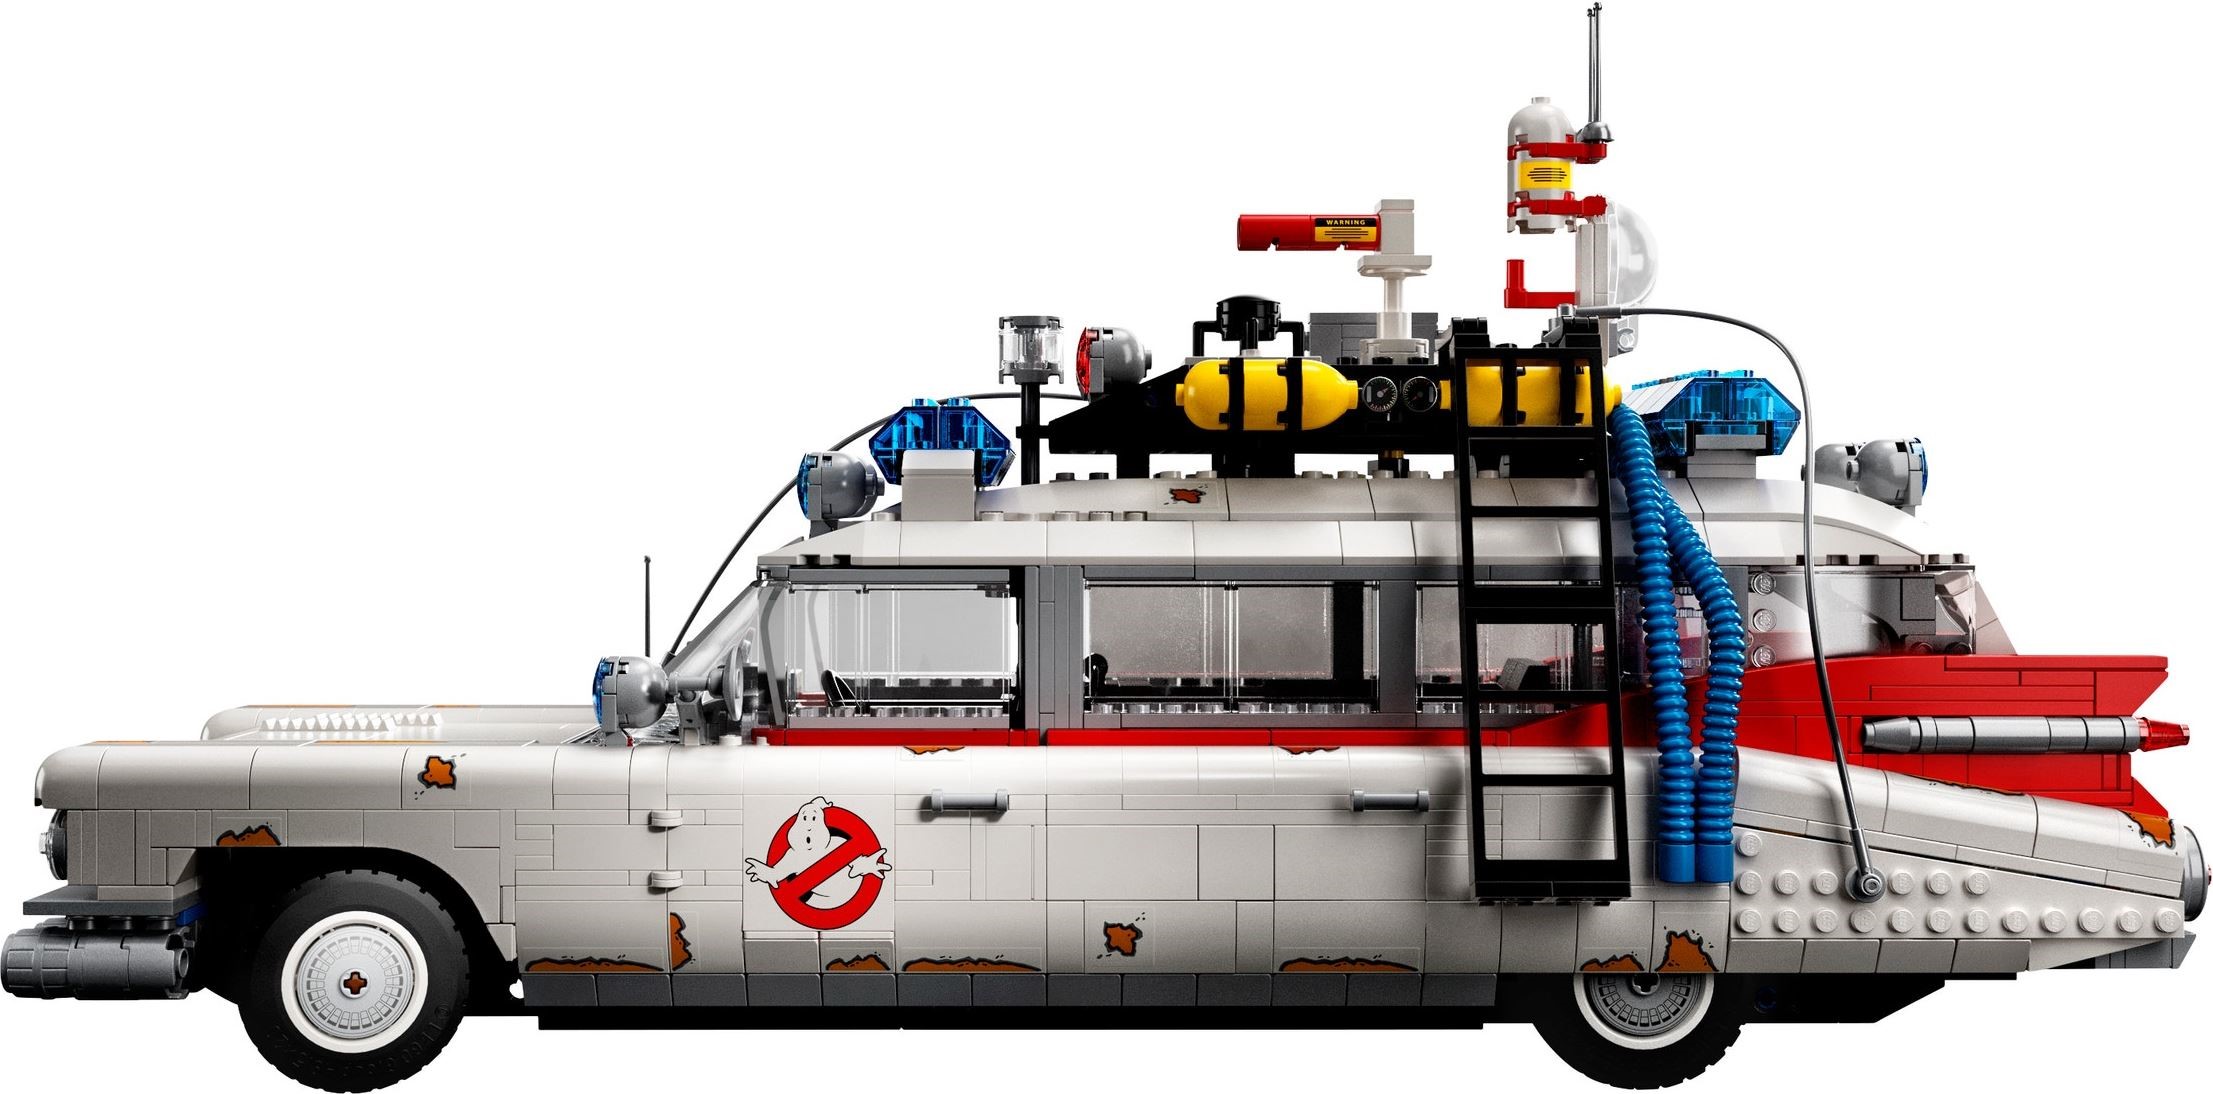
This is the odd one out in the library. It is not a Technic set: LEGO sold it under the 18+ Creator Expert banner (Icons, these days) and most of the 2,352 pieces are System bodywork. But it starts with a Technic frame, there is gearing in it from bag one, and the gadgets on the roof are driven off a rear wheel. It was the largest of the Creator Expert cars when it came out, 47 cm long, and it is the Ghostbusters: Afterlife version, rust stickers and all.
It is in the Brick Club library. Below is what actually moves, how the twelve bag stages split the build, and where reviewers got caught out. There are no member diaries for this one yet, so the build notes come from four reviews rather than from our own copy.

Why a Technic builder should bother
Because it is built like one of ours underneath. The chassis is a Technic frame, the gearing goes in early and drives the working features, and the structure uses red parts for one side of the car and green for the other because the car is not symmetrical. The Brick Boyo’s review makes the point that there is almost no repetition: you build a mechanism in bag one and only find out what it does on the last page of the instructions, which is rare in a large car model.
The Afterlife details are what make it this ECTO-1 rather than the 1984 one. The roof ladder has moved to the left side to make room for a gunner’s seat that swings out through the rear door, a small Remote Trap Vehicle launches out of the back, and there are 33 rust stickers on clear backing alongside 15 ordinary ones. Every reviewer noticed the rust is optional in practice: leave it off and you have the car from the first film, ladder aside. The three no-ghost logos on the doors are printed bricks, so the stickers left after the rust are the number plates, the Cadillac badges, the speedometer, the lines beside the windscreen and a few small warning labels on the roof gear.
The instruction book is 312 pages and 608 steps, styled on the outside like a Haynes workshop manual, and it comes in a cardboard envelope. Brickset credits Mike Psiaki and Carl Merriam as the designers, and in LEGO’s designer video the team said one of their challenges was refining how the gunner’s seat pops out. Two moulds were new for this set, a five-stud steering wheel and the big curved windscreen, and the grille is built partly from 44 minifigure roller skates.
What it actually does
Everything is worked by hand or by rolling the car. There are no motors, and the back of the box undersells it: the doors, the engine, the spinning roof gadgets, the trap launcher and the steering are not shown there at all.
The front axle has a rack and two drivers. The steering wheel turns a small gear through a universal joint, and because the gears are so different in size you turn the wheel two or three times lock to lock, as you would in the real Cadillac. It also skips if you push it. The second driver is the clear light on the roof rack: turn it and an axle runs down through a frame between the seats to a gear in the middle of the car and forward to the rack. That one is fool-proof, and it saves getting a finger through the window.
The seat in the middle of the car carries a proton pack and faces backwards. Press a hidden section of bodywork on the side of the car and it slides out and spins to face forward as it goes. The rear door on that side must be fully open first; it hinges the opposite way to the fixed rear door on the other side so it can swing clear. A printed arrow shows which way to push the seat home. Inside, a triangular piece makes a hump that flips the seat round, and The Brick Boyo admitted he still did not really know how it works. It is almost all sideways building with very little Technic in it.
A small dark grey stud beside the rear hatch, styled as the fuel filler cap, is the handle for a sliding rail under the floor. Pull it and a section of floor drops to make a ramp, and the trap vehicle in the boot rolls out the back under its own weight, further than you expect. The same rail is tied by a beam to the sideways seat, which slides with it; that puzzled two reviewers and it is simply how the mechanism is packaged. You reload the trap through the rear hatch.
Roll the car and two things move on the roof: the clear dish at the back turns through a full circle and the red-barrelled T.U. Antenna, the ghost sniffer, swings left and right. Both run from a vertical axle at the back of the chassis geared to one rear wheel only; the gear on the other wheel does nothing. On the roof a gear pushes a 1×4 beam back and forth for the sniffer, and the dish is driven through a 2×2 round plate with an axle hole, which lets it turn a full circle. This is why the roof is fixed on: the drive runs from the frame to the roof.
The front doors open forwards on hinges with a three-point linkage inside, so they hold their position and stop before they swing too wide. The window and door lining clip onto yellow bars built into the door. Of the rear doors only the gunner’s seat side opens; the one on the ladder side is fixed because the trap mechanism sits above it. The bonnet lifts to a full engine with air filter, radiator, belts and battery, which the box does not mention. The rear hatch hangs on two offset ball joints, which is why it opens at an angle.

How the build goes
Twelve numbered stages across 23 bags, plus unnumbered bags holding the tyres, flex tube and the big clear parts. The manual splits them into four sections, and the Rambling Brick put the whole thing at about six hours of building.
Chassis, ramp and gunner’s seat
A Technic frame with the rear axles already carrying gears, the start of the ramp for the trap launcher, and a gear and steering rack at the front. Bag two tiles the floor, boxes in the lever mechanism and builds the seat with the proton pack, facing backwards. Bag three is the rear bumper, tail lights on turntables, the ECTO-1 plate, and a pair of ball joints in the side walls that are not used until near the end. Roll it before moving on and check the vertical axle at the back turns.
Doors, fins and cabin
The steering column and universal joint, the sliding seat tied to the fuel cap, and the doors: the fixed rear door, the one the seat swings through, then the two front doors with yellow bars inside them for the window linings later. Bag six builds the fins, with the tail lights on an offset ring so they sit centred once the fin closes over them, and the equipment racks in the boot. Get those racks right now: once the body is on you cannot reach them.
Engine, front end and glass
The roller-skate grille, the front wings with the quarter domes, and the engine. Bag eight is the bonnet and side panels, and the dashboard with its speedometer sticker. Bag nine adds the windows, clipped inside the doors on the yellow bars, the windscreen, the rear hatch on its ball joints, and the frame between the seats that carries the roof-steering axle.
Roof, gadgets, wheels and extras
The roof goes on in three sections with the oscillating beam and the round plate for the dish built into it. Bag eleven is the roof rack instruments. Bag twelve does a lot: wheels with printed hubcaps, spotlights, the ladder made from door frames, the blue hoses, the trap vehicle, and finally the Stay-Puft marshmallow sticker at step 608 on page 304. The bag of marshmallows sits loose on the passenger seat.
No member notes yet on this one. These are the points the four reviewers flagged.
- The grille is 44 roller skates. Stack them slowly. The Rambling Brick misplaced parts in the supporting structure and could not seat the finished grille first time.
- Decide on the rust before bag two. There are 33 rust stickers in four repeated patterns, all clear-backed. Leave them off and it is the 1984 car. Two of the four reviewers did, and a third said he would peel his off.
- Open the rear door fully before you fire the seat. It takes a fair push. Going back in, the cord on the proton pack has to sit flat against the front seats or the door will not close.
- Steer from the roof, not the wheel. The wheel takes two or three turns lock to lock and its gears skip under load. The roof light is direct and does not.
- The roof is not meant to come off. Getting it off means opening every door, pulling the Technic parts on top and undoing the tubes, so get the boot equipment right first time. The spotlights and siren cylinders hold on by two studs each, so lift the car by the body, not the rack.
On the shelf
Brickset puts it at 47 cm long. The Rambling Brick called it around 16 studs wide and 50 studs long, which would be nearer 40 cm, so take his figure as a rough count. It was the largest of the Creator Expert cars when it came out, though the 1989 Batmobile (76139), also in the library, is bigger and makes it look modest side by side. It is not minifigure scale; it is closer to miniland scale, the size of figure used in the LEGOLAND parks. All the chrome on the real car is light grey here, and the whitewall tyres are thinner than they should be.
It is mostly white plastic, and the Eurobricks reviewer raised the two usual worries about that: slight colour variation between parts, and yellowing over time, so keep it out of direct sun. His 2020 copy also arrived with scratched clear parts including the windscreen, so light marks on the glass may date from the factory rather than from an earlier build.

If you want a Technic session, this is not it: the gearing is real but it is a fraction of the build. It is the one for you if you want a big, varied System build with no repeated sections, four working features that surprise you as you go, and a car most visitors recognise from across the room. Two evenings at a steady pace, three if you stop to photograph it. Before it goes back in the box, check the trap vehicle is in the boot and the marshmallow bag is on the passenger seat; both are small.
If you like this one, try
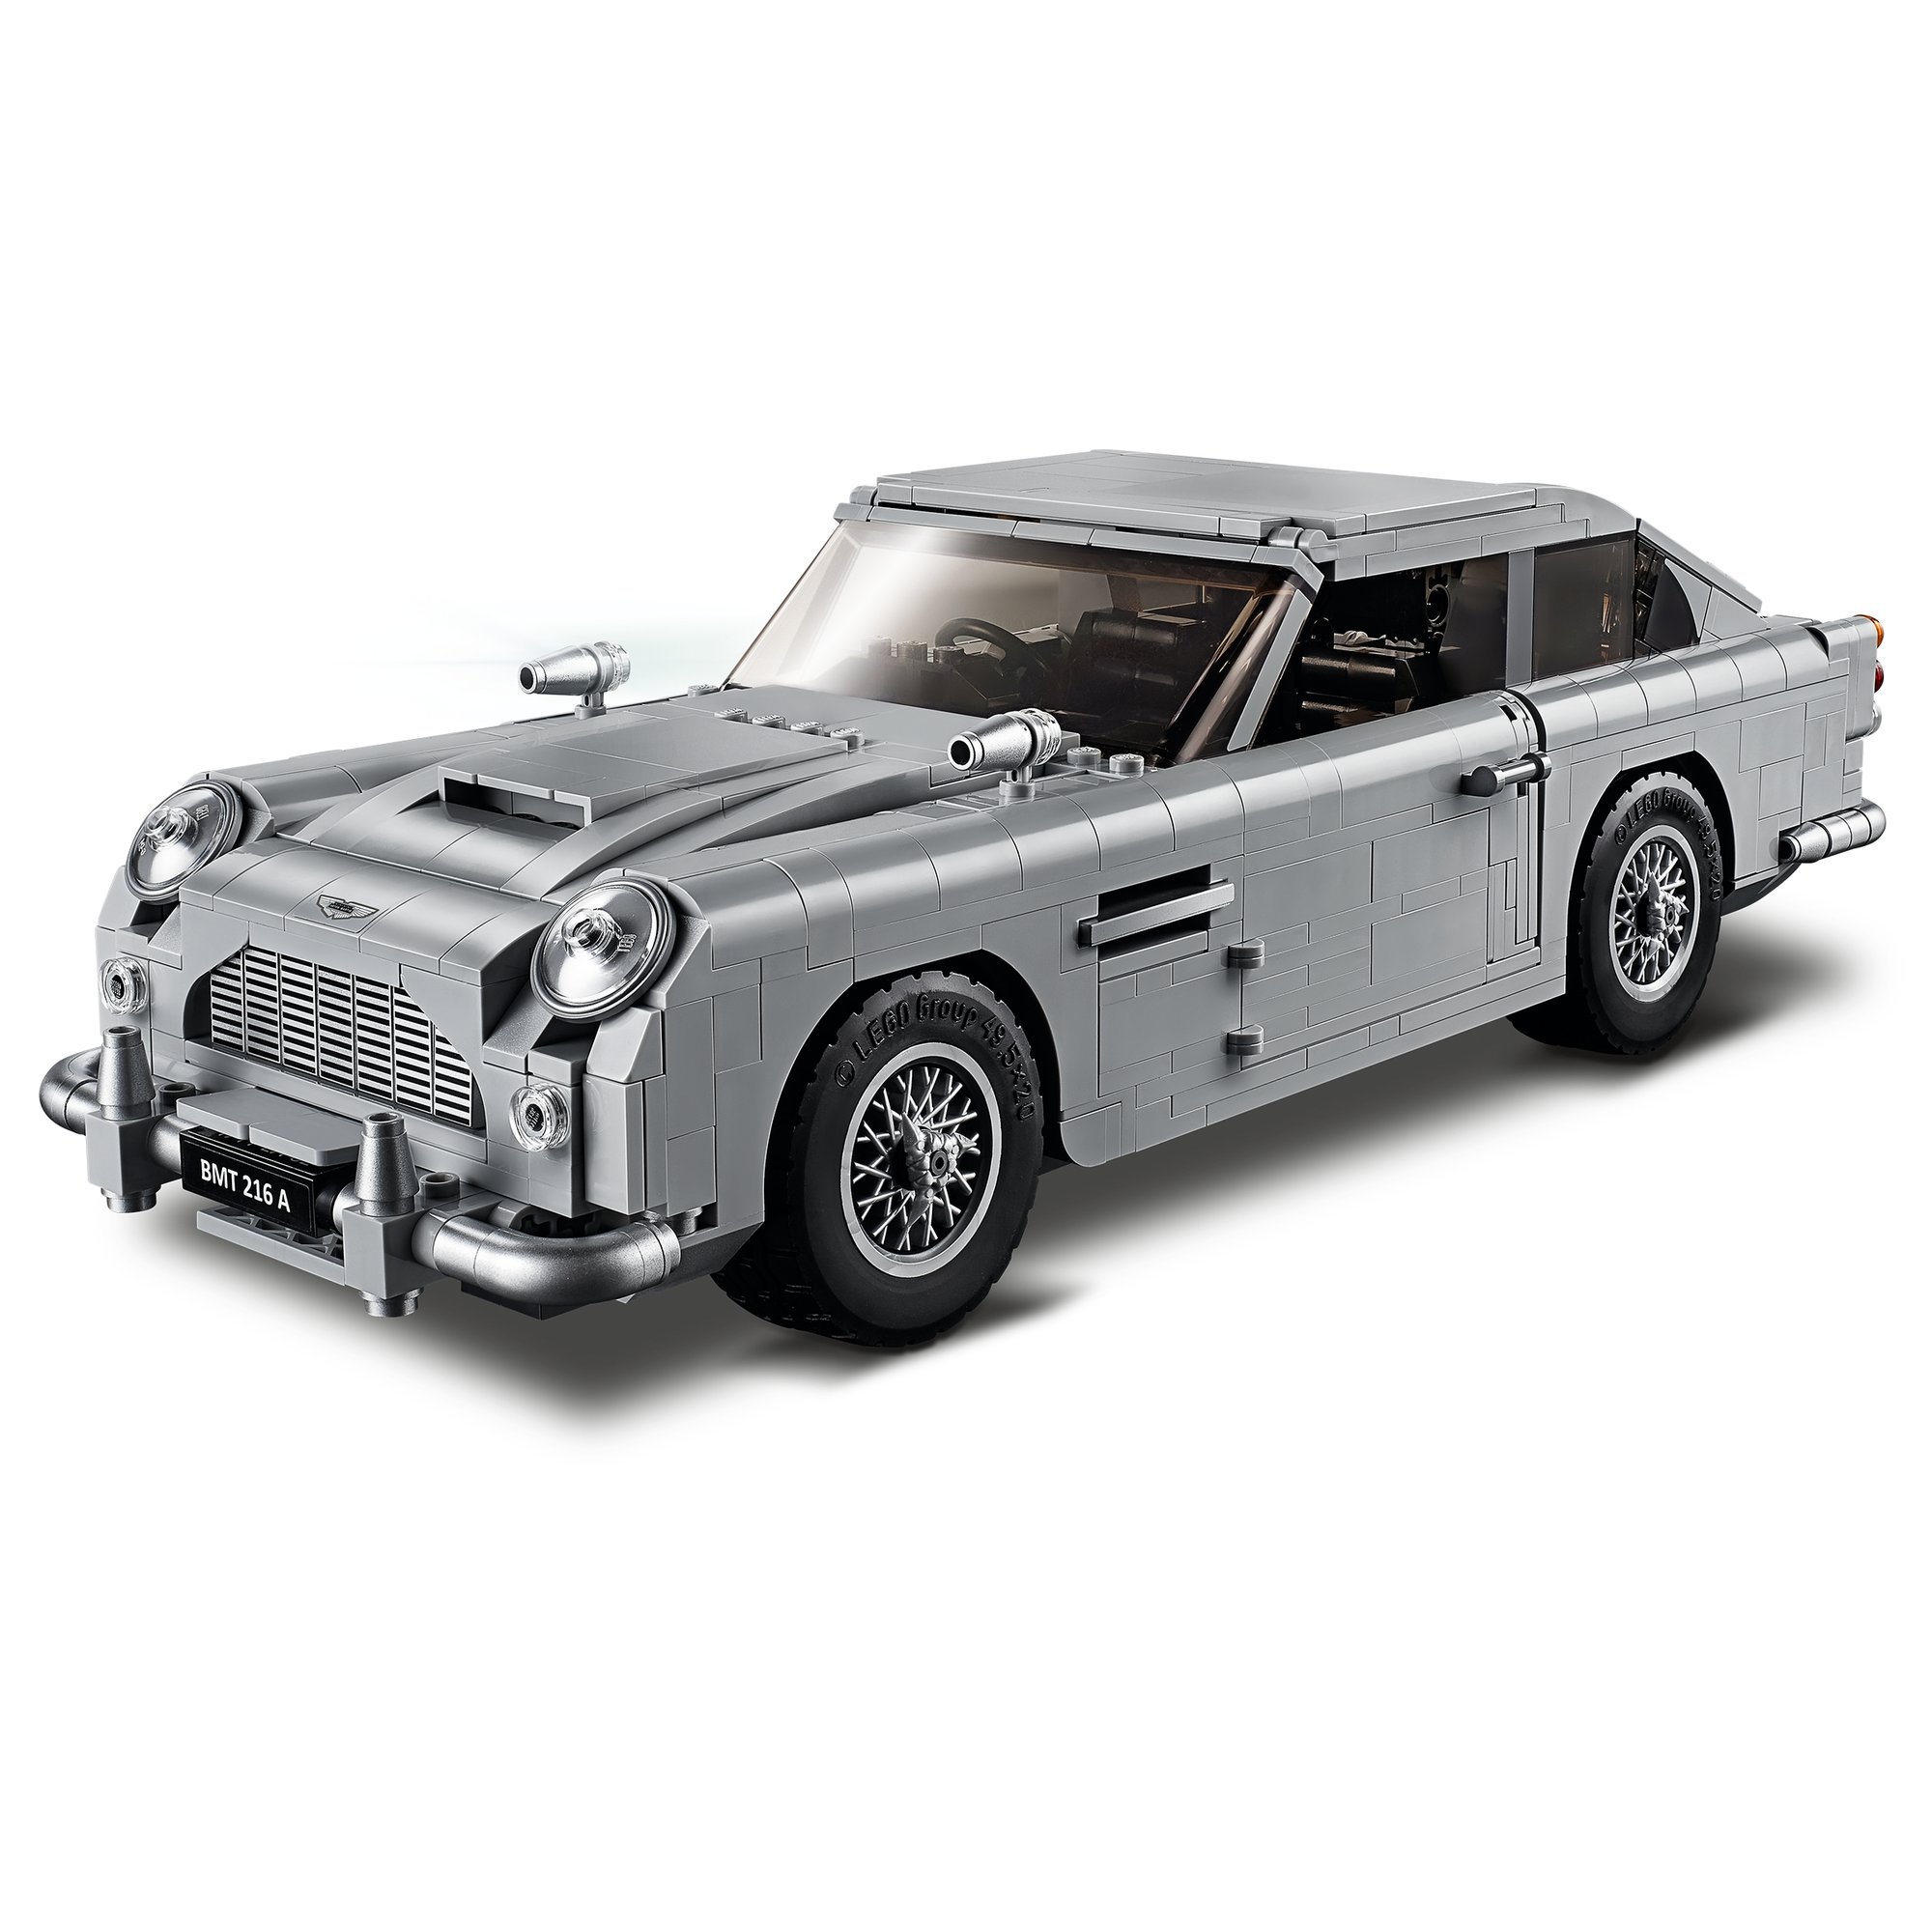
The other film and display sets in the library that are not Technic. The DB5 is by the same designer and has the same idea of gadgets hidden in a classic car; the 1989 Batmobile is the one The Brothers Brick and Eurobricks parked it beside.


The Ghostbusters ECTO-1 is in the library
Technic Fan gets up to 6 kits a year, Master Builder up to 12. Delivery both ways is included and the prepaid return label is in the box.