

6×6 All Terrain Tow Truck (42070): two motors, six jobs, two levers
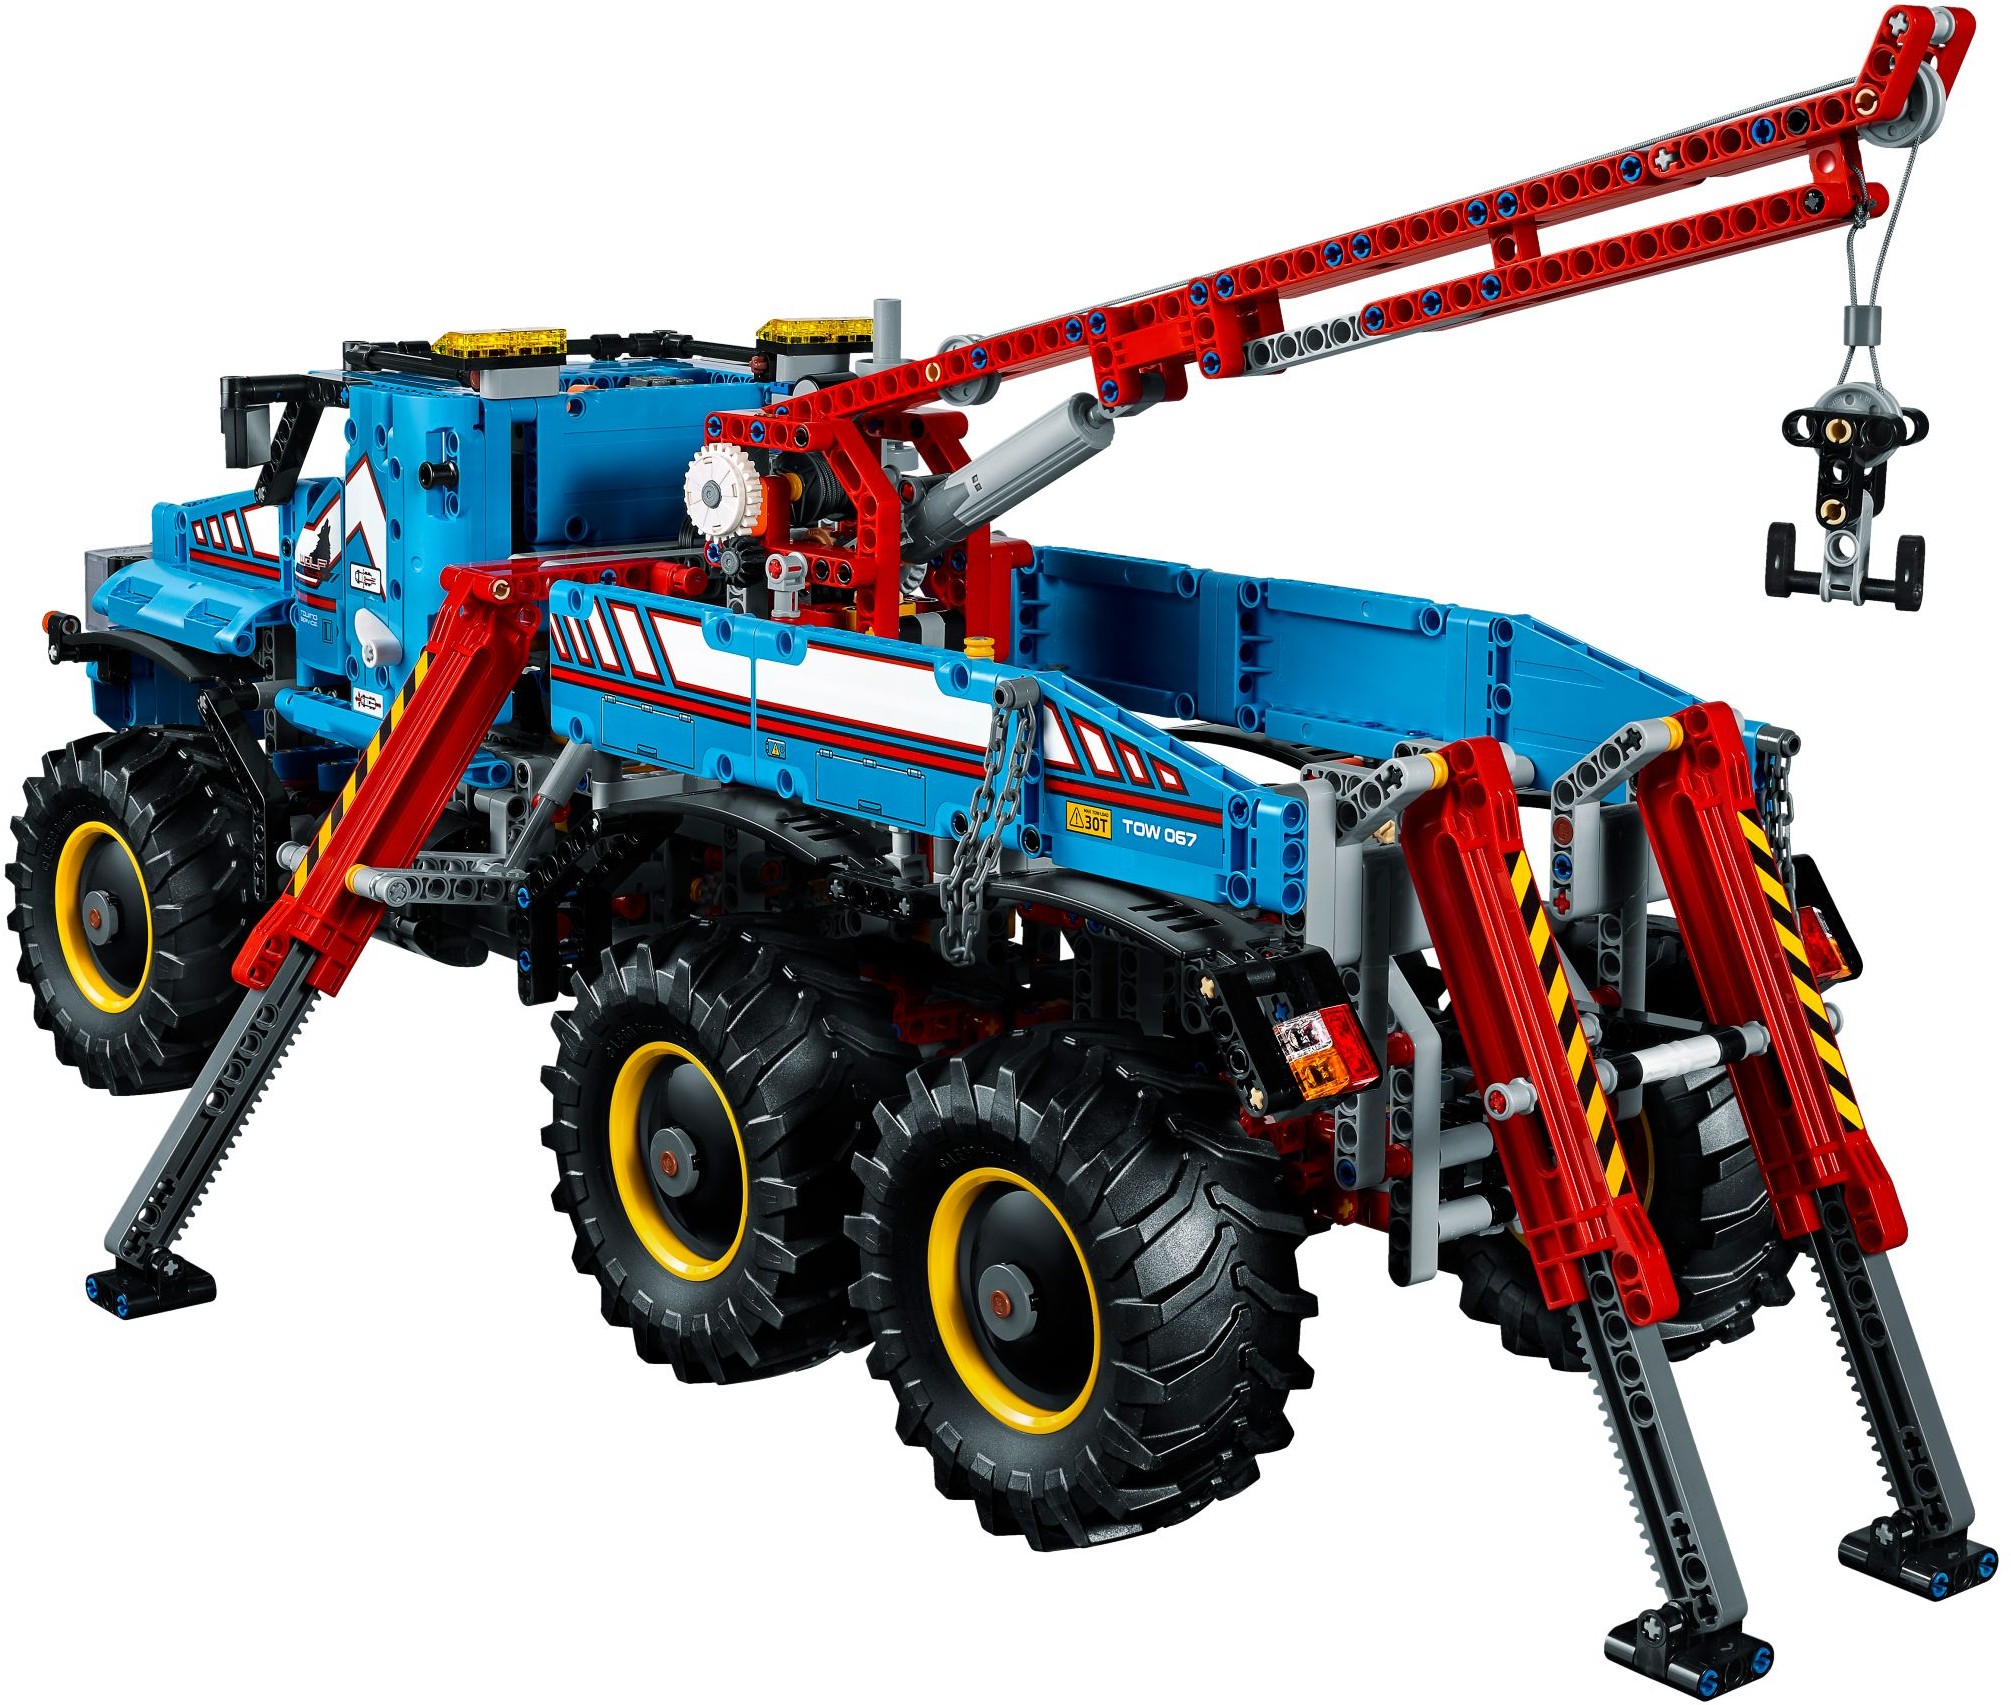
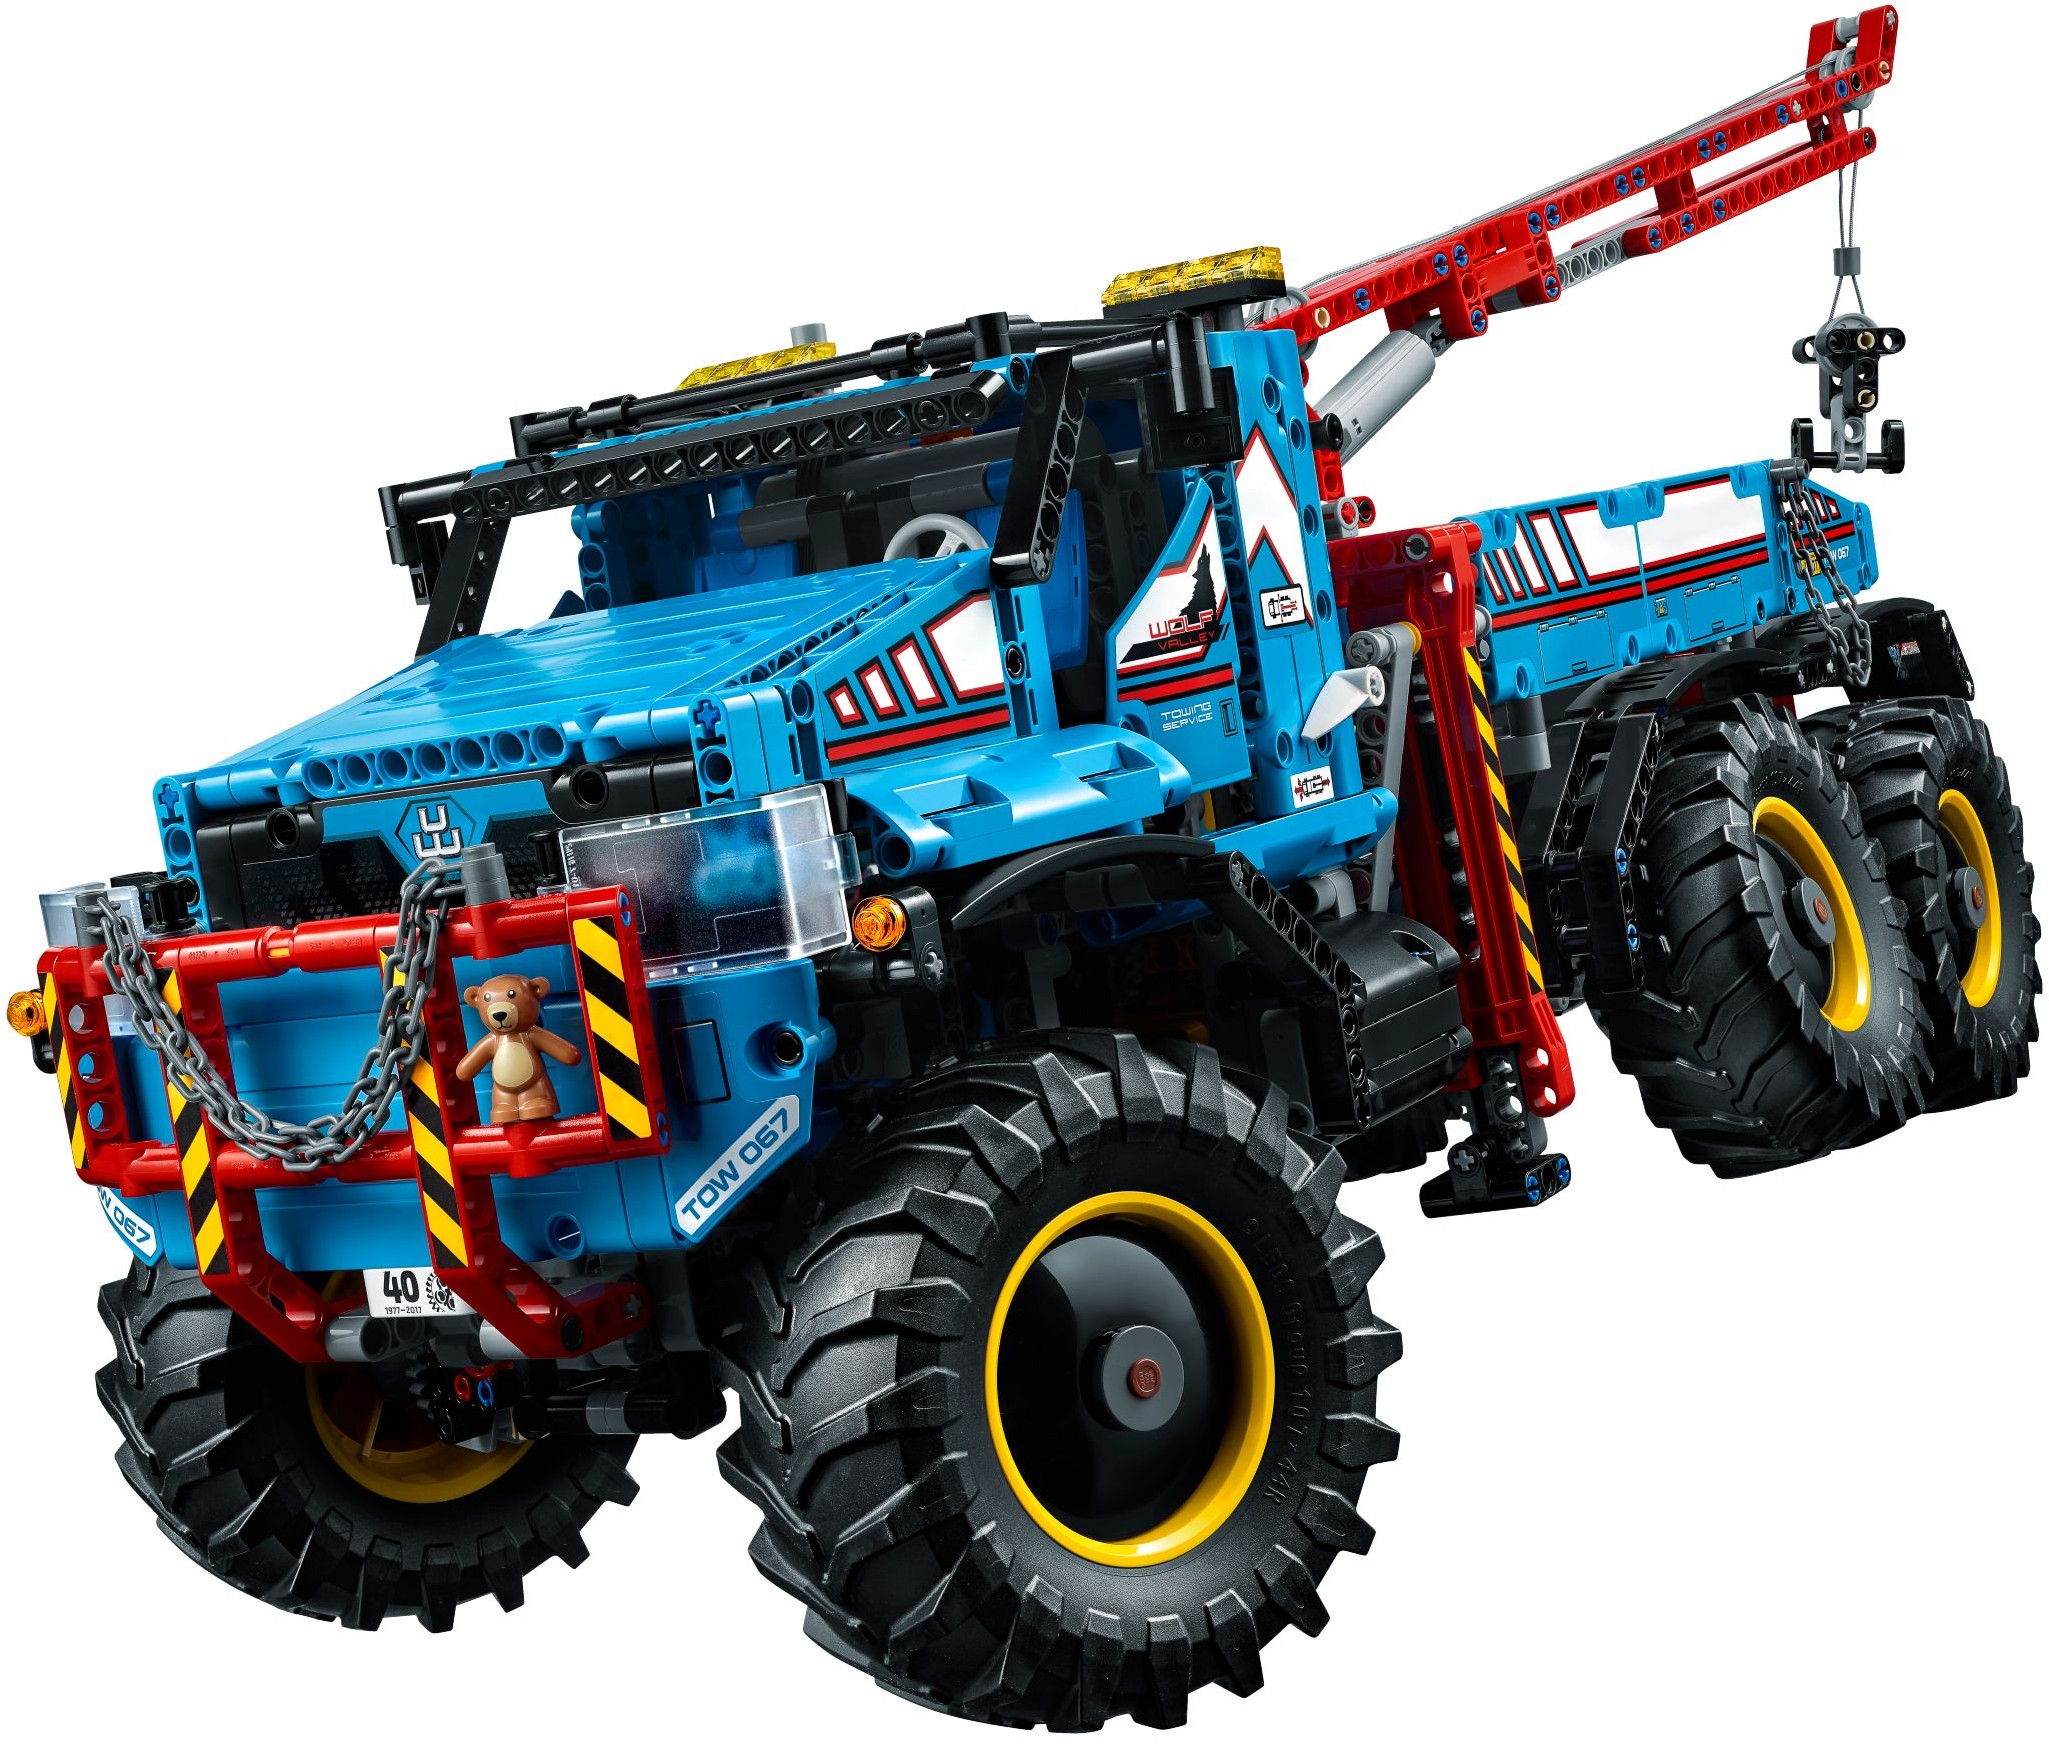
Six functions from two motors. An XL motor drives all six wheels through three differentials, and a medium motor buried in the middle of the chassis steers; flip the levers and the motors work the crane slew, boom, hook and four outriggers instead. Which job it is doing depends on two levers, one each side of the cab, with a single infrared remote for the lot. This was the Technic 40th anniversary flagship in 2017, dark azure and red on 10 cm Claas tyres, and finished it is about 63 cm long.
It is in the Brick Club library. Below is how the lever logic works, what the first hour asks of you, and the exact mistakes Jim and his building partner made along the way.

Why this one is worth an evening or three
It was the flagship of 2017 but not the biggest set of the year; the Extreme Adventure (42069) has more parts. At 1,862 pieces it has well under half the parts of the Bucket Wheel Excavator (42055) from the year before for about the same money, and both Huw at Brickset (at £219.99) and Jim at Eurobricks (at €279) called it overpriced. That argument disappears when it arrives in a Brick Club box. What is left is the build and the machine, and both are better than the price row suggested.
The parts are the interesting bit. 56 dark azure pieces across eleven panel and beam designs, the 13×3 curved panel in black for the first time, six H-shaped frames in red (the first time that frame had been moulded in anything but grey), and the red number 3 connector back after last being seen in 2011. The winch string is new, wrapped in a metallic weave to make it stronger. The electrics are a battery box, an infrared receiver, one remote, an M motor and an XL motor, which Jim reckoned made a decent Power Functions starter pack. Under the panels there are over 100 gears.
One heavy perfect-bound book, 590 steps on 402 pages, and 18 bags with no numbers on them, so every bag is open from the start. Huw pre-sorted panels into one tray and straight beams into another before he began, and it is worth copying him. The box weighs about 4 kg. The B-model is a research explorer vehicle, which neither reviewer built.
What it actually does
Two motors, one remote, six functions. Neither reviewer traces every gear train inside the gearbox, so the paths below stop where the reviews do.
Understand this before you touch the remote. The left lever, on the driver’s side, chooses between driving and operating. Down: the remote drives and steers the truck, and the right lever does nothing. Up: the truck can be pushed by hand and the right lever decides what the remote works. Right lever up gives you crane slew and the hook; right lever down gives you the outriggers and the boom. Four switches inside the gearbox, two levers outside. Huw found the levers slightly stiff. Jim, who had built the Arocs, found this one easier to operate.
The XL motor goes in beside the front axle and turns all six wheels through three differentials, one of them an old-style centre differential that Jim was surprised to see again, though a full-time six-wheel drive needs one. Drive is geared down 8 on 24 in the portal hubs because of the weight. The reviewers disagree about how that feels: Huw says it moves surprisingly quickly round a room, Jim says not to expect much top speed but that it has proper torque. Jim adds that an XL rather than an L motor means it coasts to a stop instead of stopping dead. There is no suspension; the two rear axles pivot about the centre line instead. Under the opening bonnet is a four-cylinder engine that Huw thought more realistic than usual and Jim thought too small, he wanted an eight.
There is no Servo in the box. Steering comes off the same medium motor, through the gearbox and a rack driven off centre, with a second 12-tooth bevel there only to guide the rack. Jim found it smooth and hardly missed return-to-centre; Huw missed it more. Both say the turning circle is huge.
The boom is raised by a linear actuator to around 75 degrees, and the crane rotates roughly 160 degrees to either side. The two movements sit on different lever positions: slew is paired with the hook, the boom with the outriggers, so lifting something and swinging it round means flicking the right lever part way through. Jim thought the crane looked flimsy for a truck this heavy.
The hook is raised and lowered with the right lever up. The string is the story: a new type, slightly thicker with a metallic feel and wrapped in a weave to take more load. Jim gave it a thumbs up. Huw found the downside: so little friction that his knots kept untying. The drum sits at the base of the crane behind the cab, with a white gear on its side.
Motorised outriggers are rare in Technic; usually you wind them out by hand. These deploy quickly. The rear pair use much the same mechanism as the front pair, with an axle rather than gears working the feet, driven from the gearbox through a mini linear actuator. They extend a long way and stop the truck rocking while the crane works. One catch Jim hit: a 7-stud axle stopped by two full bushes fouls the panel on the right-hand side. His fix was a shorter axle and half bushes; ours stays standard.
How the build goes
No numbered bags and no numbered stages, so this is the order the book takes you in, using Huw’s photographs as markers. Neither hands-on review gives an hour count. Game of Bricks, a later summary rather than a build diary, says 7 to 8 hours for an experienced builder, which squares with Jim needing more than one late night.
The gearbox in the middle
You start in the centre of the chassis with the gearbox: gears first, including the white clutch gear, then the M motor, and you can see the four switches the two levers will work. This is the least forgiving hour of the set. Miss a gear in here, Huw warns, and you will almost certainly be starting again, because everything locks together in three dimensions. Jim’s building partner missed a 20-tooth bevel gear in the middle of it. Check every gear against the drawing before you close the next layer over it.
Front axle, steering and the XL motor
Forward to the front axle and the steering linkage, where the rack runs off centre. The XL motor goes in here. Its cable has no slack, so it must be routed exactly as drawn; Jim fitted the motor facing the wrong way, built liftarms over the wire, and paid for it half an hour later.
Two rear axles
Each rear axle is a unit that rotates freely about the chassis centre line, the model’s stand-in for suspension. The sides are colour coded, red liftarms left and grey right, so the differentials end up the right way round. Test here: connect the battery box and run the drive. If the two rear axles turn in opposite directions, one is in backwards. That is how Jim found his mistake.
Cab, outriggers, bull bar and crane
Once the chassis is complete the pace picks up. Cab and front outriggers first, then the rear pair and the bull bar, then the crane arm with its actuator. The cab seats are blue panels, which Jim thought a poor choice against dark azure, and the headlights are the clear curved panels from the BMW motorbike earlier that year.
Rear bodywork, arches and wheels
Wheel arches, side panels, the rear body and the six wheels, and the truck is suddenly done; Jim calls the stage before the panels the 98 per cent complete truck for that reason. Most stickers go on here, on large flat panels, and Huw found them all easy. Several say TOW 067; neither reviewer could say what that means.
No member has sent us a diary for this one yet, so these come from the two hands-on reviews, and between them the reviewers made most of the possible mistakes for you.
- Red on the left, grey on the right. The colour coding keeps the differentials the right way round. Jim’s partner built both rear axles correctly and then fitted the second one reversed; Jim rebuilt it instead of turning it round and ended up with both differentials on the same side. Turn the unit, do not rebuild it.
- The XL motor cable has no spare length. Decide which way the motor faces before it is pinned, and do not build liftarms over the wire.
- A missed 20-tooth bevel in the middle of the gearbox. Once the chassis closes round it, a missed gear means going back to the start. Test with the battery box the moment the drive is complete.
- The string will not hold a knot. Stronger than the old type but slippery enough that Huw’s knots kept working loose. Tie it, pull it tight, check it again after the first few lifts.
- The right-hand outrigger can catch. A 7-stud axle with two full bushes sits close enough to foul the panel. Ease it past by hand rather than forcing the motor. The levers are stiff too and sometimes need a firm push to engage.
On the shelf
About 63 cm long, 20 cm wide and 23 cm to the top of the cab, on 10 cm tyres borrowed from the Claas Xerion (42054), so it wants a low shelf or the floor. Dark azure, red and yellow rims look better in the hand than in the launch pictures; Jim disliked the colour going in and had come round by the end. The teddy bear on the bull bar divides people and lifts straight off. The battery box lifts out from behind the cab because it is not pinned in.
The honest faults: the tyres stick out beyond the bodywork, there is a gap under the doors, the chassis flexes a little in the middle, and the back end has no proper bed. Infrared does not work outdoors, and the gearing means it is happiest on carpet.

This is the one for you if you want a big remote-control truck and a gearbox you have to think about. Two or three evenings, the first slow and deserving your full attention, the rest quick. It suits someone who enjoyed the Arocs and wants a simpler version of the same lever logic, or someone who wants Power Functions on the floor without a weekend-long build. Test the drive as soon as the rear axles are on, route the XL cable exactly as drawn, and expect a three-point turn in a hallway. If you want the newer tow truck with more pieces, that is the Heavy-Duty Tow Truck (42128).
If you like this one, try
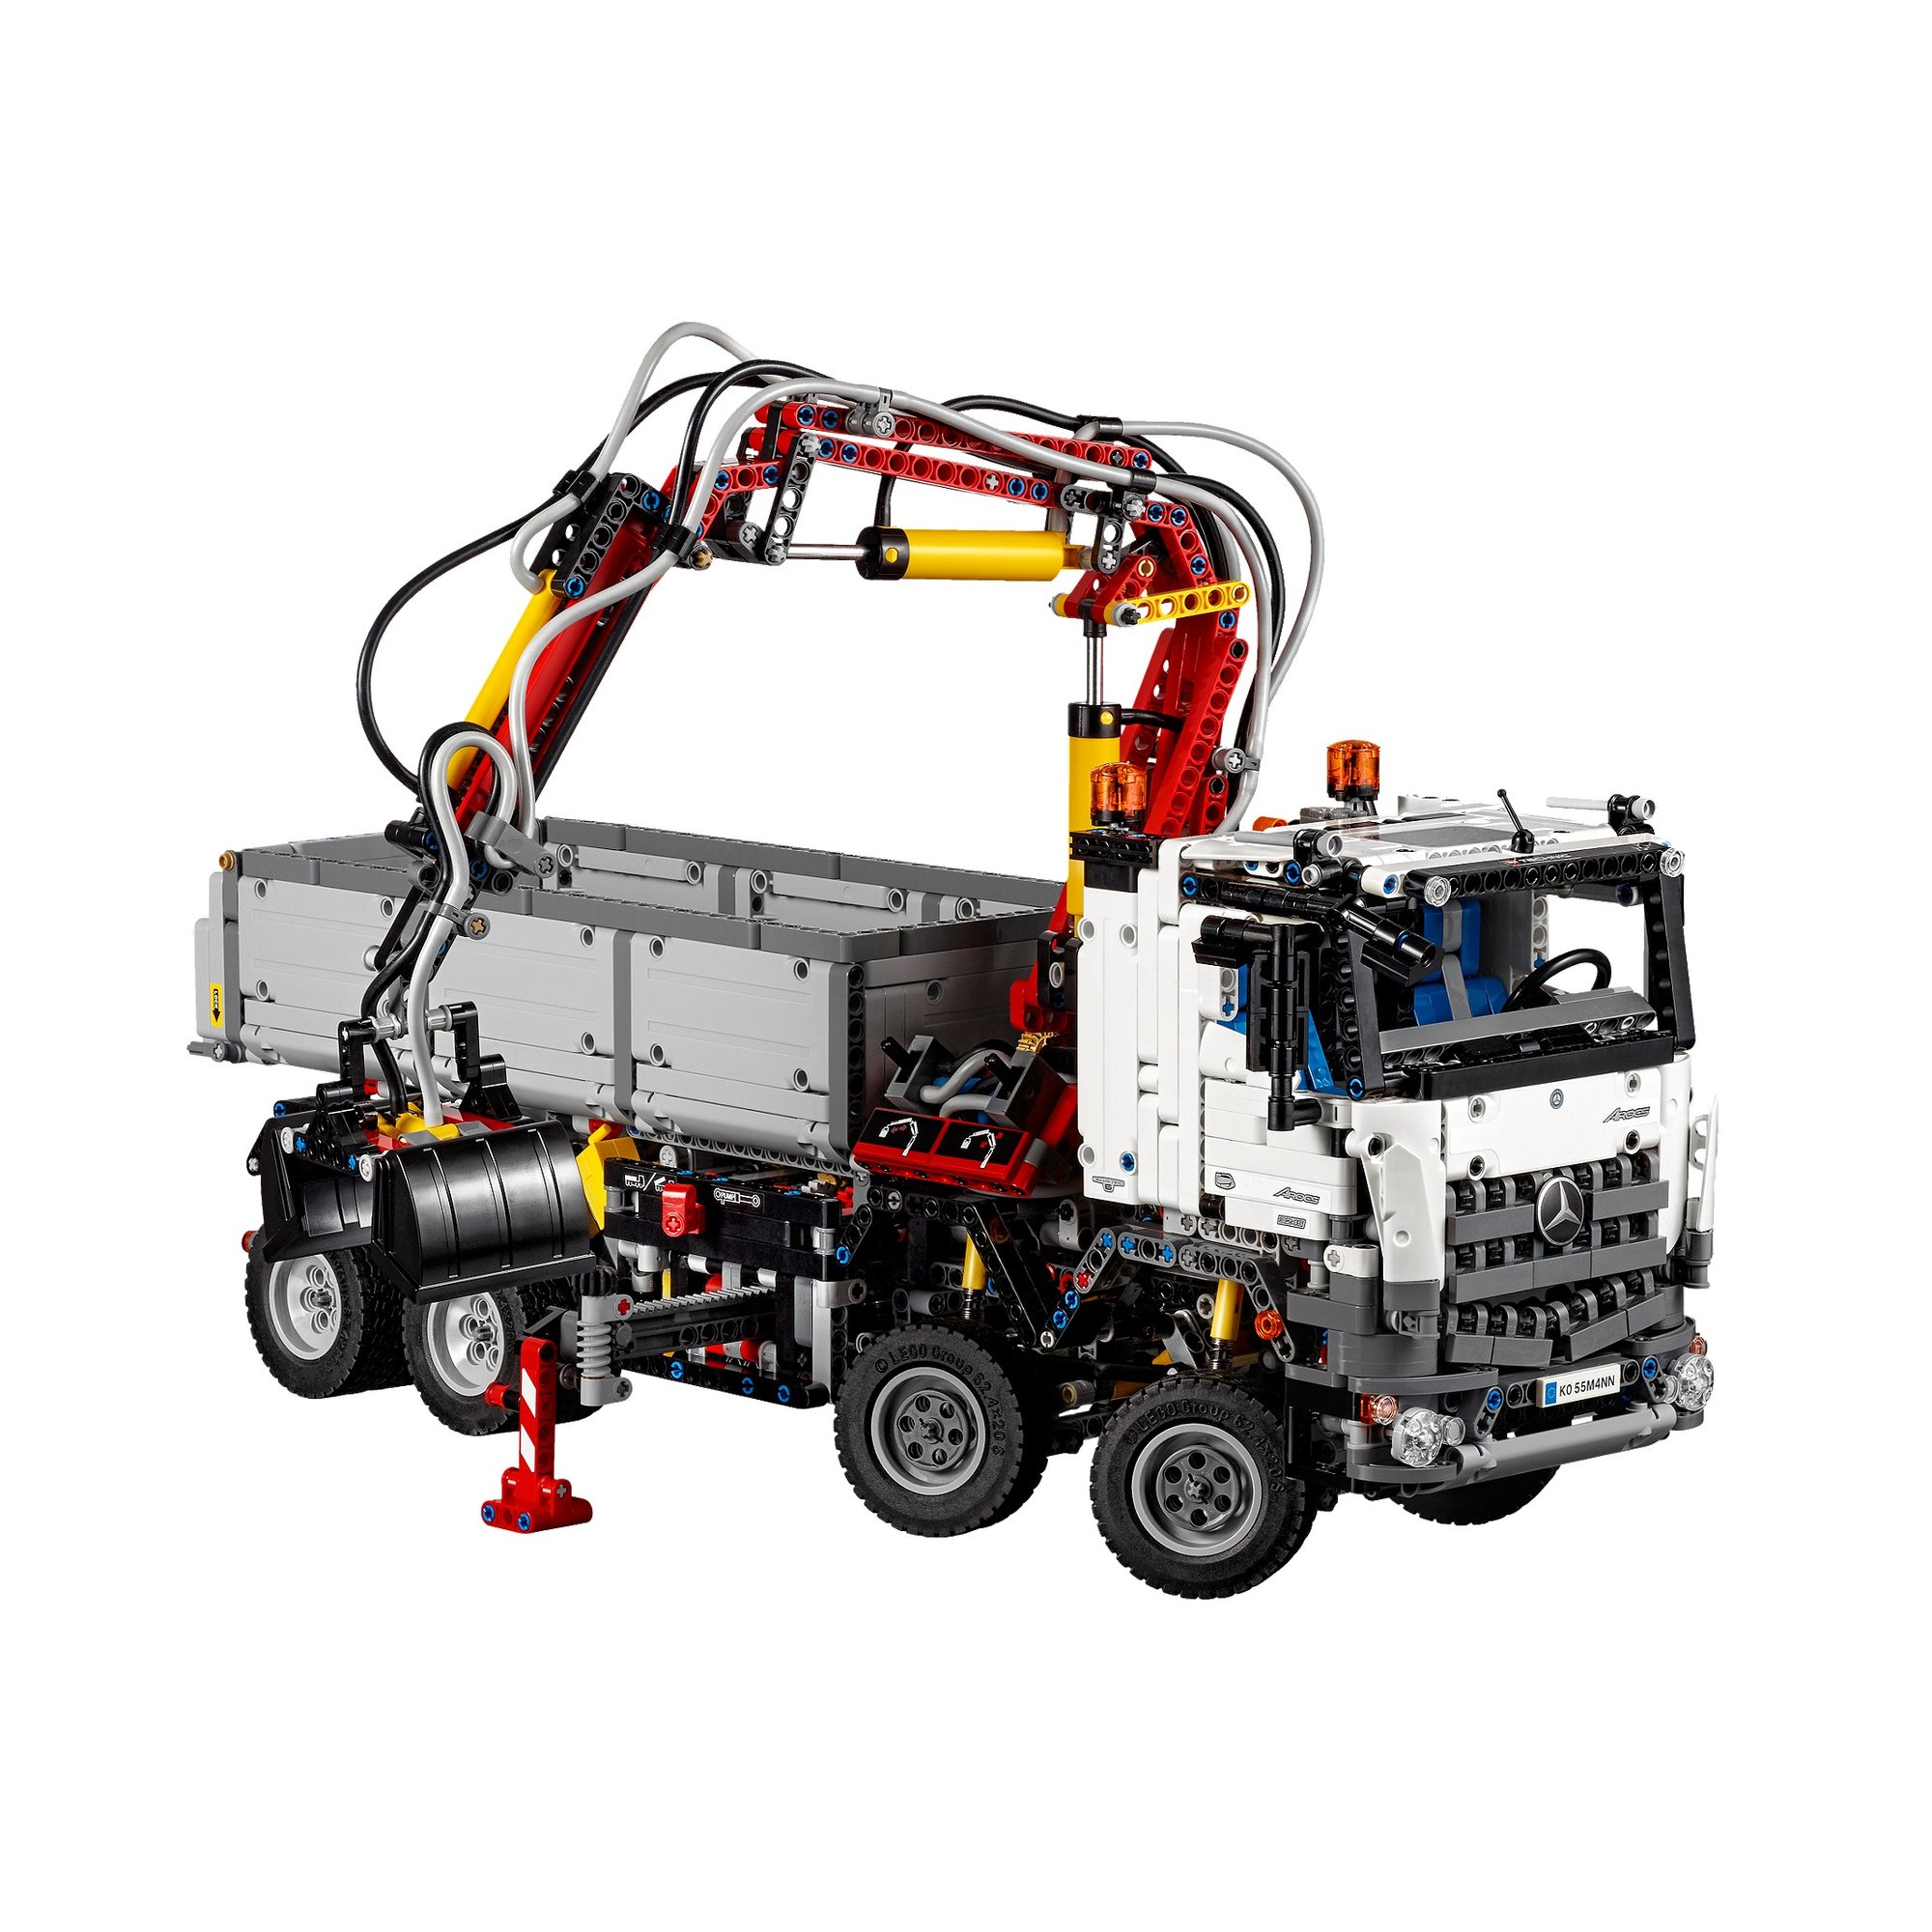
The other big trucks in the library. The Heavy-Duty Tow Truck is the newer tow truck with a winch and outriggers, the Arocs is the truck Jim compared the lever system to, the Volvo hauler is the other 6×6, and the Service Truck is the smaller service truck with a crane.



The 6×6 All Terrain Tow Truck is in the library
Technic Fan gets up to 6 kits a year, Master Builder up to 12. Delivery both ways is included and the prepaid return label is in the box.