

Airbus H175 Rescue Helicopter (42145): the joysticks that tilt the blades
Most Technic helicopters spin their rotor and stop there. This one puts two sticks in the cockpit, and moving them changes the angle of each of the five blades as it comes round, the way the cyclic does on the real thing. Tom Alphin at Brick Architect spent most of his build assuming the whole rotor head would lean over, and found in the last stage that it does not: the blades stay on one plane and the pitch does the work. Underneath that, one Powered Up motor drives the rotors, the landing gear and the winch through a gearbox that took him 95 minutes on its own.
It is in the Brick Club library and one member has built it. Below is what each function does, how the five stages split the build, and where the only timed build we have went wrong.

Why this one matters
LEGO had tried a big motorised helicopter two years before this. The Bell-Boeing V-22 Osprey (42113) had a battery box and a single motor too, with 1,636 pieces, and it was pulled before general release after the row about it being a military aircraft. The H175 is a civilian search and rescue machine under an Airbus licence, which Tom read as the point. The Brick Fan’s reveal noted that a military H175M flies in the UK and wondered whether this one would be axed as well. It was not; it stayed on sale from August 2022 to the end of 2024.
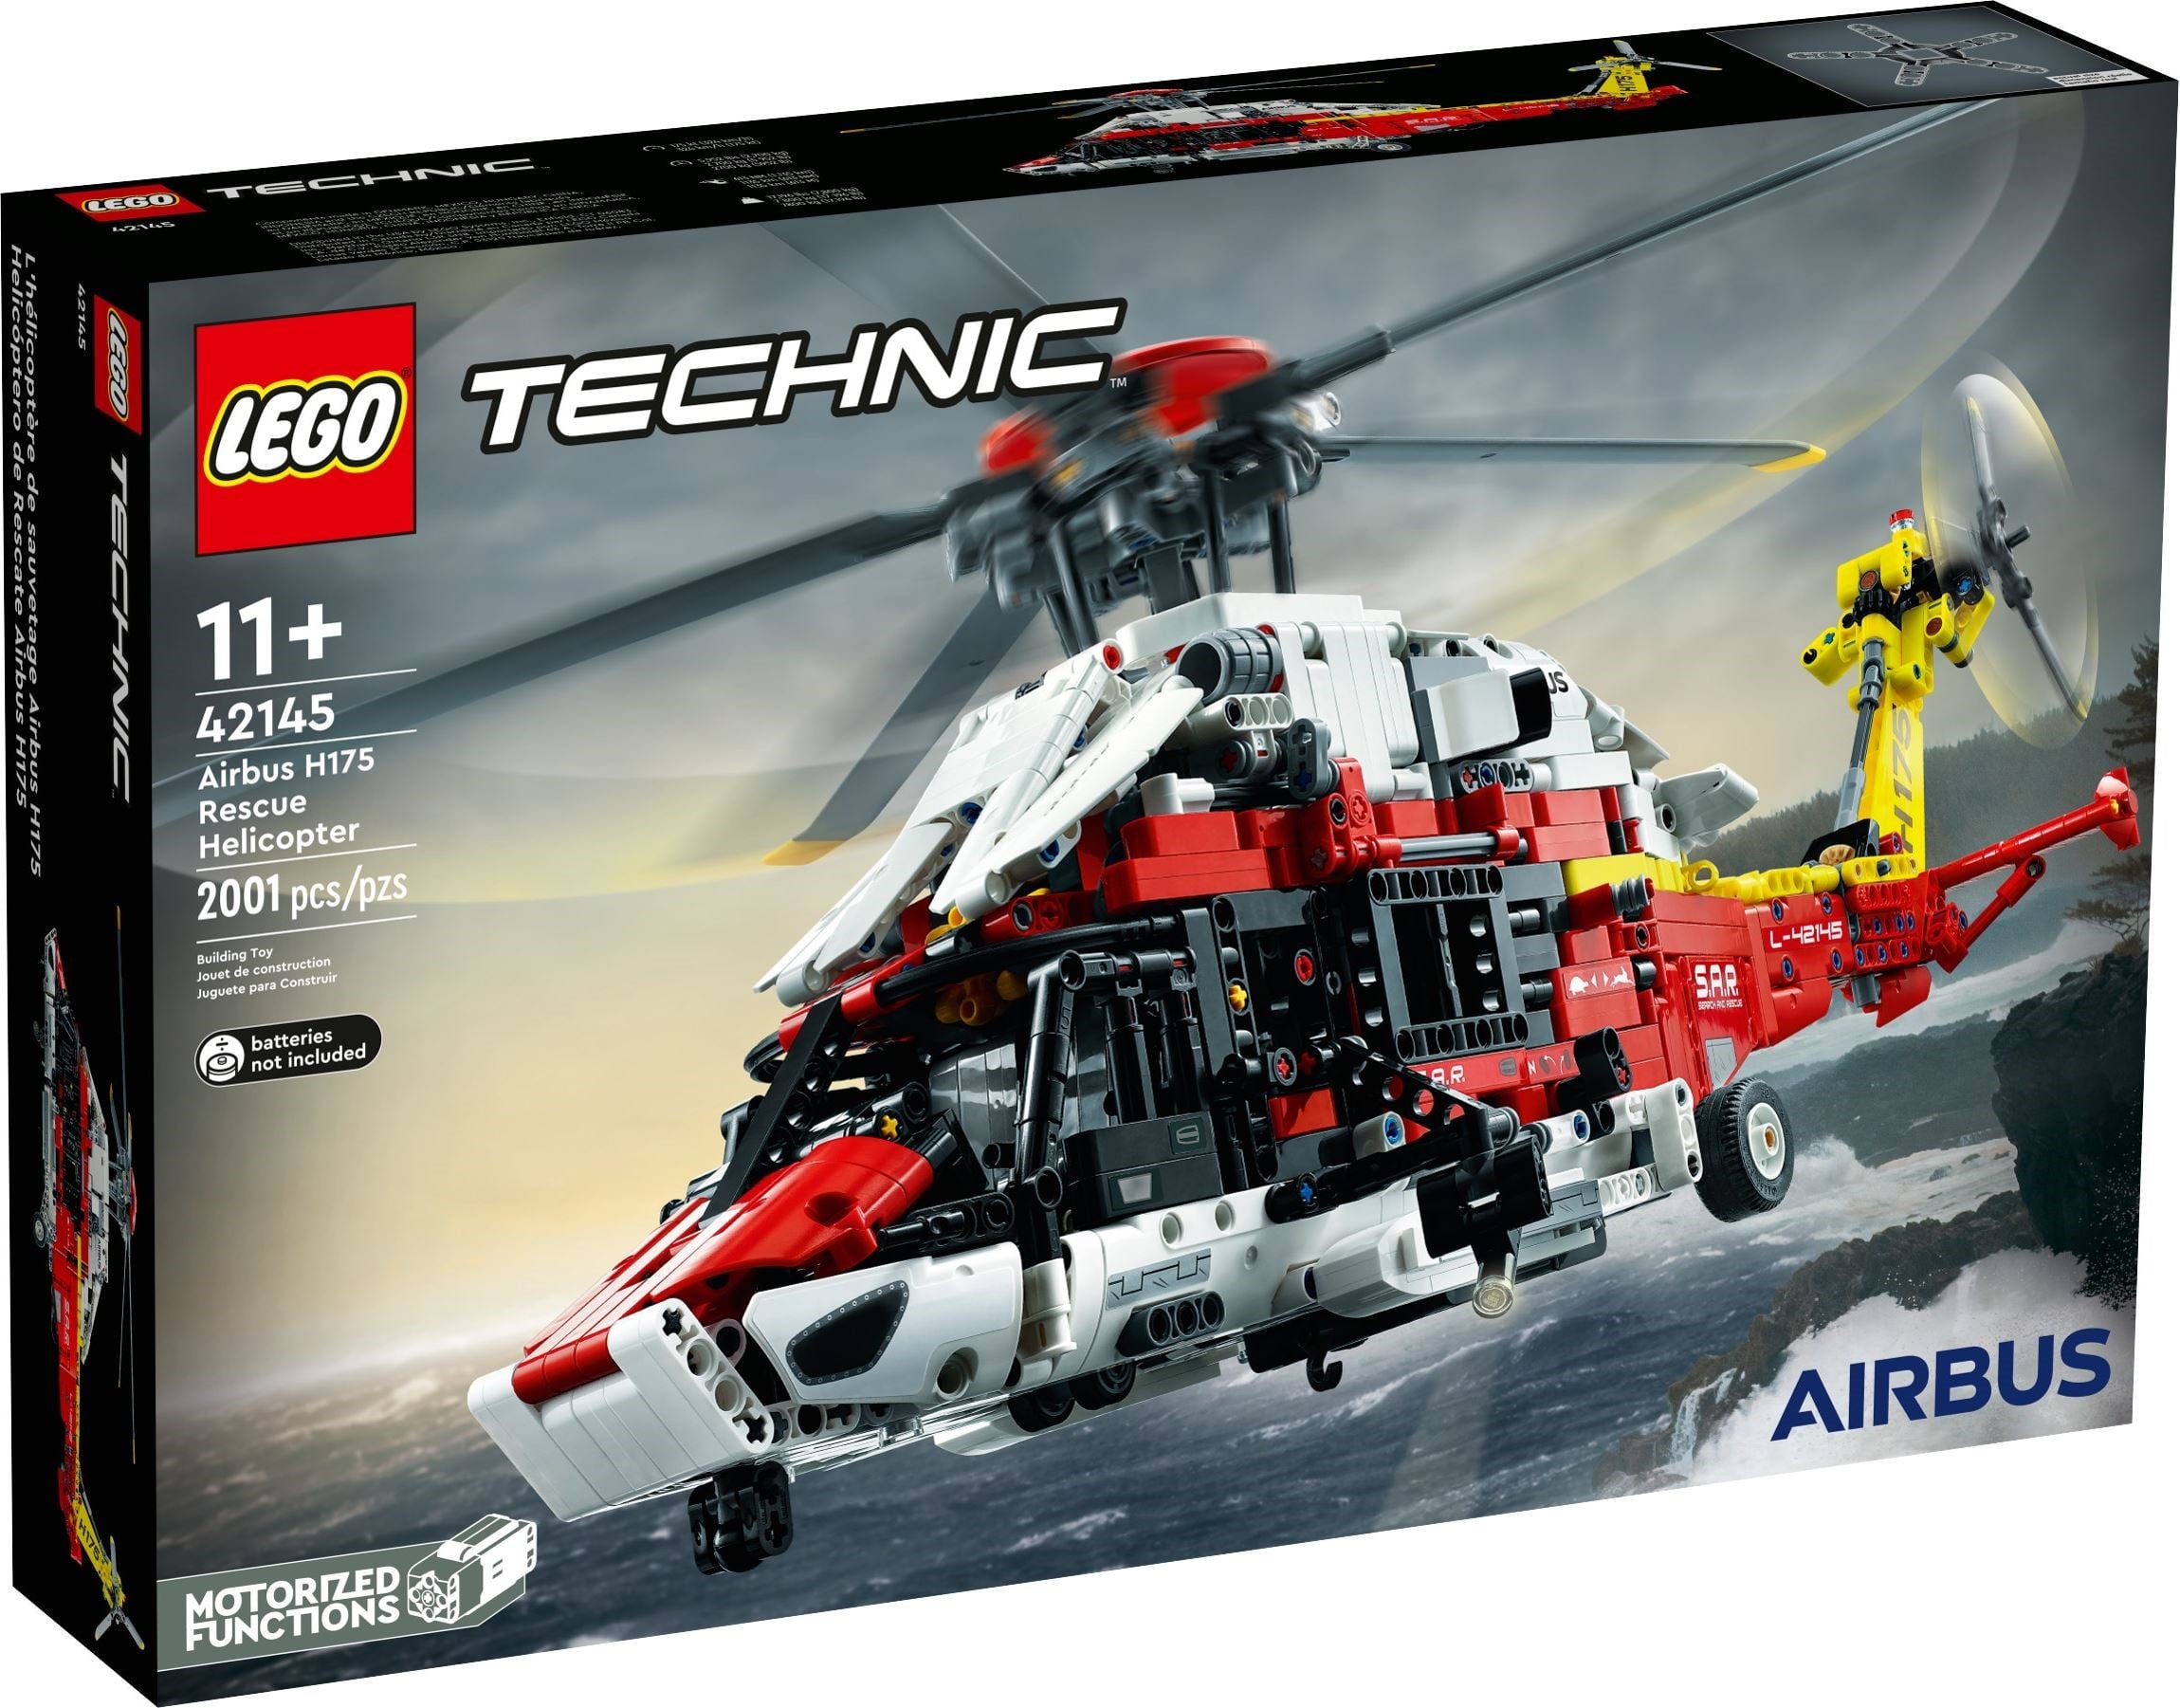
2,001 pieces for £179.99 at launch, a slightly higher price per piece than Technic usually asks by Tom’s sums. The box is small for the count and heavy with it, 2.7 kg. Inside are five numbered stages, a 400-page book, one sticker sheet, a Powered Up Large motor, the battery box in its own little carton, and the five rotor blades in a bag of their own. The blades are a new piece with yellow tips in what looks like a softer second material, there to spare you and the furniture when it is running under power.
When it came out, 19 of the 36 Technic sets on LEGO’s site were cars. Tom said he is not much of a car person and wanted a big set that teaches something mechanical, and this was the one. He gave it four stars out of five, and said the gearbox was not the best bit.
What it actually does
Everything motorised runs off the one Large motor through the gearbox built in stage 3. Tom’s is the only proper build review on file, and he admits he did not understand parts of the gearbox until the model was finished, so where he hedges, I hedge.
The gearbox sits in the middle of the fuselage with the motor behind it. Tom’s reading, before the panels went on, was that more than one function can run at once, each with an off position in the centre and forward or reverse to either side. One output runs through a clutch, which he took to be protection for the big blades if they are stopped by hand. Finished, the gearbox drives the landing gear, the winch and the rotors. His complaint is that it is packed so tight you cannot see what it will do while you build it, and the book does not say.
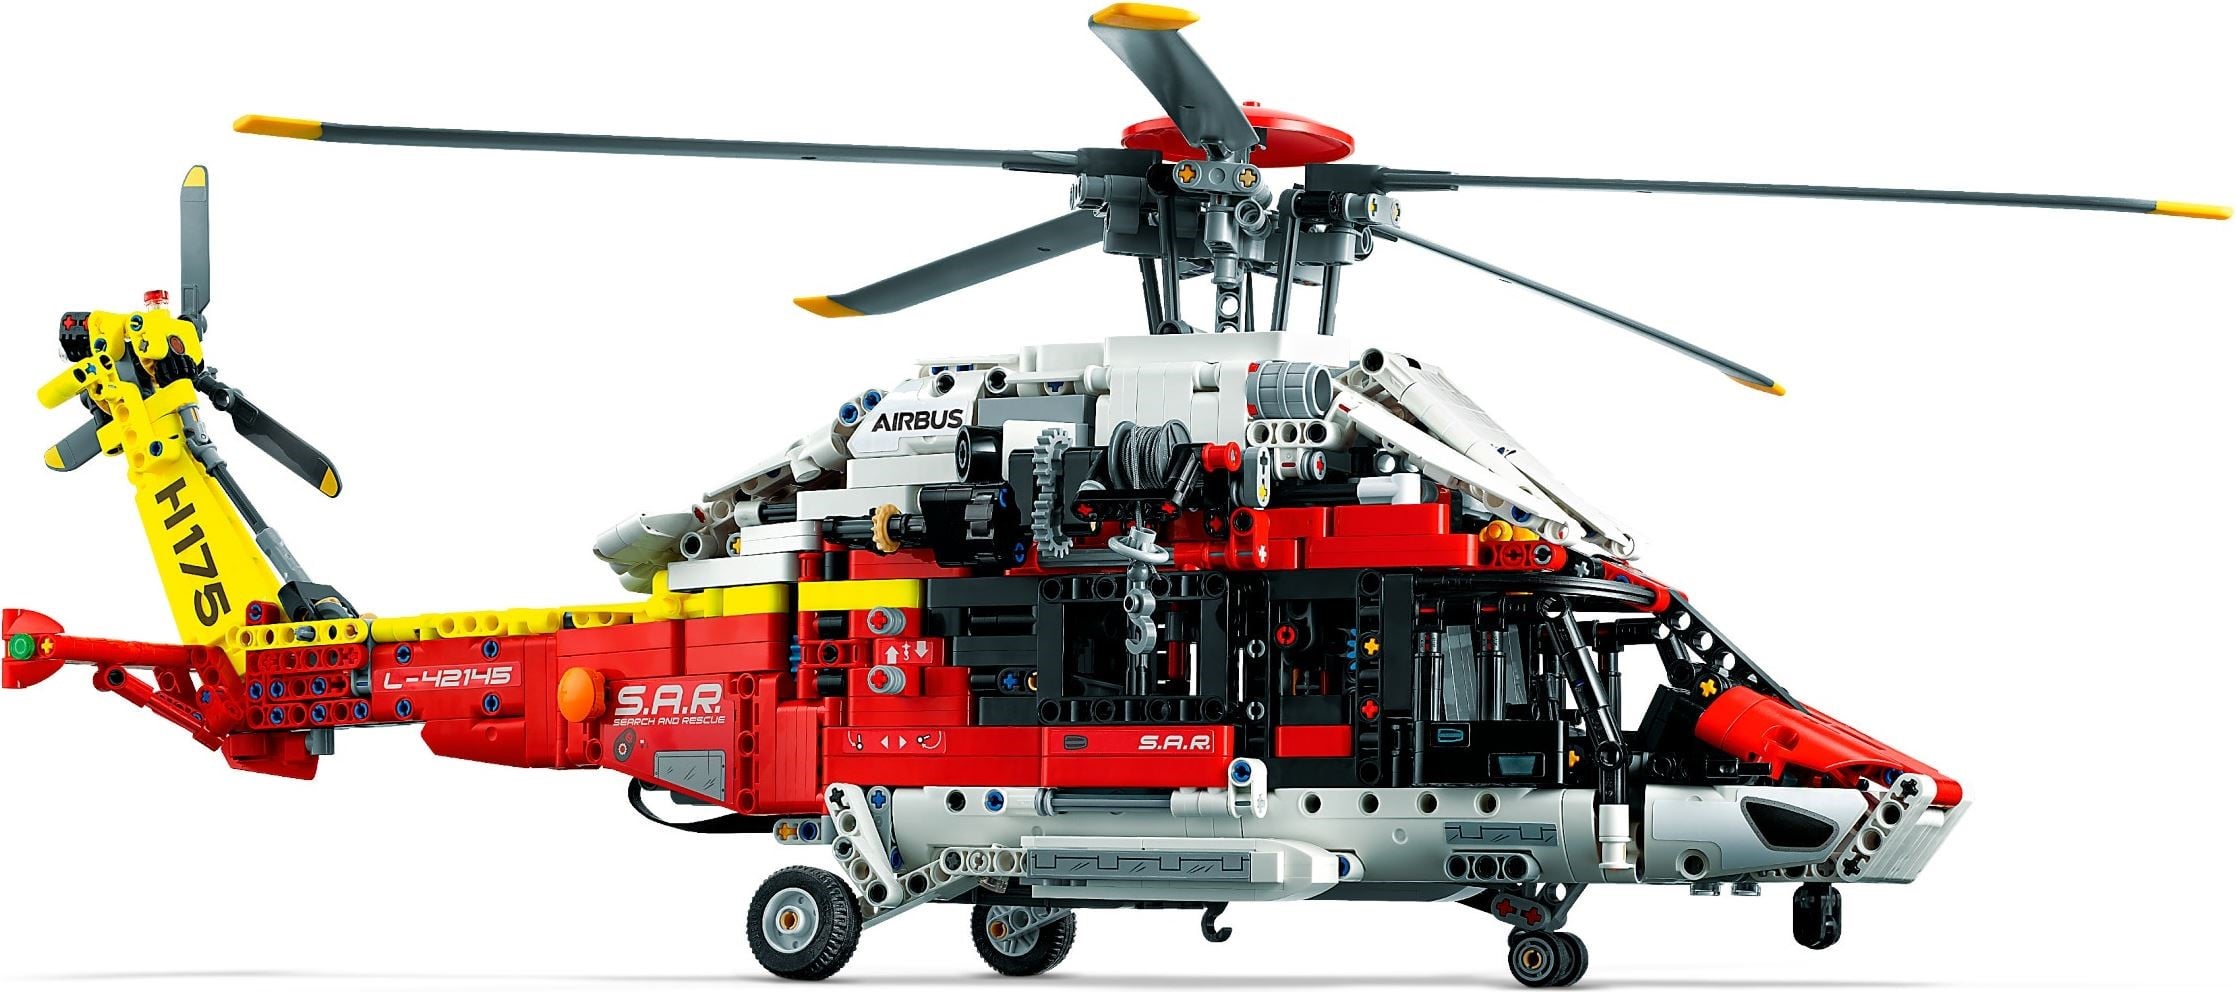
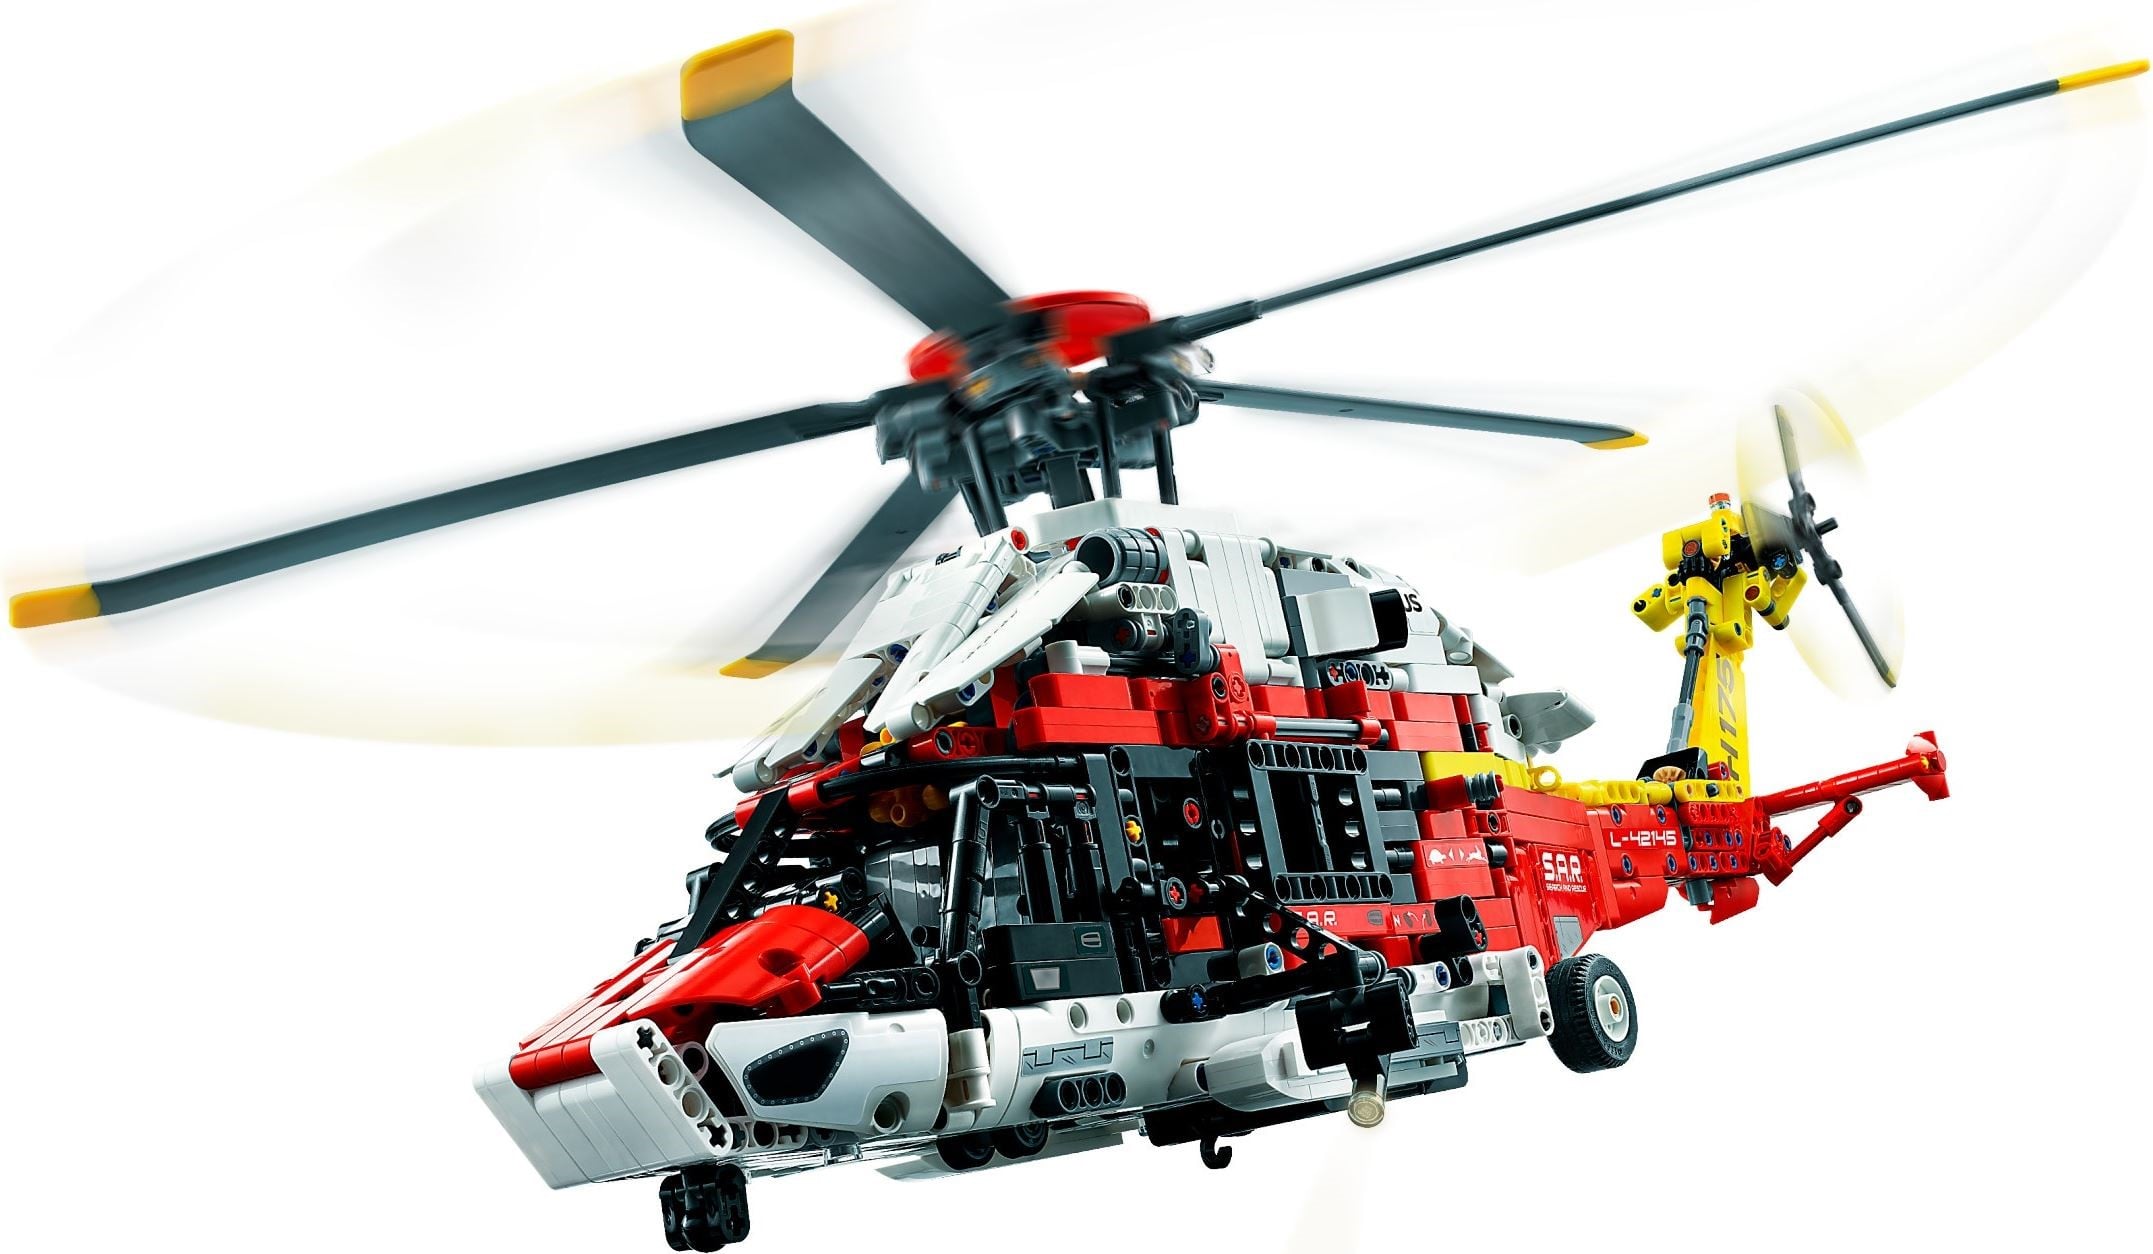
Five blades on a new hub, turned from the gearbox. The tail rotor runs from the same single motor through a linkage hidden inside the tail assembly, built in stage 4, so both rotors spin together. The blades themselves are long, grey, and tipped in yellow, and they are the very last thing on in the book, after the roof.
Two sticks in front of the two seats. Push one and a yoke moves left and right. Under the rotor head sit two five-sided rings joined by links, and Tom found the joysticks work the blade angle through them; he does not spell out how the linkage gets from the yoke to the rings. Between them they change the angle of each blade as it travels round, so every blade is at a different pitch at each point of the circle, which is how a real helicopter steers without tilting the rotor. The new hub parts let the five blades spin while still allowing a little front-to-back and side-to-side tilt. Jay’s Brick Blog flagged adjustable rotors as new to Technic helicopters when the pictures appeared, and Tom called it the real pleasure of the set.
Stage 1 builds the bottom of the fuselage as two halves with a long linkage between them that makes no sense until the halves are married. It ties the front and rear wheel sets together so they drop for landing and fold away in flight, and the elbows go over centre to lock the wheels down. Tom expected all four wheels to move on one action, and once the gearbox was in, the landing gear was one of the three things it drove.
A drum above one of the side doors with a hook on a string, driven from the gearbox. Tom calls it the rescue pulley and LEGO calls it a winch. Nobody on file describes the drum, the string or the lever, so I will leave it there: our listing calls it a working winch, and the official side view shows the hook hanging in the open doorway with up and down arrows stickered beside it.
LEGO’s own list adds a cowling and a spinning engine to the rotor, tail rotor, landing gear and winch, and the cabin has doors on both sides, built in stage 2. Nobody we have on file describes the cowling or the engine, so I cannot tell you how they are driven. Have it sent and find out.
How the build goes
Five numbered stages, each a handful of bags, most of them unmarked. Tom timed every stage and the total came to nearly six hours against the three he had planned for; every stage, he says, slows you down for a different reason.
Fuselage base
The bottom of the fuselage, built as two assemblies that are married together near the end of the stage. Between them runs a long linkage that is hard to make sense of until the marriage, when it turns out to be the landing gear: front and rear wheel sets tied together so they pop out and retract as one, with over-centre elbows to lock them down.
Cabin
Opens with a wobbly assembly that becomes the steering sticks in front of the two seats. It does not work properly on its own because the part that should stay still is not rigid yet. Fix the module to the stage 1 base and it stiffens, and the levers above the seat move the yoke left and right. The stage ends by rounding off the nose, with the curved bar across the front and doors on both sides.
Gearbox
The long one. A large and complex gearbox with a clutch on one output, then facings on both sides, one of which carries a small stripe of the then-new Vibrant Yellow. The finished unit drops into the chassis and leaves the motor sticking out of the back. The same stage introduces the new rotor hub parts that let five blades attach and spin while still tilting a little in both directions.
Tail
A separate module that takes most of the stage’s parts and time. Plainer than the gearbox, with some good Technic shaping to get the fin to the right angle. Once it is on you brace the joint, add the outer detail, and connect the tail rotor to the motor through the linkage hidden inside the boom. Last comes the second pentagonal ring, linked to the lower one, which is when the blade-pitch mechanism makes sense.
Roof and blades
Three modest bags. The white roof goes on six studs above the red roofline and covers most of what you built in stage 4, leaving only the upper ring visible. Then the five blades, in the very last step.
One member has built this one so far (member build, October 2025), and the photo that came back shows it mid-build. Tom Alphin’s timed build is the only detailed account we have, so most of these are his.
- The stage 3 gearbox. Tom’s words: extreme care. He suspected a single error in here would be hard to repair later, then made one himself and got away with it using needle-nosed pliers and not much disassembly. Build it in one sitting, in good light, and check every gear meshes before the side facings go on.
- The wobbly sticks in stage 2. The steering-stick assembly starts out unstable and does not work on its own, because the part that is meant to stay still is not rigid yet. That is not a mistake. It firms up as soon as the module meets the stage 1 base.
- Only five numbers, but every stage has one to three unmarked bags alongside the numbered ones, and in stages 4 and 5 the two small unmarked bags are different from each other. Keep each stage’s bags together and do not open the small ones early.
- Neon yellow is not yellow. The gearbox facing carries a stripe of Vibrant Yellow, new in this set, and Tom took it for ordinary yellow because the printing on the box cannot show the difference. If a part looks slightly the wrong yellow, it is probably the right one.
- Nothing explains itself. The functions are hard to read while you build them and there are no notes in the margins. Turn the gearbox input by hand at the end of stage 3 and watch what moves, and work the sticks after the tail goes on, before the roof hides the rings.
On the shelf
Brickset has it at 72 cm long, 13 cm wide and 24 cm high, and that width is the fuselage. The five blades sweep far wider than that, so it wants clear air around it rather than a slot between two other sets. Red and white with a yellow tail boom and H175 down the fin, S.A.R. lettered on both sides and Airbus on the roof.
The roof covers most of the pitch mechanism, so once it is finished the only part of it on show is the upper ring under the rotor, and the gearbox is out of sight for good. One sticker sheet, and the function arrows are on it. The box art prints the neon stripe as plain yellow, so do not judge the colours from the lid.
This is the one for you if you want a motorised set that is about flight rather than wheels, and you can be patient through one long stage. It is not huge by piece count, but the one timed build came in near six hours, twice what the reviewer planned, and almost all of the risk sits in stage 3. Do the gearbox in one sitting, and before the roof goes on, work the sticks and watch the blade angles change. That is the bit that stays with you.
If you like this one, try
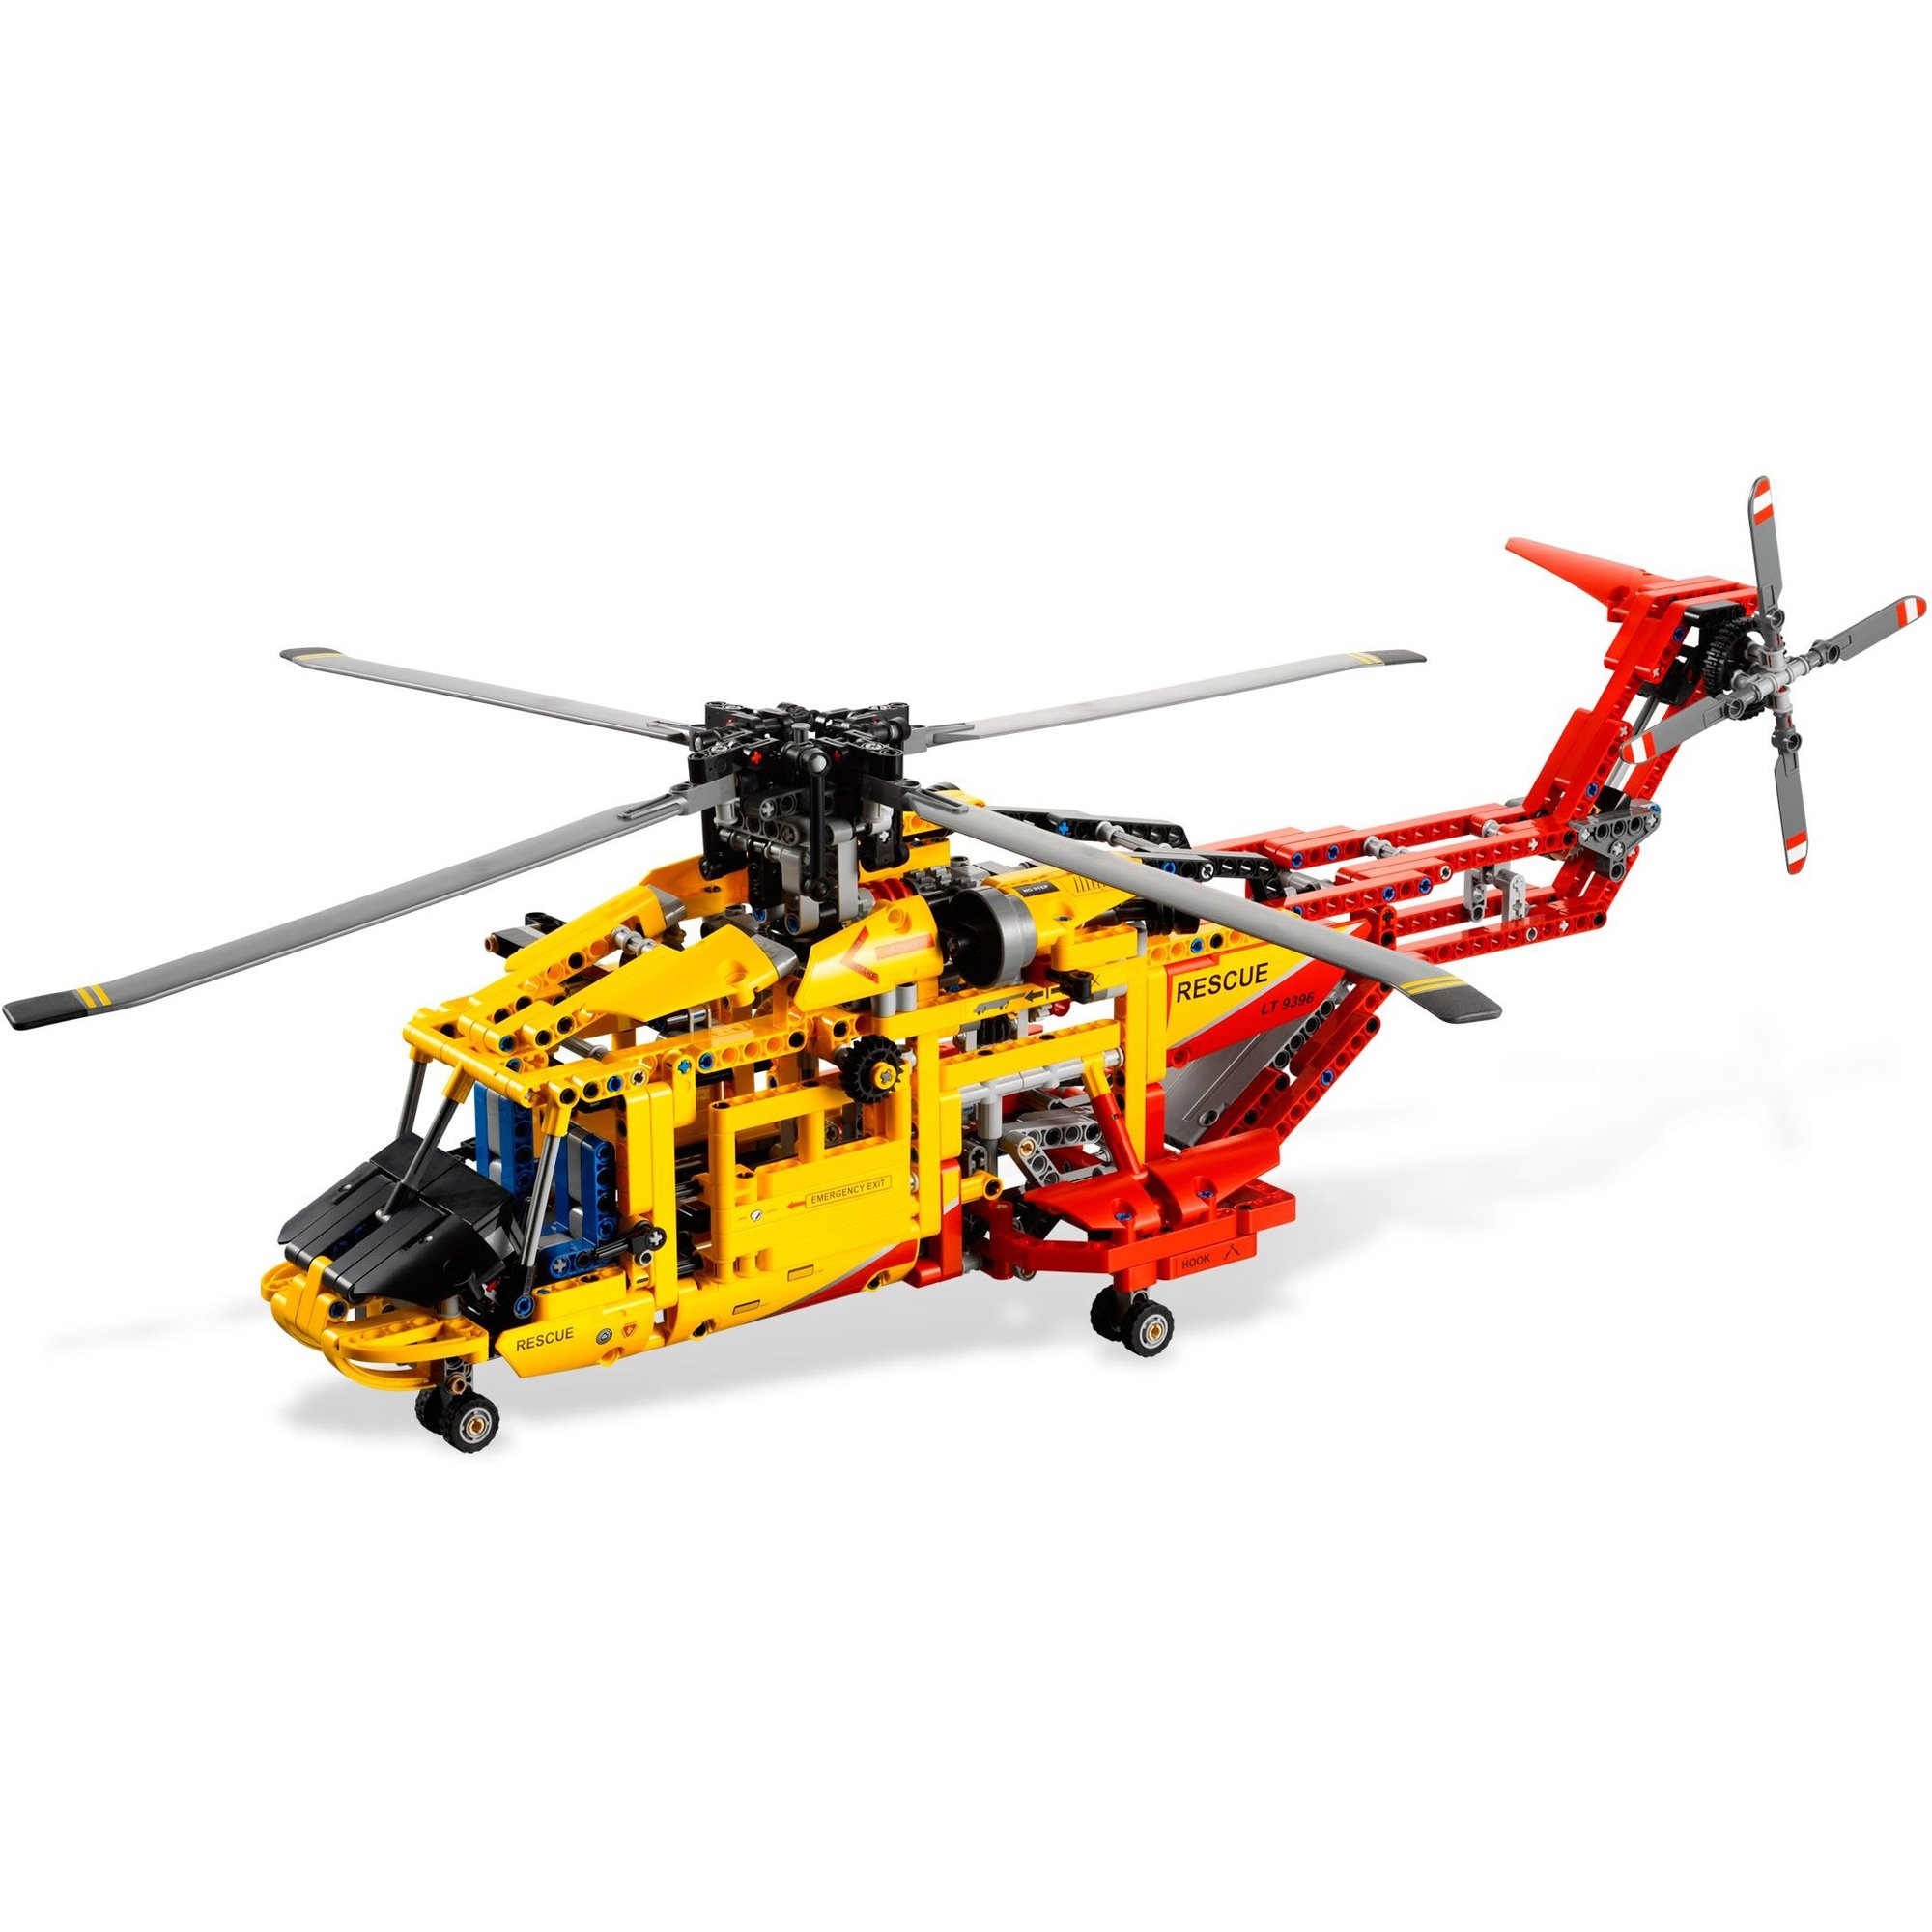
The rest of the helicopters and aircraft in the library. The Heavy Lift Helicopter (42052) and the 9396 Helicopter both have retractable landing gear and around a thousand pieces, and the two fixed-wing sets are there for anyone who would rather have a plane.



The Airbus H175 is in the library
Technic Fan gets up to 6 kits a year, Master Builder up to 12. Delivery both ways is included and the prepaid return label is in the box.