

Ducati Panigale V4 R (42107): the first Technic bike with a gearbox
Before this set, no Technic motorbike had a gearbox. The Panigale V4 R put a two-speed box with neutral inside a 646-piece bike, worked from a foot lever on the left, feeding a four-cylinder engine whose pistons move when you roll it along. At 32 cm long it is the smallest of the four bikes in the library and the only one that fits in a weekend without trying.
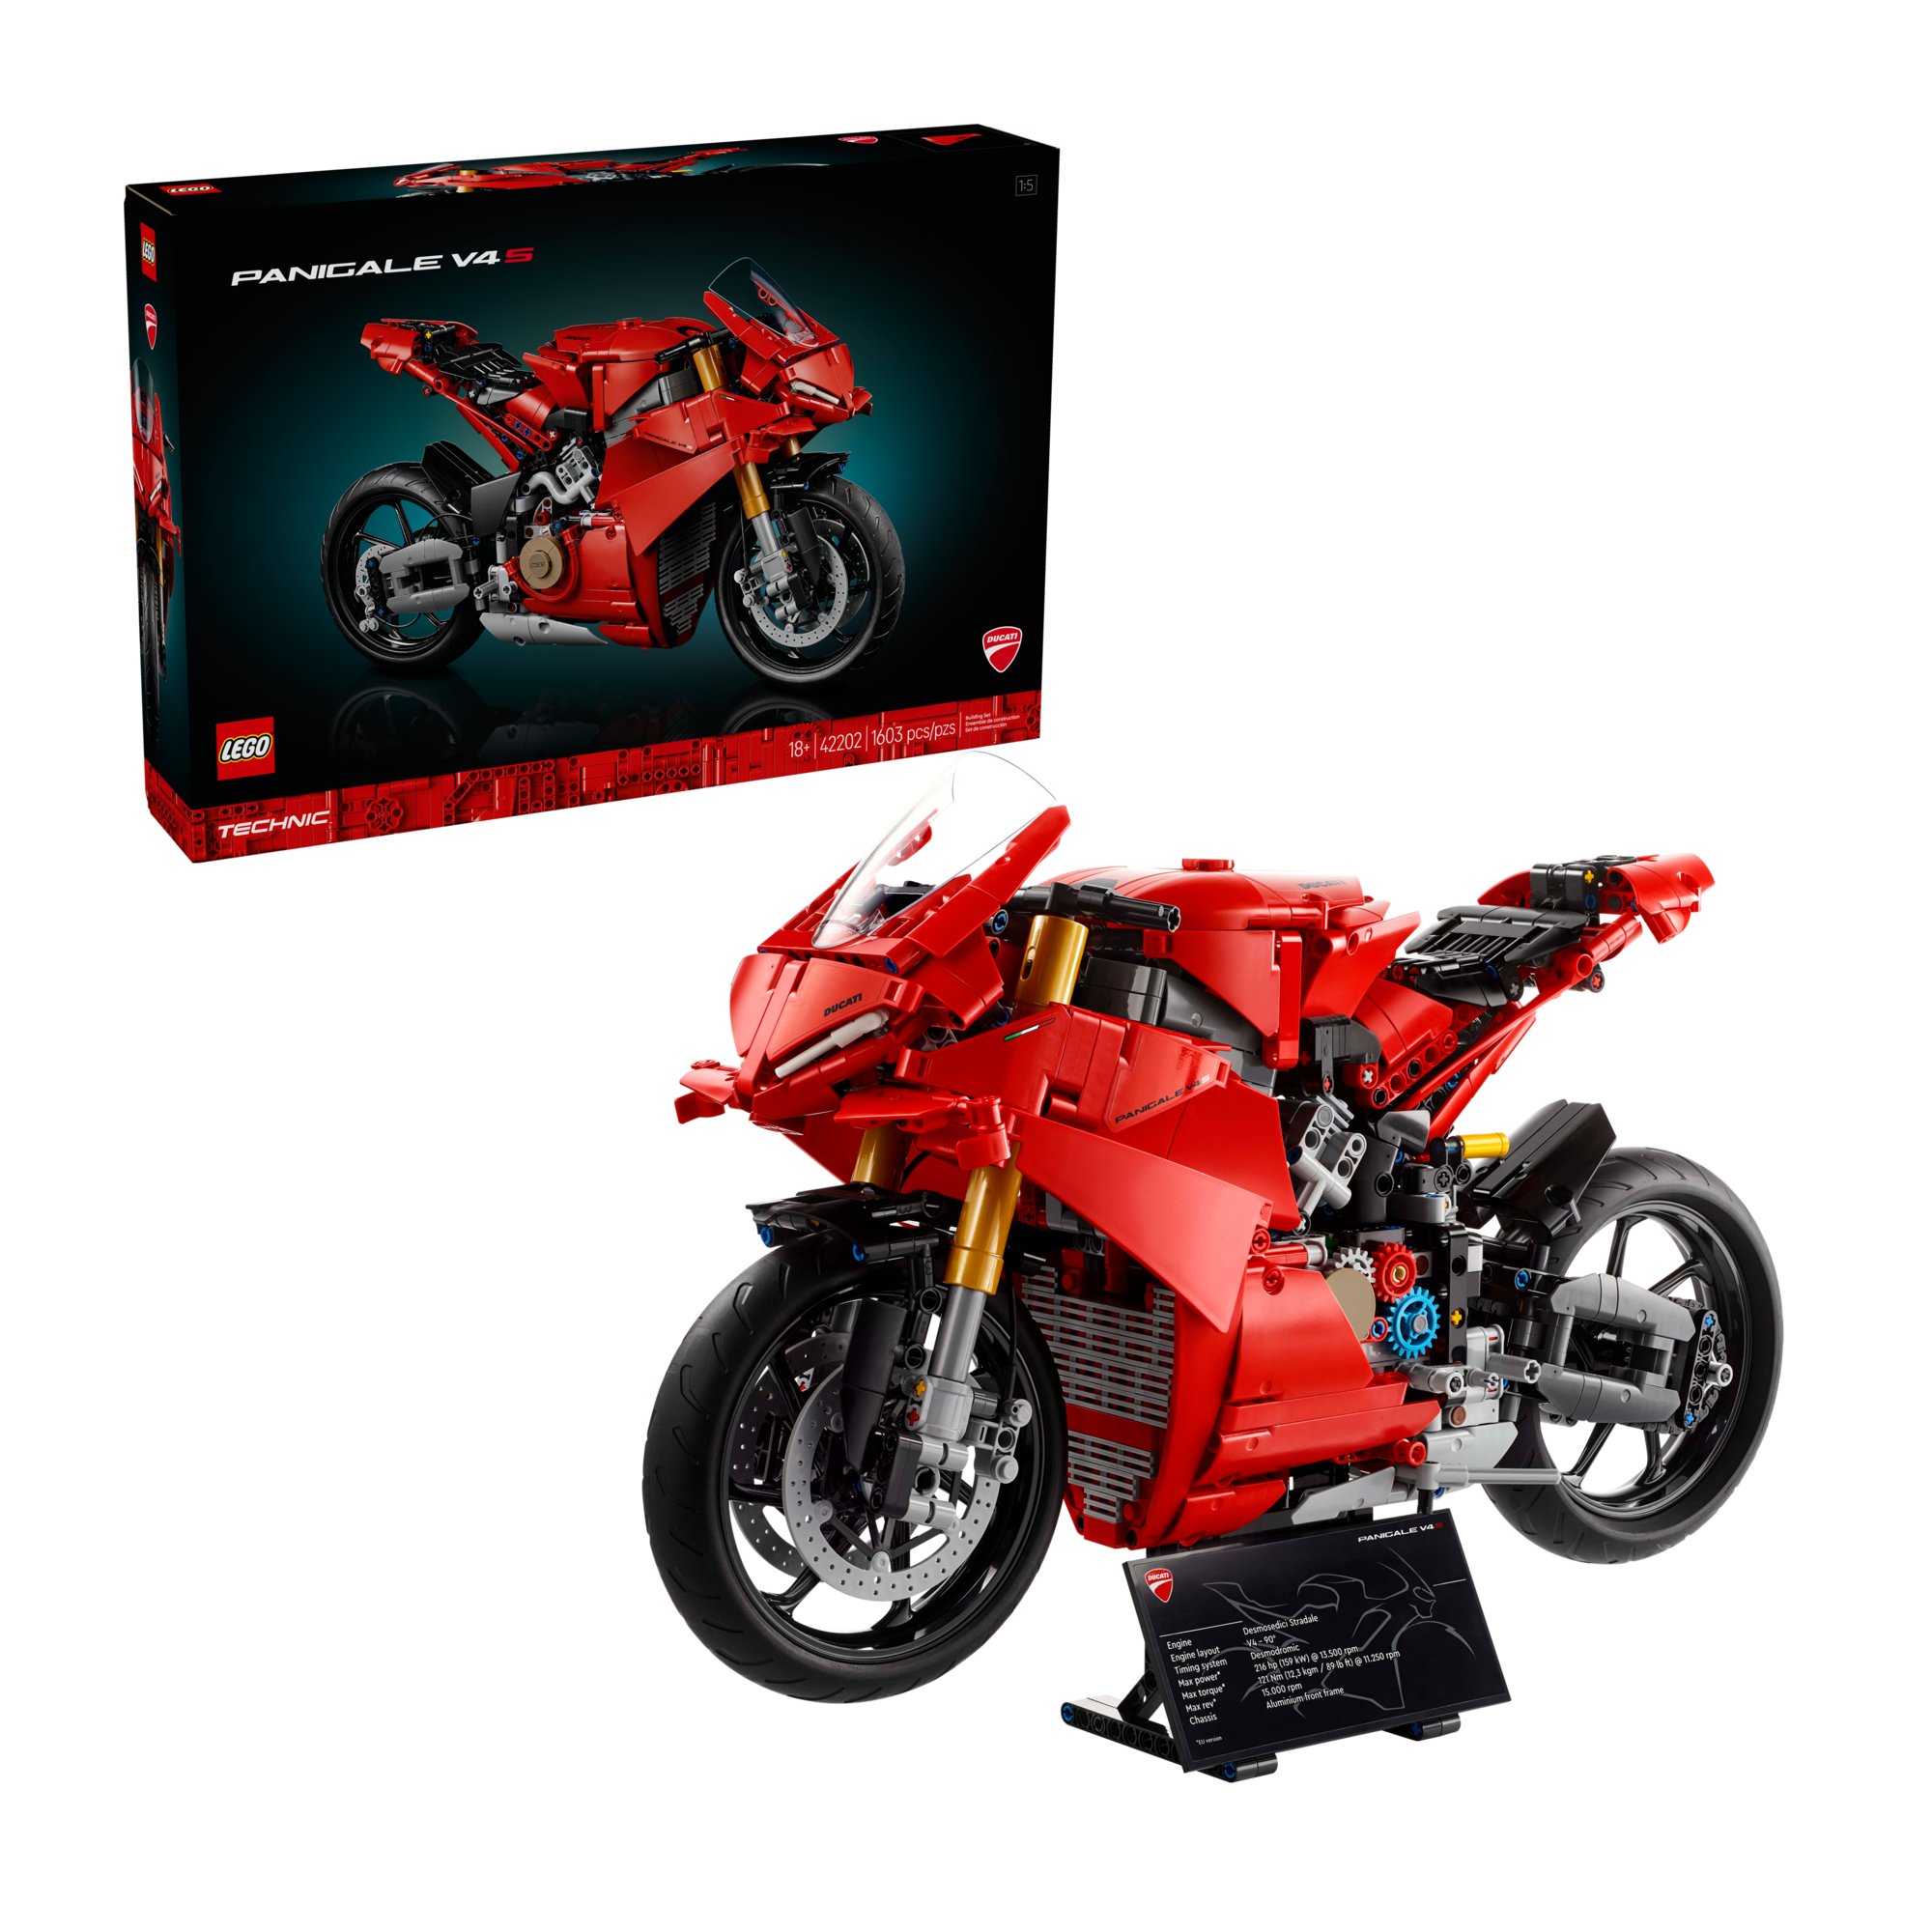
It is in the Brick Club library. No member has written this one up yet, so the build notes below come from the three full reviews rather than from our own diaries. LEGO went back to the Panigale later with the bigger V4 S (42202), which is also in the library and has its own spotlight.
Why this one is worth an evening
Technic bikes had not moved on much when this arrived in 2020. It was the second Technic bike licensed from a manufacturer and LEGO’s first licence with Ducati, but the news was the two-speed gearbox, which no Technic bike had carried before. New Elementary called it the best Technic bike LEGO had made. Huw at Brickset called it worthy but flawed and still preferred the 8051 Motorbike from 2010. Both are right.
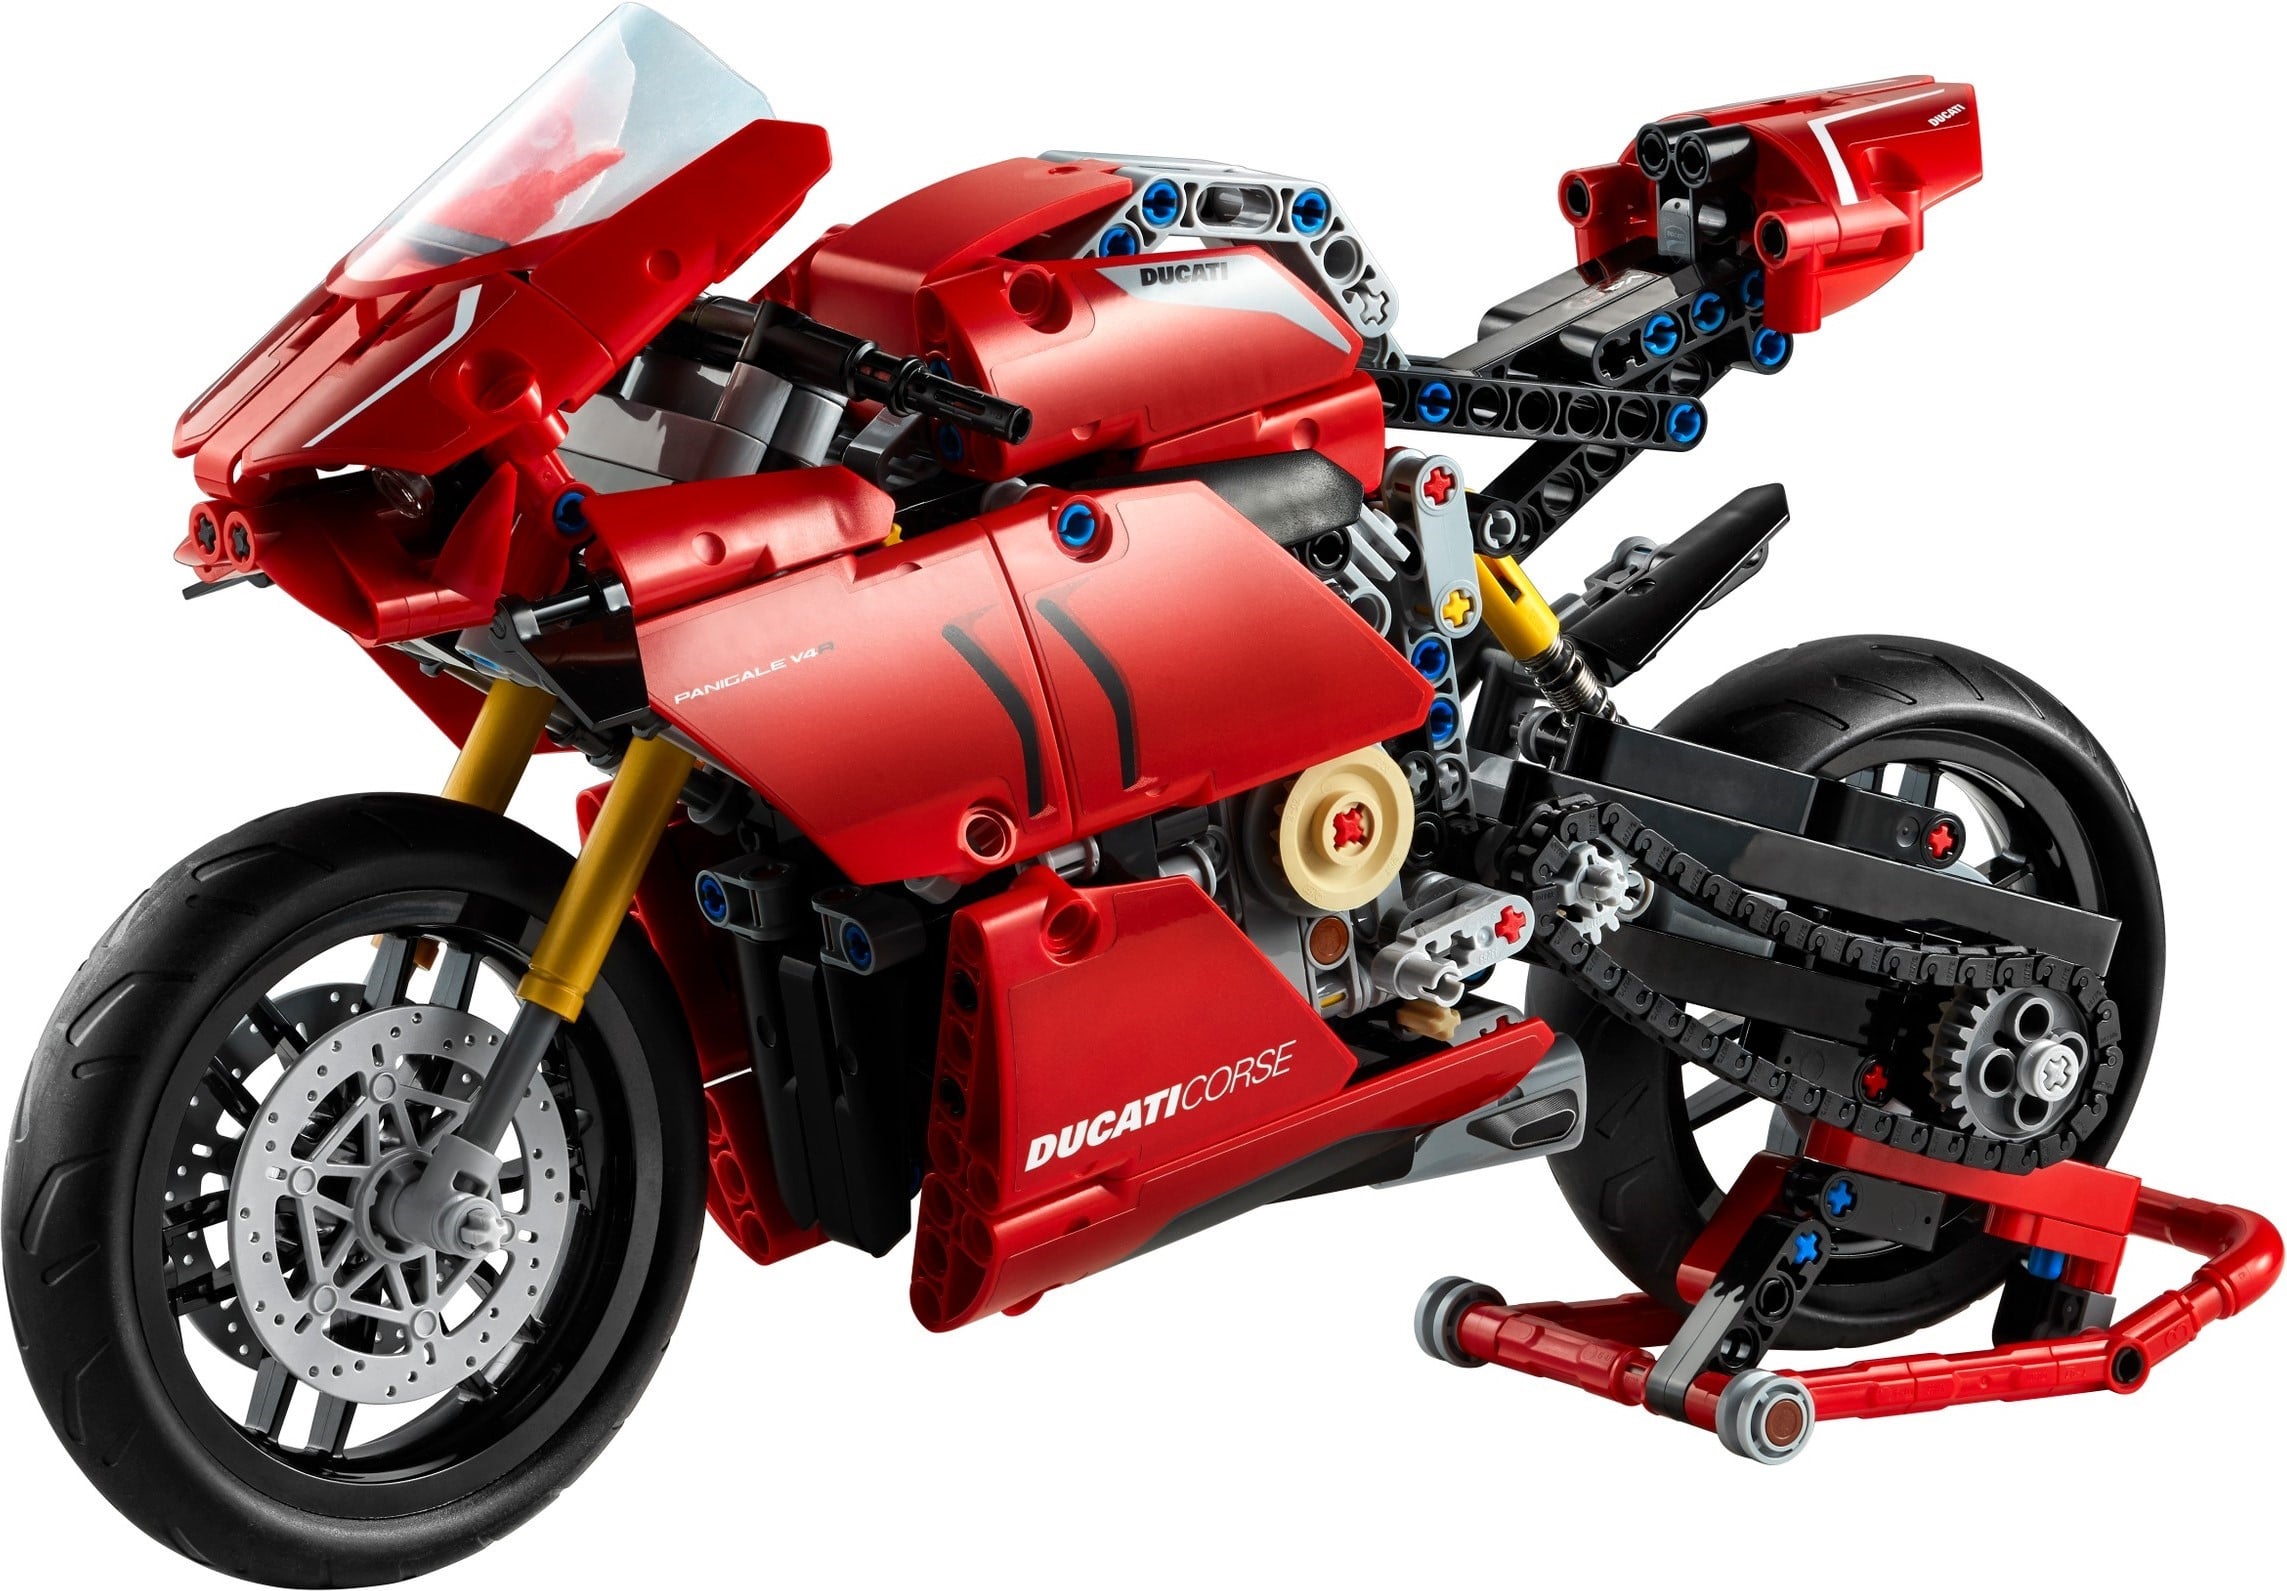
The other reason to want it is the parts. The gold front forks are a new 11-module shock absorber with the spring hidden inside, so they look like forks rather than springs on sticks. The front brakes are a new 6 x 6 disc, two of them, patterned like the real thing. The rear tyre is wider than the front and was made for this set. And the windscreen is a flexible translucent sheet with four holes, held on by a pair of Ninjago katanas.
Thirty-two panels do the bodywork, and both New Elementary and Huw say it looks fine before a sticker goes on. The stickers mostly draw the silhouette from the side, so if you would rather not apply them to a rental kit you lose less than you would think.
What it actually does
Nothing is motorised. LEGO’s launch list is the gearbox, steering, front and rear suspension, disc brakes, a stand, an exhaust, a windscreen and a dashboard. The reviews fill in how the gearbox is done, and disagree about whether it was worth doing.
The lever sits on the left, where it is on the real Panigale. Down is first, horizontal is neutral, up is second, and a sprung mechanism on the right-hand side holds it in whichever position you leave it. Inside, an orange gear with an offset lip slides a grey assembly back and forth, and that engages the red gear that turns the pistons. In neutral the red gear is out and the engine stops. Huw notes it uses the same principles and pieces as the gearboxes in recent Technic supercars.
The last link is the odd one. The gearbox is connected to the engine by a white elastic band, not gears or a chain. It works, but Huw found the gearbox adds so much friction that the finished bike is hard to push along, worst in first gear, and suspects the band does not help. Treat it as a gearbox to build and click through by hand, not one to show off by rolling the bike across a table.
The engine and gearbox live inside a squarish frame that is the first thing you build. Roll the bike and the chain from the rear wheel turns the gearbox, the band turns the engine, and the four pistons rise and fall, faster or slower depending on the gear. Once the bodywork is on, New Elementary found the side panels lift off easily for a look at the engine.
The front suspension is a pair of the new gold shock absorbers, 11 modules long at rest and nine compressed, so two modules of travel, with a groove that stops the rod turning. The spring is inside and the gold cap comes off if you want to see it. The front wheel carries the two new brake discs. The rear wheel uses the disc first seen on the Bugatti Chiron, here in light grey.
The real Panigale has a single-sided swingarm and LEGO modelled it that way. Huw’s complaint is what sits above it: the rear shock is in the wrong place and offset to the left, and the mudguard only covers the right-hand side of the wheel. It springs, and the Brothers Brick says both ends work nicely, but the rear end is less faithful to the real bike than the front.
The handlebars turn the front wheel. The Brothers Brick lists it as working alongside the suspension and that is all any reviewer says about it. It matters for the stand, below.
There is no kickstand. You build a red paddock stand with an axle sticking up from it, and that axle goes into a hole near the rear axle of the bike. Huw did not like it: the bike keeps falling over if the front wheel is not straight. He found an unused axle end at the bottom left of the frame where a home-made kickstand can go. Ours goes out as LEGO packs it, so keep the front wheel straight.
The windscreen is the flexible sheet described above. Two red katanas plug handle-first into the nose cowling and hook through the sheet’s holes to hold the curve. It takes some fiddling to line up.
How the build goes
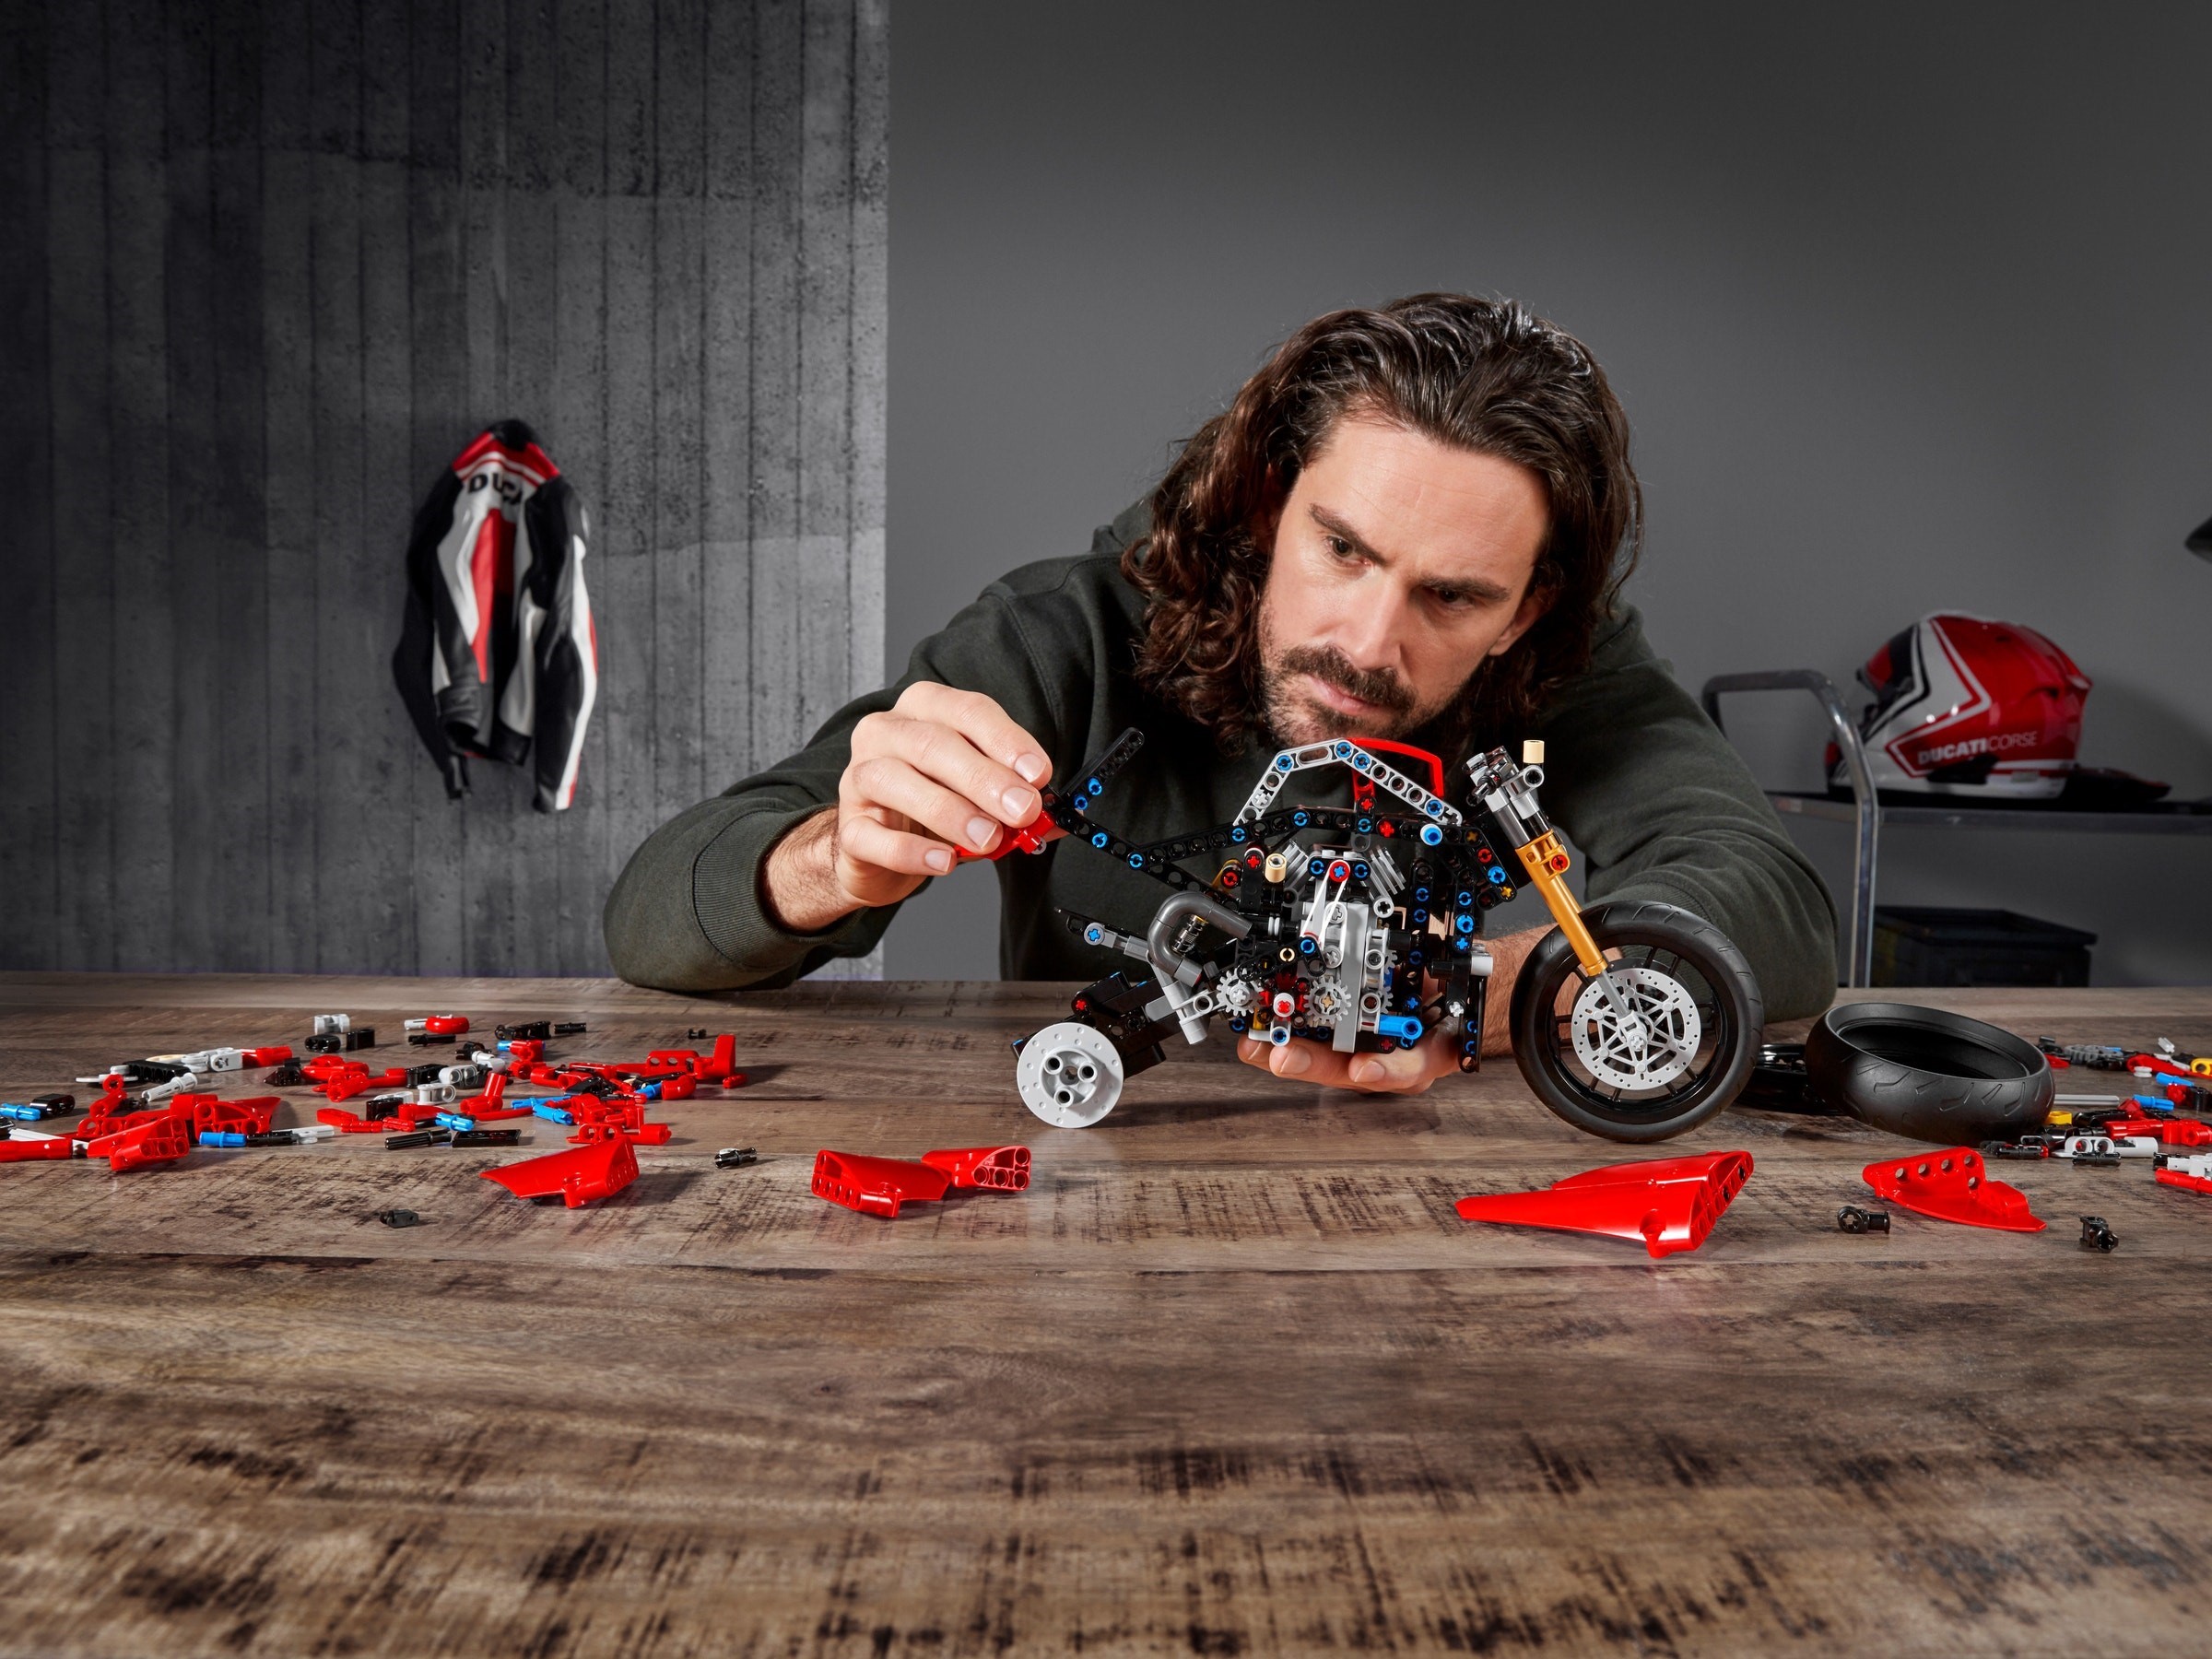
Six bags, none numbered, plus loose rims and tyres, the sticker sheet, the windscreen on a sprue and a 126-page book. No reviewer gave a build time. One builder commenting under the New Elementary review put it at a little over five hours, which fits our estimate of one or two evenings.
Frame and gearbox
The first steps build a squarish frame, and the whole engine and gearbox sits inside it. The gearbox comes next: the orange gear, the grey slider and the red gear. Look at it now, because it disappears soon after; Huw regretted not photographing his before the second side went on.
Engine over the gearbox
Brackets and the four-cylinder engine go on and hide the gearbox completely. Before they do, click the lever through first, neutral and second and turn the drive by hand. If the pistons stop in neutral and move in both gears, it is right. A little further on the book points to a QR code for a video of the gears moving and engaging properly; watch it and compare.
Wheels, tank and red panels, upside down
The front wheel goes on and the rear brake disc appears, and from here the bike is built upside down, balanced on its tank, for a large chunk of the book. The first sticker arrives with the part that rounds off the tank, and they keep coming as the red cowling goes on. The rear tyre goes on in this stretch; check the wider one is at the back.
Stand, windscreen, seat and tail
The paddock stand lets the bike sit the right way up at last. Then the two red swords go into the nose cowling handle-first and the windscreen sheet hooks onto them. The nose cowling, seat and tail are the last things in the book.
No member diary yet, so these come from the reviews and from readers’ comments under them.
- Sort before you start. The bags are not numbered. The Brothers Brick opened all six and sorted the lot before step one, and on 646 pieces that is the quicker way through.
- Two tyre sizes, and a direction. The rear tyre is wider. One reader under the New Elementary review says the instructions draw the front tyre facing the wrong way, and another received two rear tyres in a new box. Check the two tyres are different before you build, and fit them as the book shows.
- Do not diagnose the gearbox by pushing the bike. Huw found a correctly built model hard to push, worst in first gear. Test the gearbox by hand before the engine covers it, and again with the lever once the wheels are on.
- The windscreen. The sheet has four holes and the swords have to pass through them. Huw calls it a bit of fiddling to align. Seat both swords handle-first in the cowling before you touch the sheet.
- Eight red connectors are the wrong red. New Elementary found the eight axle and pin connector hubs noticeably darker than the rest, between red and dark red. That is the plastic, not a wrong part.
On the shelf
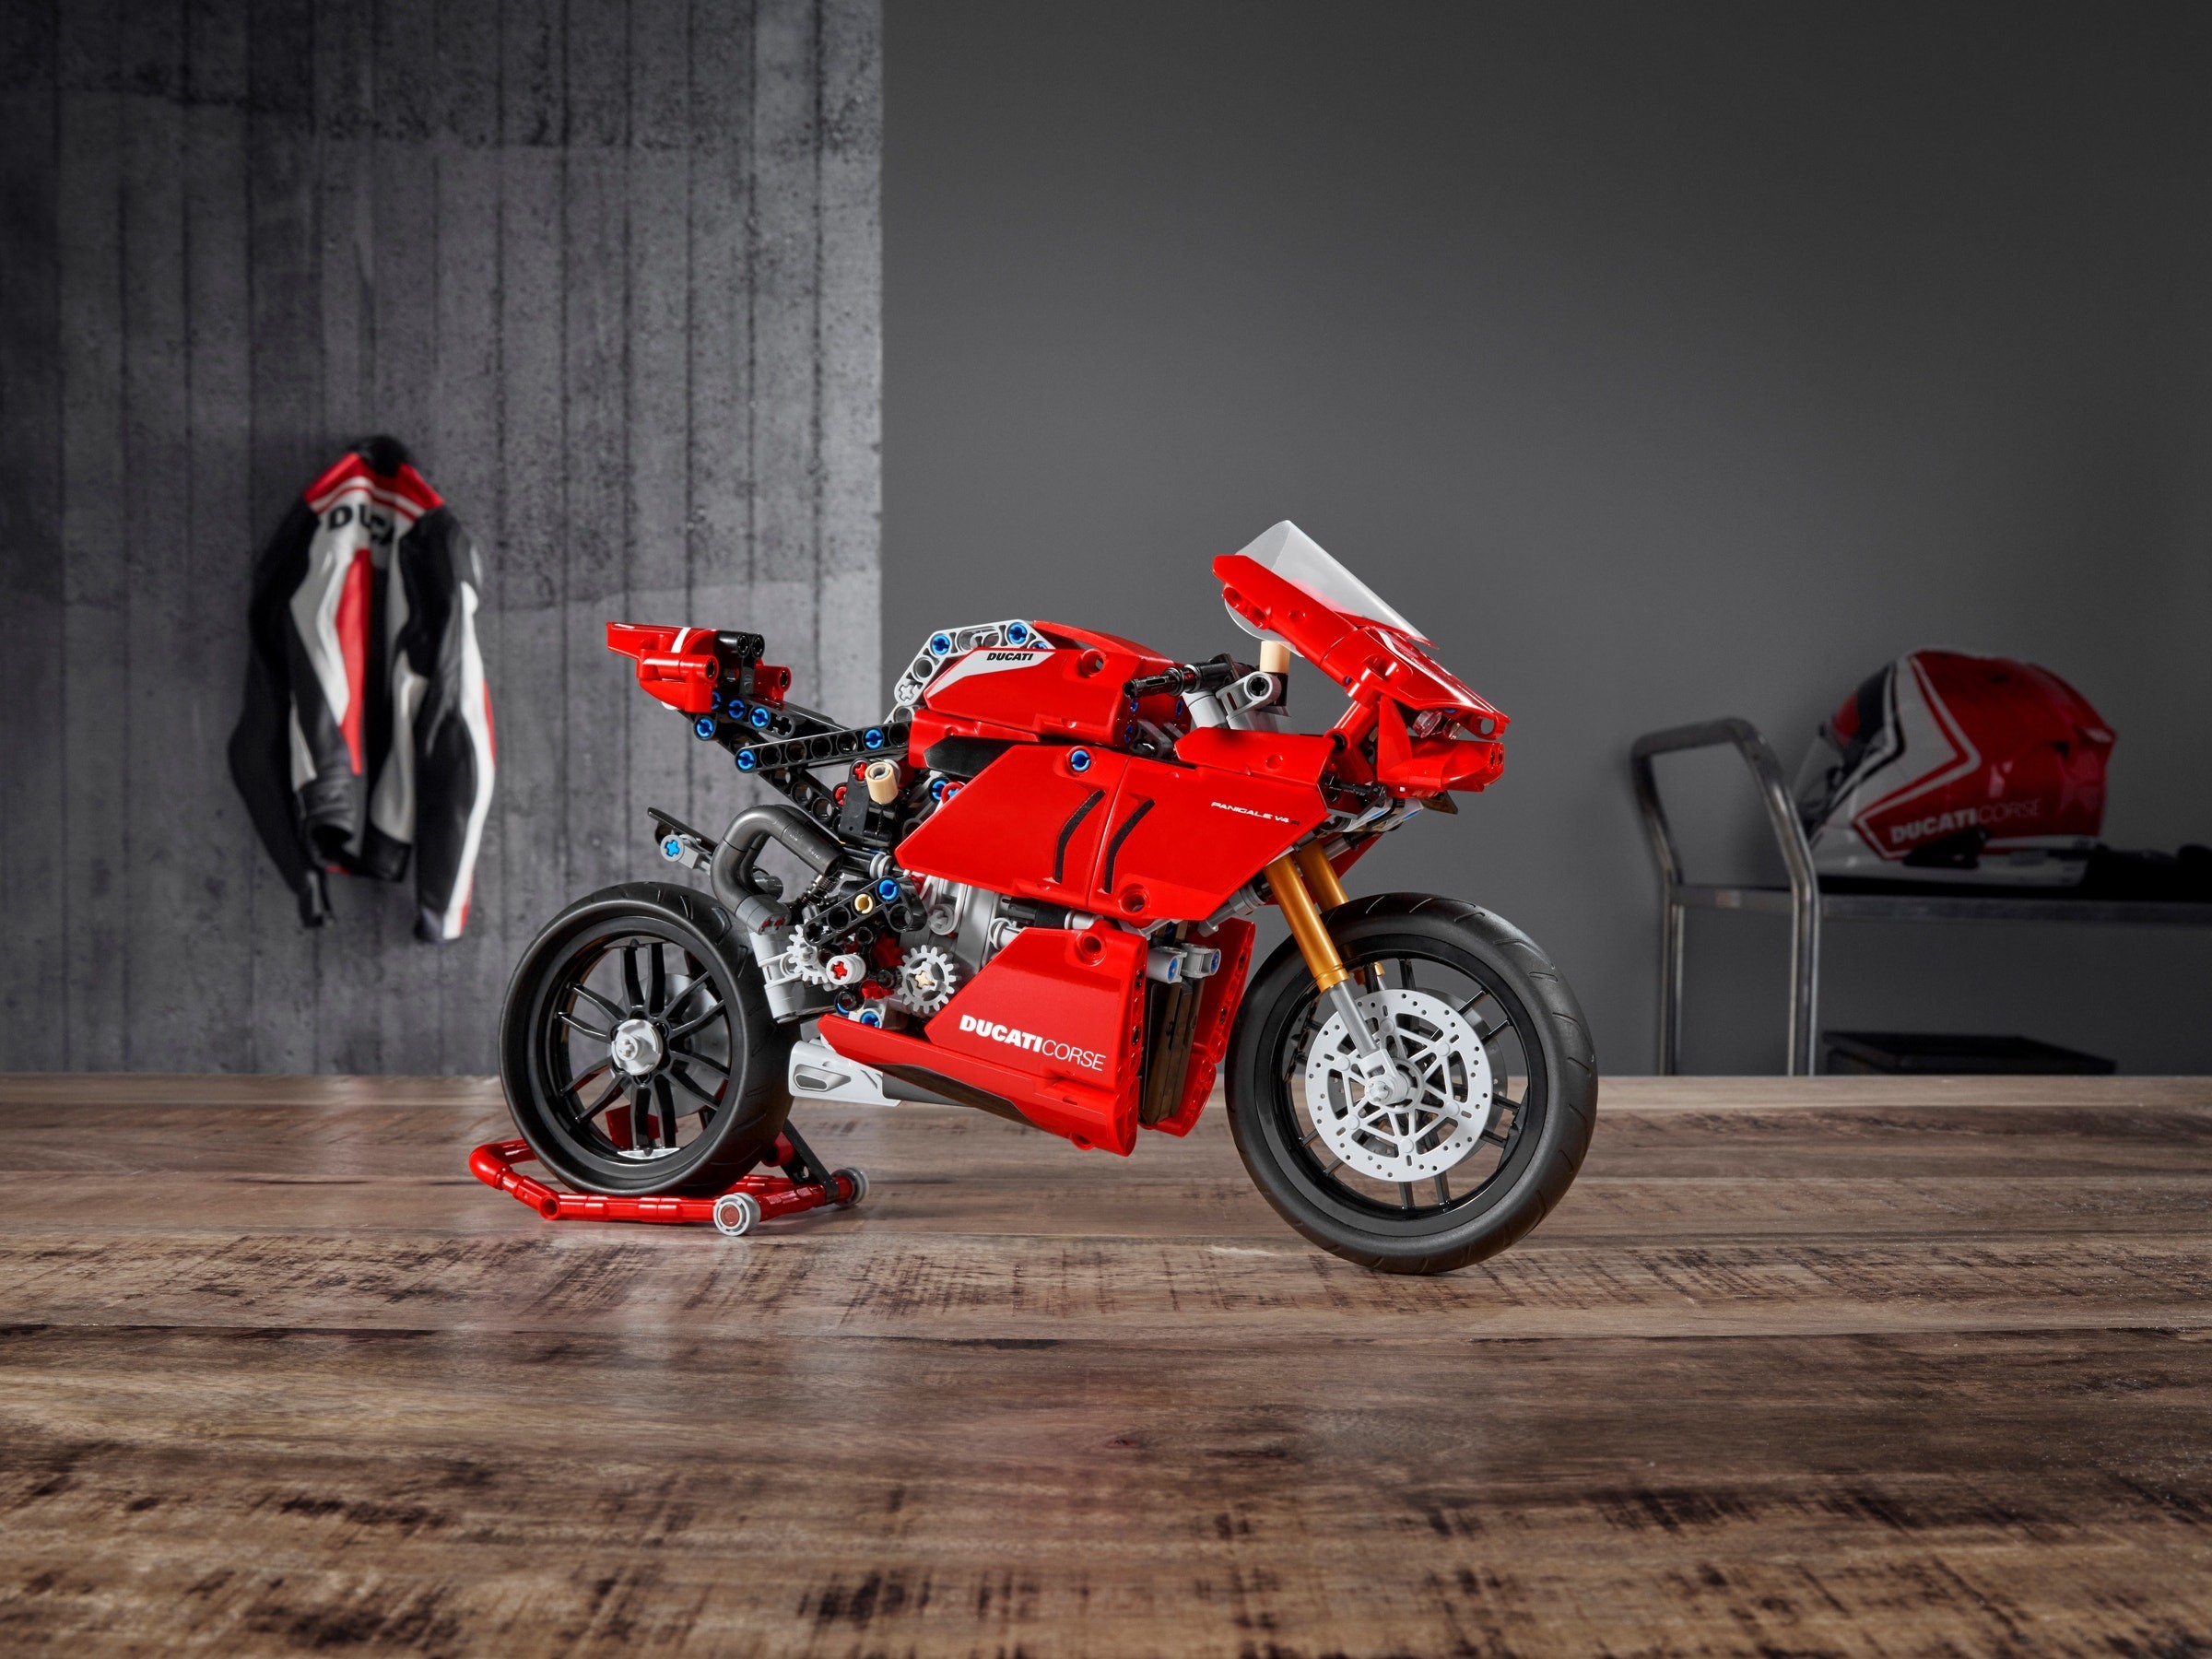
Finished, it is 32 cm long, 16 cm high and 8 cm wide, a good 11 cm shorter and about half the width of the bigger bikes. On the paddock stand it stays up as long as the front wheel points straight. The left side is the one LEGO’s main product image shows: gold forks, chain, the round tan cover and the gear lever. The right side has the exhaust and the grey gears under the panel.
Two things stop it matching the real bike: there is no front mudguard, and the headlights sit too high, which Duq at Brickset pointed out. Neither shows from the left three-quarter view, which is the angle to give it.
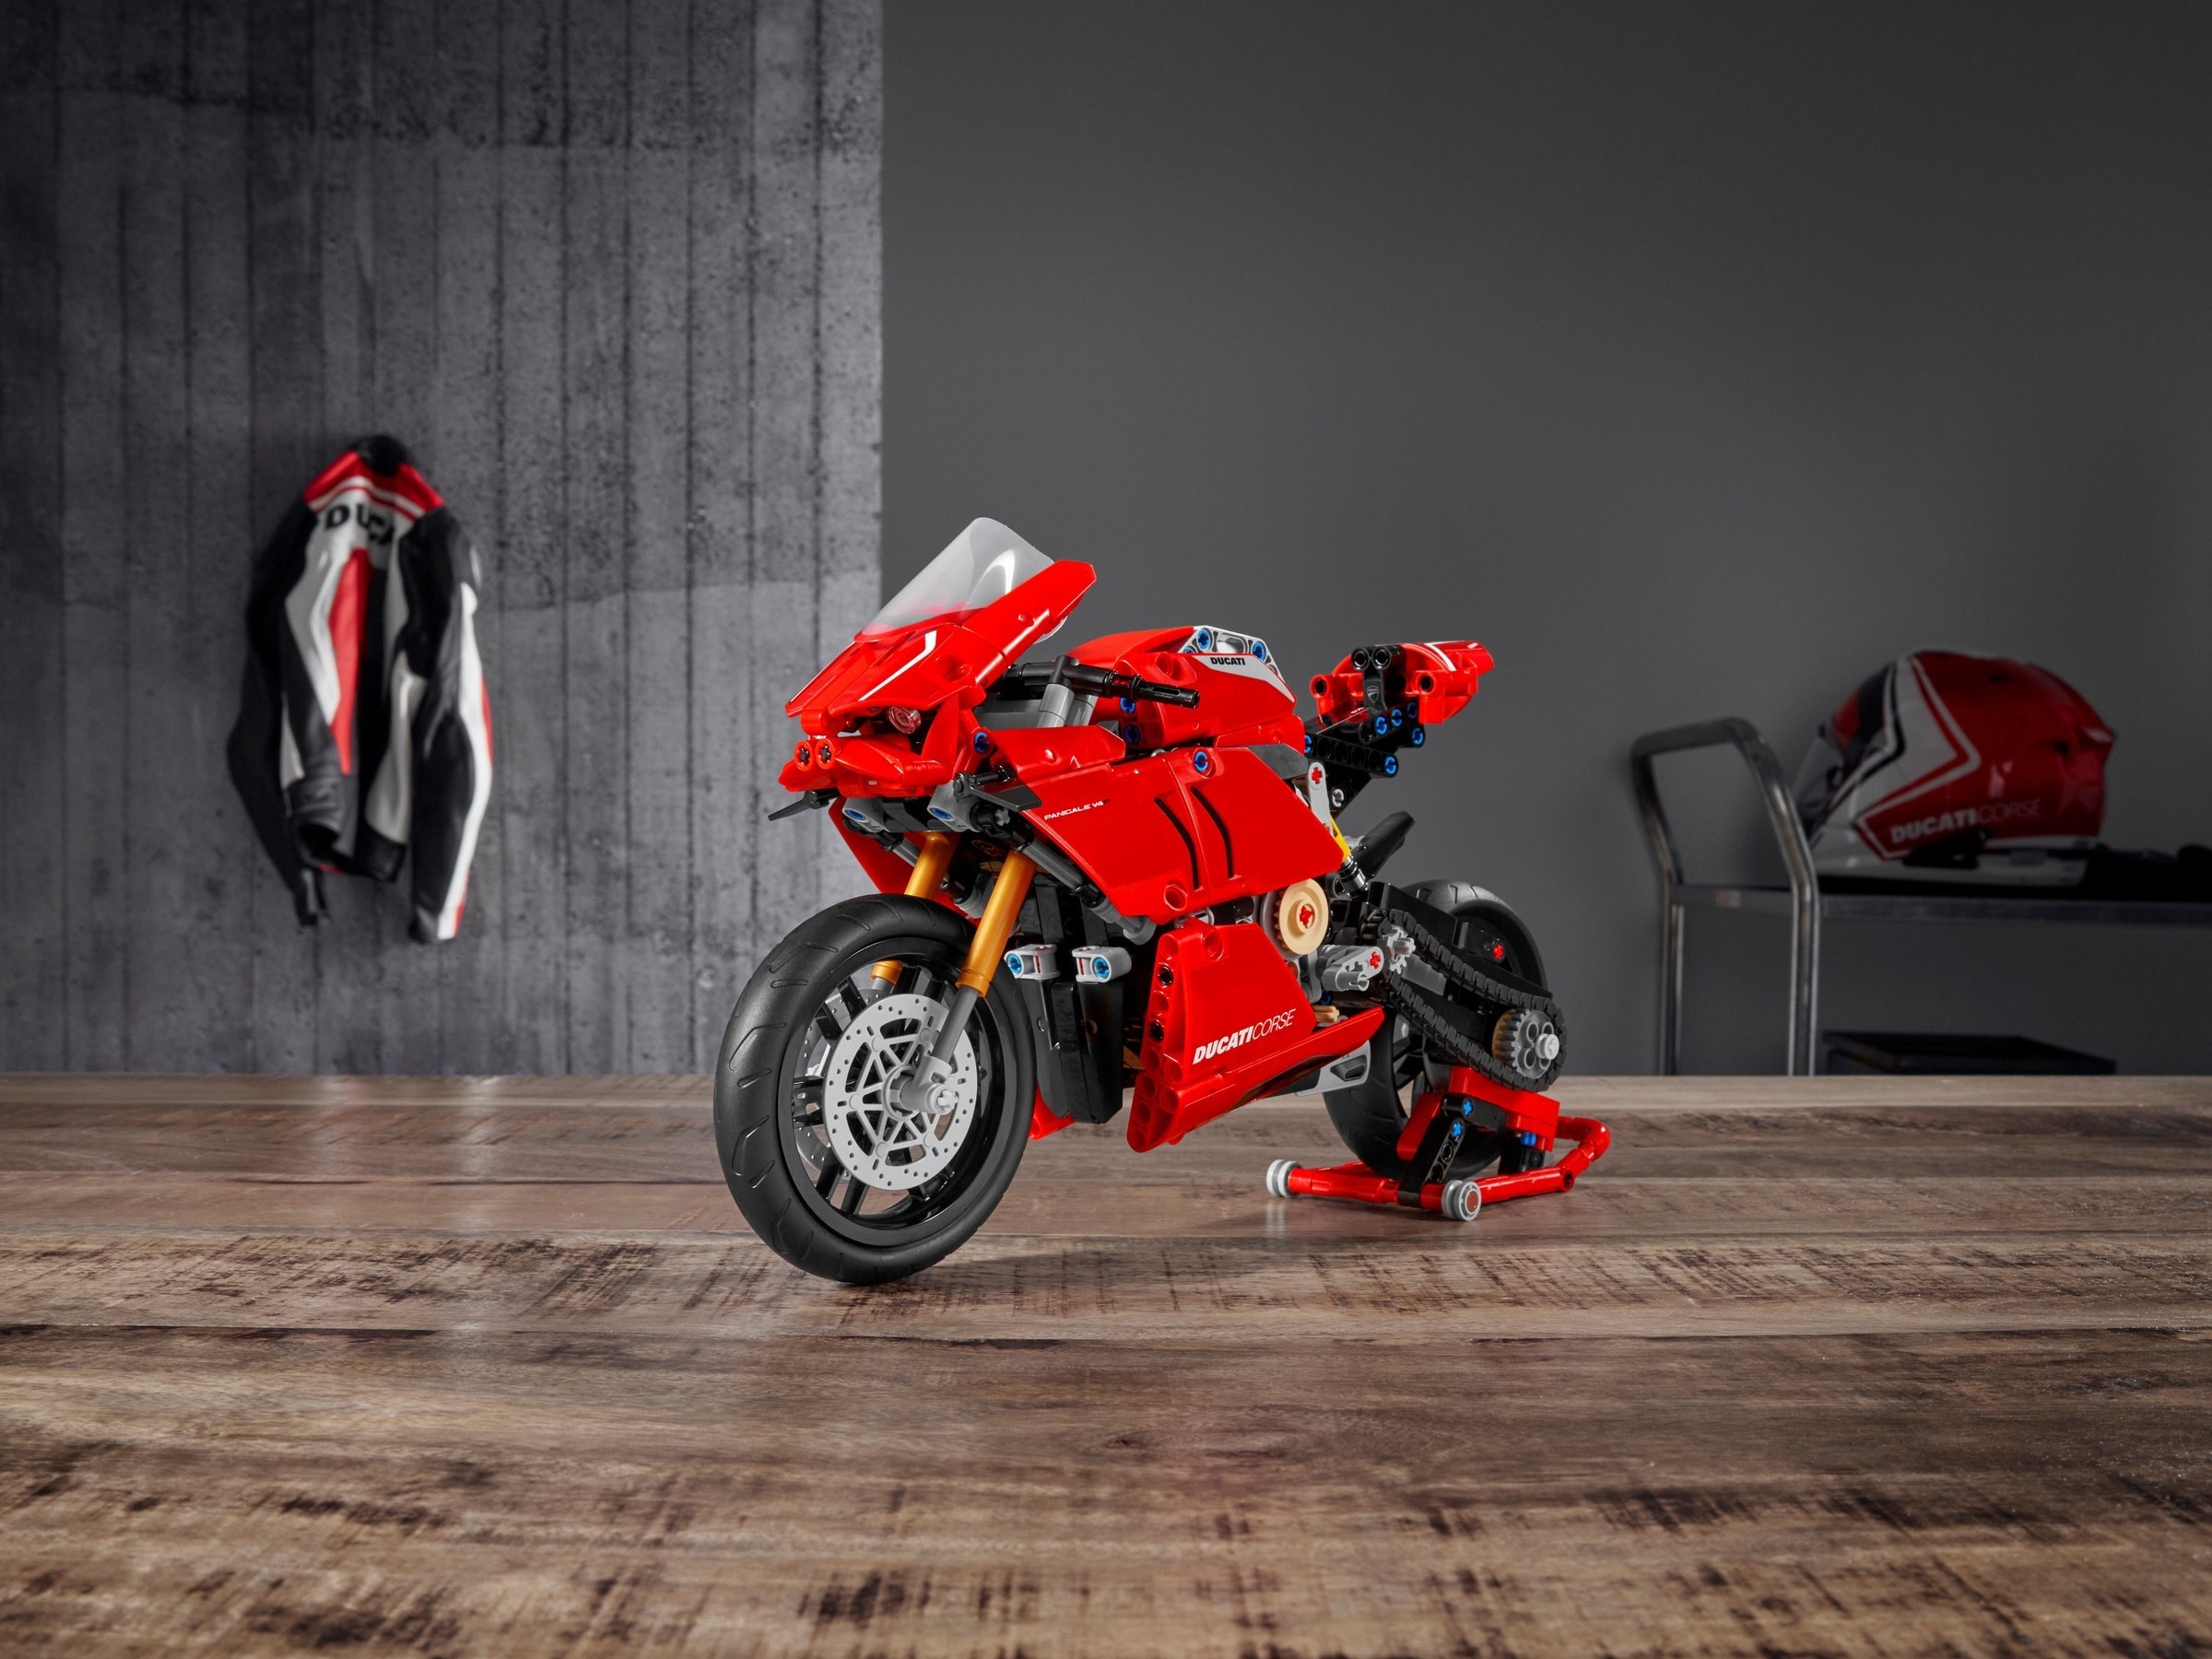
It is the one for you if you want to see how LEGO fitted a gearbox into a bike frame and you have one or two evenings rather than a weekend. It is the easiest of the four bikes in the library and the only one that fits on a small shelf. Go in knowing the gearbox is the point of the build, not of the finished model. Sort the bags, check the tyres, and look at the gearbox before the engine goes on.
If you like this one, try
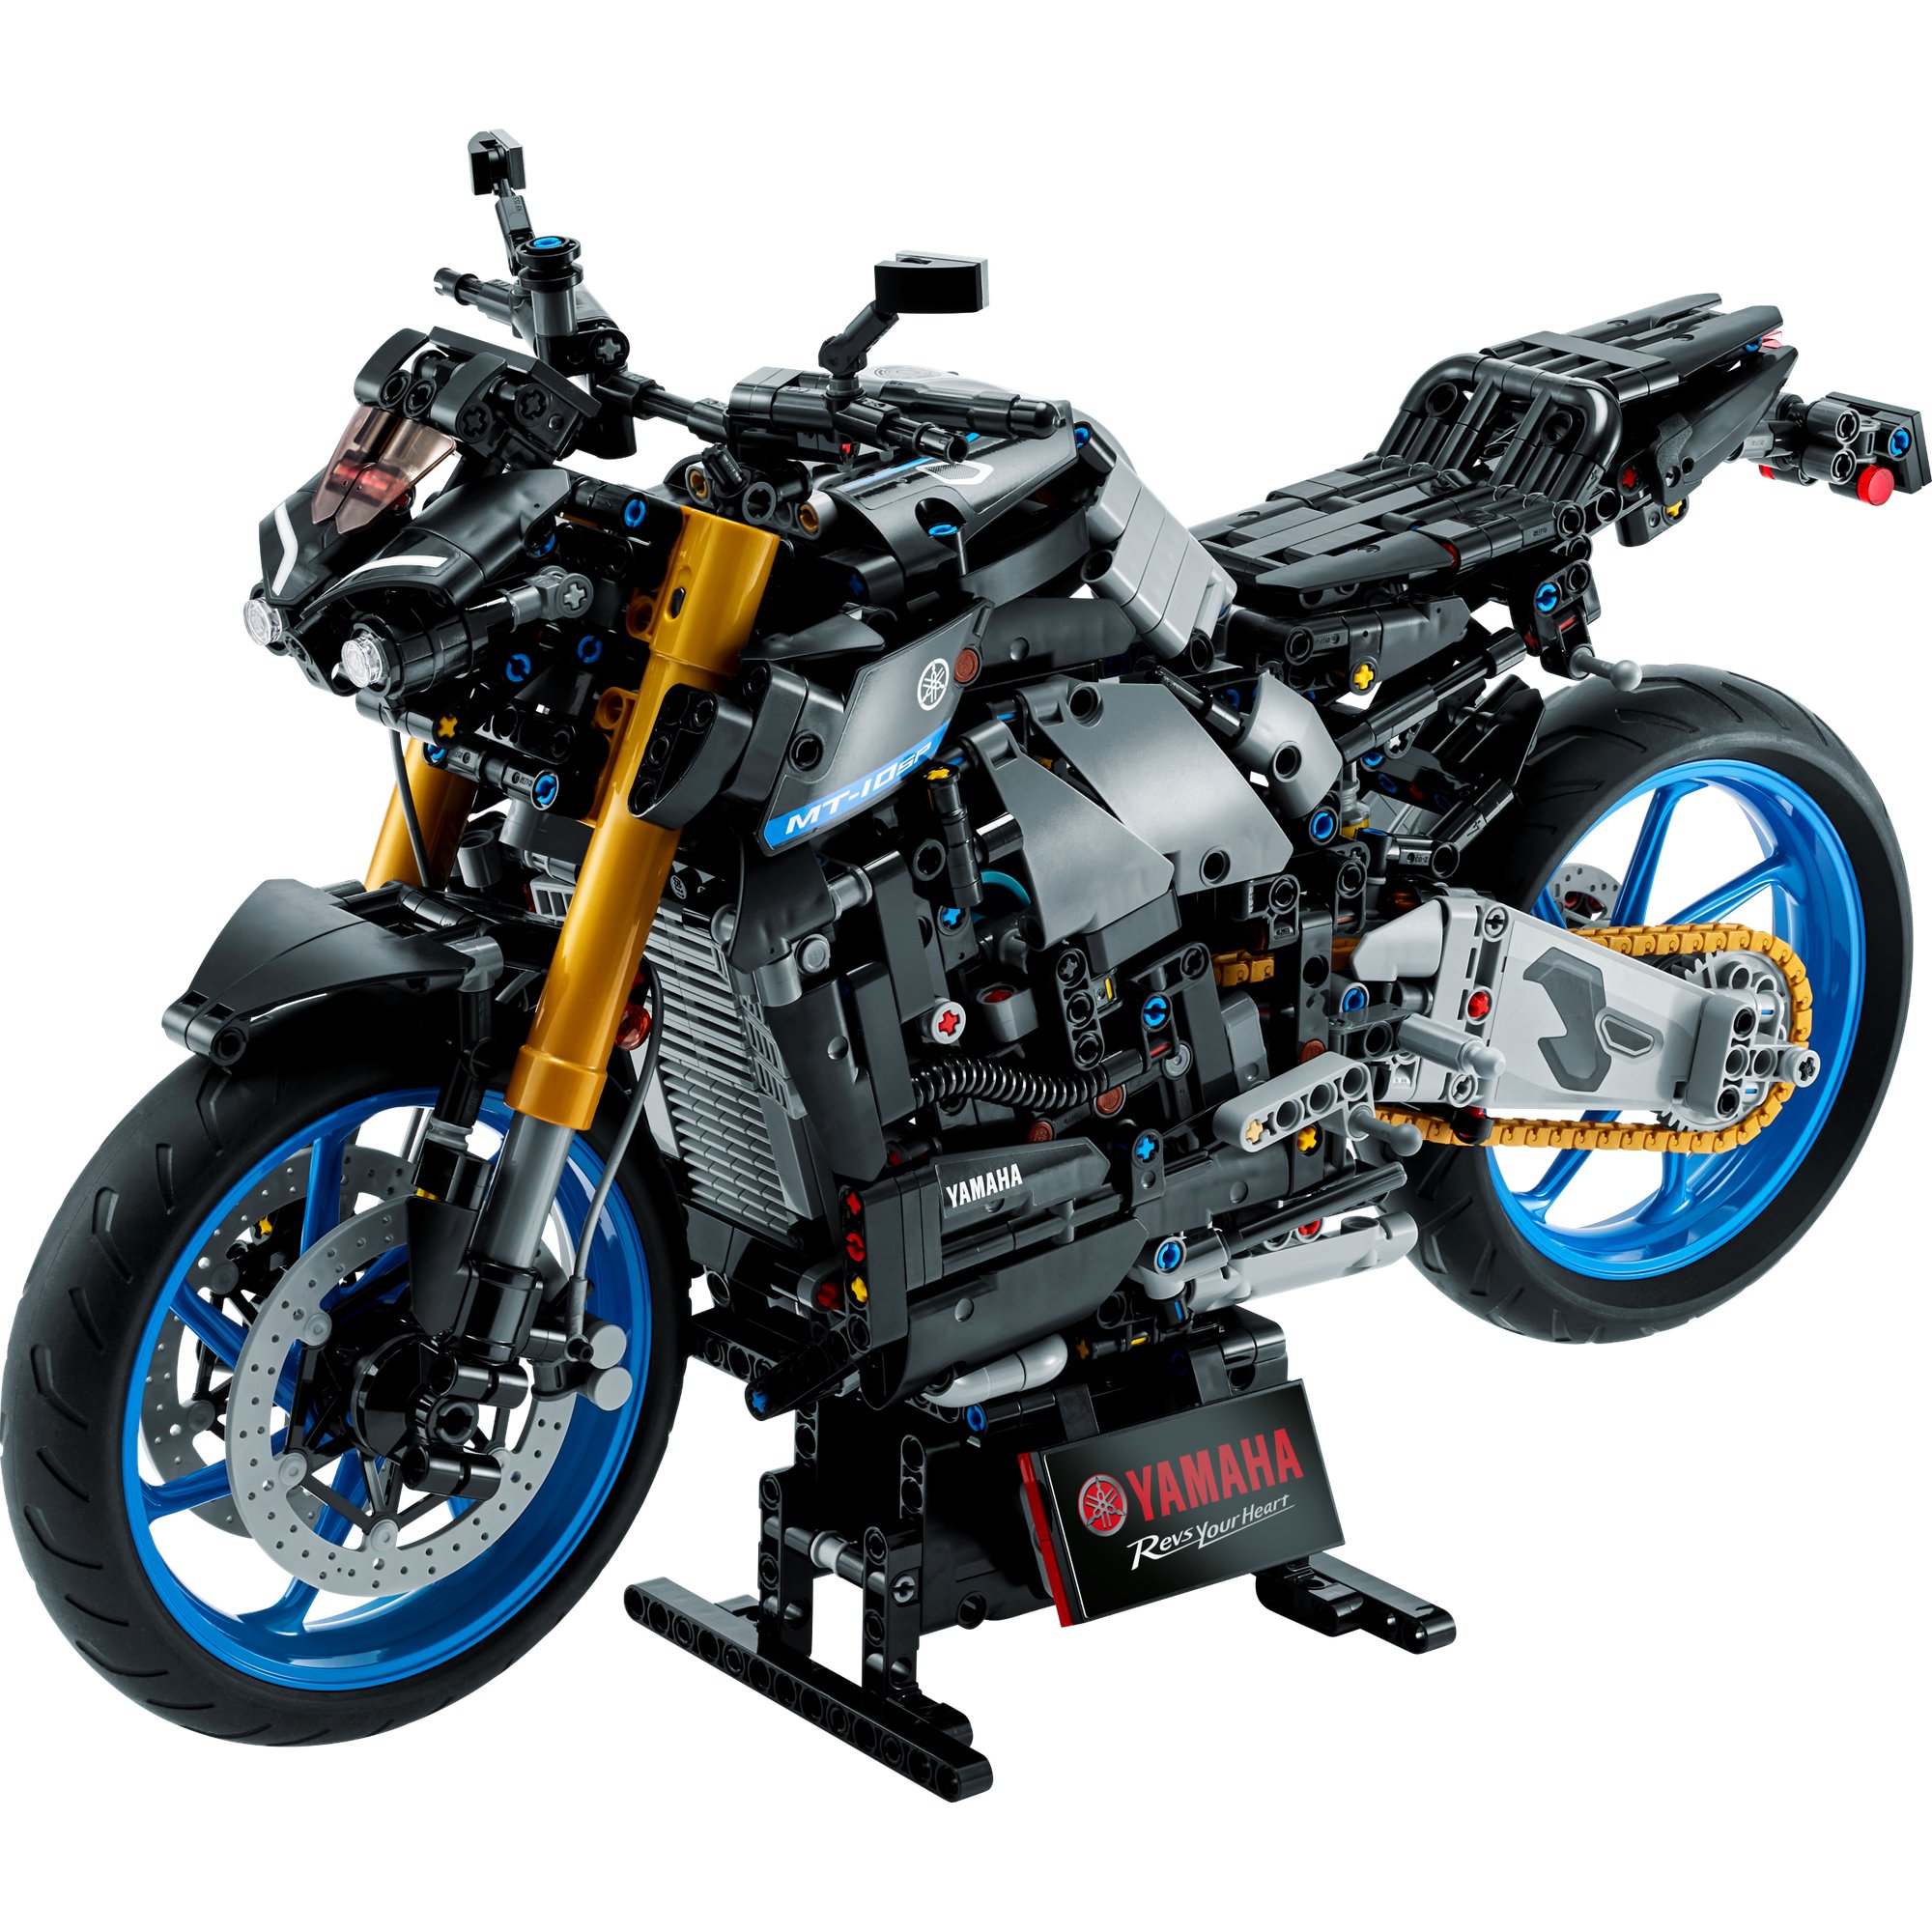
The other three big Technic bikes in the library, all 1:5 scale and all larger than this one. The Panigale V4 S is the second go at the same bike, the Yamaha and the BMW are the ones in between.

The Ducati Panigale V4 R is in the library
Technic Fan gets up to 6 kits a year, Master Builder up to 12. Delivery both ways is included and the prepaid return label is in the box.