

Heavy-Duty Tow Truck (42128): pneumatics, back after three years
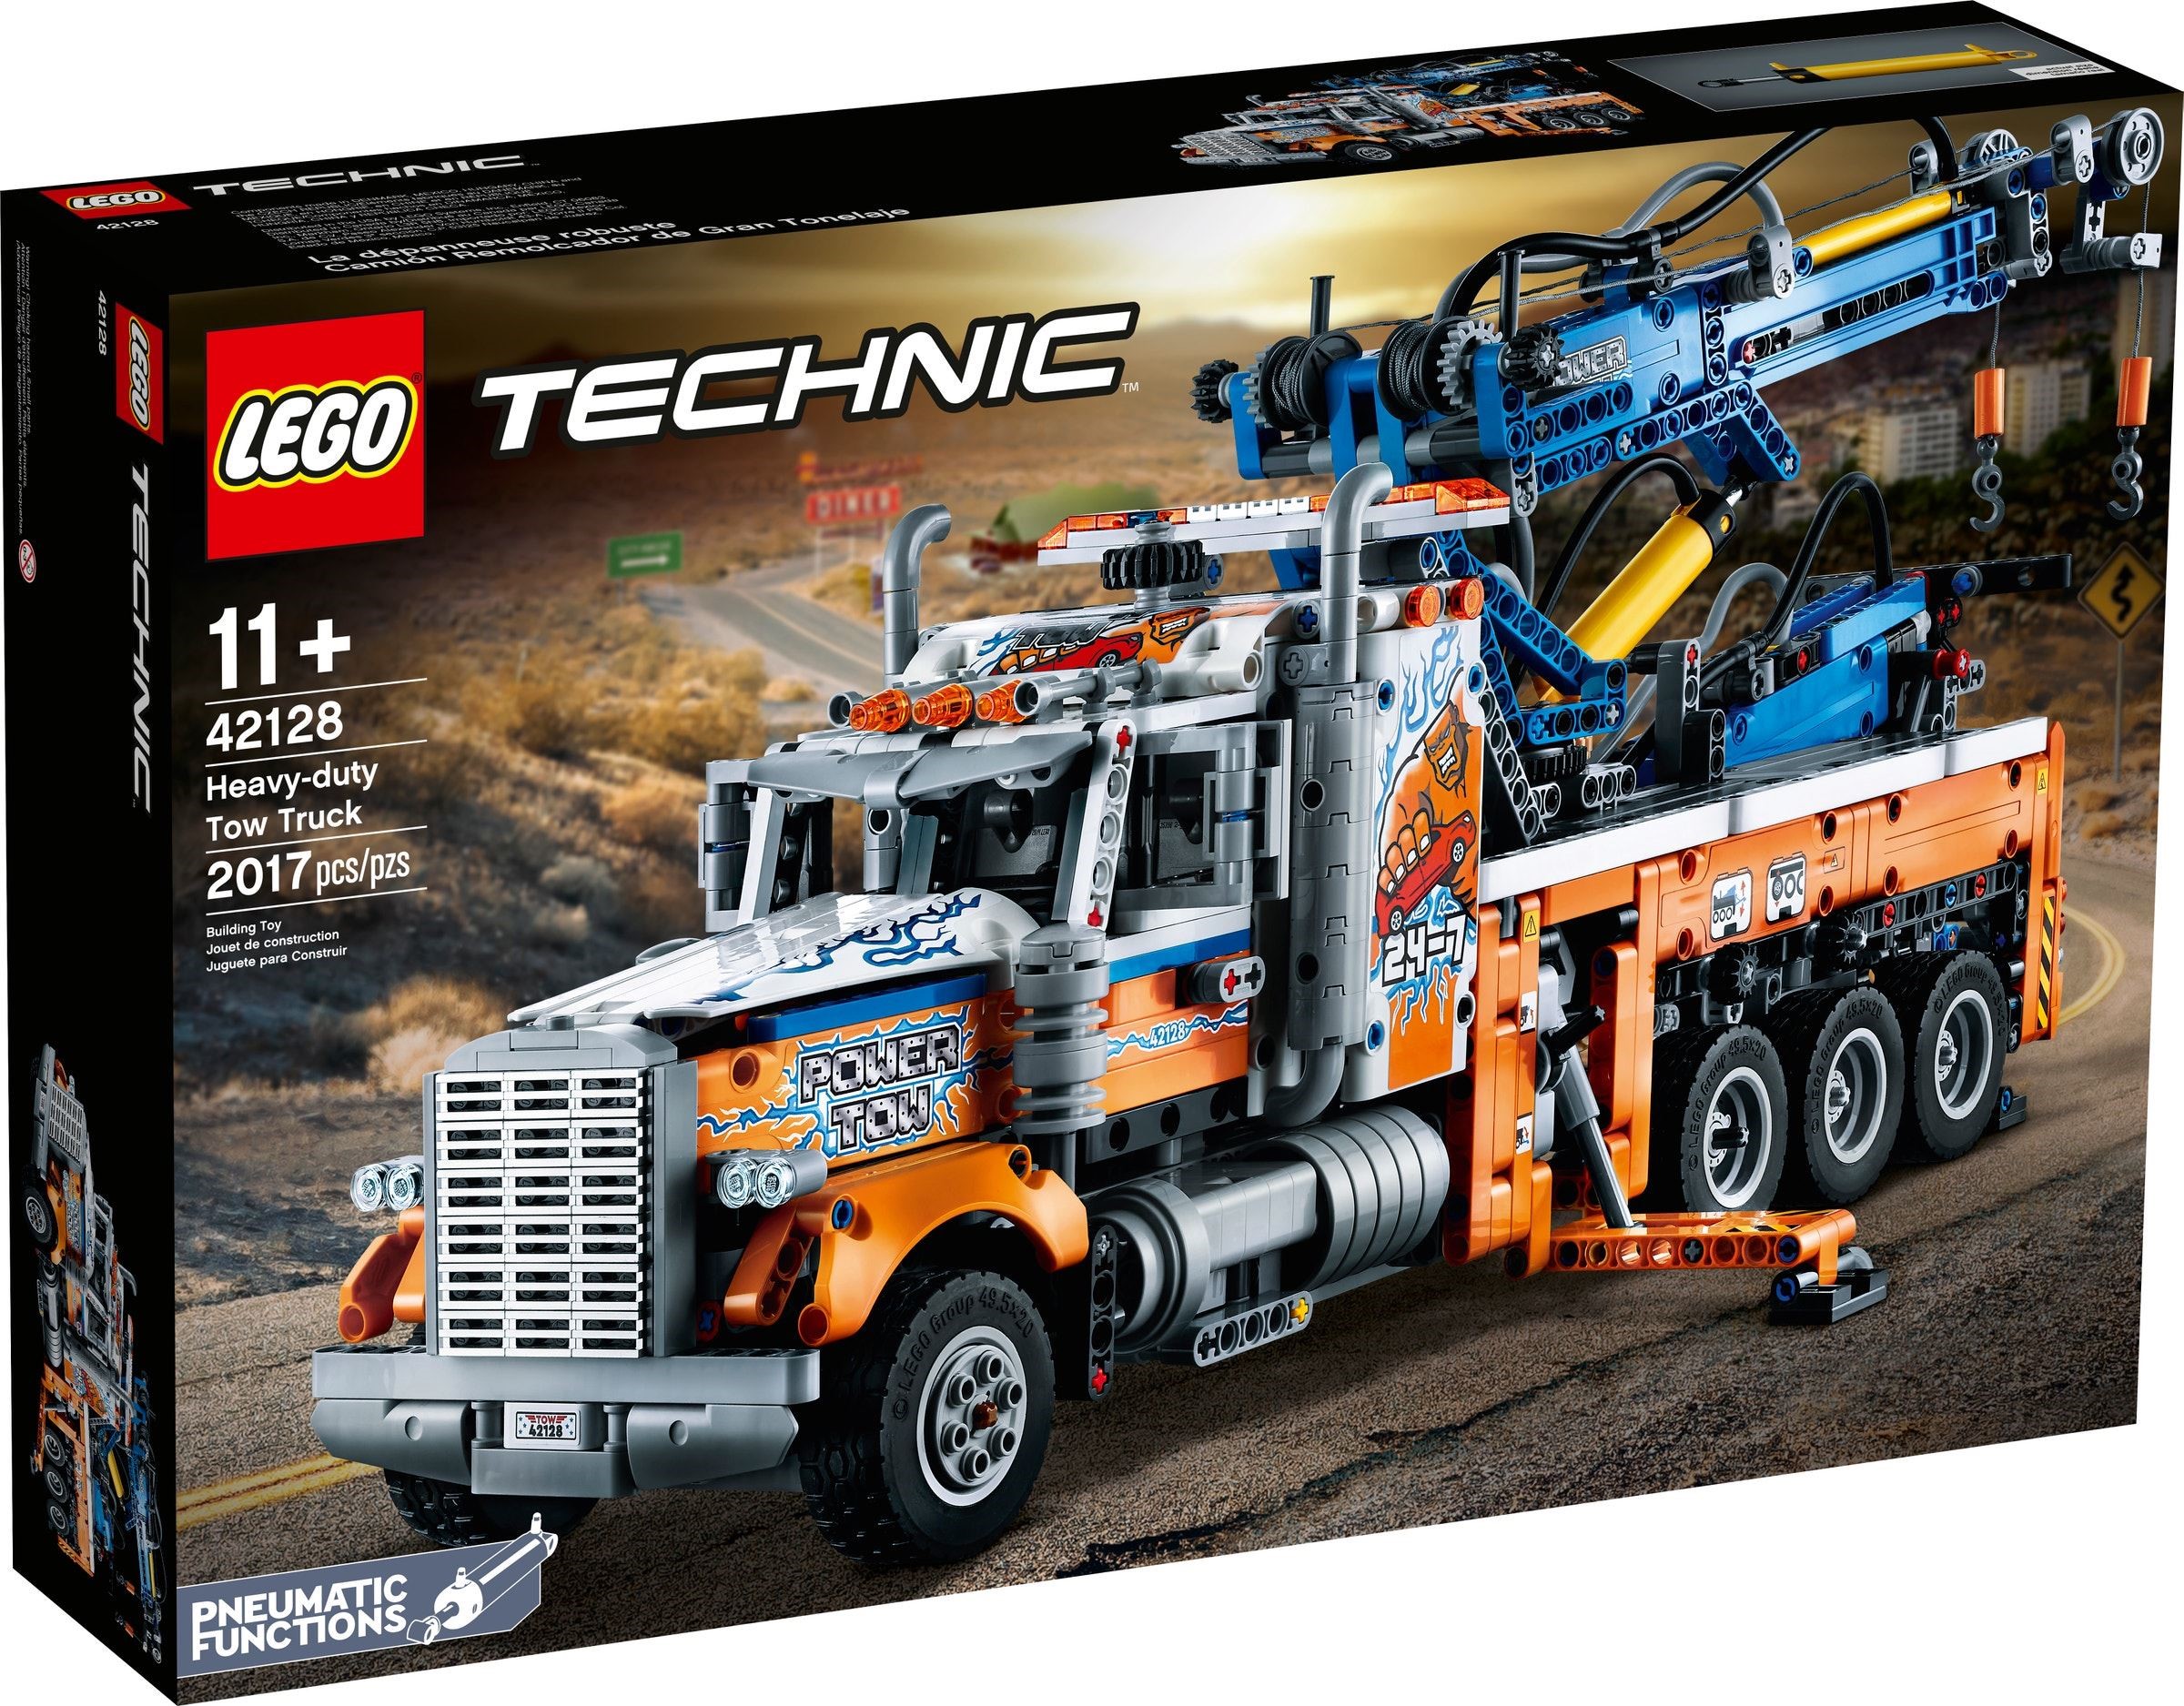
Pneumatics had not been in a Technic set since 2018 when this truck arrived in August 2021. It brought them back with three switches and a hand pump behind the cab, then added geared functions on top: a crane that turns, a towing fork at the back, four outriggers, and the first Technic axle that lifts off the road. There is no motor and no gearbox. Every control is a gear or a switch on the outside of the body, connected straight to the thing it moves.
It is in the Brick Club library and three members have built it and sent photos. Below is what each control does, how the four numbered stages split the build, and the handful of places where reviewers and members have had to backtrack.

Why this one matters
Huw at Brickset called it pretty much the perfect model for anyone who prefers their Technic old-school, with lots of functionality and not a motor in sight. Jim at JimBricks put the other side of it: there is no gearbox in the chassis, so every manual function is linked directly to what it drives. For the gearbox crowd that is a loss. For everyone else it means nothing in this truck is a puzzle to operate. Turn a gear and one thing moves.
The box holds 11 numbered bags and three loose ones, but the numbers only run one to four, so each stage is a long sitting. The instruction book runs to 688 steps for 2,017 parts, which Jim reckoned might be a record. One of the loose bags is paper and holds all the pneumatic hoses, already cut to length.
It launched the same day as the Zetros (42129), which has about the same piece count, a Control+ hub and motors, and twice the price. UK reviewers at launch quoted £139.99 for the tow truck; Brickset’s set record now shows £159.99.
What it actually does
Nothing here is motorised. The pneumatic functions run off a single pump behind the cab, the rest are gears on the sides of the body, and a small sticker next to each control says what it does.
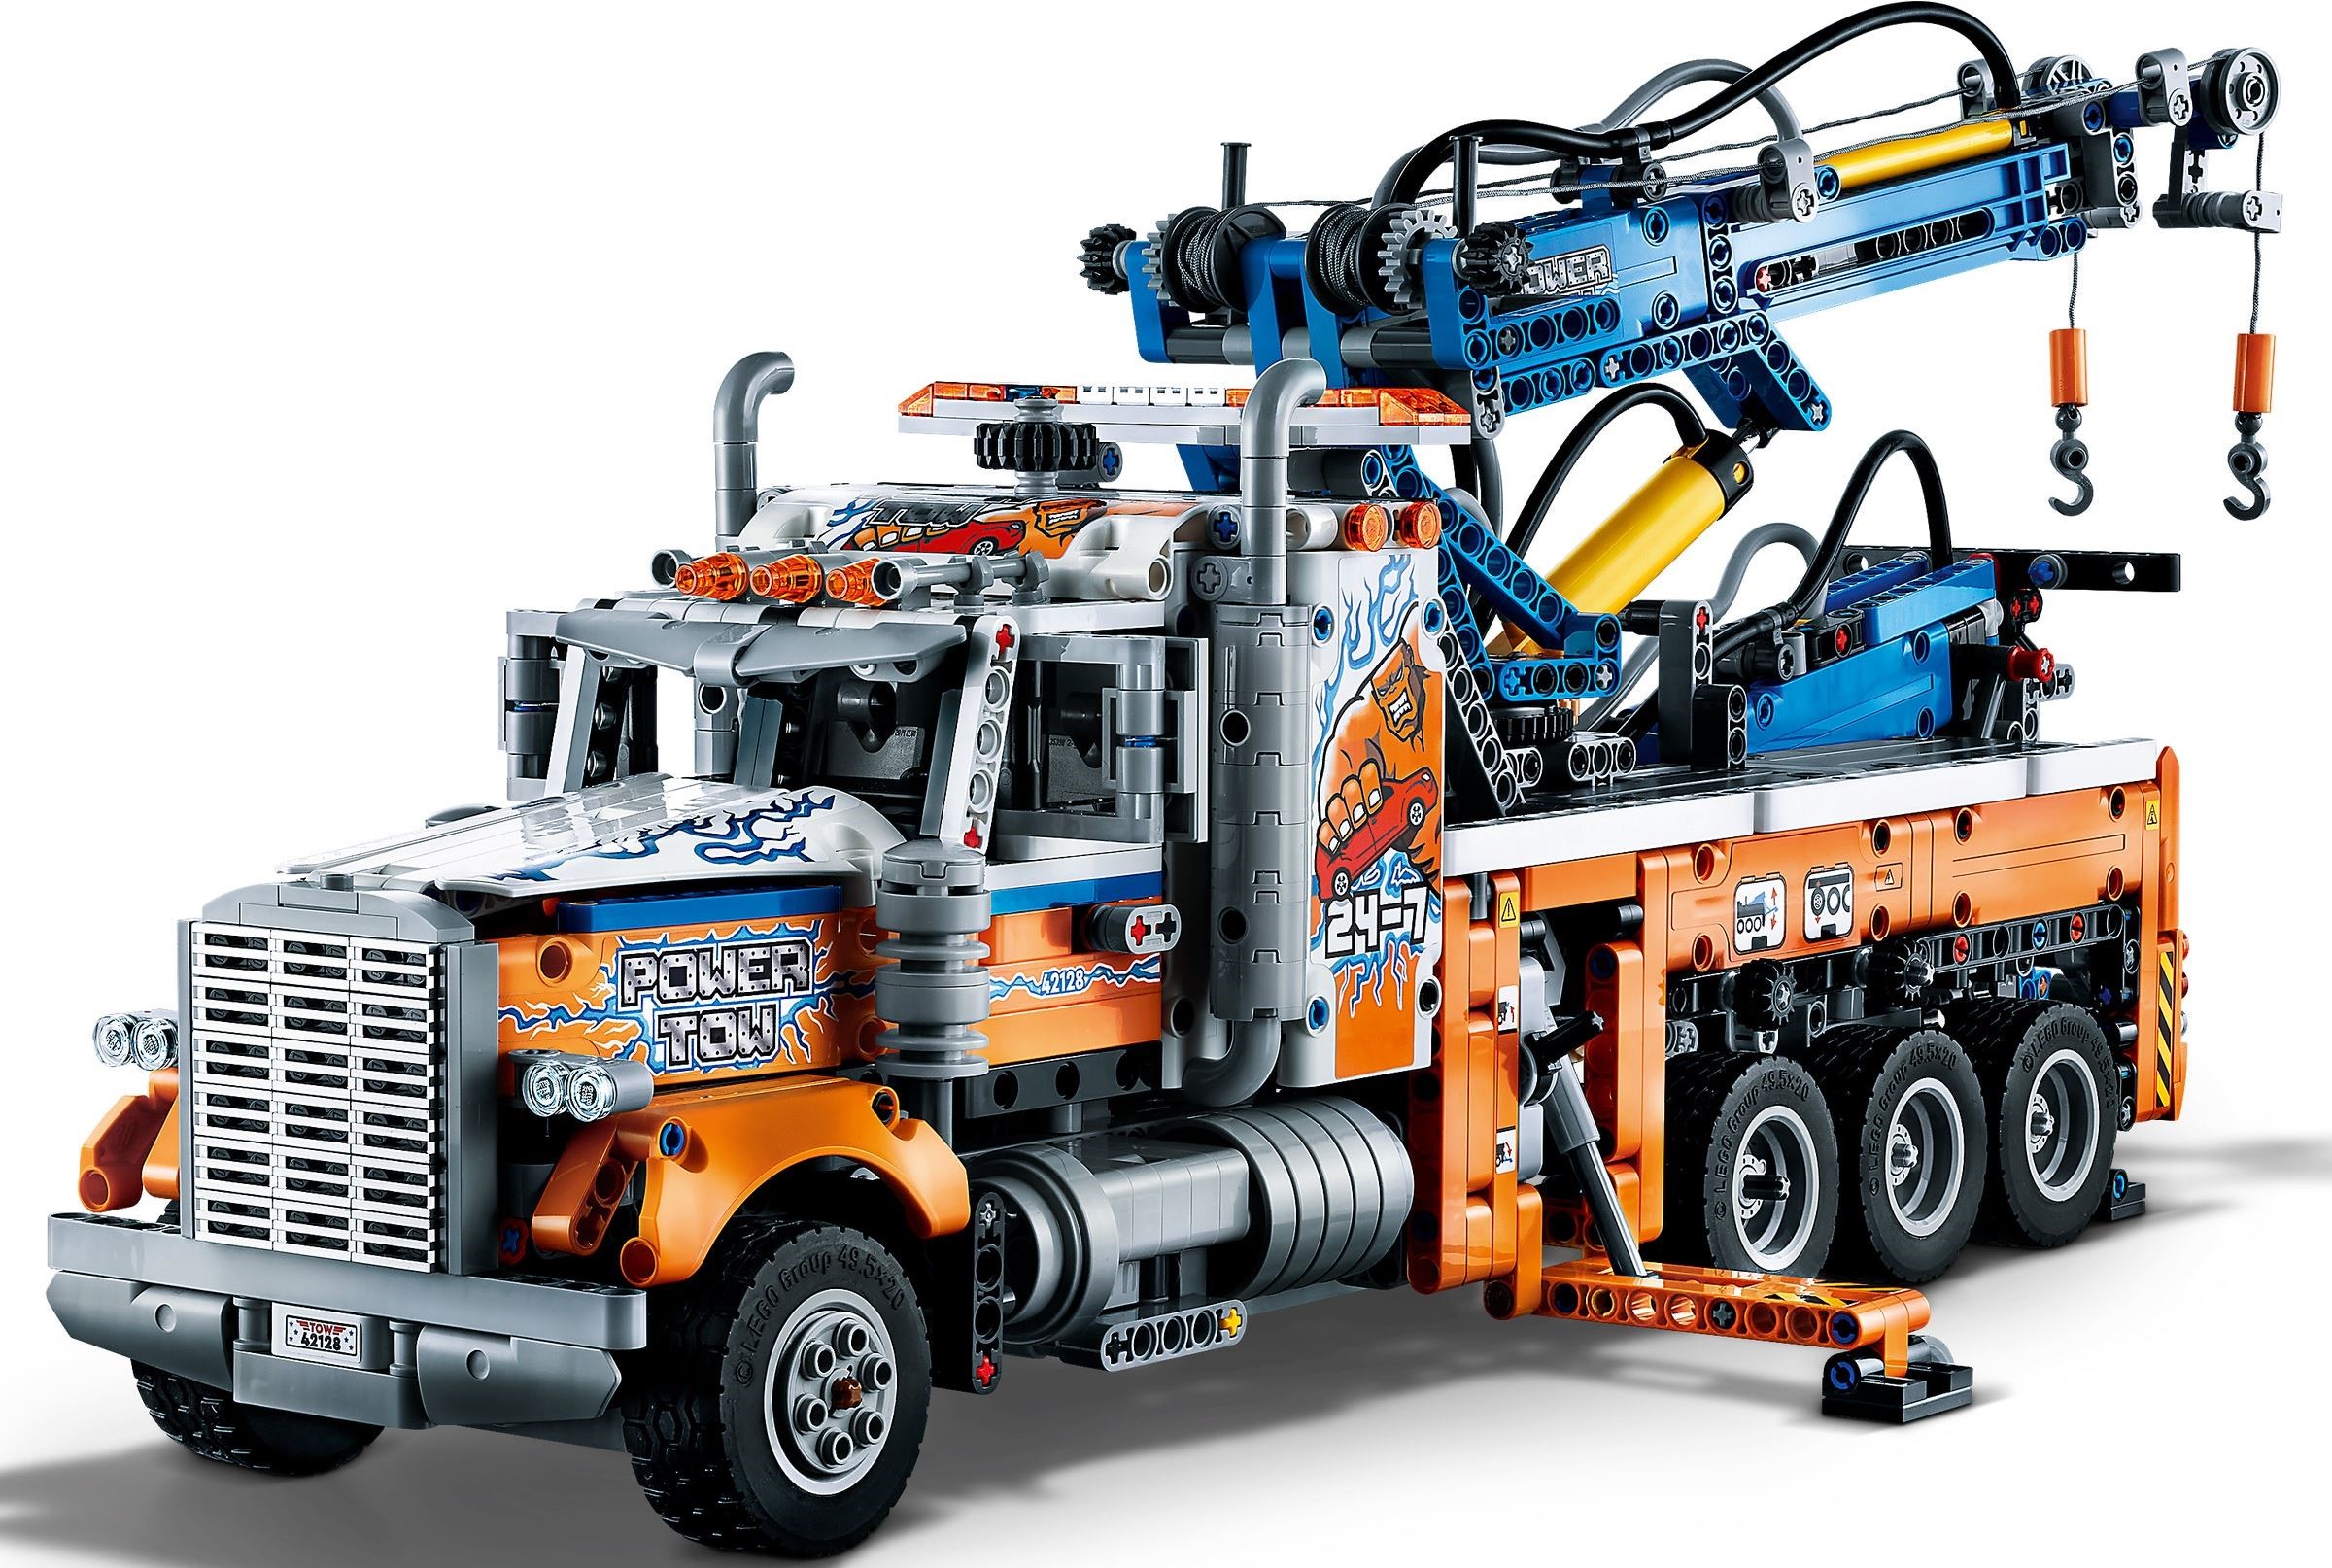
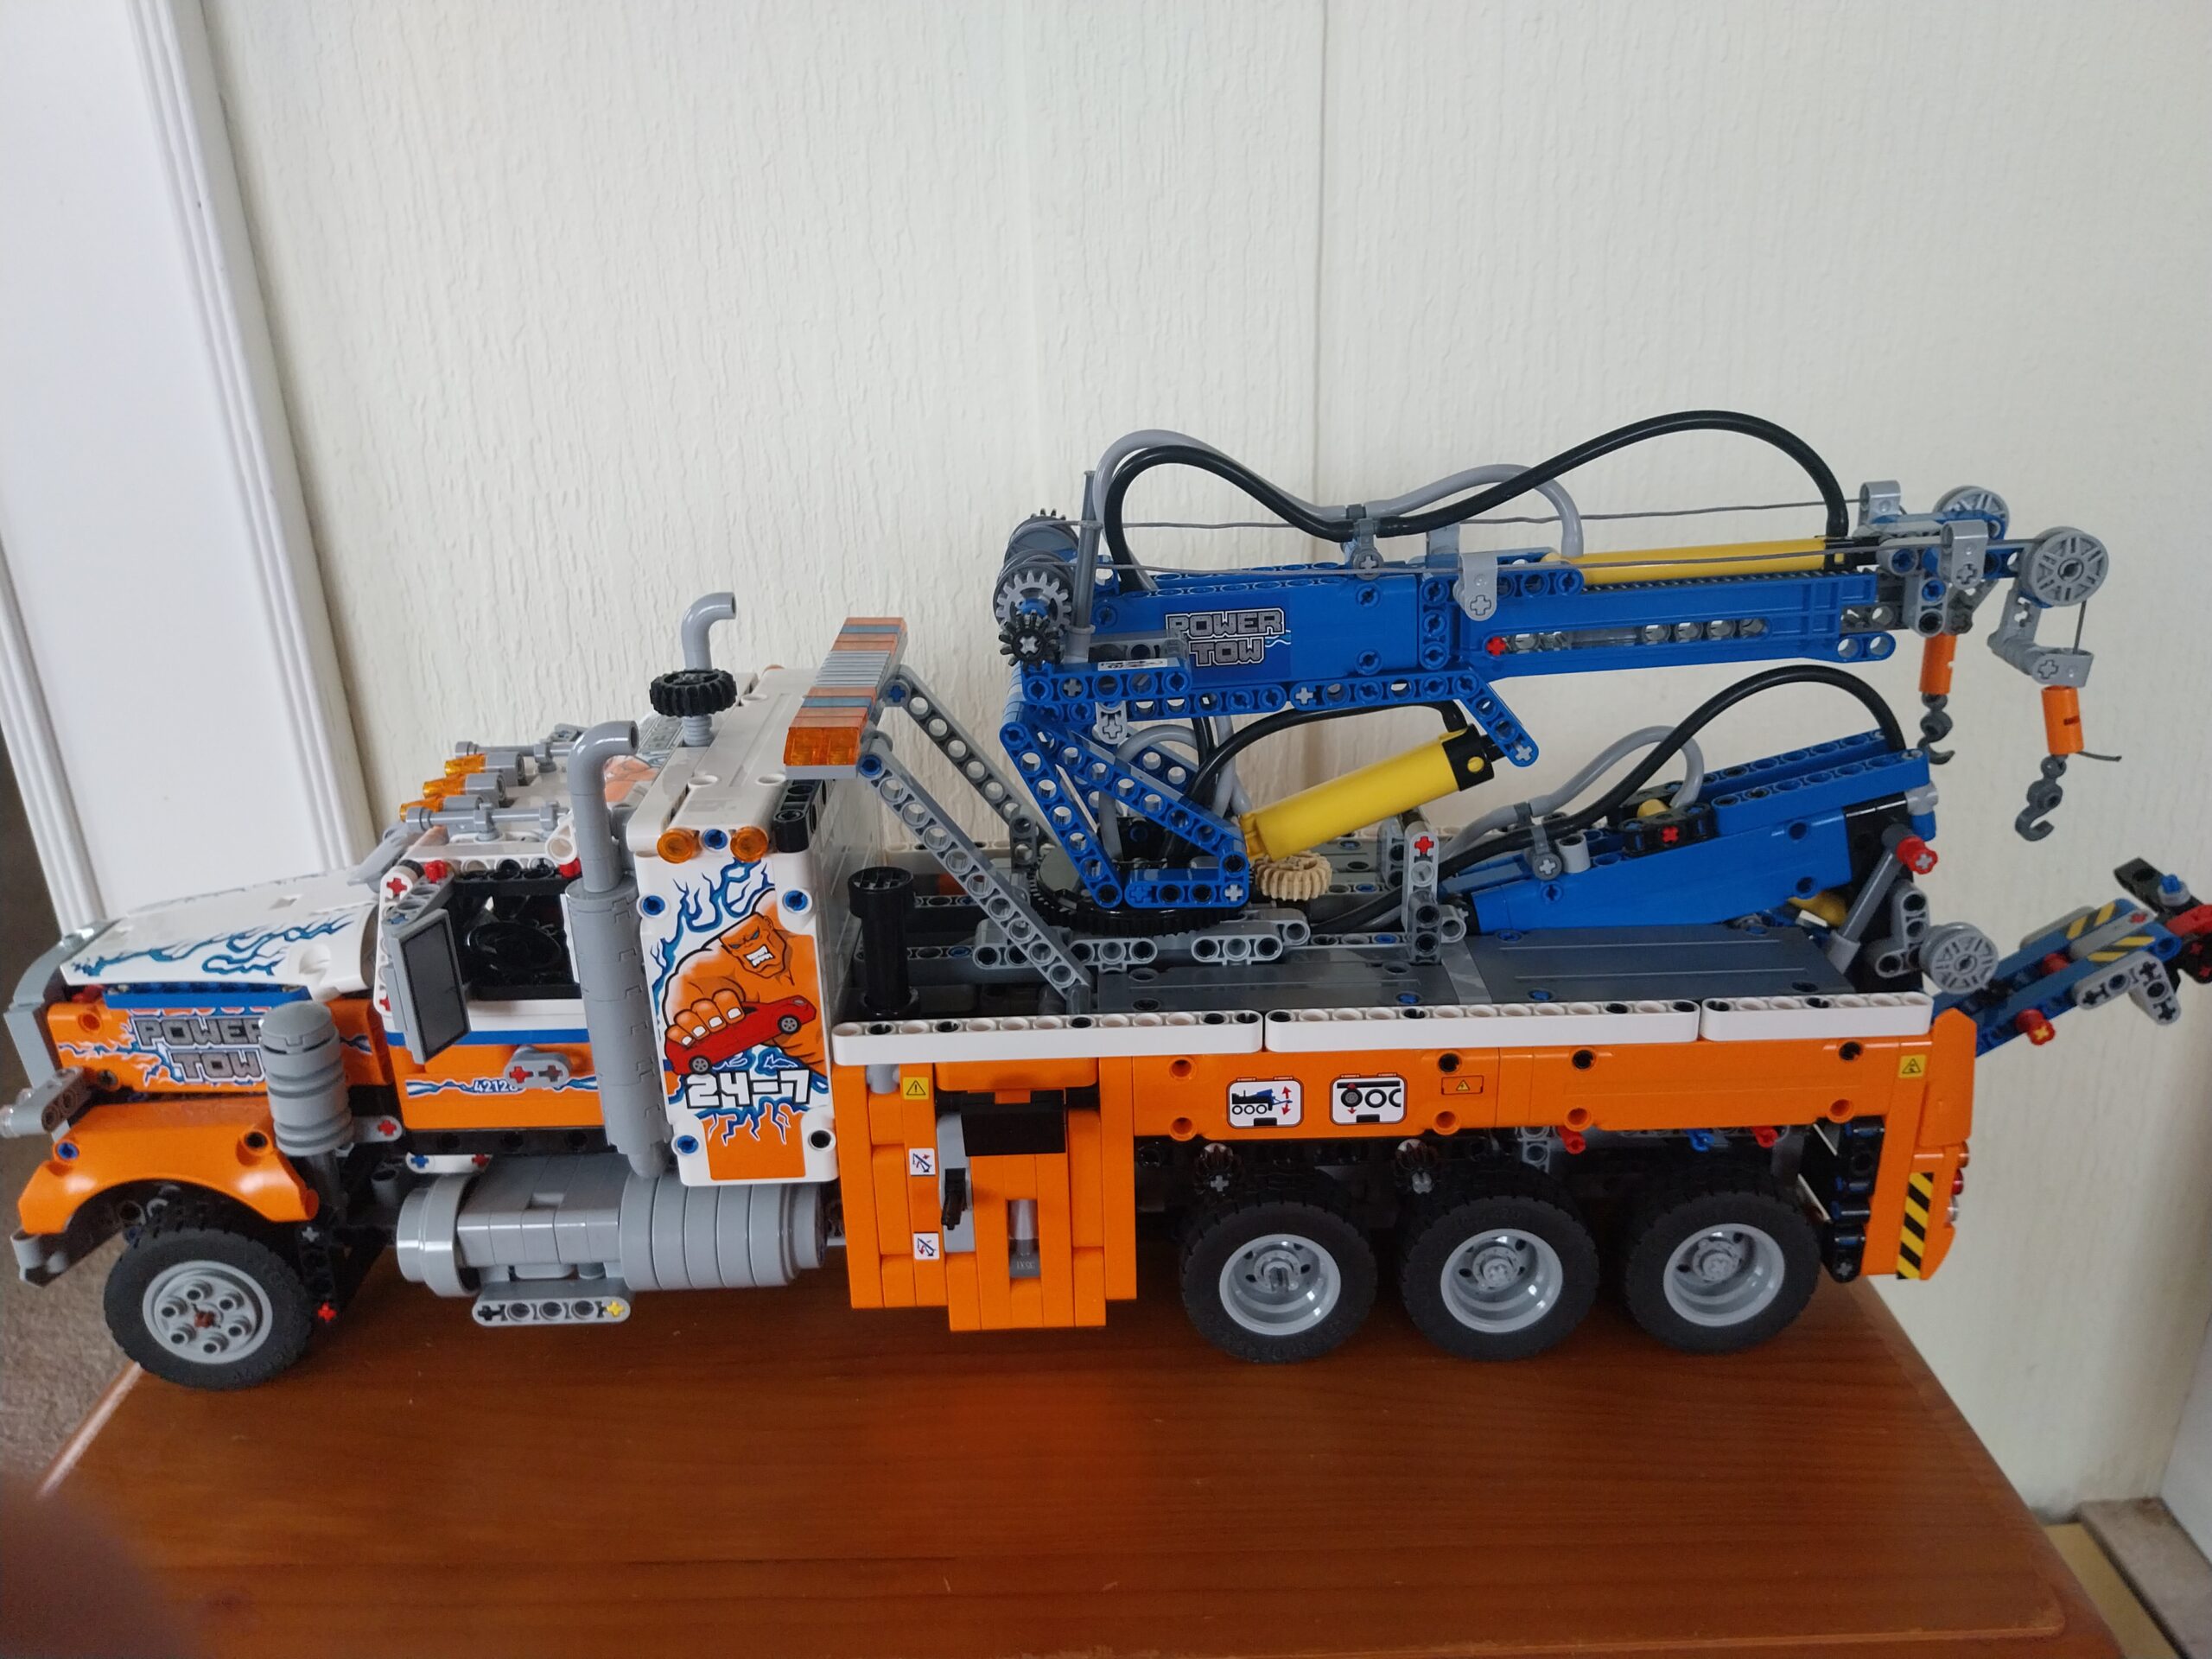
The pump is the tall cylinder just behind the cab. The two pneumatic switches on the right-hand side of the body raise and lower the crane arm and extend and retract it. From empty, Zachary Hill at New Elementary found a full extension takes about two pumps’ worth of air and the big lifting cylinder about four. Jim said raising and extending the boom works like a charm, and this is the part of the set that makes pneumatics feel like a system rather than a demonstration. New Elementary’s truck lifted a full 355 ml drinks can on the crane.
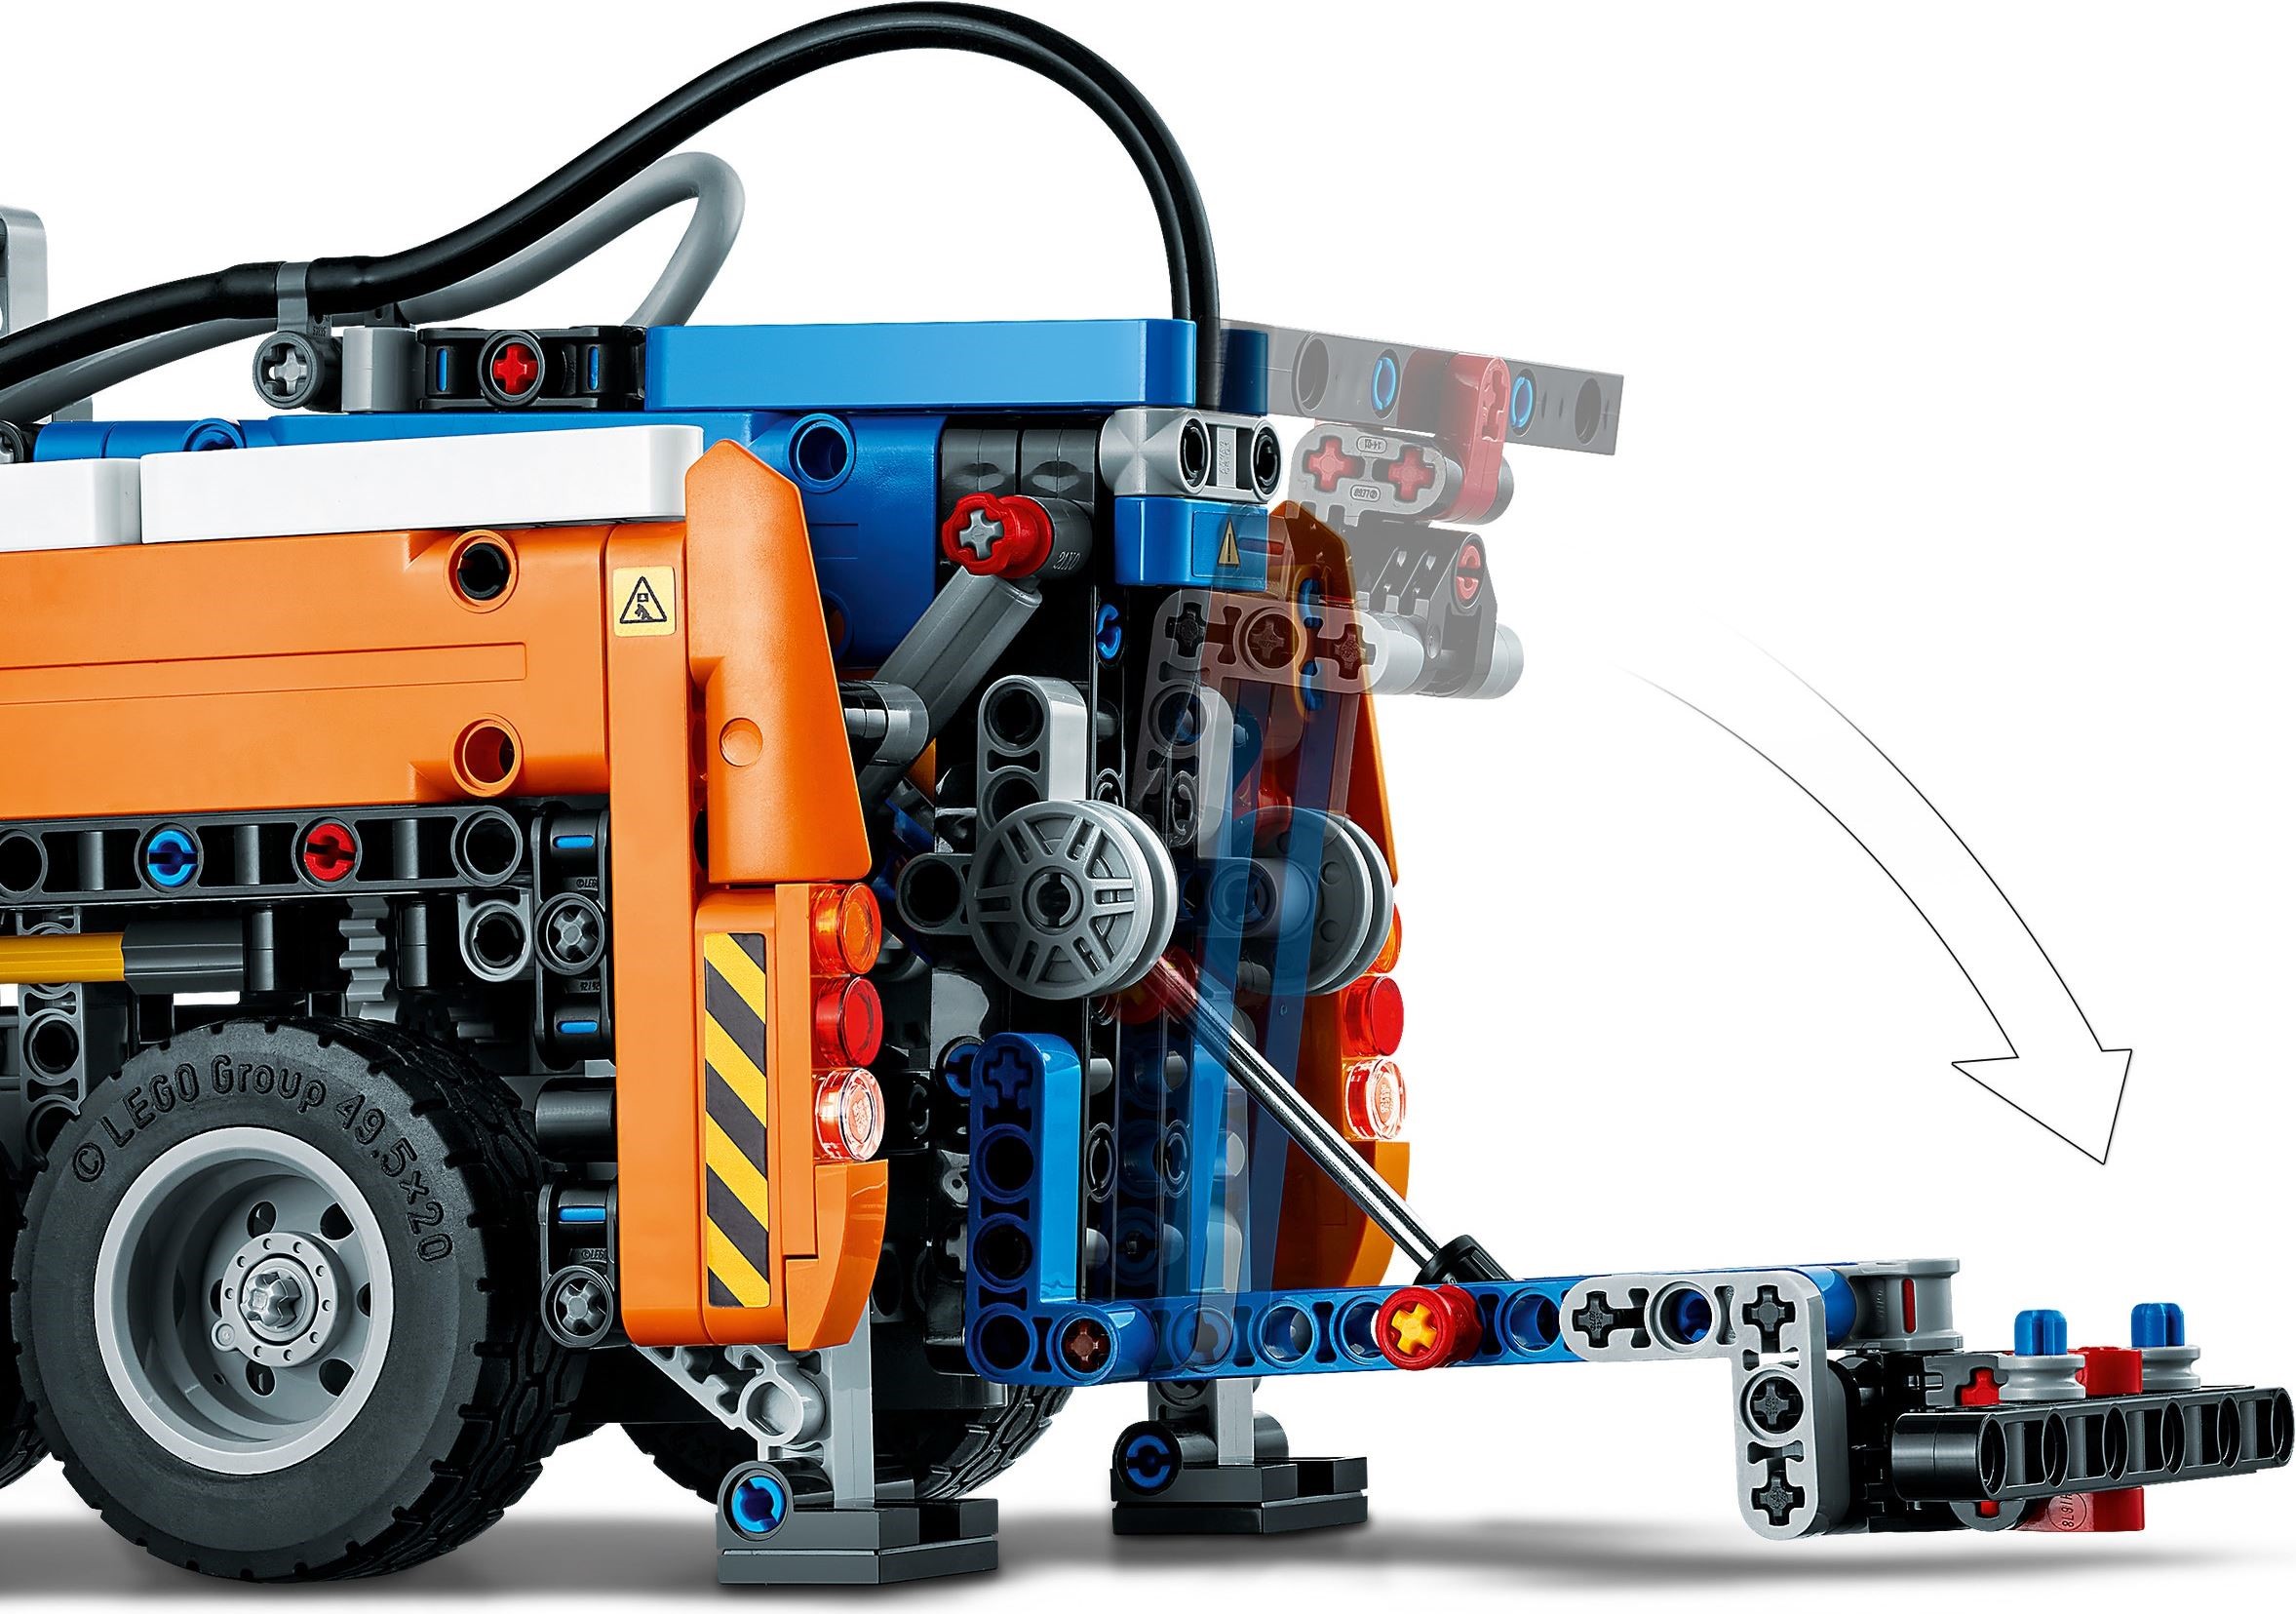
The fork at the rear is the tow truck’s real job. One pneumatic switch on the left of the body works the fork (Huw has it raising and lowering the fork, New Elementary describes the pneumatic movement as the fork’s extension, and Jim says a gear raises the boom), and the two gears above the left-hand wheels tilt the fork and lift the third axle (next section). The rack at the end of the fork also slides in and out, so it reaches under a car, lifts, then draws back. It is the hungriest of the pneumatic functions: ryuryuryu on Brickset found the tow beam takes some serious pumping to raise.
Real trucks lift the spare axle to save friction and fuel when it is not carrying weight. This is the first Technic model to do it. One of the two gears on the left side raises and lowers the third rear axle, and the linkage is built into the same bag 1 sub-assembly that rotates the crane. The two driven rear axles each have a differential, and that double differential is where the first mistake of the build tends to happen (see below).
Two outriggers fold out from the sides of the body and two more drop at the back. All four run on small linear actuators driven from a gear on the right-hand side, so one control deploys the lot. The side pair sit inside the bodywork until you wind them out. New Elementary noted that pumping flexes the axles a bit and the only time to take care is when the outriggers are extended and carrying the weight.
The second gear on the right turns the whole crane base, roughly 180 degrees by ryuryuryu’s count. At the top of the crane sit two winch drums, each with its own knob and its own manual lock, so the two hooks run out independently for pulling a car out of a ditch from two points. This is the one function reviewers found less smooth than the pneumatics: the string-based hooks can be finicky when you lower them by hand.
Steering is a gear on top of the cab, hand-of-god style, working rack and pinion on the front axle. Open the bonnet (it is stiff, and Jim says it needs a certain technique) and there is a six-cylinder engine above the front axle whose pistons move when you roll the truck, driven from the rear wheels by what ryuryuryu called a comically long drive shaft. The doors open too.
How the build goes
Four numbered stages across 11 numbered bags, plus three loose bags, one of them the paper one with the hoses. Reviewers put the whole build at four to six hours. Huw’s warning is that the dense, complex mechanisms are buried in the chassis at the rear, which is where you start.
Rear chassis and the gear train
The back of the truck first, with most of the mechanical functions in it: the gears, shafts and linear actuators, the double differential, then the sub-assembly that rotates the crane and raises the third axle. Nothing pneumatic yet. Jim finished this stage with spare pins and only discovered in stage two that he had missed a perpendicular liftarm on each side. Count your leftovers before you move on, and turn every exposed gear to check what it drives.
Pneumatic controls and the towing fork
The back of the vehicle is completed: the switches, the hoses and the wheel-lift, which is the first of the pneumatics to go together. The first sticker turns up early in this bag. By the end the fork raises, tilts and extends, and this is your first chance to pump the system and see it work.
Engine, steering and cab
The front of the chassis, starting with the six-cylinder engine and the rack-and-pinion steering, then the cab with its doors and the roof gear. This is the stage people complain about: four of the eleven numbered bags are marked 3, and ryuryuryu reckoned they hold about 35 per cent of the set. Tip them into separate trays before you start.
Bonnet, panels and the crane
The bonnet, then the orange panels that cover the rear mechanism (ryuryuryu thought it a shame the designer’s work gets shrouded), then the crane with its double winch, and finally the tyres. Brick Rated calls mating the crane assembly onto the body the fiddliest moment in the set, so slow right down there.
Three members have built this one and sent photos back. Between their diaries and the reviews, these are the points to slow down for.
- Set every linear actuator to the same length before it goes in. ryuryuryu’s warning for anyone new to big Technic, with photos of it done wrong and done right. If the outrigger actuators start at different extensions the legs will never sit level.
- The double differential. Two differentials sit on the rear axles and they have to face the right way, or the axles turn against each other and lock the drive train. Jim expects the question and warns about it before you get there.
- Bag 1 leftovers. Jim ended stage one with spare pins and had missed the perpendicular liftarms on both sides, two pins each. If you have four pins over, go looking.
- The four bags marked 3. About a third of the set in one stage, all in bags with the same number. Sort before you build, or expect to sift.
- Mating the crane to the body, and the hooks. The crane goes on as a finished unit near the end and it is the fiddliest join in the set. Once it is on, lower the hooks with the knobs rather than pulling the string, which is the part reviewers found finicky.
On the shelf
Finished it is 58 cm long, 22 cm wide and 14 cm tall with the crane down, so it needs a shelf to itself. Two things bothered Huw: the white panel behind the cab, which looks bare without its sticker, and a gap ahead of the front wheel arches that he could not find a fix for. He swapped the white panel for orange and white beams to carry the split colour scheme through, and preferred it.
There are around 30 stickers. The operational ones, the small arrows next to each gear and switch, are worth applying because without them Huw says working the truck is a guessing game. The flames and the cartoon strongman are a matter of taste; Jim built without any and ryuryuryu left most of them off. The roof lights, mirrors and tail lights are the parts that come loose if the model gets knocked.
Members who have built it
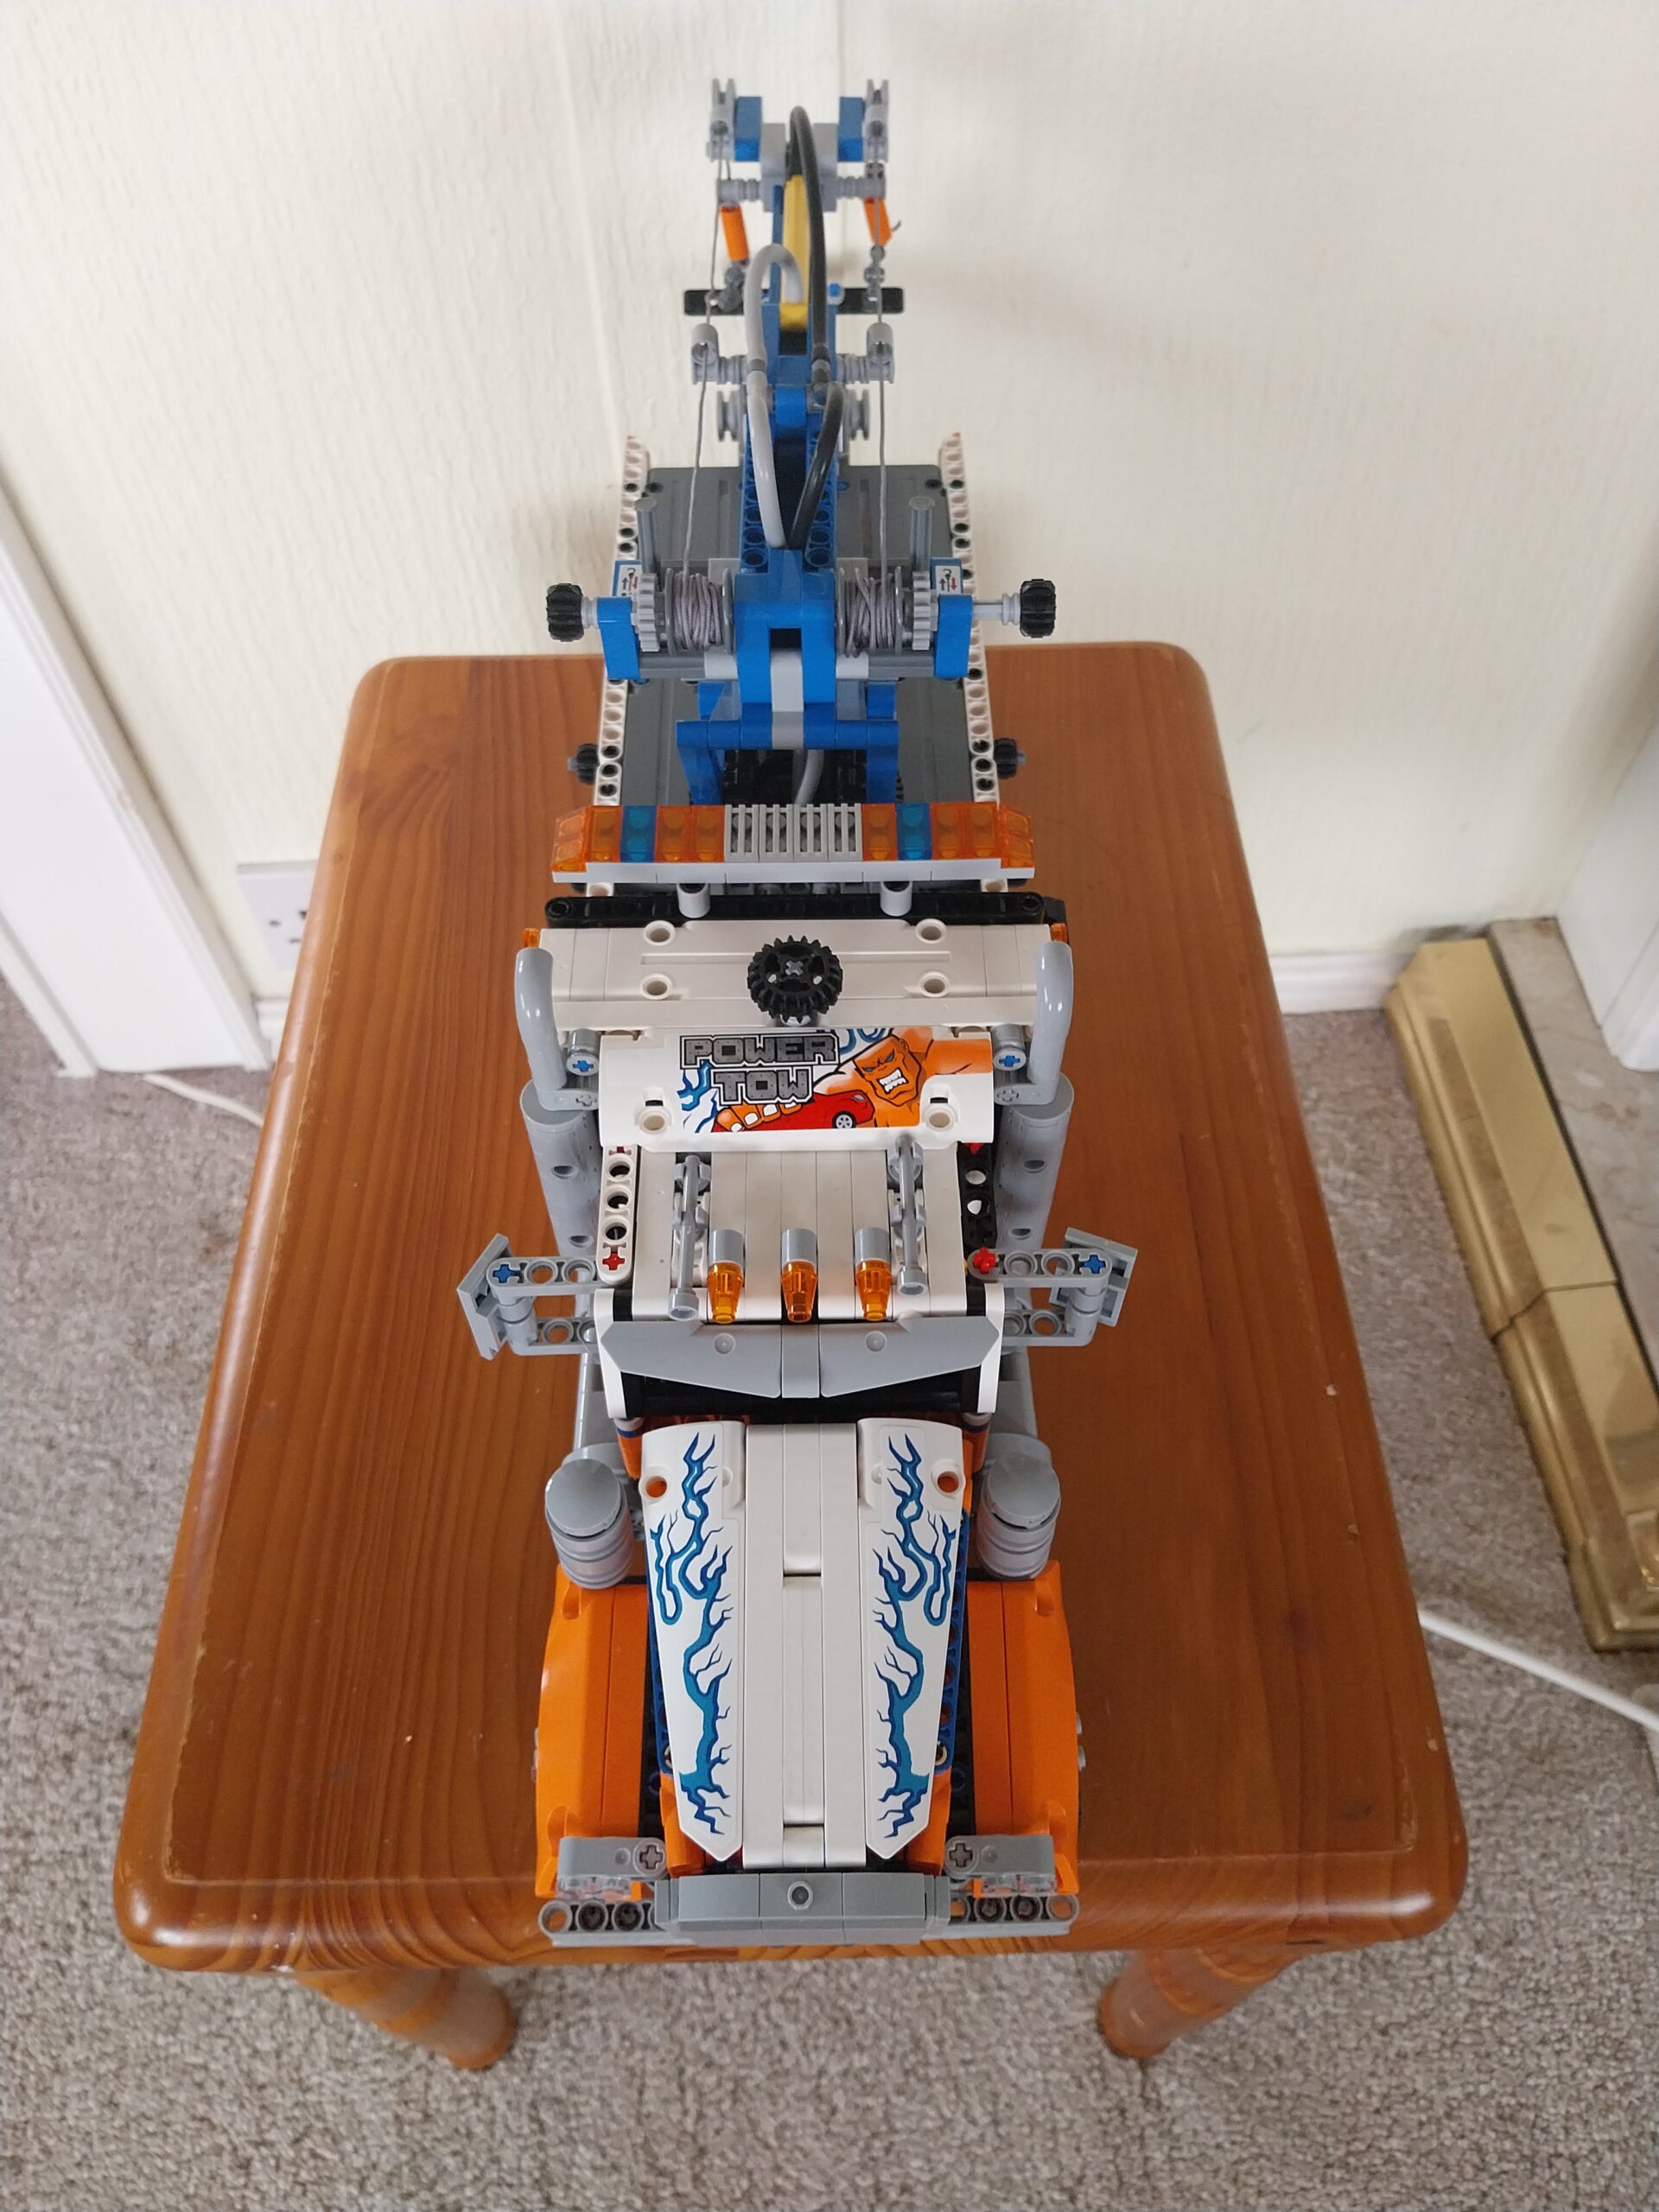
Three Heavy-Duty Tow Truck builds have come back through the door with photos. The diaries are linked under each picture.


This is the one for you if you want functions rather than bodywork, or if you have never built a pneumatic set and want to see the system done properly. It is a four to six hour build, comfortably two evenings, and denser than its piece count suggests. Check the two differentials and the actuator lengths in bag 1, sort the four bag 3s before you open them, and support the truck from underneath when you pump, especially with the outriggers out. If what you want is a gearbox, this is not the set; every control here is direct.
If you like this one, try
The other big trucks in the library. The Service Truck (42008) is the motorised set this one effectively replaced; The other big trucks in the library. The Service Truck (42008) is the motorised set this one effectively replaced; the Car Transporter (42098) comes with the car whose chassis Huw found the towing fork’s lugs hook straight into.


The Heavy-Duty Tow Truck is in the library
Technic Fan gets up to 6 kits a year, Master Builder up to 12. Delivery both ways is included and the prepaid return label is in the box.