

McLaren P1 (42172): the first 1:8 car with a hybrid switch
The P1 is the fifth of LEGO’s 1:8 Technic supercars and the first that pretends to be a hybrid. A lever between the seats has three positions: forward for hybrid, back for electric only, middle for neutral. It decides whether the little grey electric motor spins alone or drags the V8 round with it. Nothing else in the series has that.
Behind it is a seven-speed gearbox worked by two orange shifter drums, which is why this is the car that trips people up in box one. It is in the Brick Club library. Below is what it does, how the three boxes divide the work, and the steps where reviewers had to go back.

Why this one is different
The big change is inside the gearbox, where the P1 breaks from the pattern the earlier 1:8 cars set: two shifter drums, a new version of the part that debuted on the Yamaha MT-10 SP (42159), with the Yamaha’s forks riding in grooves on the drums, and a new green 12-tooth clutch gear twice the usual thickness so a driving ring can grip it. LEGO wanted a seven-speed double-clutch gearbox because that is what the real car has.
Everything that would have been a sticker is printed: dials, the P1 badges on the engine cover and headrests, the carbon-effect panels, the McLaren logo on the bonnet and the 8 x 16 plaque. The catch is that two printed panels look almost identical to their plain black twins, which cost one reviewer a lot of time.
Two books, 804 pages, 1,000 steps exactly, nearly 40 pages of McLaren history before the first part. The parts come in 23 numbered paper bags across three inner boxes: bags 1 to 10 in box one, 11 to 18 in box two, the rest in box three with the wheels and tyres.
What it actually does
All of it is manual. There are no motors in the P1, just a lot of gears, a few rubber bands and a spring in each door.
Two paddles sit either side of the steering wheel, one up and one down. Each pull turns a yellow selector wheel, sprung with rubber bands, and that rotates the two orange shifter drums in the gearbox., sprung with rubber bands, and that rotates the two orange shifter drums in the gearbox. Forks riding in the drum grooves slide the driving rings across. Each pull takes a firm push. With the body on you can see part of the gear cluster from underneath and beside the engine, but not which gear you are in.
The lever between the seats is the P1’s one new trick. Forward, and both the engine and the electric motor are connected to the gearbox. Back, and only the electric motor is, so the V8 sits still while the grey drum spins. Middle is neutral. Underneath it is a pair of linked levers working clutch gears on the cockpit floor.
The V8 is the standard Technic piston engine with a printed P1 logo on top, sitting on the gearbox. Roll the car and the rear driveshafts turn the differential, then the gearbox, then the engine, depending on the mode lever. The electric motor is a tiny light grey drum at the bottom of the gearbox frame. You see little of any of it with the body on, but the rear clamshell lifts off after you remove the wing and two orange pins, and then the engine, the gold heat shielding and both shifter drums are in plain view.
The only hand-of-god control on the car. A black 12-tooth gear pokes out under the rear diffuser and drives a worm gear, and the actuator on the end lifts the wing, and it does not take long. It is built in bags 1 to 3, before the gearbox. Reviewers agree it works well and disagree about the gear: The Brothers Brick found it conspicuous from behind, New Elementary thought the black detailing hides it from most angles.
The doors swing out and up. Each hangs off a bar into the side frame from bags 11 and 12, where a shock absorber acts as a two-position spring: past a certain point the door pulls itself shut, and open it stays open. LEGO’s designer said the doors needed a new mechanism to stay up. The linkage wobbles while the door moves and is loose when open, so line the door up before you close it.
Steering is from the wheel in the cabin; there is no roof knob. A short gear train drives a rack, and the front hubs hang on the new one-piece 7 x 7 wishbones with the new stiff black shock absorbers. All four corners are independent on double wishbones, very firm on the bench and a little softer once the car’s weight is on them. The real P1 raises and lowers itself; the model does not, which is the one function New Elementary wished LEGO had attempted.


How the build goes
Three inner boxes, 23 bags, two books. Book one ends at step 544 and bag 12. The Rambling Brick put it at over 20 hours plus a few more chasing a gearbox fault; nobody else gave a time. Plan on four evenings.
Rear axle, wing gear and the gearbox
The first three bags are the exhaust, the differential and the rear suspension. Then the wing’s worm gear in the diffuser, then the gearbox: a wall of beams and gears in bag 4 with the green clutch gear, the shifter drums and forks in bag 5, a rubber band behind a bush for shift resistance. The hardest section of the set. Click through every gear at step 260 before anything goes on top.
E-motor, V8, seats and the drive mode
The grey electric motor goes in, then the V8 sits on the gearbox and the unit is married to the diff and rear axle. Bags 8 to 10 are the cockpit floor with the drive mode clutches, the yellow selector wheel, the seats with printed headrests and two printed console tiles, one carrying the code for the online extras. By the end of box one the paddles shift and the wing lifts.
Door frames and sills
Black beams, a great many pins and the first real run of orange panels. You build the side frames the doors will hang from, with the spring compressed inside each one. How the doors will work is not obvious yet. End of book one.
Front suspension, steering, dashboard and roof
The front end mirrors the rear but with steering arms and a rack. The steering wheel’s angle against the gears decides whether the spokes sit level with the wheels straight. Then the printed dashboard, the roof from the back forward, the A-pillars from a pair of new offset wishbone beams, and the two small carbon-print panels that look exactly like the plain ones.
Nose, headlights and bonnet
A radiator of cheese slopes on 1 x 8 plates, headlights from white flex tube, then the bonnet, which starts from the tiny panel with the McLaren logo. When it goes on, the loose axle left over from the interior build turns out to be its prop.
Doors, rear clamshell, wing and wheels
Bags 19 and 20 are mirror images, one door each, with a flex tube along the top edge. Hanging them on the car is the fiddliest step in the set. Then the clamshell on its 11 x 15 orange frame, tail lights from flexible axles, held on by two long orange pins. Last are the wing, the printed calipers on droid arms, the gunmetal rims, the case and the plaque. Step 1,000 exactly.
Our member’s diary and three reviews agree on where the time goes.
- Shifter drums, steps 191 and 260. The Rambling Brick placed one shifting wheel wrongly at step 191 and did not find out for another 90 steps. Keep the arrows on the drums lined up and run through every gear at step 260.
- The printed roof panels. Two small carbon-print panels go in where the picture is hard to read. New Elementary fitted plain ones and had to page back from the end to find them. Open one bag at a time.
- Steering wheel angle. It meshes at whatever angle you fit it. Set the front wheels straight first; one reviewer found a level wheel virtually impossible.
- Hanging the doors. The instructions say fit them closed. The Brothers Brick found it easier to connect the ball joint with the door open, then close it and fit the locking pins.
- The cheese-slope grille, step 694. The row sits on a half-stud offset and is easy to shift sideways. Nothing mechanical depends on it, but it shows in every front-on photo.
On the shelf
Bright light orange is rare in Technic and you are unlikely to see this much of it in one set again. One caveat from New Elementary: the plastic is slightly translucent, so a black pin shows as a shadow through the beam next to it. You notice it up close, not across a room.
At 59 cm long and 25 cm wide it needs the whole shelf. Display it with the doors up and the wing raised, and pull the clamshell off now and again, because that is the best view of the drums and the gold heat shielding. The outer shipping carton is almost exactly the length of the finished model.
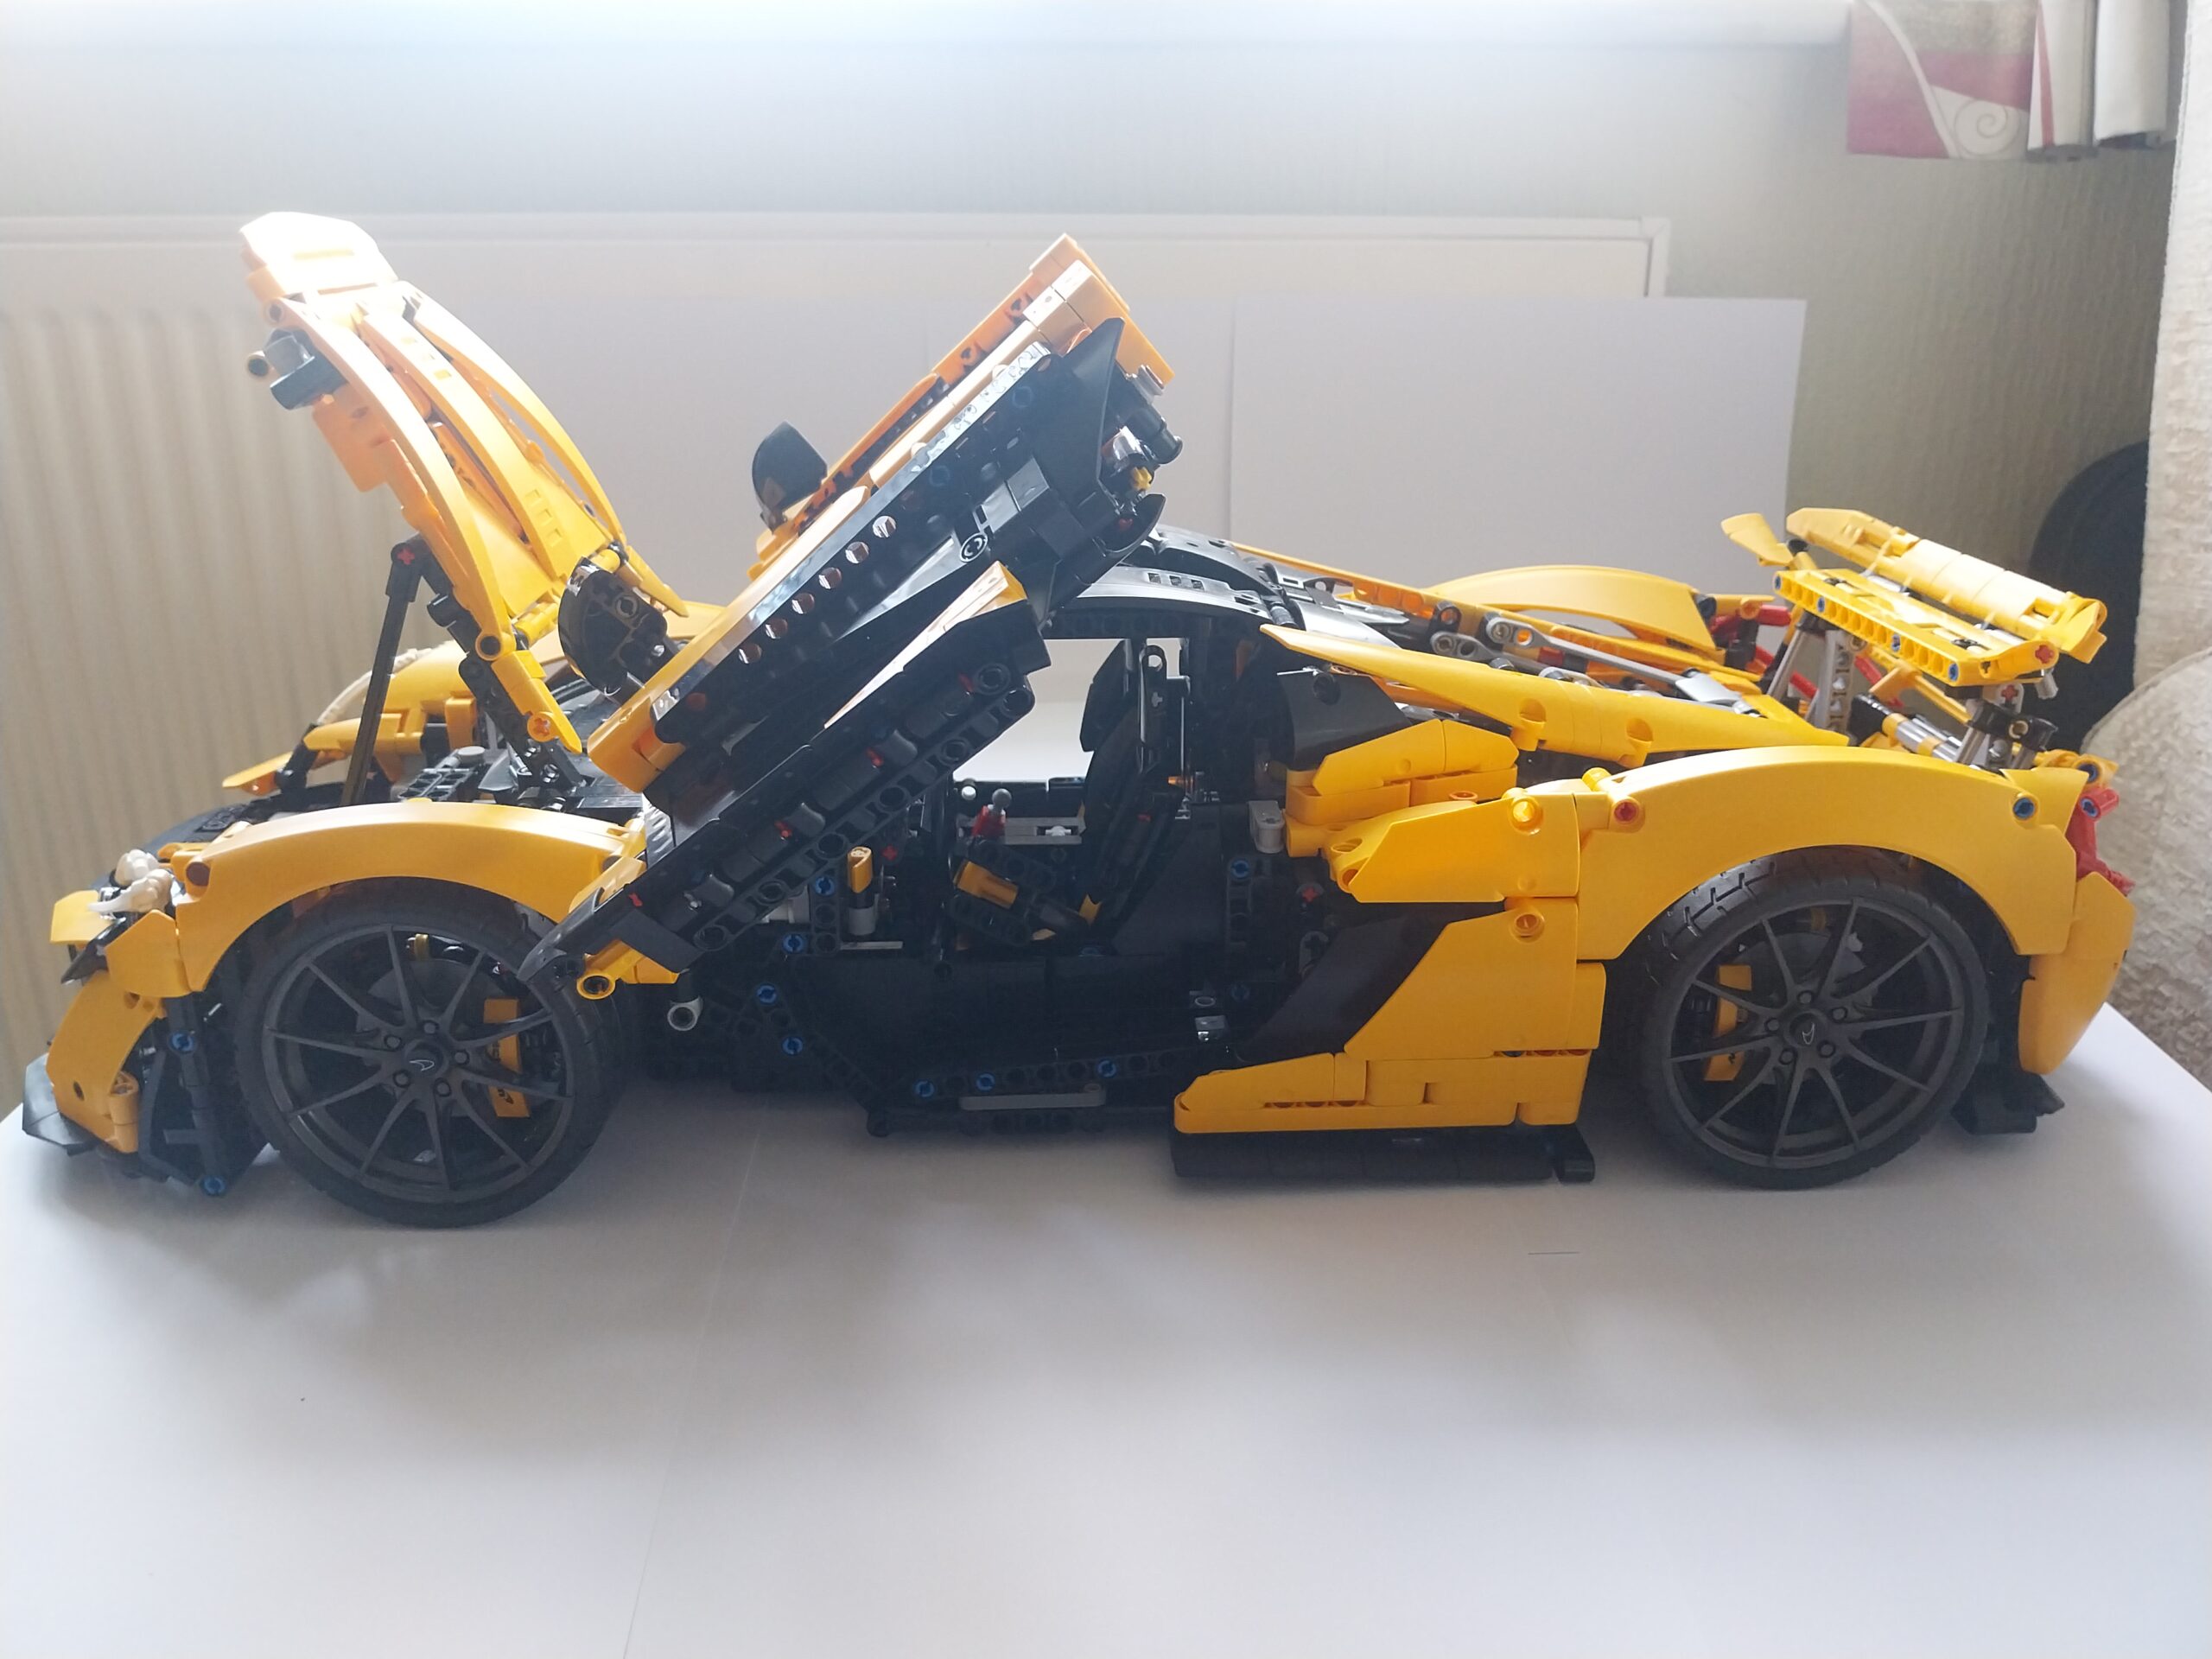
Members who have built it
One member sent in photos of their P1 build, from the bare gearbox to the finished car. Their diary is linked under each picture.


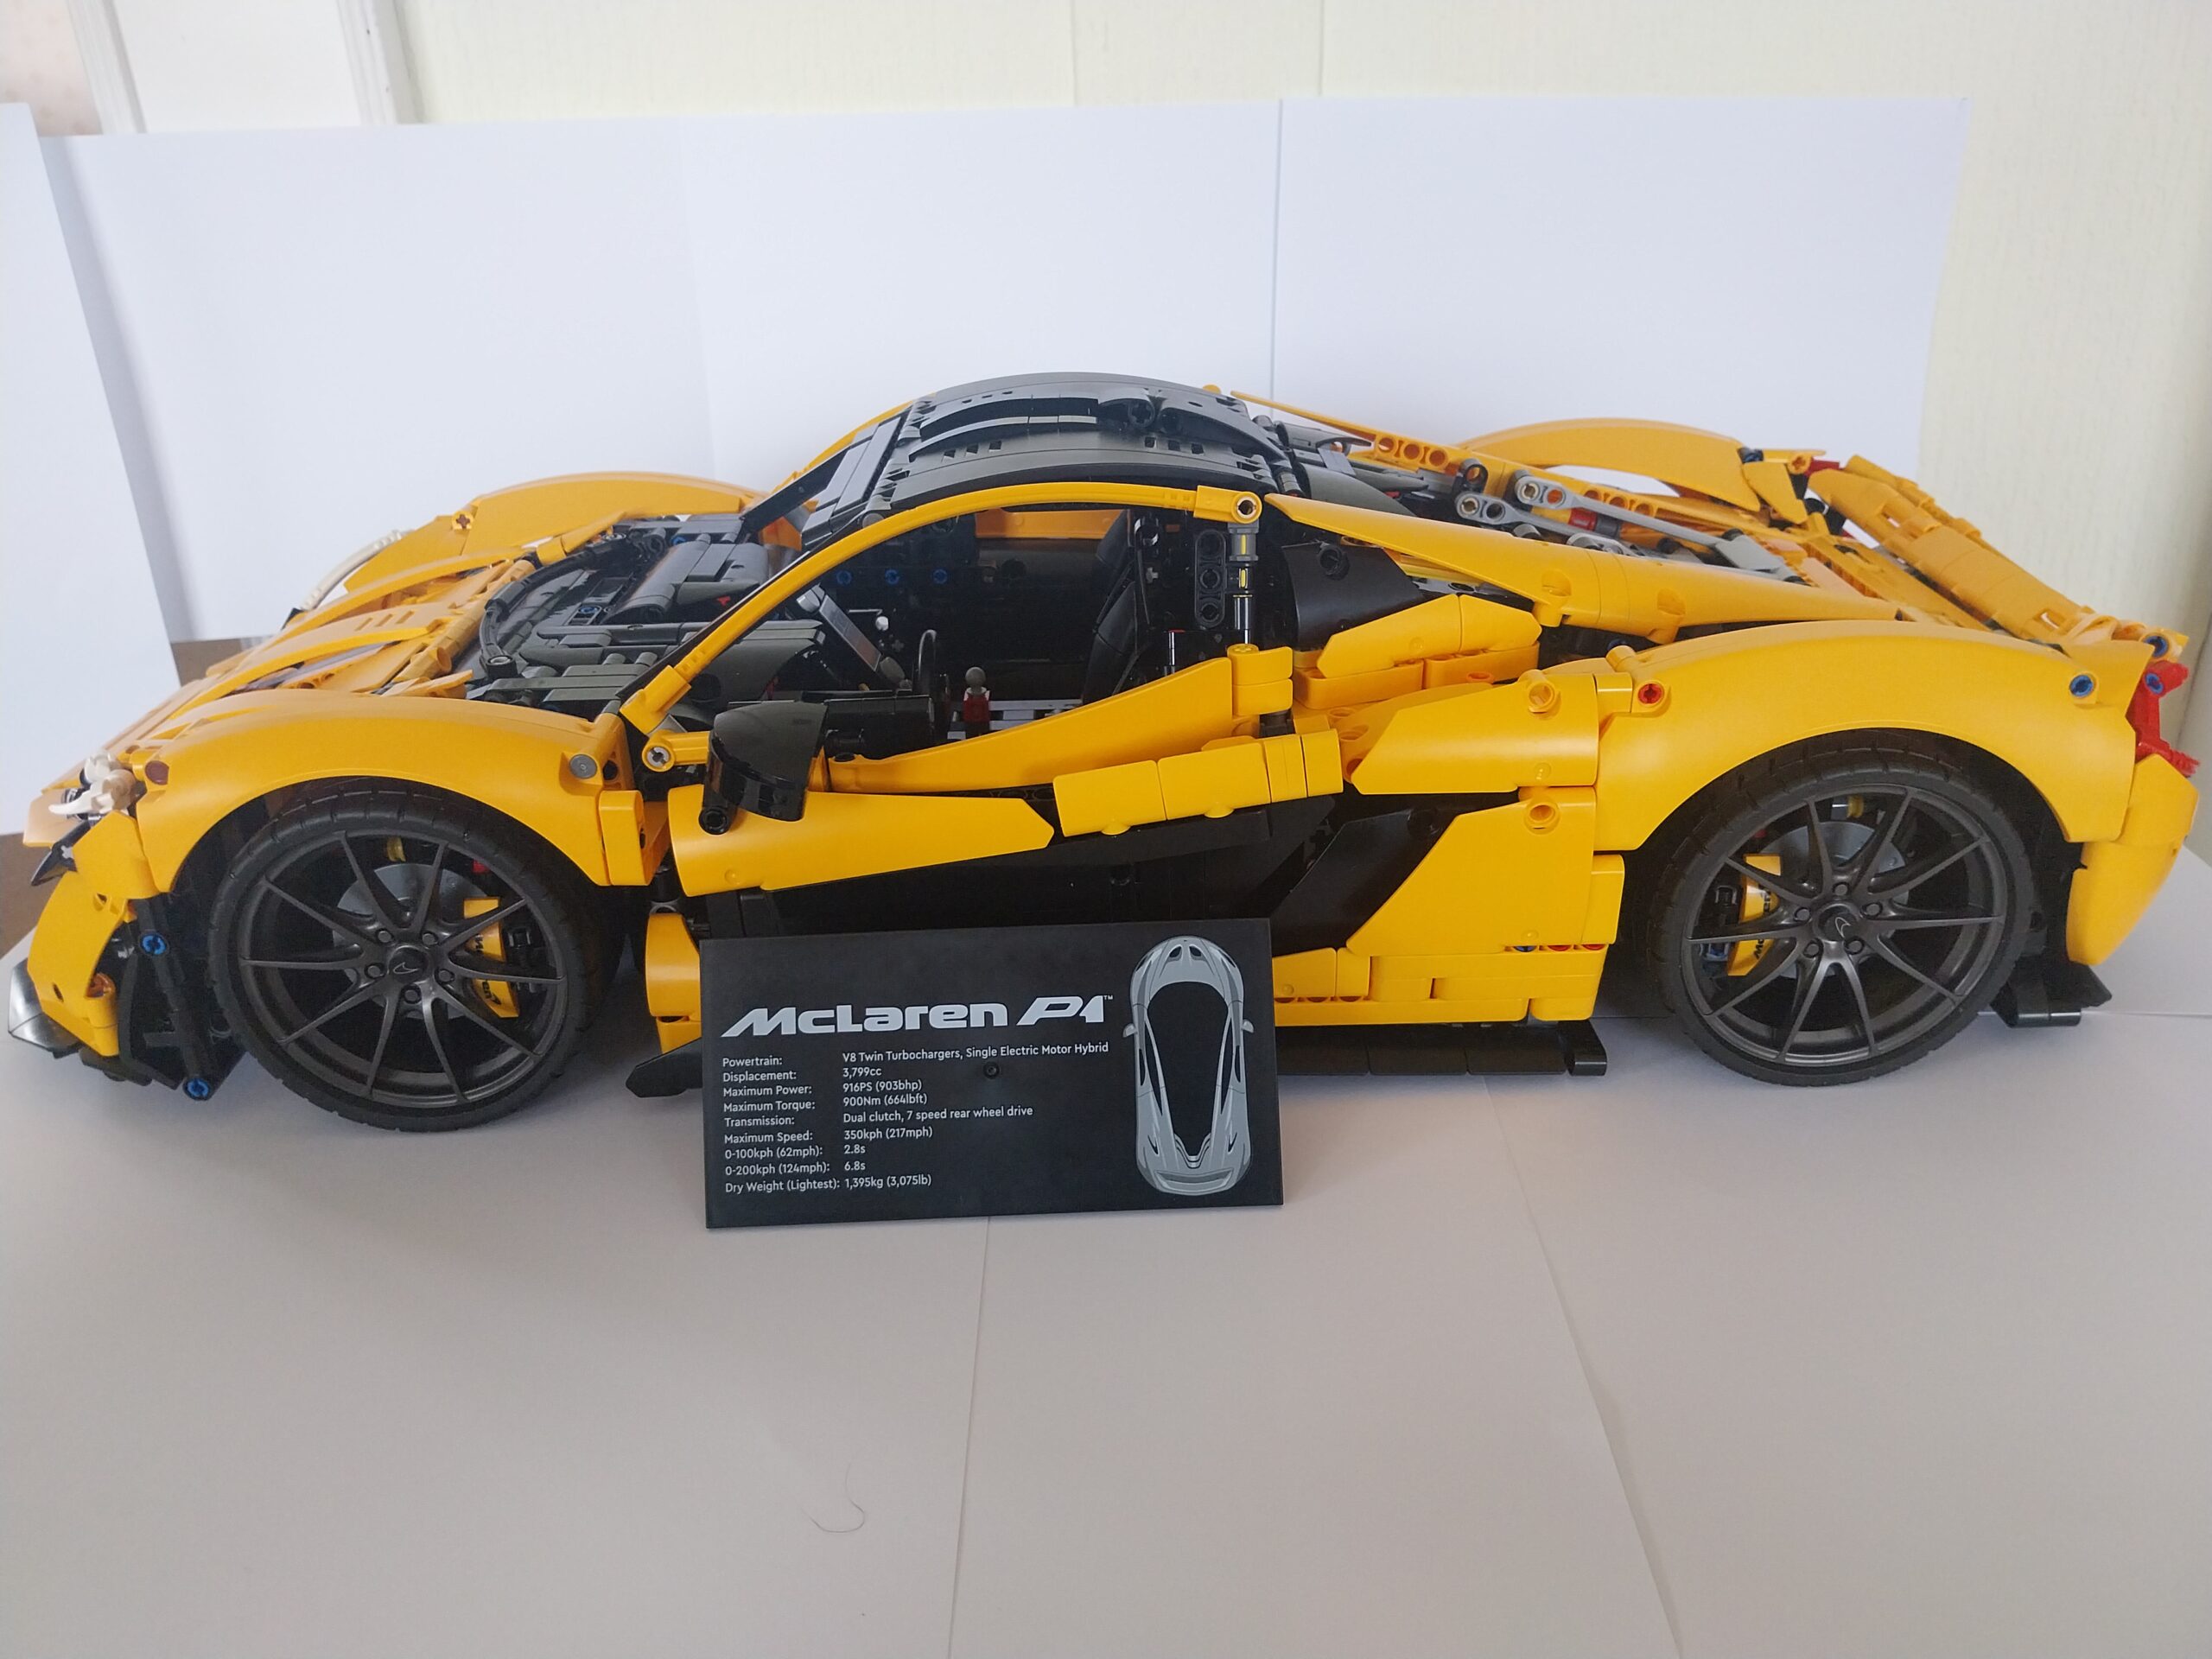

It is the one for you if you have done one 1:8 car already and want the gearbox to be the point. Box one is dense and unforgiving; the two after it are mostly bodywork and go quickly. Allow four evenings, open one bag at a time, and stop at step 260 to run through the gears. If it is your first big Technic car, start with the Chiron and come to this one second.
If you like this one, try
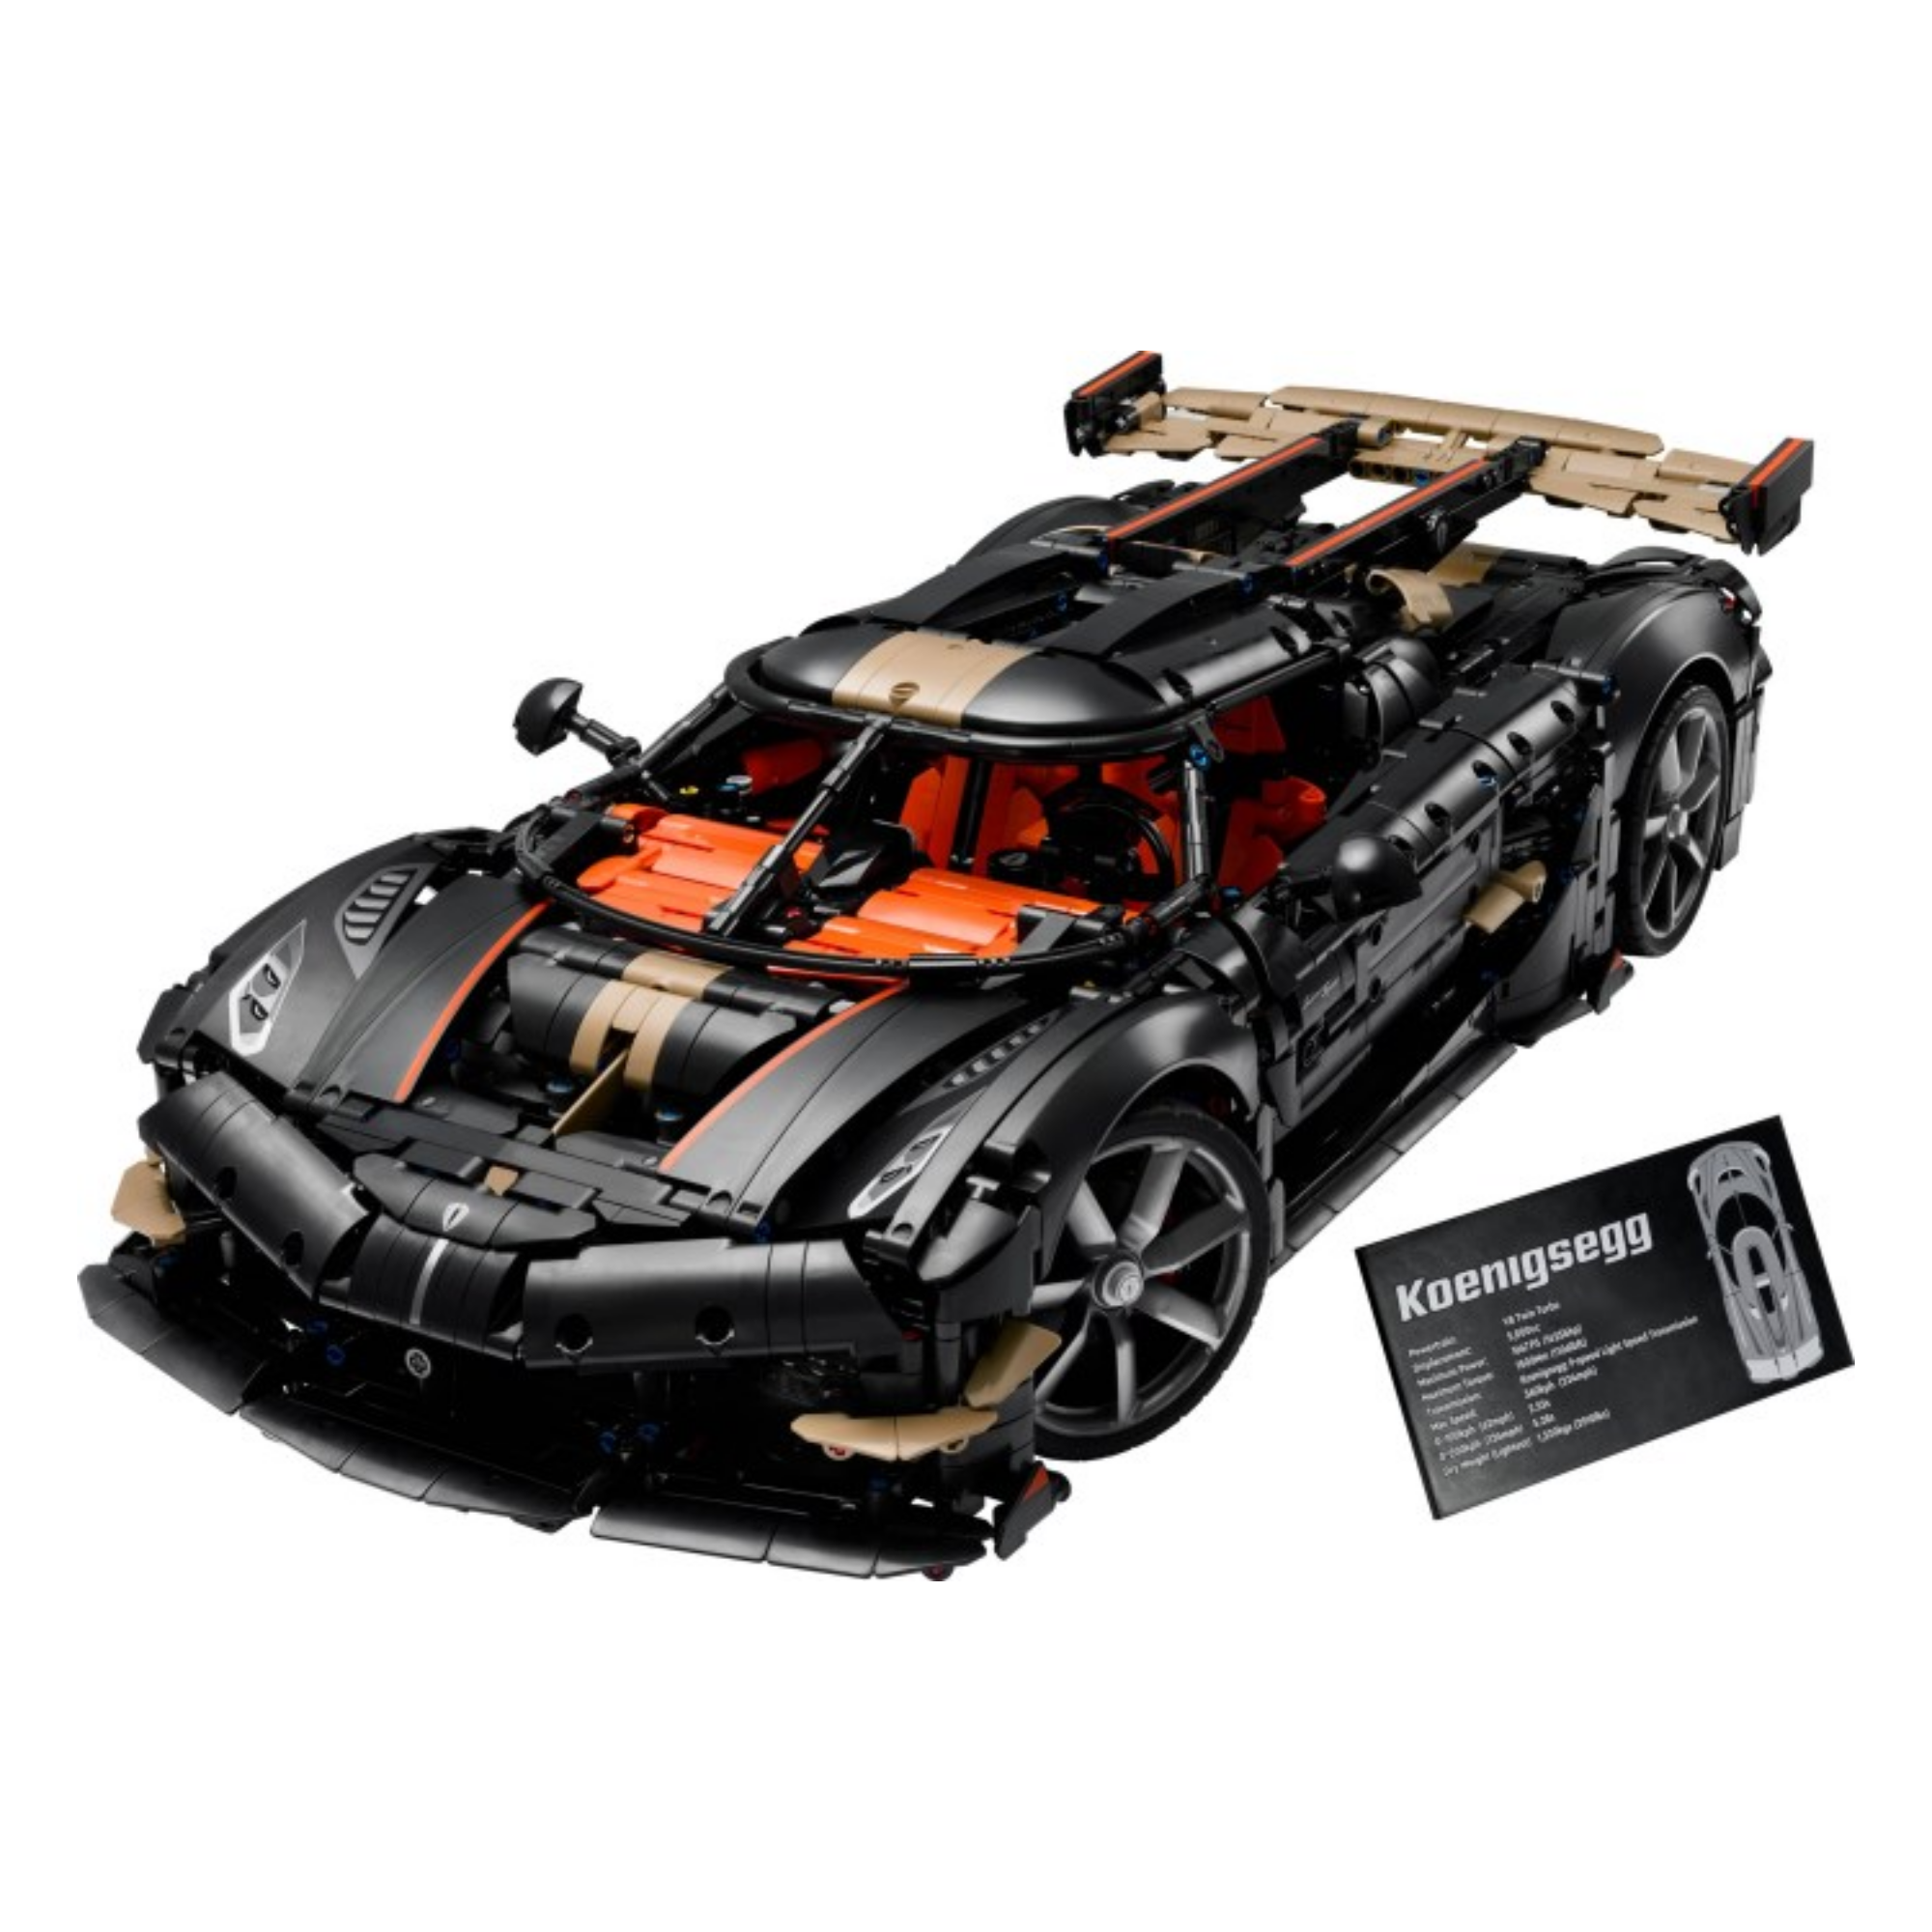
The other 1:8 supercars in the library. The Chiron is the gearbox the P1 was answering; the Koenigsegg is the one that came after it.


The McLaren P1 is in the library
Technic Fan gets up to 6 kits a year, Master Builder up to 12. Delivery both ways is included and the prepaid return label is in the box.