

Mercedes-Benz Arocs 3245 (42043): one motor, two levers, eight hoses
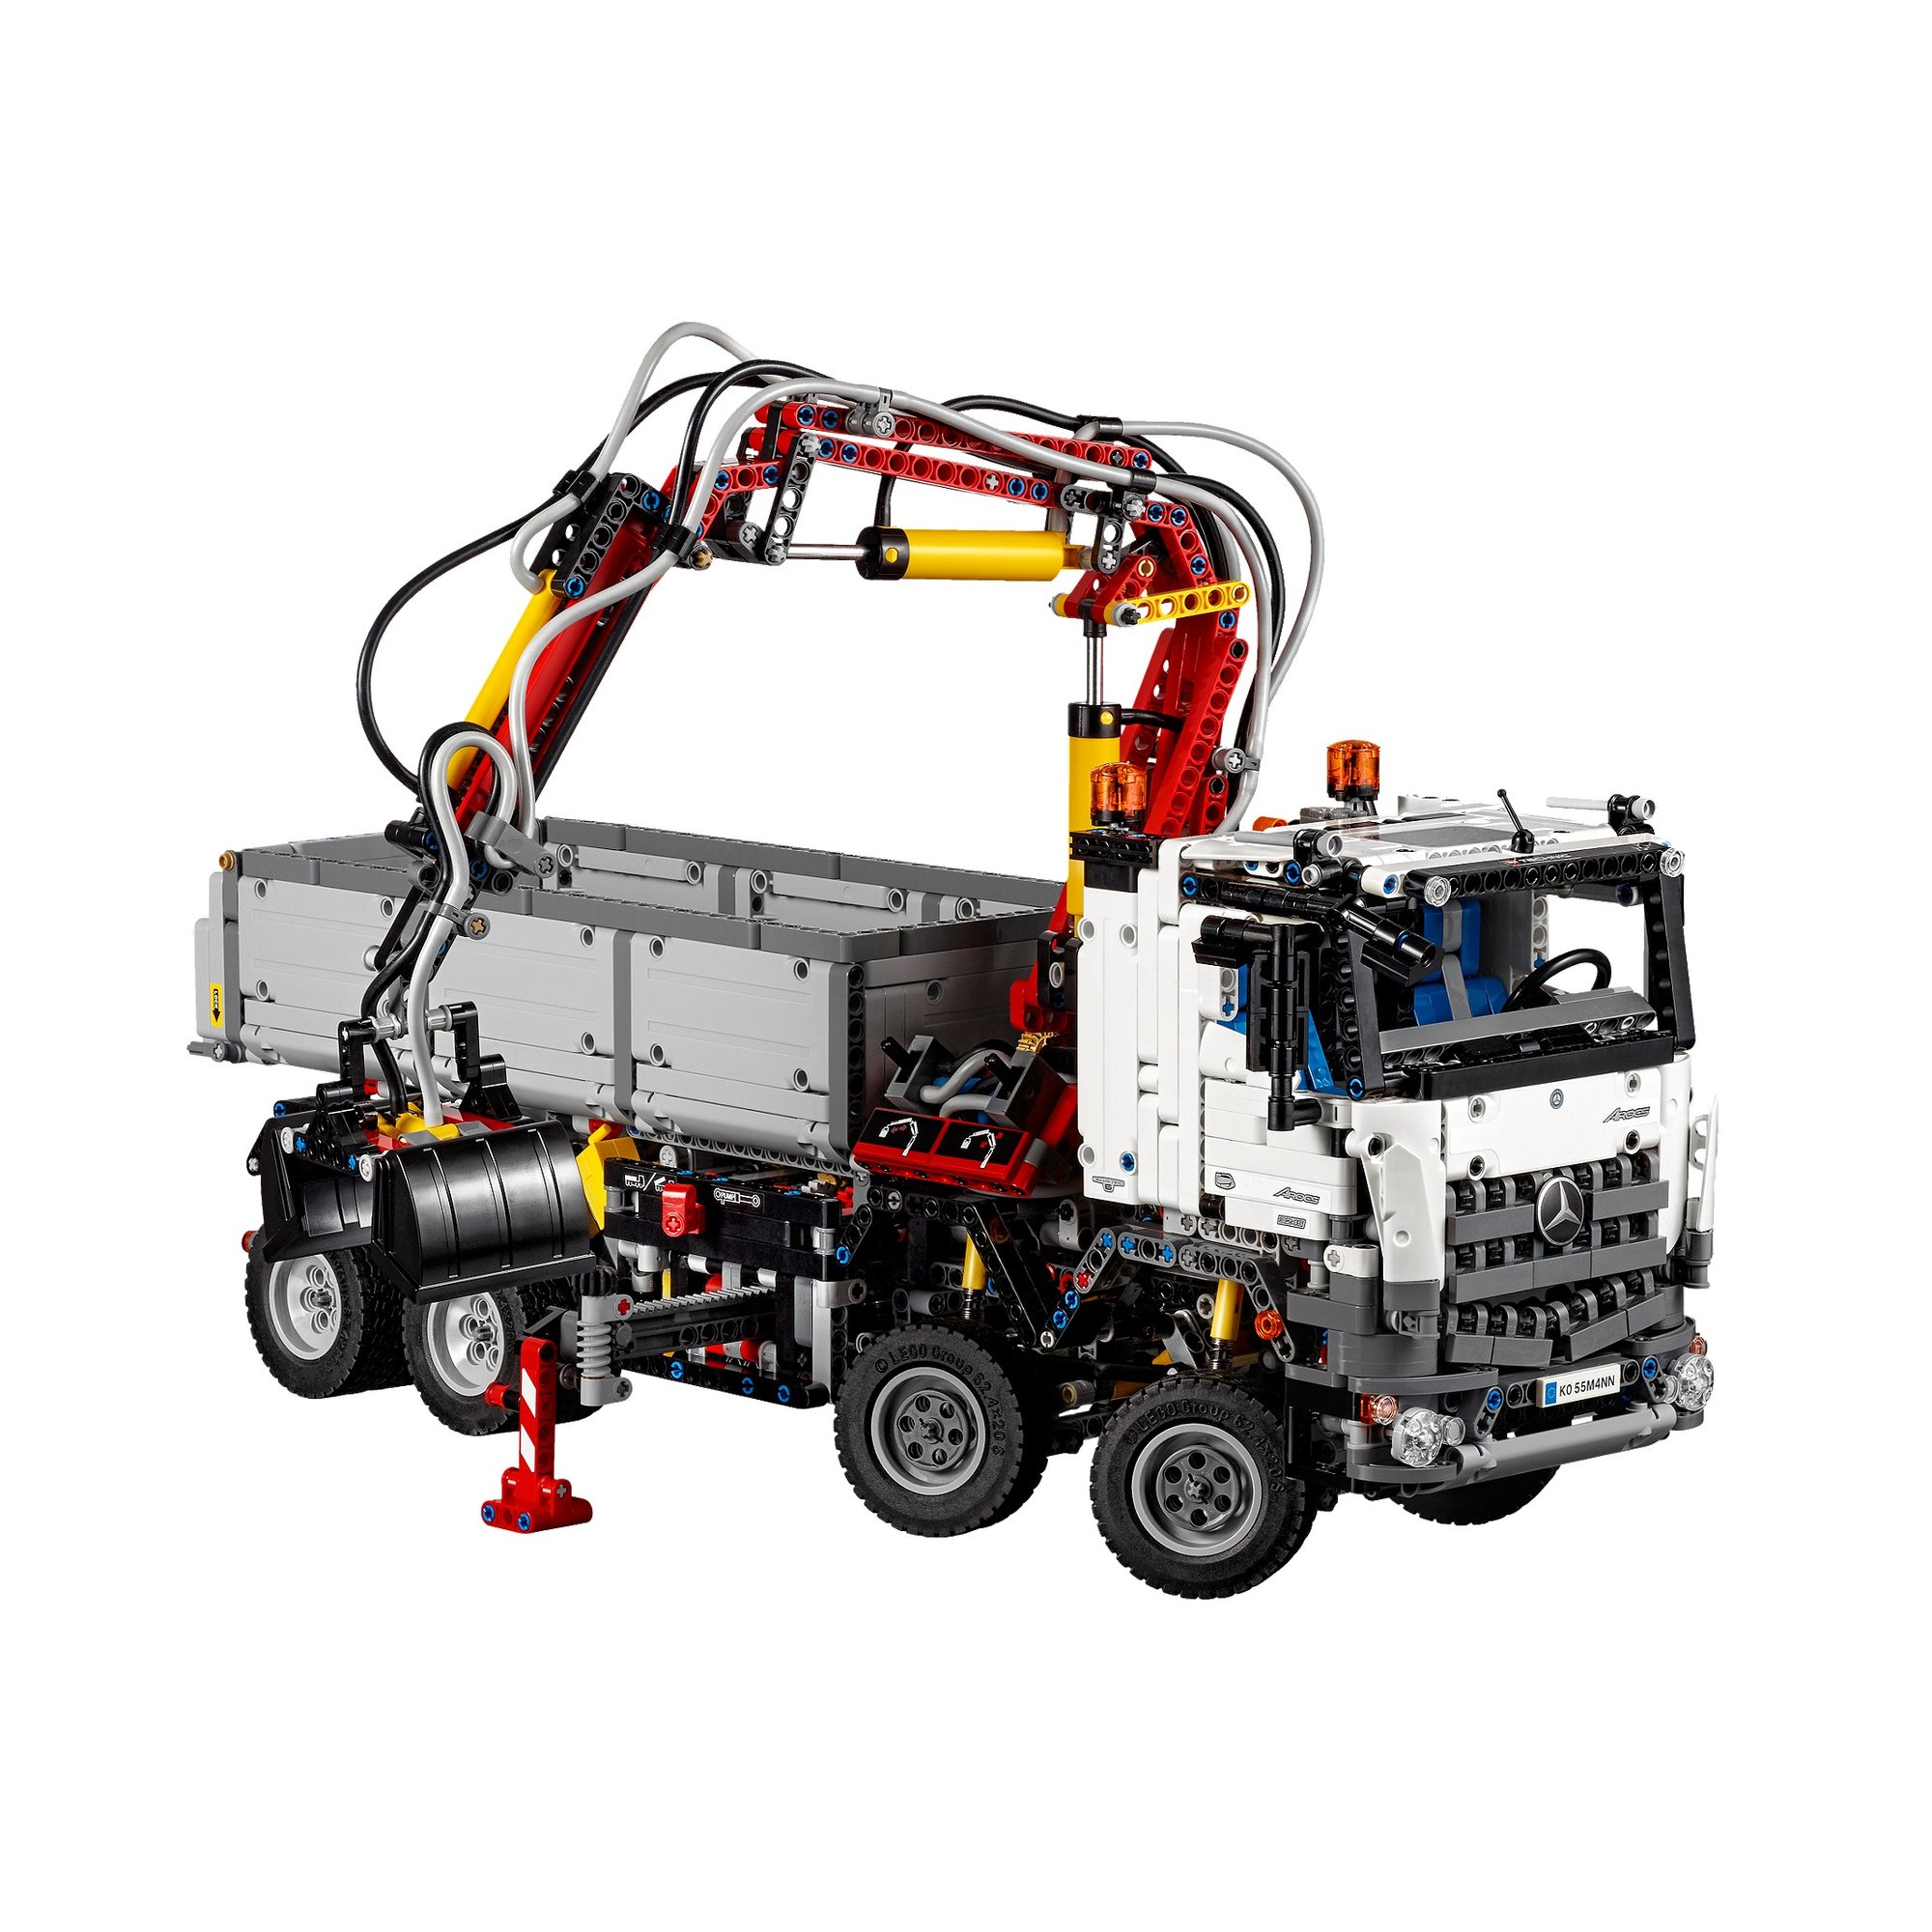
One Power Functions L motor drives everything on this truck. Two levers on the chassis decide what it drives: the outriggers, the crane slew, the tipping bed, or an air pump buried in the gearbox. Four valves then split that air between three rams and a grab bucket. When it arrived in August 2015 it was the biggest Technic set ever made, 2,793 pieces, and the first with LEGO’s redesigned pneumatics and the longer 11-stud cylinders.
It is in the Brick Club library. No member diary yet, so this comes from the reviews written at launch by people who built it, one of whom timed every stage. Below is what each control does, how the six stages split the build, and where the reviewers had to backtrack.

Why this one matters
FlagsNZ on Brickset said the Arocs earned the flagship word properly: the largest Technic set of 2015, the largest ever by piece count, and the one that introduced the new pneumatic system. Jim at Eurobricks went in expecting the Unimog (8110) all over again, a pneumatic crane that did not work too well and a model leaning to one side, and came out calling the rear chassis the turning point of the build and the cab one of the most beautiful LEGO has released.
The box holds 21 numbered bags across six stages, a bag of pneumatic parts with the hoses already cut to length, the L motor in its own bag and the battery box loose. The instructions are one square-bound book, 471 pages for 105 steps. The six stages are separate modules joined at the end, so it splits across evenings without leaving anything half done.
Reviewers in 2015 quoted £169.99, the same as the Volvo L350F (42030) the year before; Brickset’s record now shows £179.99. Thomas Graafland at The Lego Car Blog, who paid for his, gave it 9 out of 10.
What it actually does
One motor, two gear levers, four valves and a switch on the battery box. Jim’s warning first: the levers pick the function, the battery box switch reverses it, and he kept flipping the lever when he meant to reverse.
The L motor sits behind the fake engine, facing backwards, and feeds a two-layer gearbox in the middle of the chassis. The left lever chooses between the outriggers and slewing the crane; the right lever between the air pump and the tipping bed. To reverse, use the switch on the battery box. A white clutch gear in the upper layer stops the motor stalling at the end stops, and the pump sits in the lower layer where you never see it.
Set the right lever to the pump and the motor becomes a compressor. Four valves on the crane base, two a side, route the air: the left pair works the middle ram and the grab bucket, the right pair the lower ram and the third one along the jib. Hoses are colour-coded, blue for supply, grey to extend, black to retract. All three rams are the new 11-stud cylinders, two thick and one thin, and extend to 17; the bucket’s small cylinder goes from 5 to 7. Thomas found all three moves worked seamlessly and called the crane the most fun thing on the truck. Two cautions. Ryan at New Elementary left every cylinder extended, went out for a few hours and came back to find the arm had sunk under its own weight, so close the valves you are not using. And the bucket sometimes sticks shut.
The left lever’s other position turns the crane on the new 60-tooth turntable, the one without inner teeth, which Jim found turns a lot smoother than the old part. It is limited to a half circle facing the rear because eight hoses pass down through the turntable. Thomas thought the speed right for placing the bucket and wanted a little more arc.
The outriggers are the new 15-stud red housing and 14-stud rack, driven in opposite directions from bevel gears under the gearbox. They extend seven or eight studs and the feet are wound down by hand, which FlagsNZ preferred to the powered jacks of the Mobile Crane Mk II (42009). Whether they lift the truck is disputed: FlagsNZ says they are strong enough, Thomas says they will not lift it off the ground but give the crane the stability it needs.
The fourth motorised function. The right lever’s other position drives a single large linear actuator under the bed, fitted in stage three. A handle on the side locks the tailgate, and the bed has practically no gaps, so Thomas could fill it with loose bricks and drive around without losing the load.
Both front axles steer, and the hand-of-god control is the pair of orange beacons on the cab roof; twist either one. Different length links, 9 studs on the first axle and 6 on the second, give 28 degrees at the front and 19 behind it, so the axles track through a corner rather than scrub. Thomas found you have no grip on the slippery beacons and there is some slack in the gears. Jim fitted one 12-tooth bevel the wrong way in stage one and a beacon steered left when turned right.
All four axles are sprung. The front pair are pendular on the stiff yellow shocks. The rear is one unit of two live axles with a differential each, joined through a small turntable so they twist independently. Both rear axles carry twin tyres, the first time since the 8285 Tow Truck in 2006. The rear wheels also turn the inline six under the cab; tilt the cab and you see four of the six pistons. The truck sits high, with about two studs of daylight over the wheels even fully compressed, which Thomas and Jim’s readers both picked on.

How the build goes
Six stages across 21 numbered bags, each a module you can build on its own and join at the end. Jim timed every stage while photographing and reckons you will take 70 to 80 per cent of his times. FlagsNZ says set aside several evenings.
Front chassis, engine and two steering axles
The inline six first, with the L motor behind it facing backwards, then the two steering axles on their pendular suspension. Ryan said the front assembly made his jaw drop. The trap is the 12-tooth bevel gear on the right of the steering linkage, which Jim fitted to match the left one and got reversed steering from one beacon. Turn both beacons before you move on.
Gearbox and outriggers
The shortest mechanical stage. The red rack housings and outrigger racks go in first, then the two-layer gearbox with the blue pump in the lower layer and the white clutch gear in the upper. Ryan thought the red 16-tooth gears too bright for a part you can see. It joins the front chassis at the end of the stage.
Rear chassis, differentials and the tipper ram
The second longest stage and the one Jim called the turning point. The two differentials go in, and the instructions carry an explicit warning about which way they face; ignore it and one axle turns against the other. The linear actuator for the bed goes in here too, and Jim set two pin connectors at the wrong angle around it.
Crane
Two bags, and it still took Jim two hours; FlagsNZ says clear the desk. The 216 mm and 240 mm hoses are easy to confuse. Eight hoses go down through the turntable, and FlagsNZ did that step twice because threading them into the four coloured beams in the instruction order left them tangled. Thread all eight through first, then sort them into the beams. Ryan says run the hoses flat against the back of the crane and do not pull them tight. When the crane meets the chassis the tubing touches a gear and has to be pushed aside; test every function before anything covers it.
Cab
The longest stage and the most rewarding. Front bumper first, then the grille, three rows to the real truck’s four, built from thirty half-pins with bar extensions and a stack of double-split connectors. The star is printed on a shield, not a sticker. Two of Jim’s mistakes to avoid: a pin connector under the steering wheel set so the wheel would not fit, and a diagram error where the cab meets the chassis. The cab tilts forward on liftarms to show the engine.
Tipping bed
Grey panels and liftarms. Jim calls it by far the easiest stage; Ryan found it so repetitive he built it first, before bags one to five, and suggests you do the same. The tailgate lock is the one nice detail.
No member diaries yet, so these come from the launch reviews by Jim, FlagsNZ and Ryan. Each is a place a reviewer went wrong.
- The bevel gear in the steering, stage one. Jim set the right-hand 12-tooth bevel to match the left and one beacon steered backwards. Test both beacons before the gearbox goes on.
- The differentials, stage three. The instructions print an explicit warning about their orientation. Read it. One facing the wrong way turns that axle against the other.
- Eight hoses through the turntable. Thread all eight through before sorting them into the coloured beams, or they tangle in the turntable and hamper the slew. Check 216 against 240 mm before you push a hose on.
- Mating the crane to the chassis. The hoses at the base press on a gear and there is real strain on them; Jim thought some could be cut shorter. Push them aside, seat the crane, then run every function once.
- The lever and the battery box switch. Levers choose, the battery box reverses. And close the valves you are not using, or the arm sinks.
On the shelf
Jim measured it at 54 cm long and 15 cm wide, 23 cm high without the crane and 51 cm with it. The crane sits about ten studs above the cab roof even folded, which Thomas thought looked tall from ground level and fine from above. Jim reckoned the second front arch could sit a stud lower.
Stickers are few, and Ryan built without them to prove it still looks right. The number plate reads as Kossmann, the designer’s name. The white cab split opinion: Thomas found it clean but dull, Jim called it one of the most beautiful cabins LEGO has released once he saw it in person. The doors open onto a basic interior, two blue seats, a wheel and a printed dash. The box, for once, folds flat.

This is the one for you if you want a full weekend of chassis work and a crane that does something at the end of it. Jim took ten hours photographing as he went and reckons eight without; call it three evenings. Test the steering before stage two, read the differential warning in stage three, thread the turntable hoses before you sort them, and run every function the moment the crane is on. If you want to watch the engine or feel a soft suspension, this is not the one. If you want a pneumatic crane with a motor behind the pump, it is.
If you like this one, try
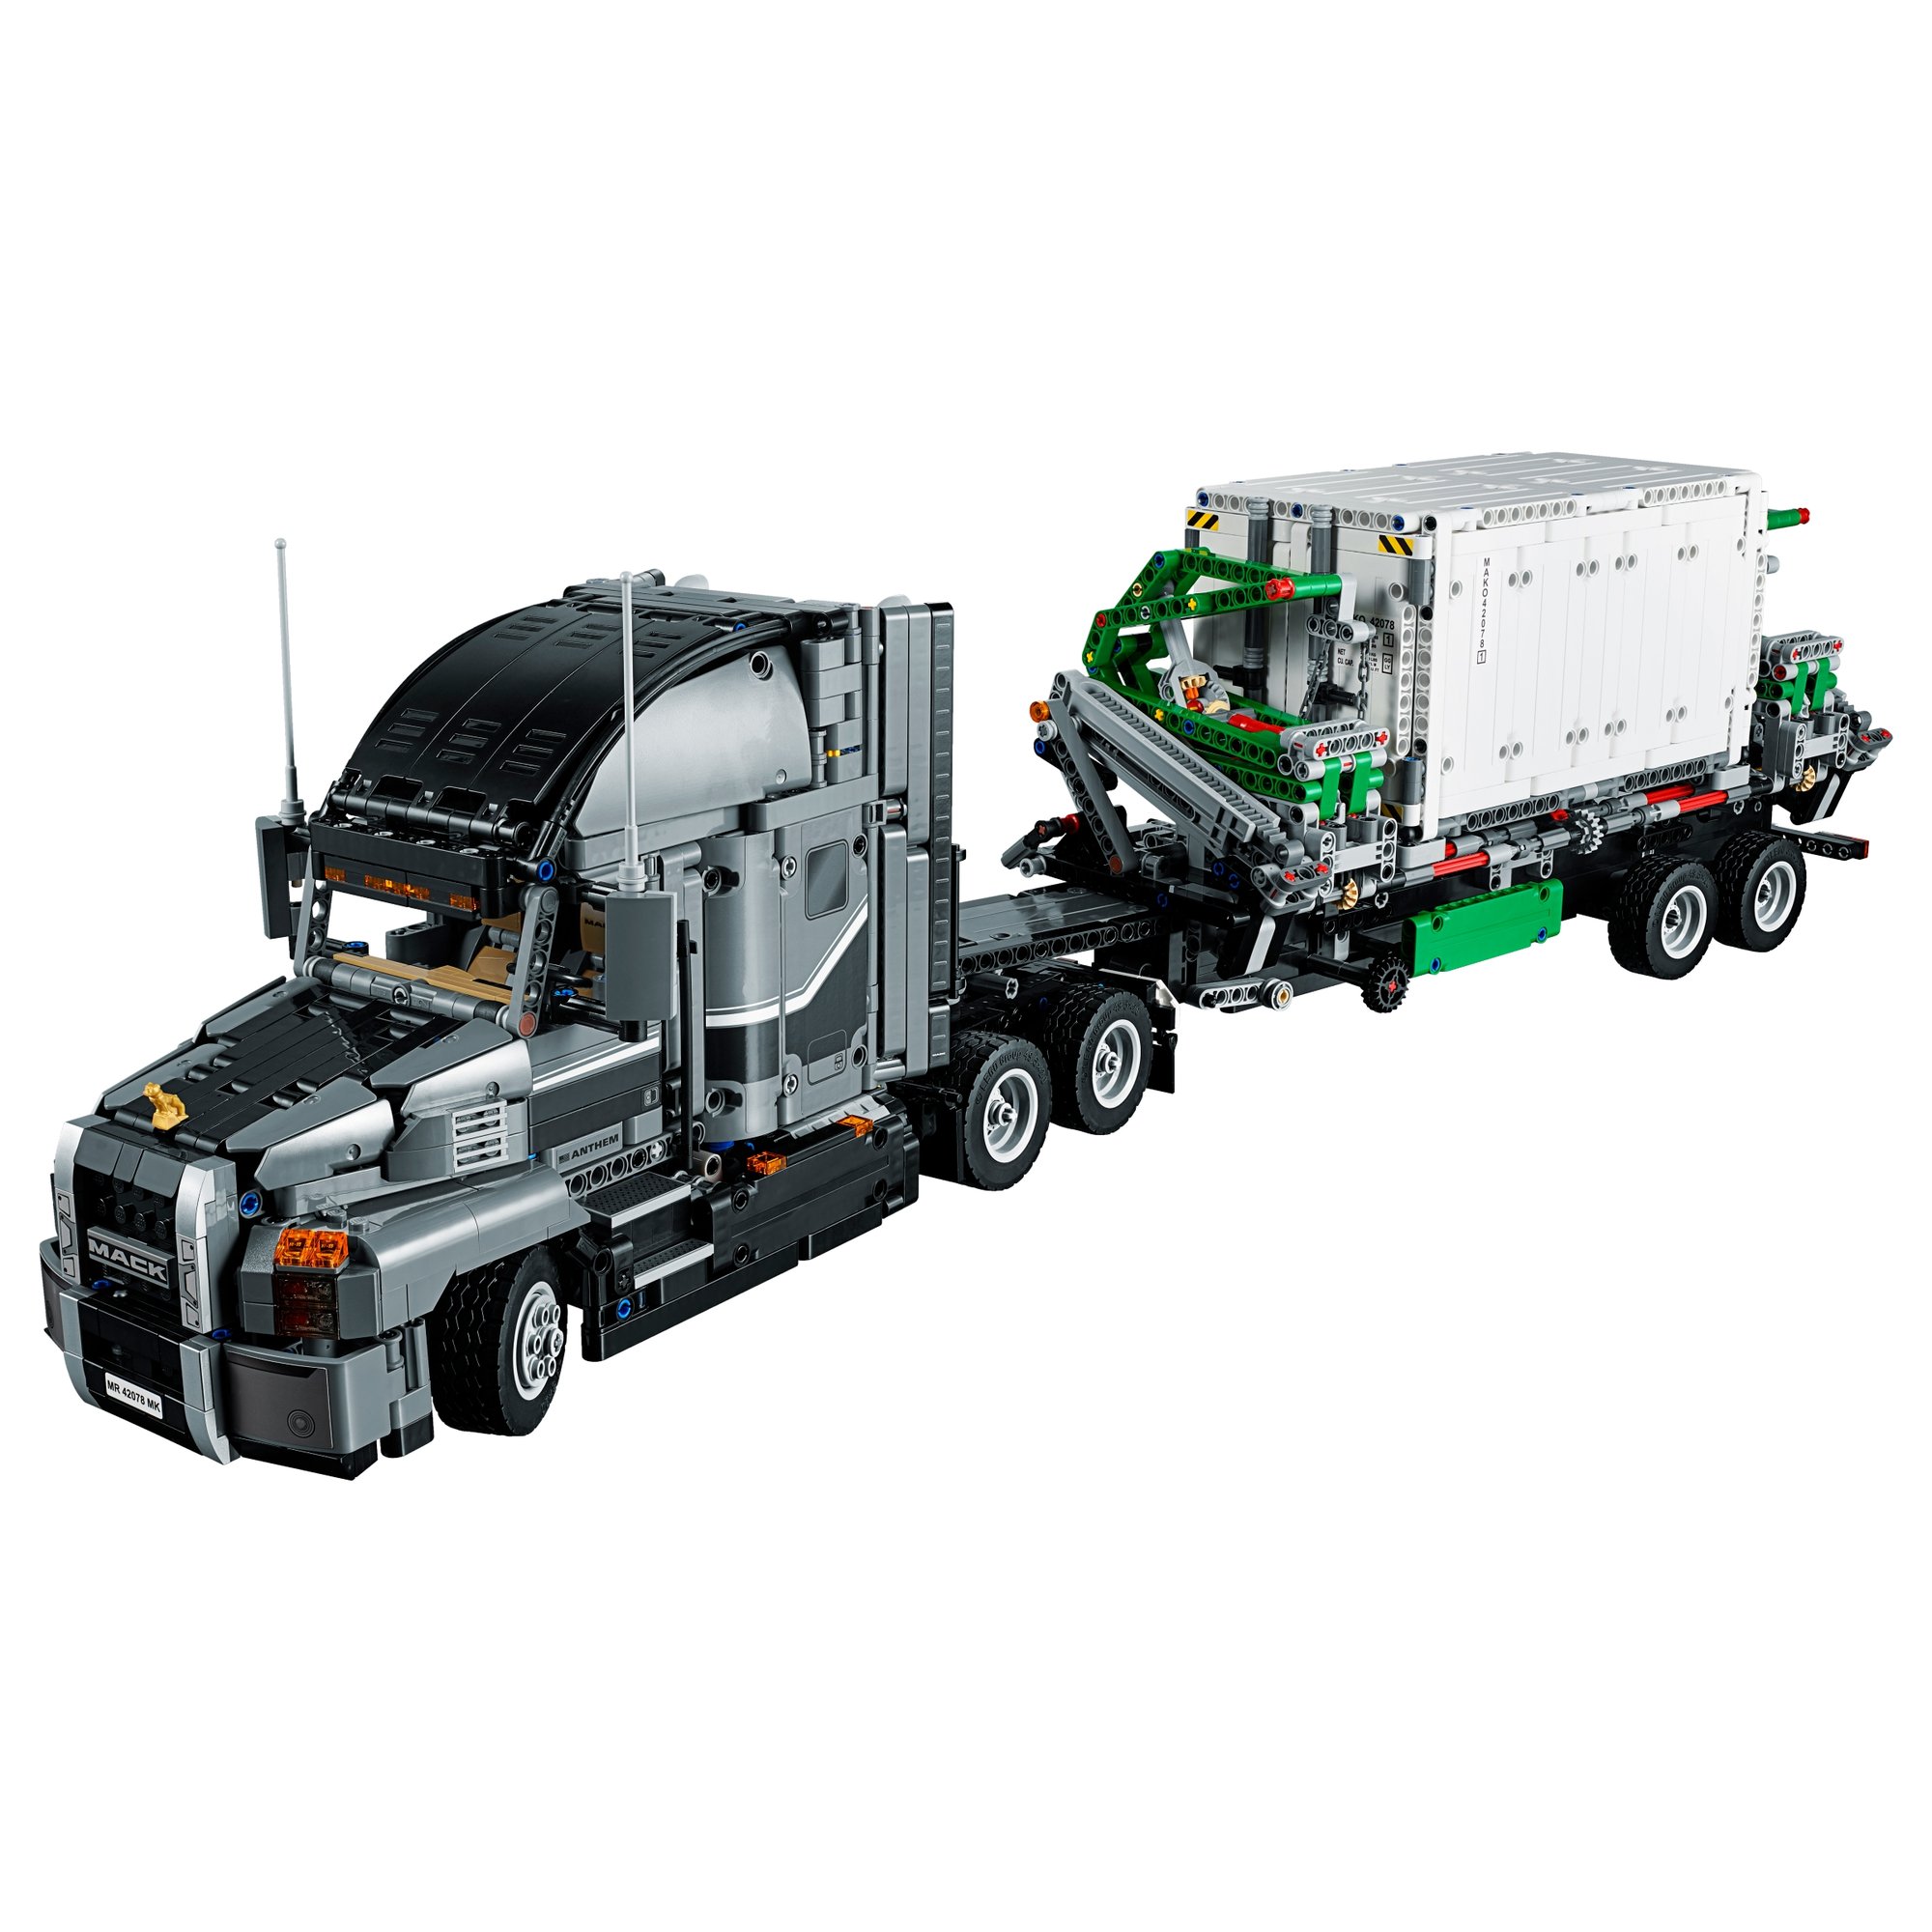
The other big trucks in the library. The Heavy-Duty Tow Truck (42128) is the hand-pumped pneumatic set from six years later; the Service Truck (42008) is the earlier motorised crane truck; the Volvo hauler (42114) has the other tipping bed; the Mack Anthem (42078) is the other truck at this scale.


The Arocs is in the library
Technic Fan gets up to 6 kits a year, Master Builder up to 12. Delivery both ways is included and the prepaid return label is in the box.