

Mercedes-Benz G 500 PROFESSIONAL Line (42177): three differentials and two locks
Most big Technic cars are about a gearbox. This one is about what happens after it. The G 500 has three differentials, front, rear and centre, and two of them can be locked. That is the whole point of the real Professional Line G-Class, and it is the part of this model you will end up demonstrating to people. Around it sits a two-range gearbox with forward and reverse, a six-cylinder engine, soft sprung suspension and a body in a colour LEGO had only just introduced when the set came out in August 2024.
It is in the Brick Club library. Below is what it does, how the twenty bags split the build, and where the one full review we have found says to slow down.

Why this one is different
LEGO and Mercedes built this to mark 45 years of the G-Class, and book one opens with that history. The designer is Milan Reindl, whose name and photo are printed in the instructions. The number plate reads S G 1979: S for Stuttgart, G for the model line, 1979 for the year the first G-Wagen was built. It is the only plate sticker in the set.
Size-wise it sits in the gap Branko at The Rambling Brick calls the biggest that is not huge: 43 cm long, shorter than the 1:8 supercars but larger than most other Technic sets, and at 2,891 pieces one of the bigger boxes in our library. More than 700 of those pieces are pins, which tells you how the chassis goes together.
The colour is the other thing. LEGO calls it reddish orange, it was new in 2024, and Branko counted 354 parts from the set not yet listed on LEGO.com when he built it, a sign of new pieces and recolours. Every orange piece in the box is the same shade, which has not been true of some recent sets. The stickers are a slightly darker orange than the plastic, the one place the match slips.
What it actually does
Everything is manual. The review we lean on is Branko’s at The Rambling Brick, because he is the only reviewer in our file who built the set rather than reporting the announcement. Where he does not say how a function is worked, I have left that out rather than guess.
The gearbox goes together early, in colour-coded gears, and carries three selections: high or low range, forward or reverse, and a third selector Branko first describes as front-wheel drive or four-wheel drive and later as the lock on the centre differential. Those are the same thing from different ends: engaged, front and rear axles turn together. Our listing counts the ranges and directions together and calls it a 4-speed gearbox. The orange shifter fork inside had been in only one set before this, the year before; this and one other August 2024 set were the second and third.
The front differential is a plain open one, so the front wheels can turn at different speeds through a corner. The rear one can be locked, which ties the rear wheels together so that a wheel in the air does not spin freely while the car sits still. The third sits between the front and rear axles, and locking it puts the car in proper four-wheel drive. Branko filmed the effect with the locks in and out, and it is the clearest demonstration of what a diff lock is for that I have seen in a Technic set. He had to swap the engine for an electric motor to film it, so the whole drivetrain is one connected path.
A row of pistons sits on top of the gearbox and turns when the car is rolled. Brickset tags the set with an inline six and our listing says the same; Branko’s review says six in one paragraph and eight in another, so I am going with Brickset. His complaint is fair: once the engine top goes on, the pistons are all but hidden, and even with the bonnet up you see the cover rather than the movement. Enjoy the bare row before the cover goes on.
The front suspension is the first thing you build and it uses two different types of spring, which gives a softer ride than the supercars and is the right call for an off-roader. Branko singled out how smooth it is on the finished model. The stance is raised, as on the real car, and there is working steering, although none of the reviews in our file says where it is driven from, so I will not.
All five doors open and each has a working latch, which is more than most Technic cars bother with. The roof has an opening window, there is a boot behind the rear bench, and the bonnet is on a slightly flexible hinge so that it closes flush and still opens fully. The side effect is that it will also close at an angle. The spare wheel has two mounting options: the instructions build a minimal carrier first, then show how to convert it into the heavier one.


How the build goes
Twenty numbered paper bags plus two plastic bags and five wheels, with two thick instruction books. The reviews in our file do not give a build time; two or three evenings is our estimate, with the first on the chassis.
Front suspension, steering and the gearbox
The first two bags are the front suspension and steering, including the two spring types. Then the gearbox, built from colour-coded gears, with high and low range, forward and reverse and the centre selector in one block. Test it before anything goes on top: turn the input by hand and click through every position, because the engine sits directly over it.
Engine, rear frame and the buggy
The pistons go on, then the engine top covers them. The frame is extended backwards, the rear differential with its lock goes in, and once the wheels are on you have a rolling buggy with every function working. Branko found himself driving it round the desk at this point. Try the diff locks now, while you can still see them.
Cage and rear bench
A cage goes over the buggy, which makes it look like a very old car for a while. The rear bench mounting is the confusing step in the set: the instructions give it three pages and the reviewer still could not match what he built to the drawings. Read those pages before you start them.
The orange period: doors, seats, dash, grille and bonnet
The orange pieces start appearing around bag nine and from here the outside takes shape. Doors with their latches come first, then the front seats, more doors, the dashboard and the front grille with the bonnet on its flexible hinge. The larger stickers go on at the back, and this is where you notice they are a shade darker than the panels.
Roof, spare wheel, rack and storage case
The car looks finished with three bags to go. Those build the roof with its opening window, the spare wheel carrier, the rack round the roof and the grey storage case on top. The spare gets its minimal mount first and the heavier conversion afterwards, so decide which look you want before you fit it.
One full review and two member diaries so far. Between them, these are the points to slow down for.
- The rear bench. Three pages of instructions for one seat, and the reviewer still ended up guessing at a position that looked logical. If the paper drawings do not make sense, Branko’s suggestion is to try the digital instructions in the LEGO app instead.
- The roof box lid. It attaches with two of the short 2-module bushes at once, they are stiff to push home and they wobble until both are seated. Line both up before pressing either fully in.
- High range under load. When Branko drove the gearbox with a motor for his video, high gear would not carry the drive unless he held the gearbox together by hand. If high range skips when you roll it, check the gearbox block is squared up and pinned tight before the body goes on.
- Stickers on the back. The rear panels carry the largest stickers and the orange on them is darker than the plastic. Apply them with the panel flat, and know that the model looks fine without them.
- The bonnet hinge. It is meant to flex so the bonnet closes flush. If yours closes at an angle, that is the hinge doing its job, not a mistake; push it down square.
On the shelf
Finished, it is 43 cm long, 20 cm wide and 22 cm tall including the rack and case, so it needs less shelf length than the supercars but more height. The orange is strong under daylight and the black rack and arches keep it from looking like a toy.
Minifigures are dwarfed by it. Branko found that a family of miniland-scale figures fits the seats, which is worth knowing if you like to pose a driver. Leave a door open on display: the latches are one of the details people reach for.
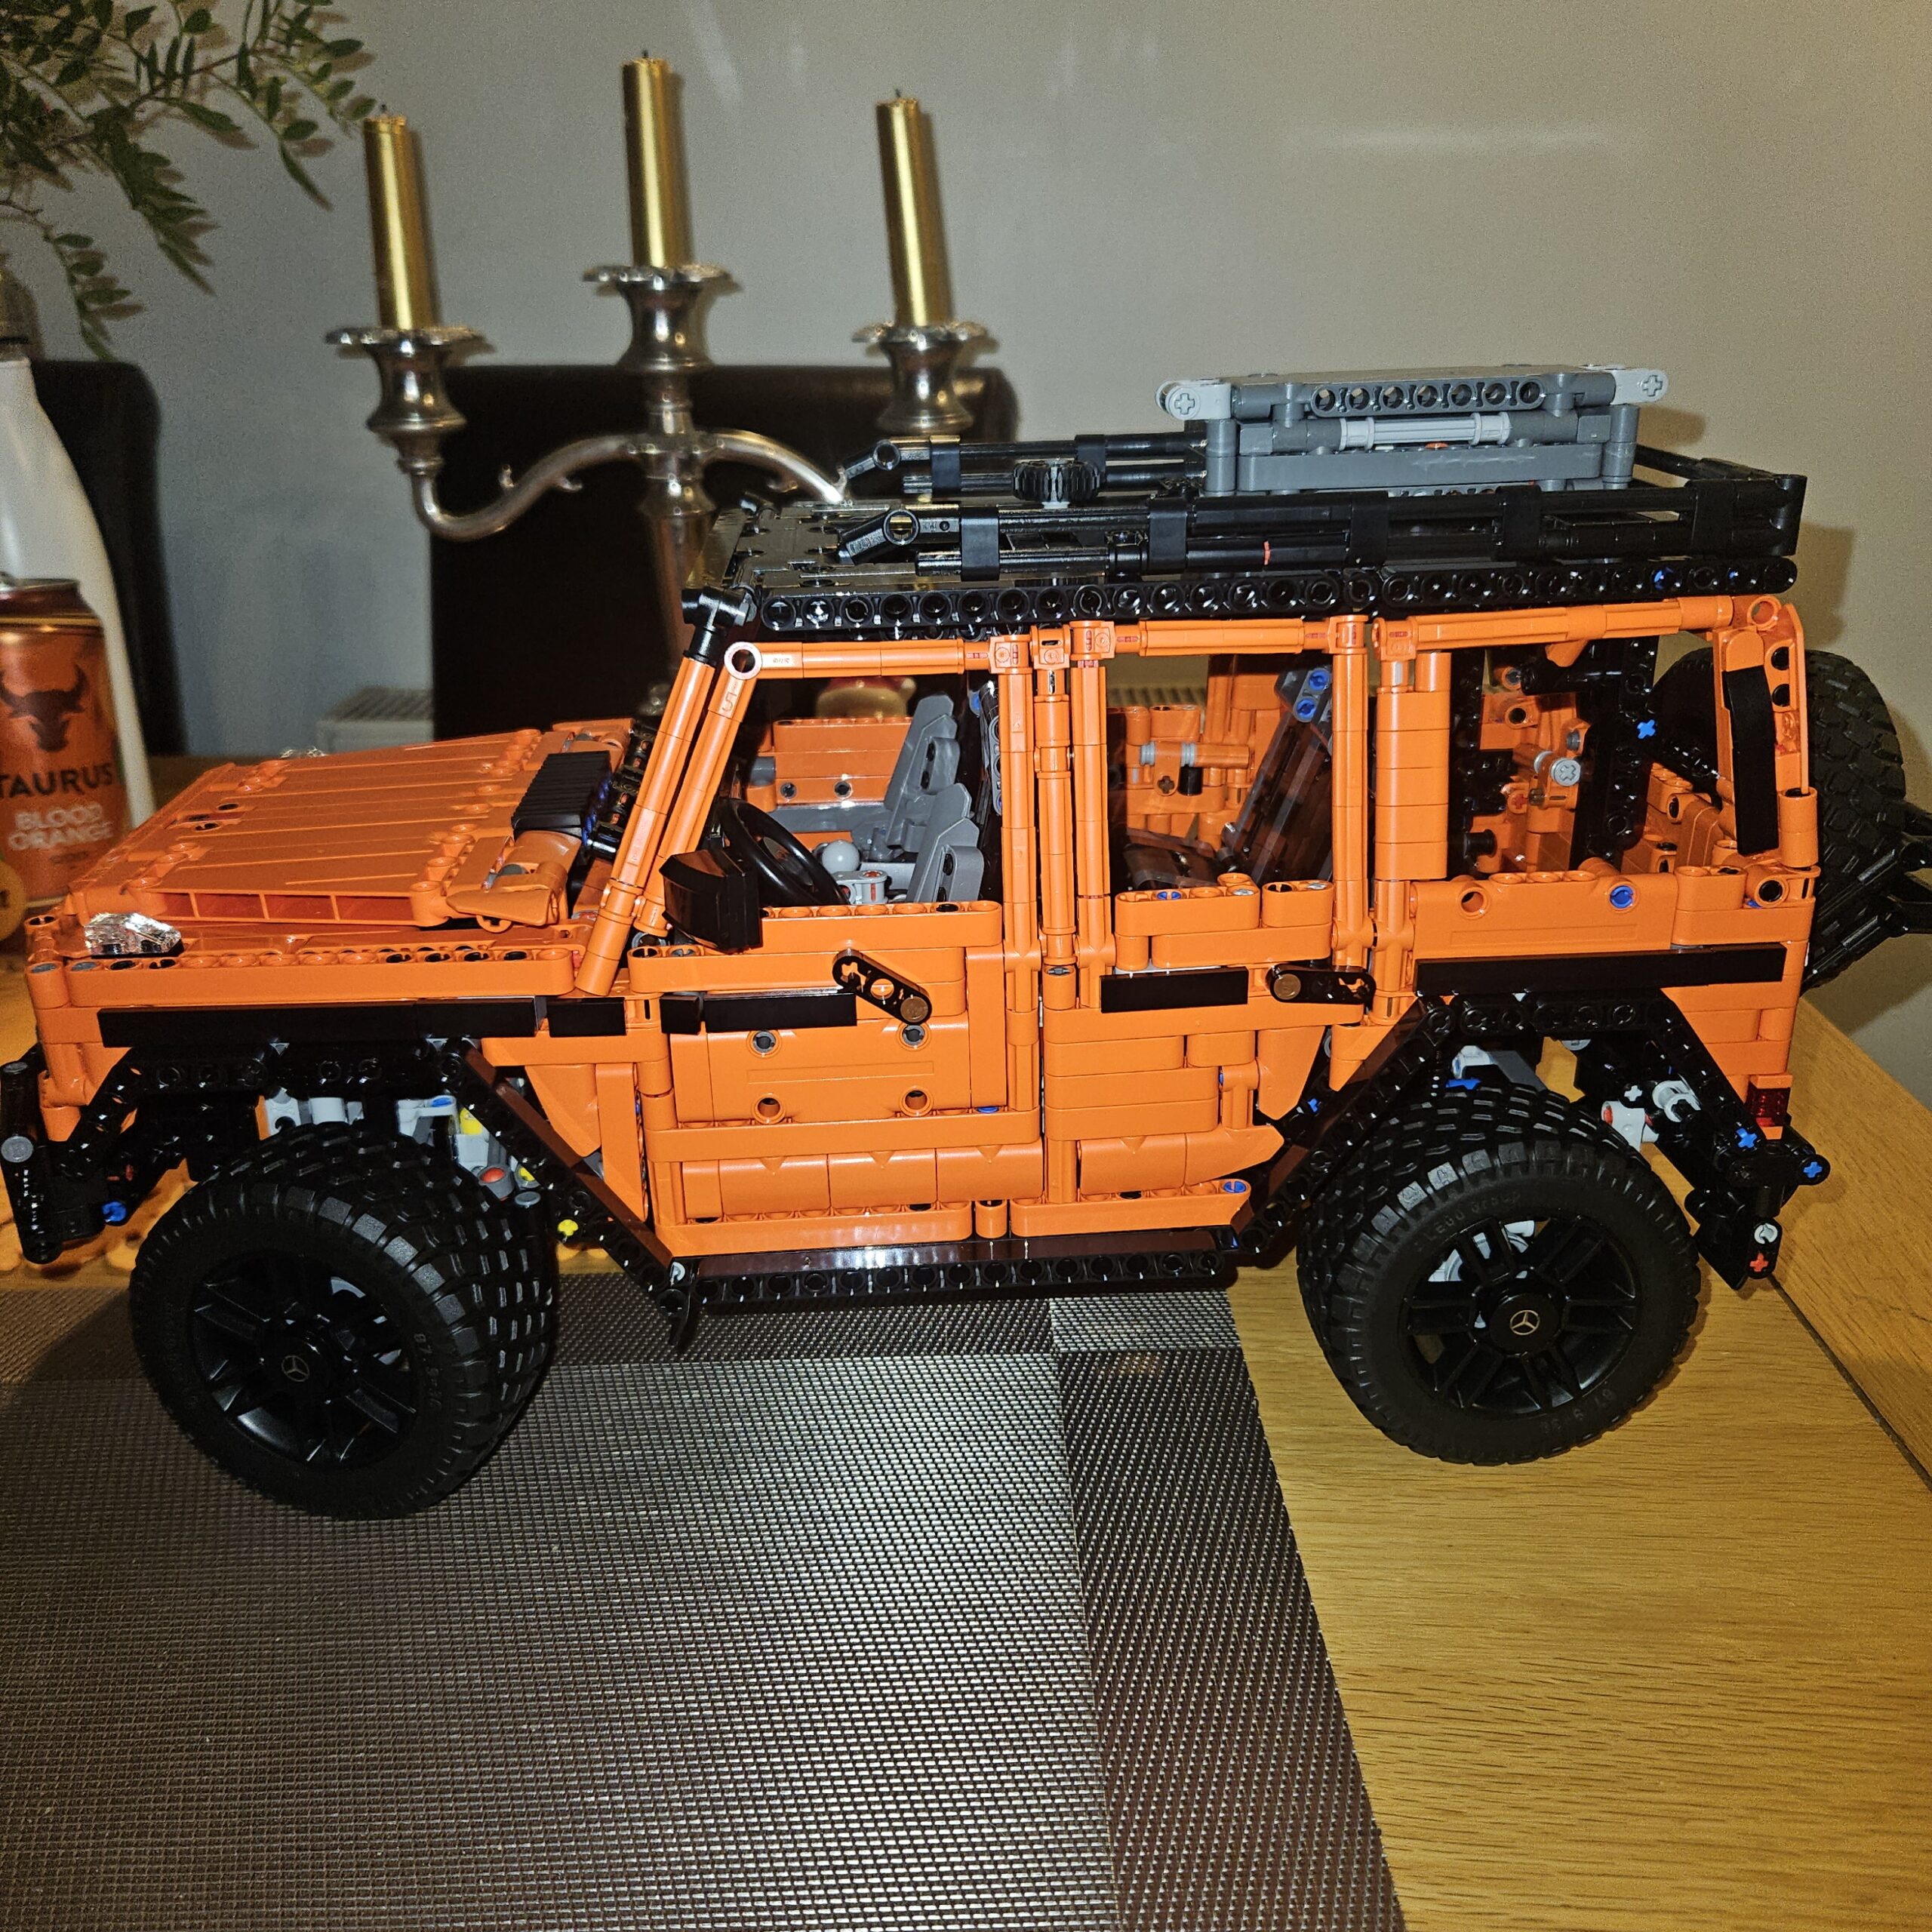
Members who have built it
Two members have built this one and written it up. One sent photos, which are below with the diary linked under each.
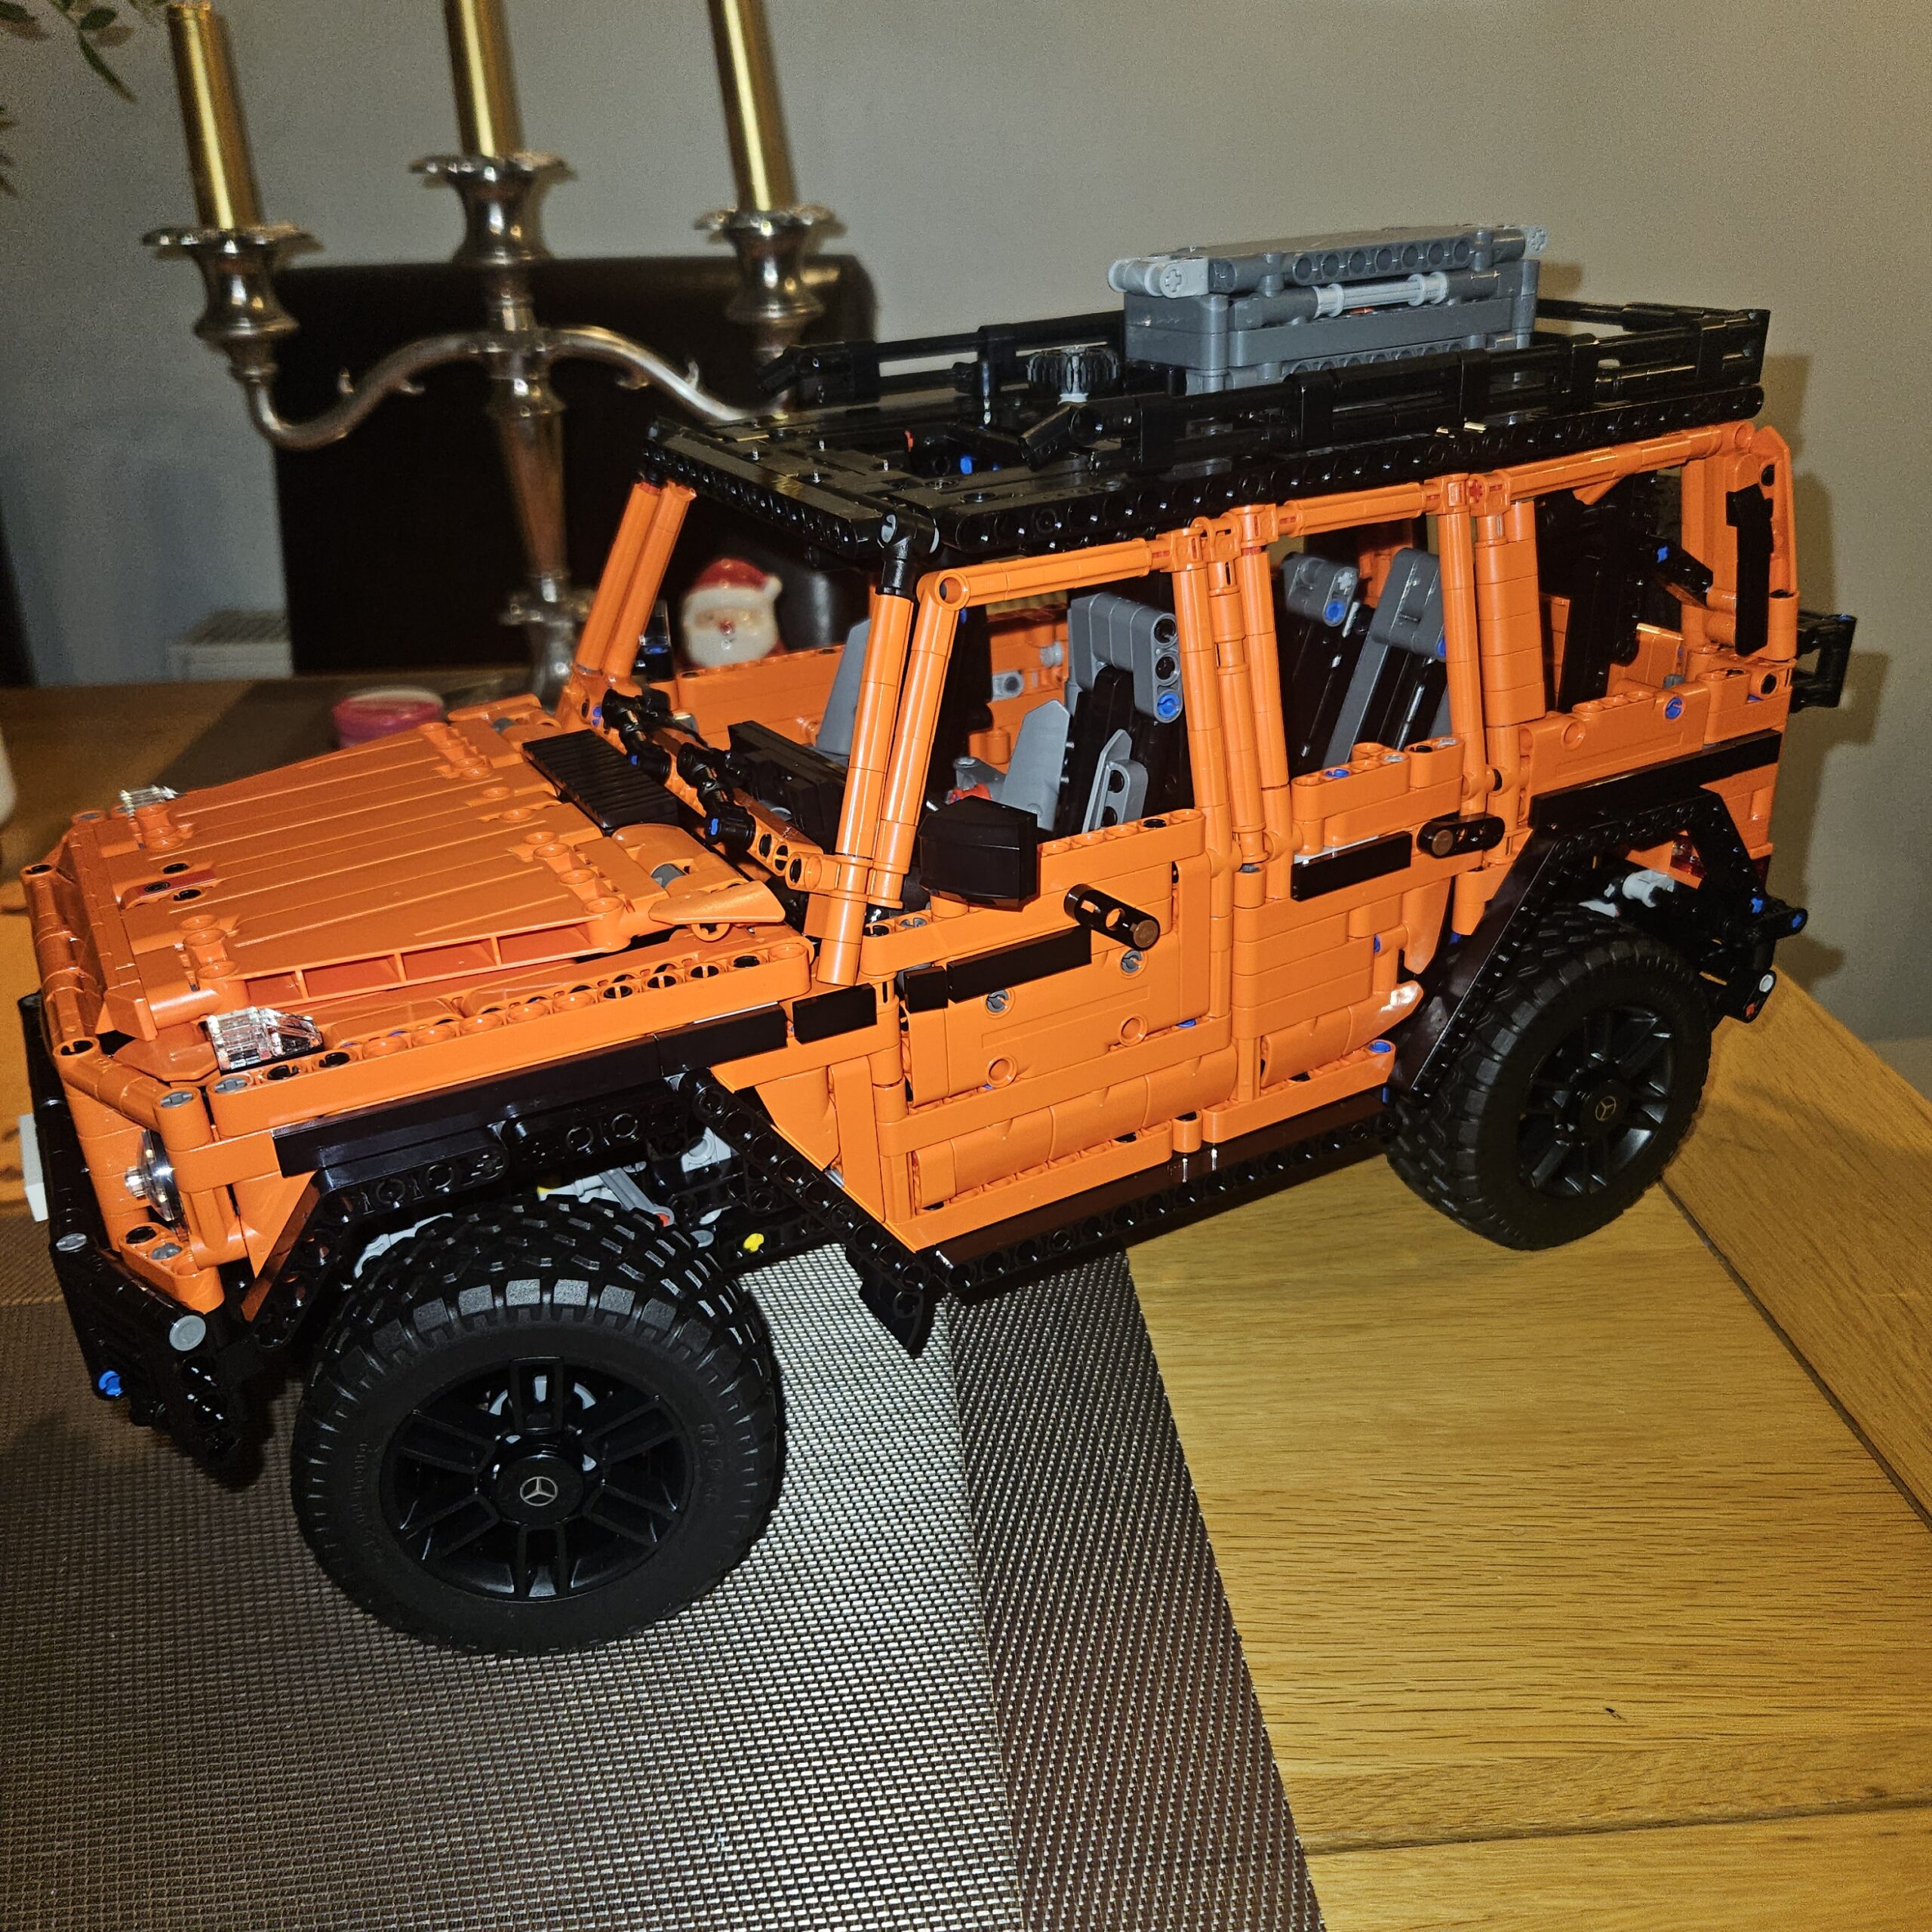
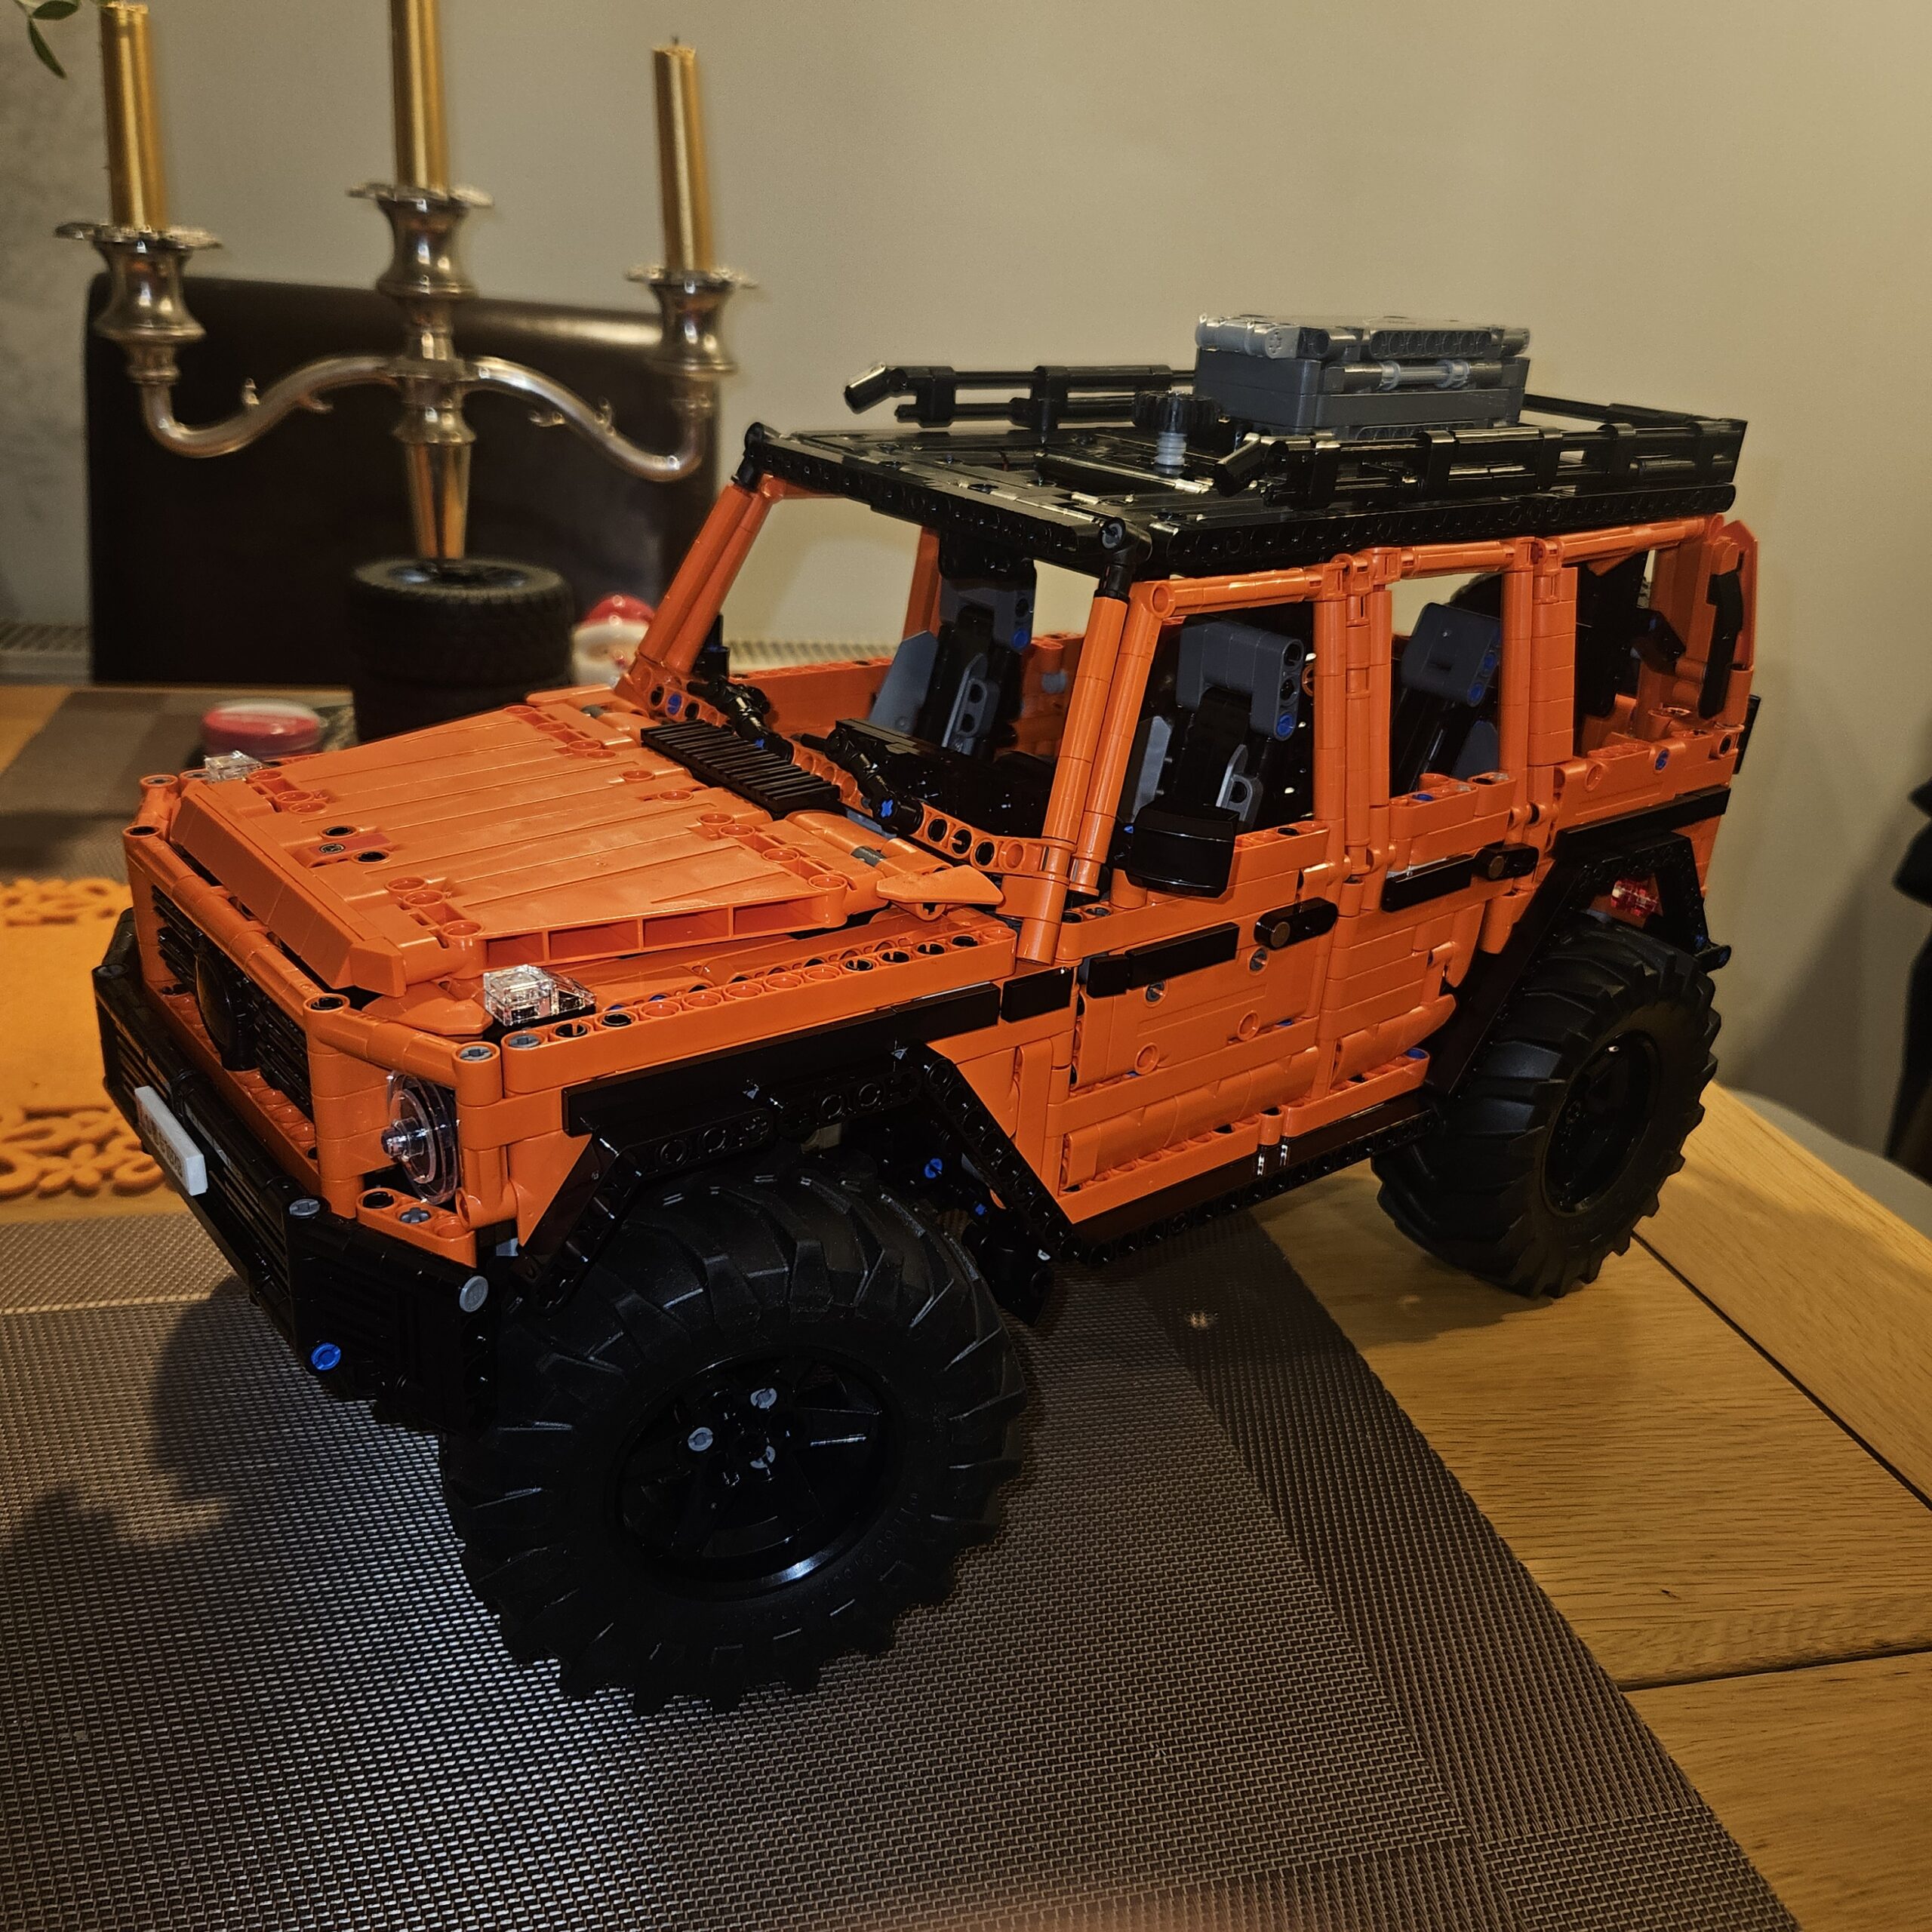
This is the one for you if you want to understand a four-wheel-drive drivetrain rather than a gearbox. The differentials and their locks are what you will keep coming back to, and the buggy stage is worth pausing on before the body hides everything. Allow two or three evenings, test the gearbox before the engine cover goes on, and read the rear bench pages twice. If you would rather have a supercar, the McLaren P1 (42172) was revealed the day before this and is also in the library. The Land Rover Defender (42110) is the closest thing to it on our off-road shelf.
If you like this one, try
The other off-road and 4×4 kits in the library. The Defender is the obvious comparison; the Zetros, the X-treme Off-Roader and the Audi are app-controlled if you want the drivetrain to move under its own power.
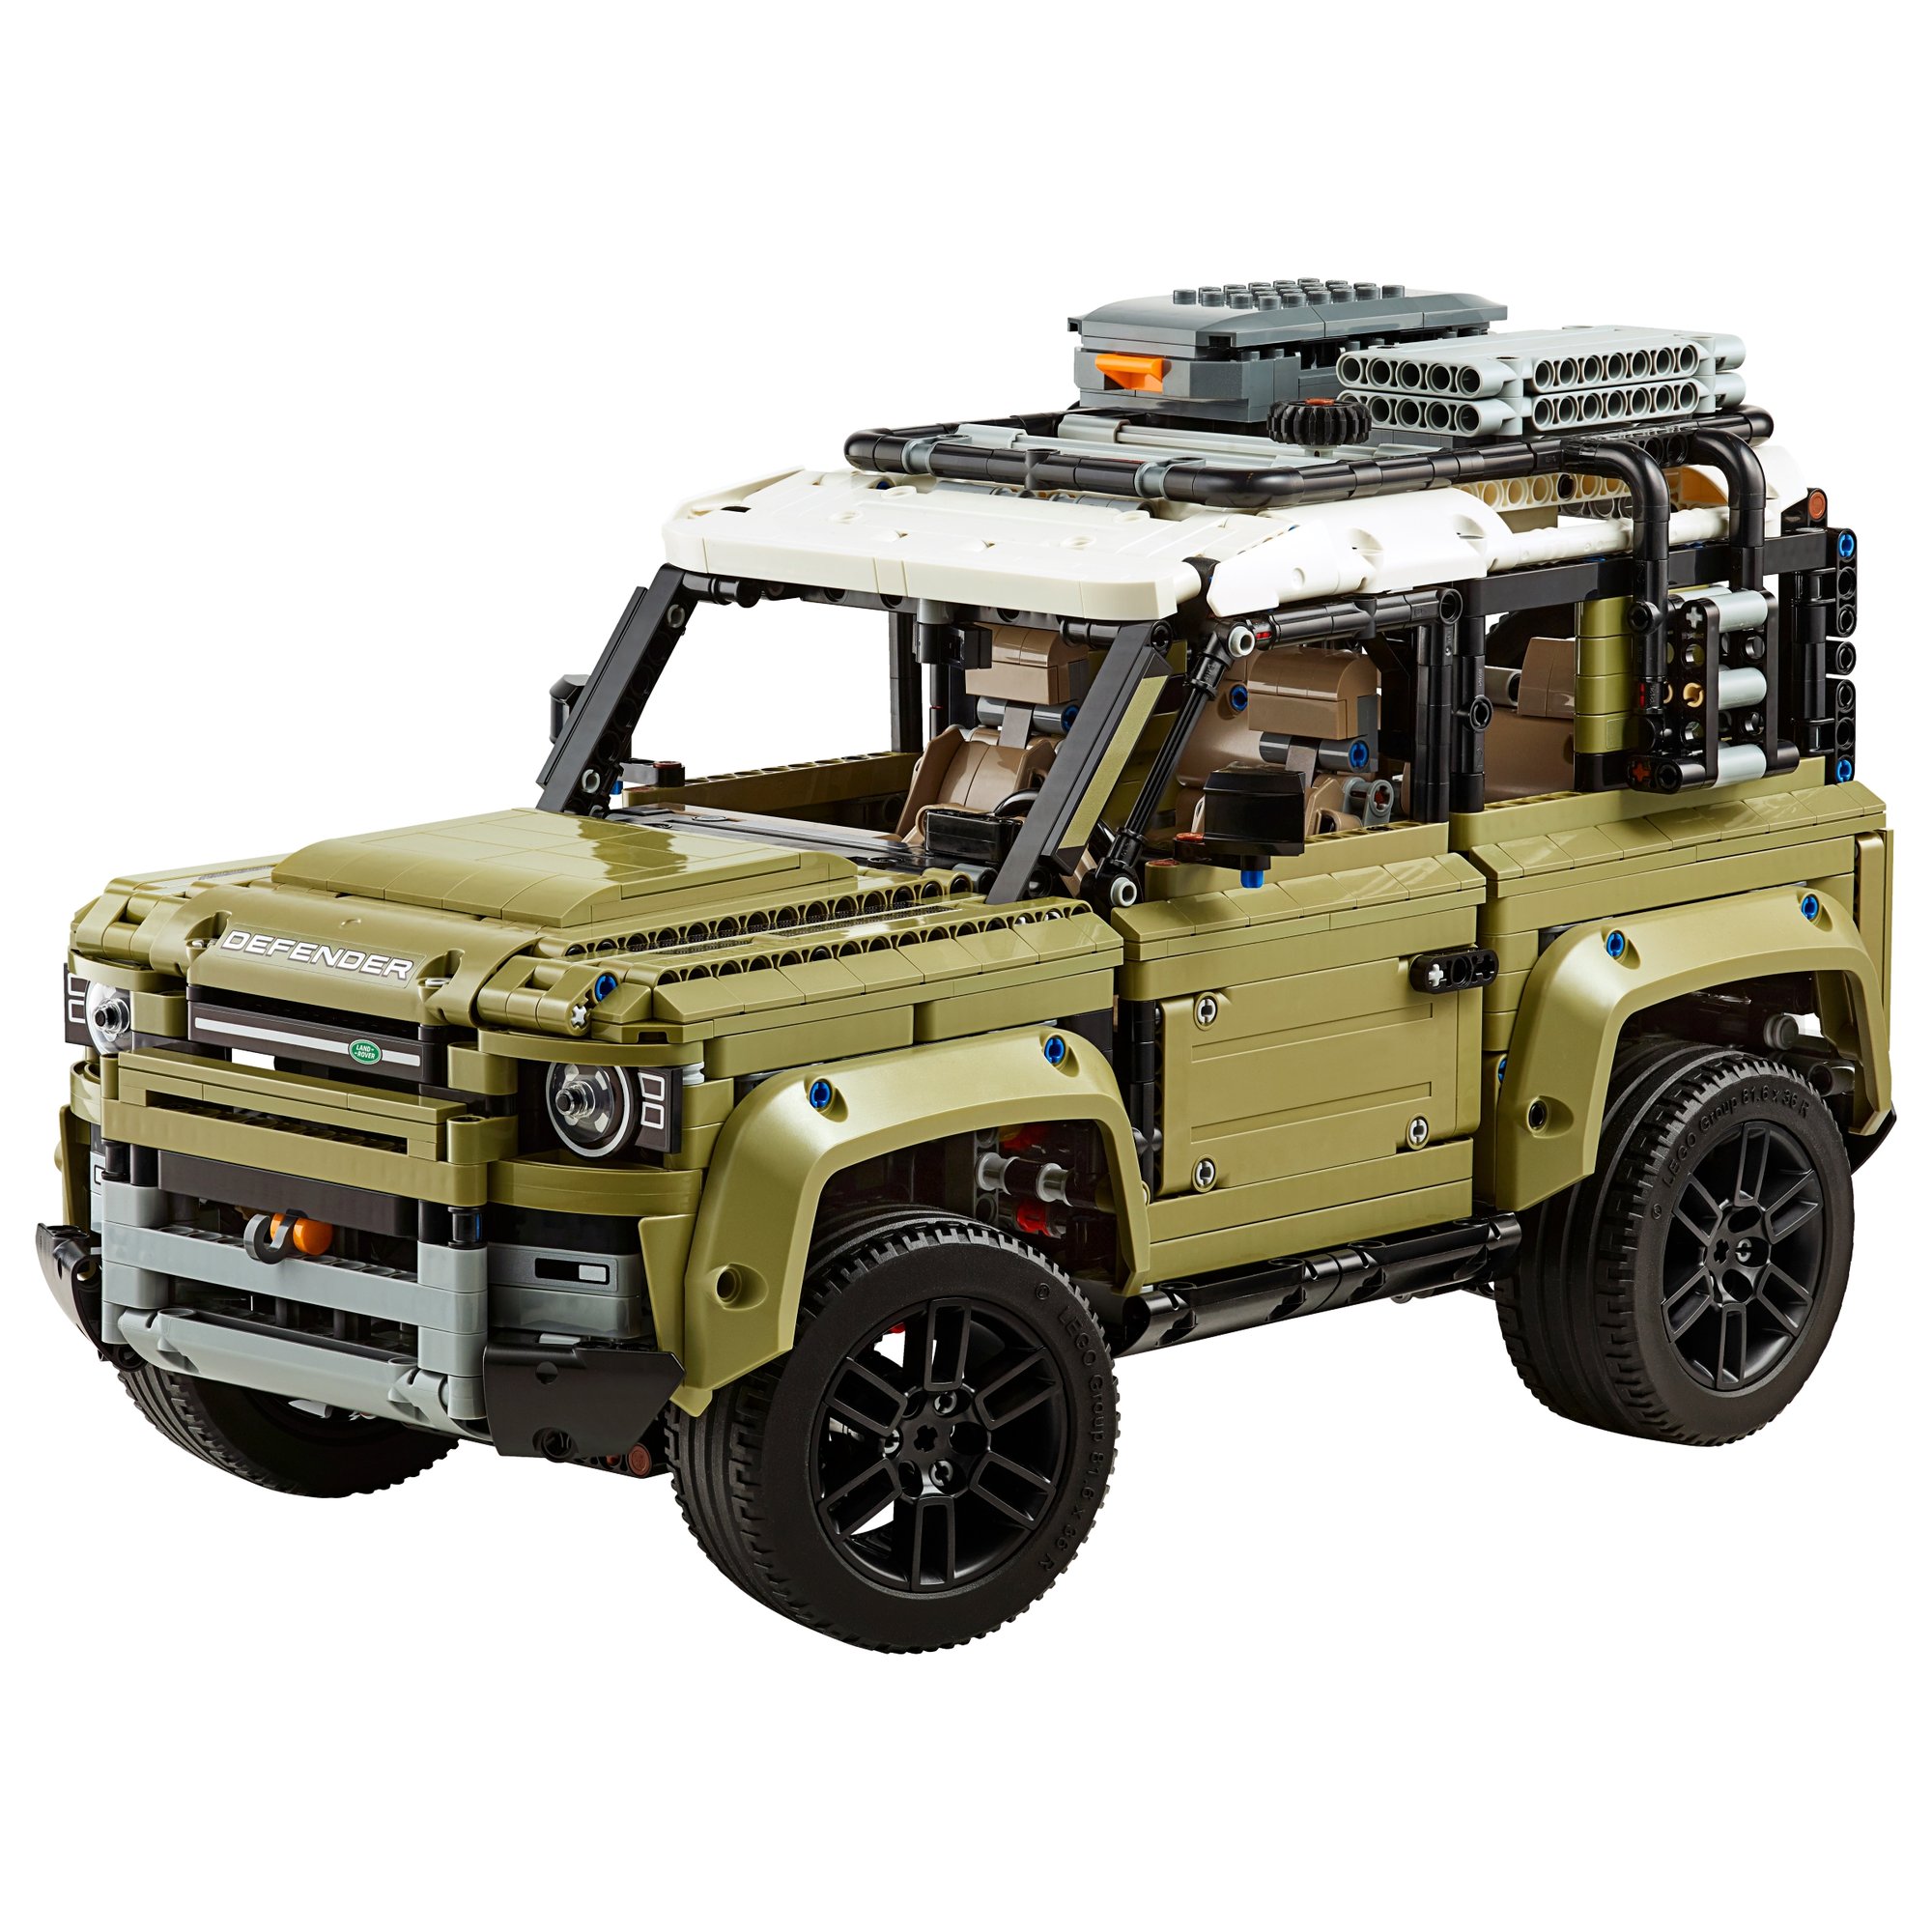


The Mercedes-Benz G 500 PROFESSIONAL Line is in the library
Technic Fan gets up to 6 kits a year, Master Builder up to 12. Delivery both ways is included and the prepaid return label is in the box.