

NASA Mars Rover Perseverance (42158): six wheels that stay on the ground
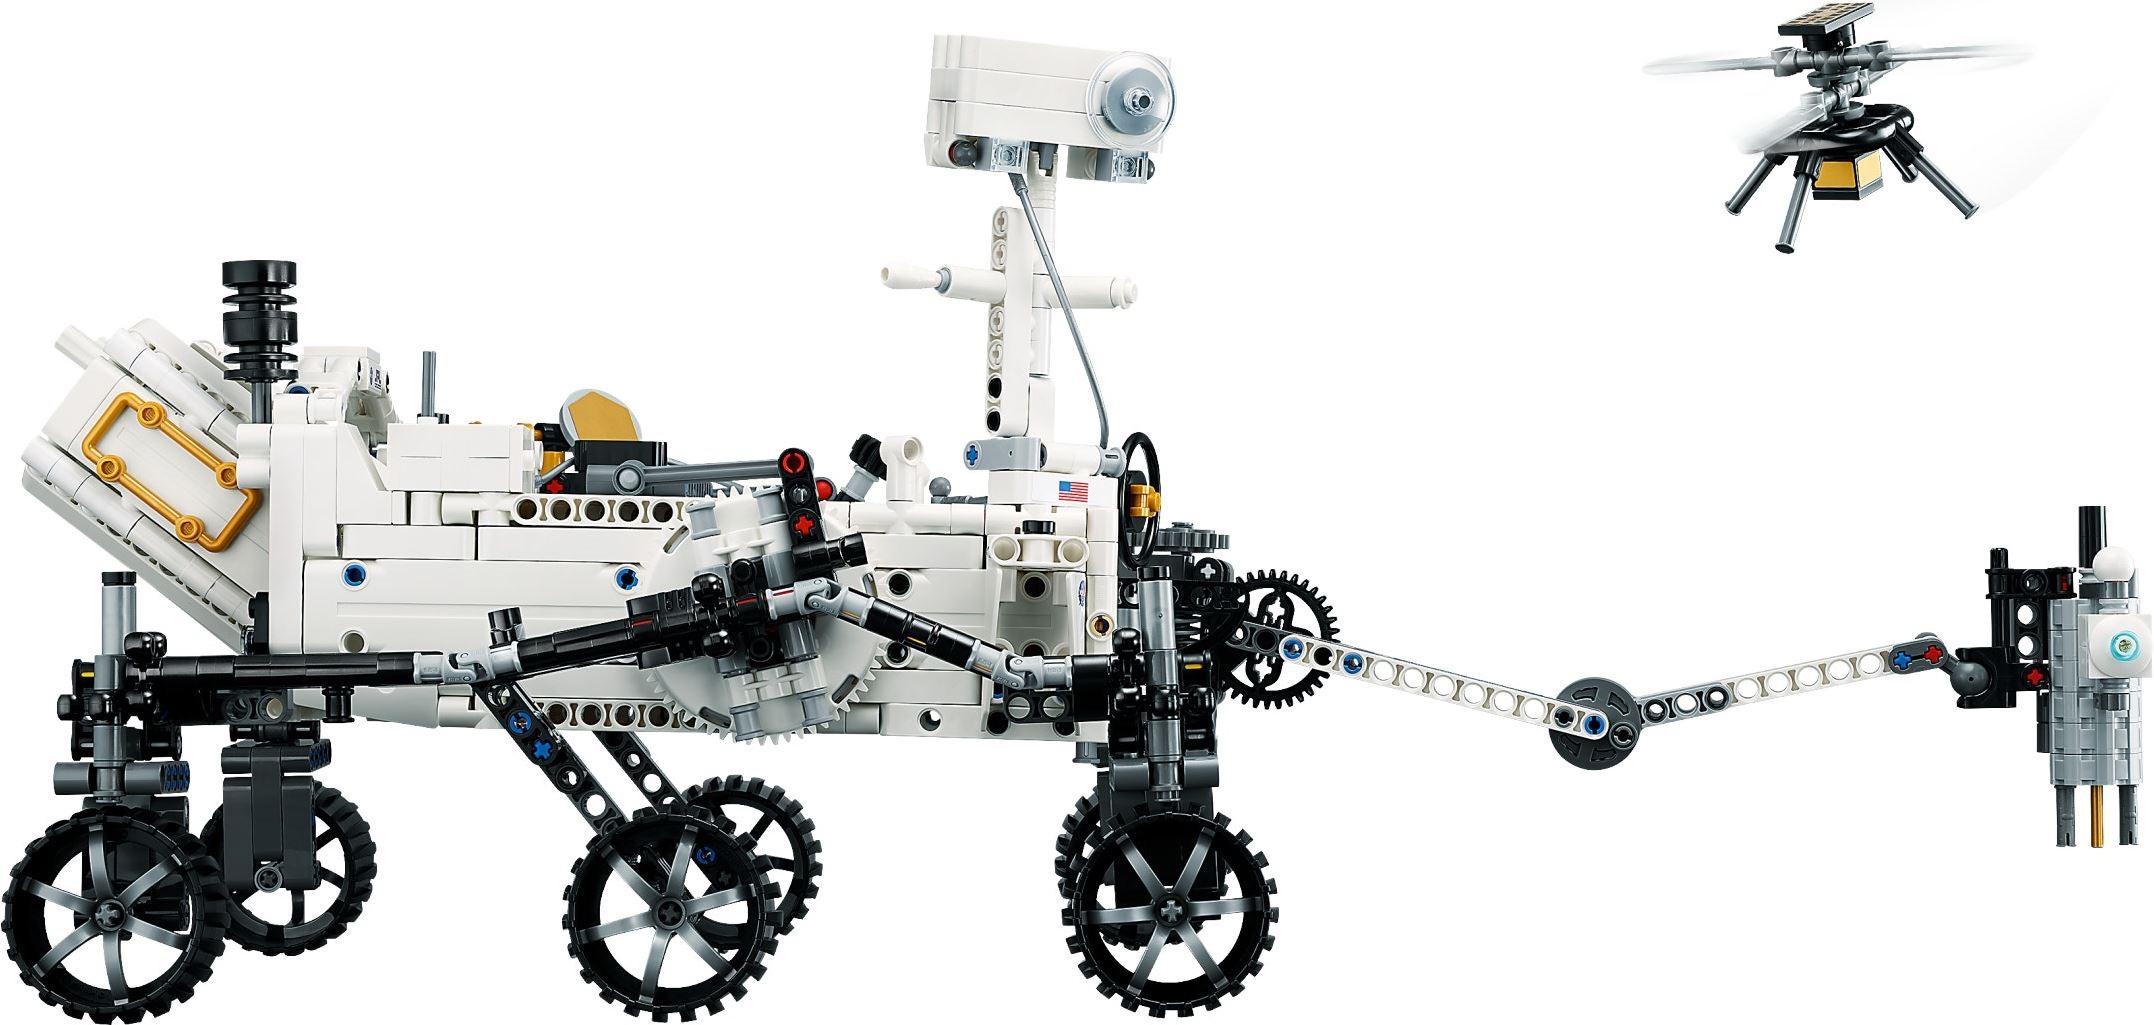
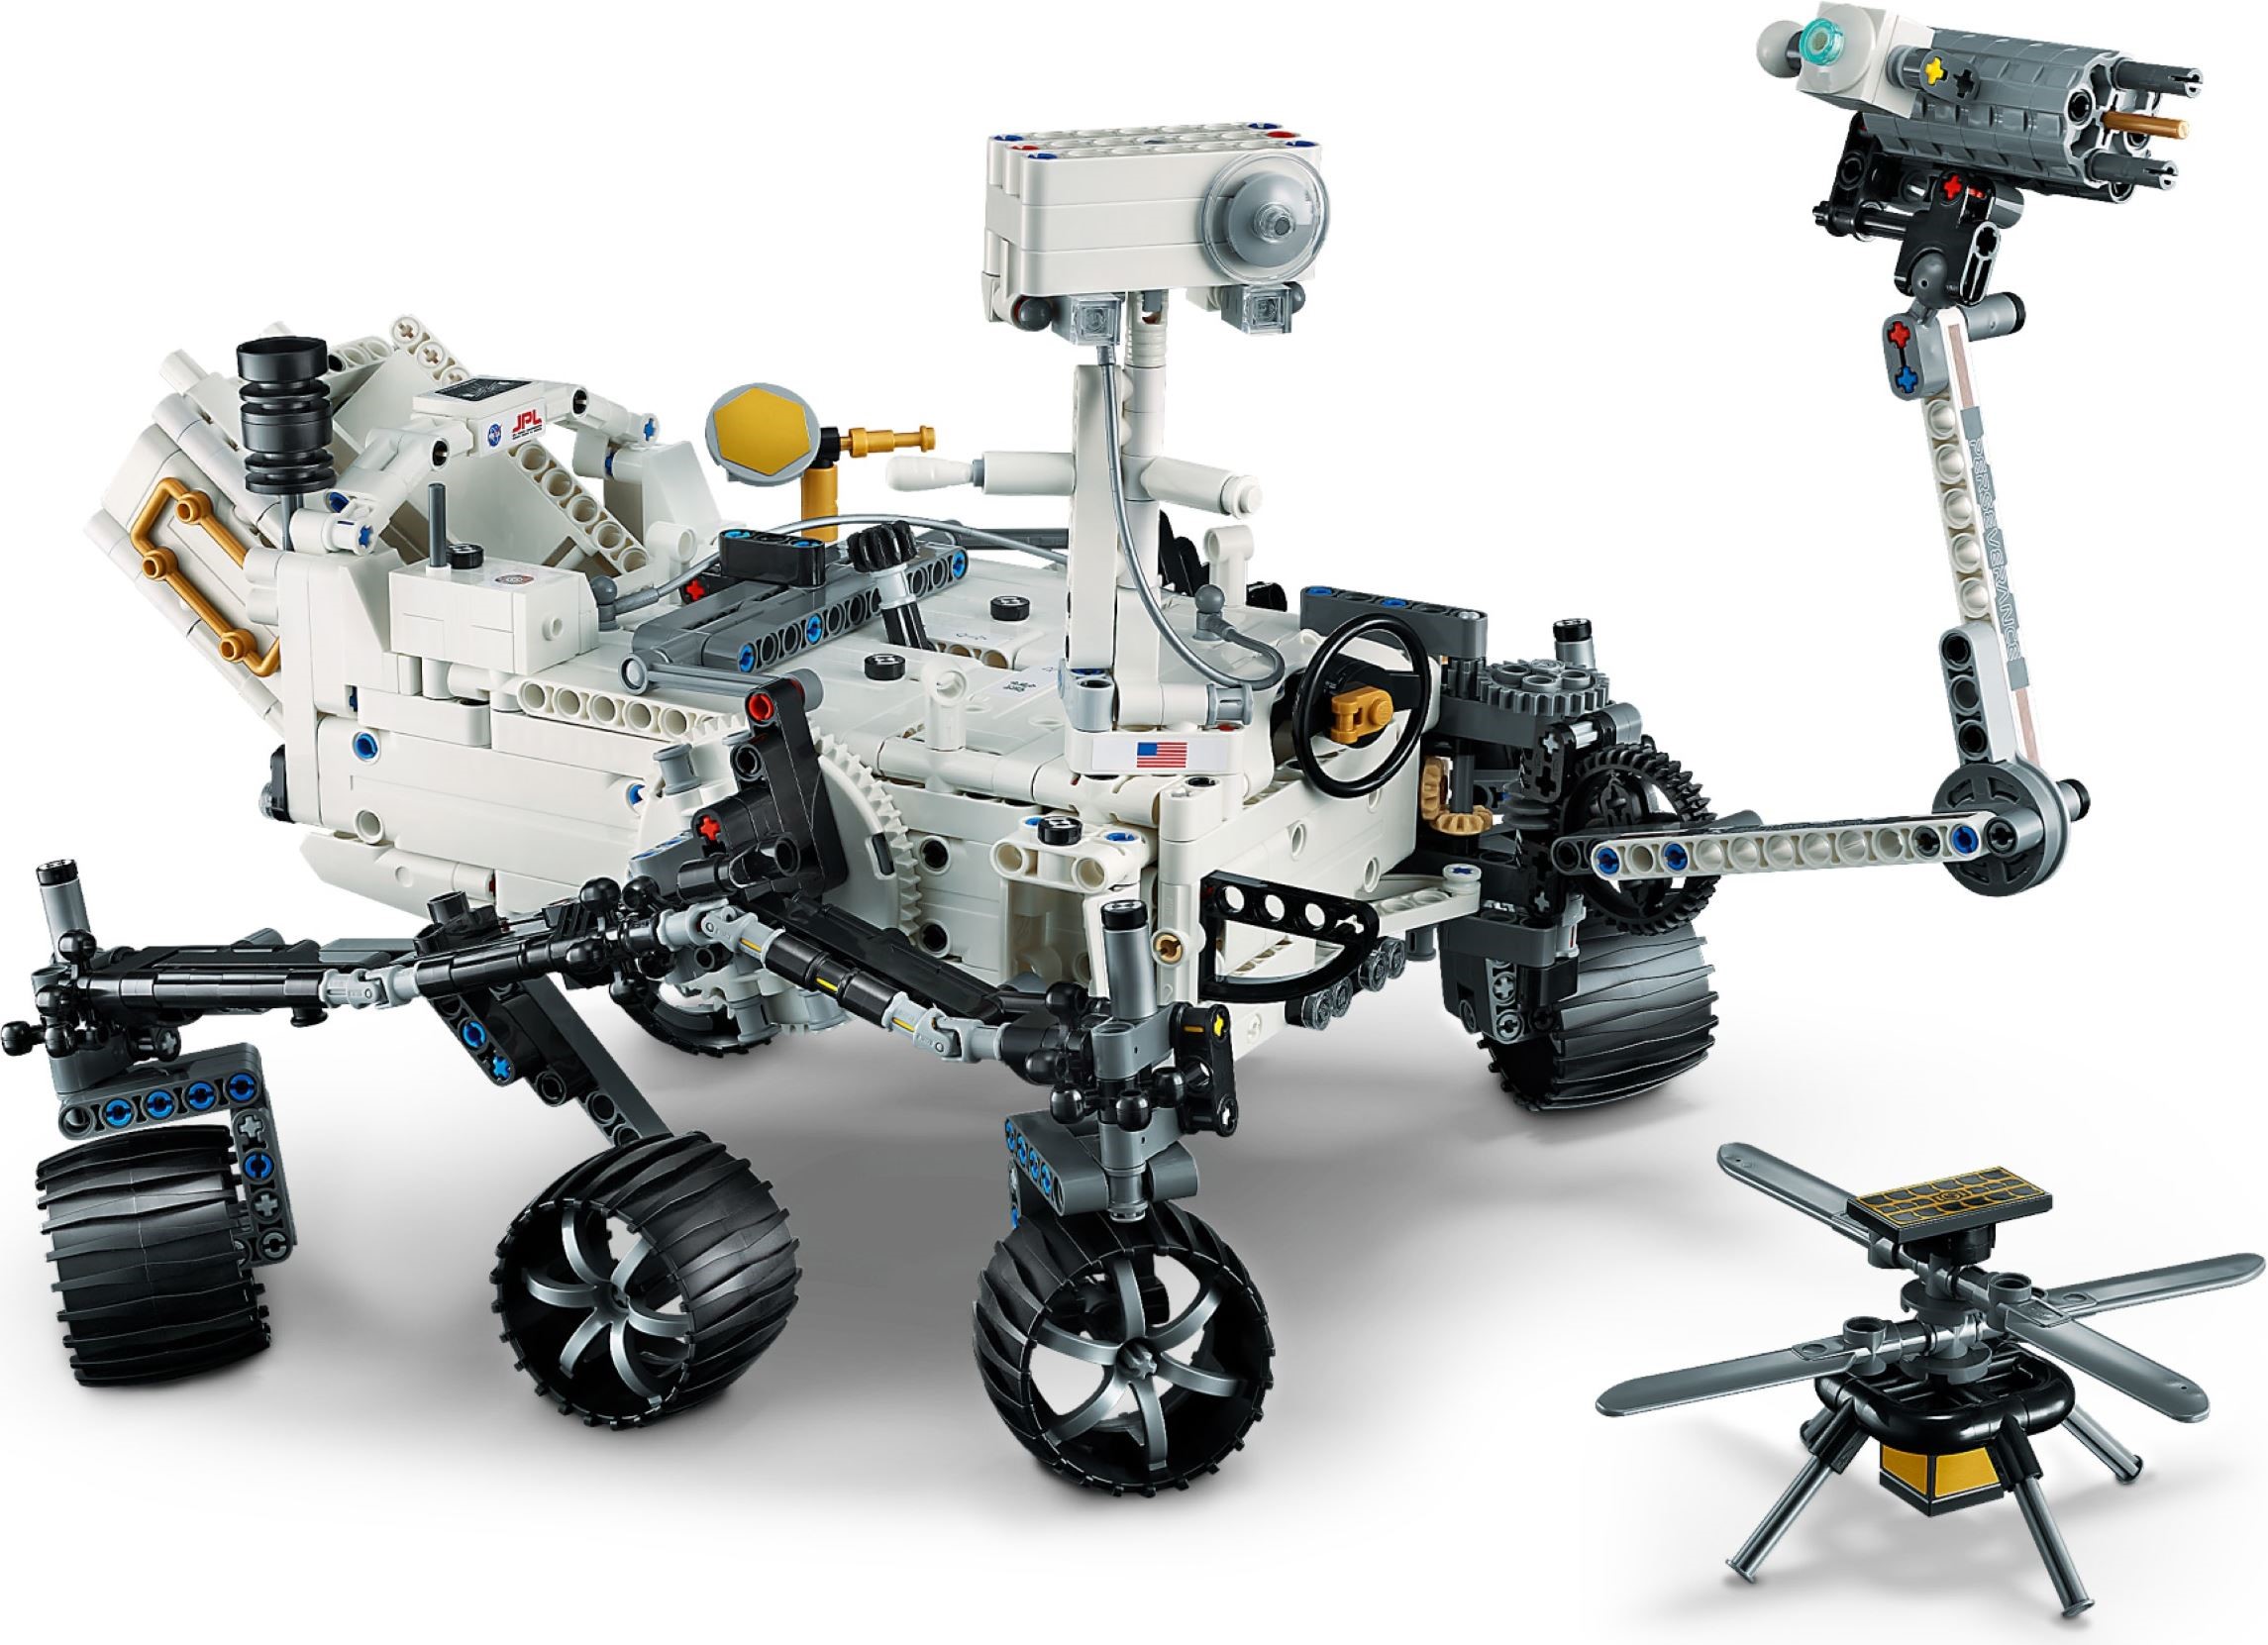
Most of the Technic in the library is cars, trucks and plant. This one is a NASA rover, built in white, with six wheels on a rocker-bogie suspension that keeps all of them on the ground over most things you put in front of it, a lever on top that switches between steering and turning on the spot, and a robotic arm worked by two knobs at the back. Ingenuity, the small helicopter that flew alongside the real rover, is in the box too. Finished, the body is about 32 cm long and the whole thing weighs under a kilogram.
It is in the Brick Club library. Below is what actually moves, how the four bags split the build, and where the reviewers slowed down. No member has written this one up yet, so the build notes come from three hands-on reviews rather than from our own copy, with LEGO’s launch announcement supplying the designer’s name and the app details.

Why this one is worth a slot
Because it is not another supercar. Huw at Brickset admitted he had dismissed it as yet another NASA model before he built it, and came out calling it one of the best Technic sets of 2023 and a welcome change from the usual run of supercars and plant. The reason is the rocker-bogie. That suspension is NASA’s design rather than LEGO’s, a clever linkage between the sections of the suspension that lets each wheel climb over things while the other five stay down. Huw found it hard to find an obstacle the model could not get over with all six wheels still touching.
The second reason is that it does not build like other Technic sets. The rover is asymmetric, so there is less of the build-one-side-then-repeat-it pattern you get with a car. The steering mechanism sits in the middle of the body and is the one genuinely involved section; apart from that and some gearing around the arm mounting, the body goes together simply. The angled block at the back, the rover’s power source, is about the only place the designer had to reach for System bricks to get the shape. The wheels are the only new mould, hard plastic in black and silver, and the big turntable top turns up in white for the first time.
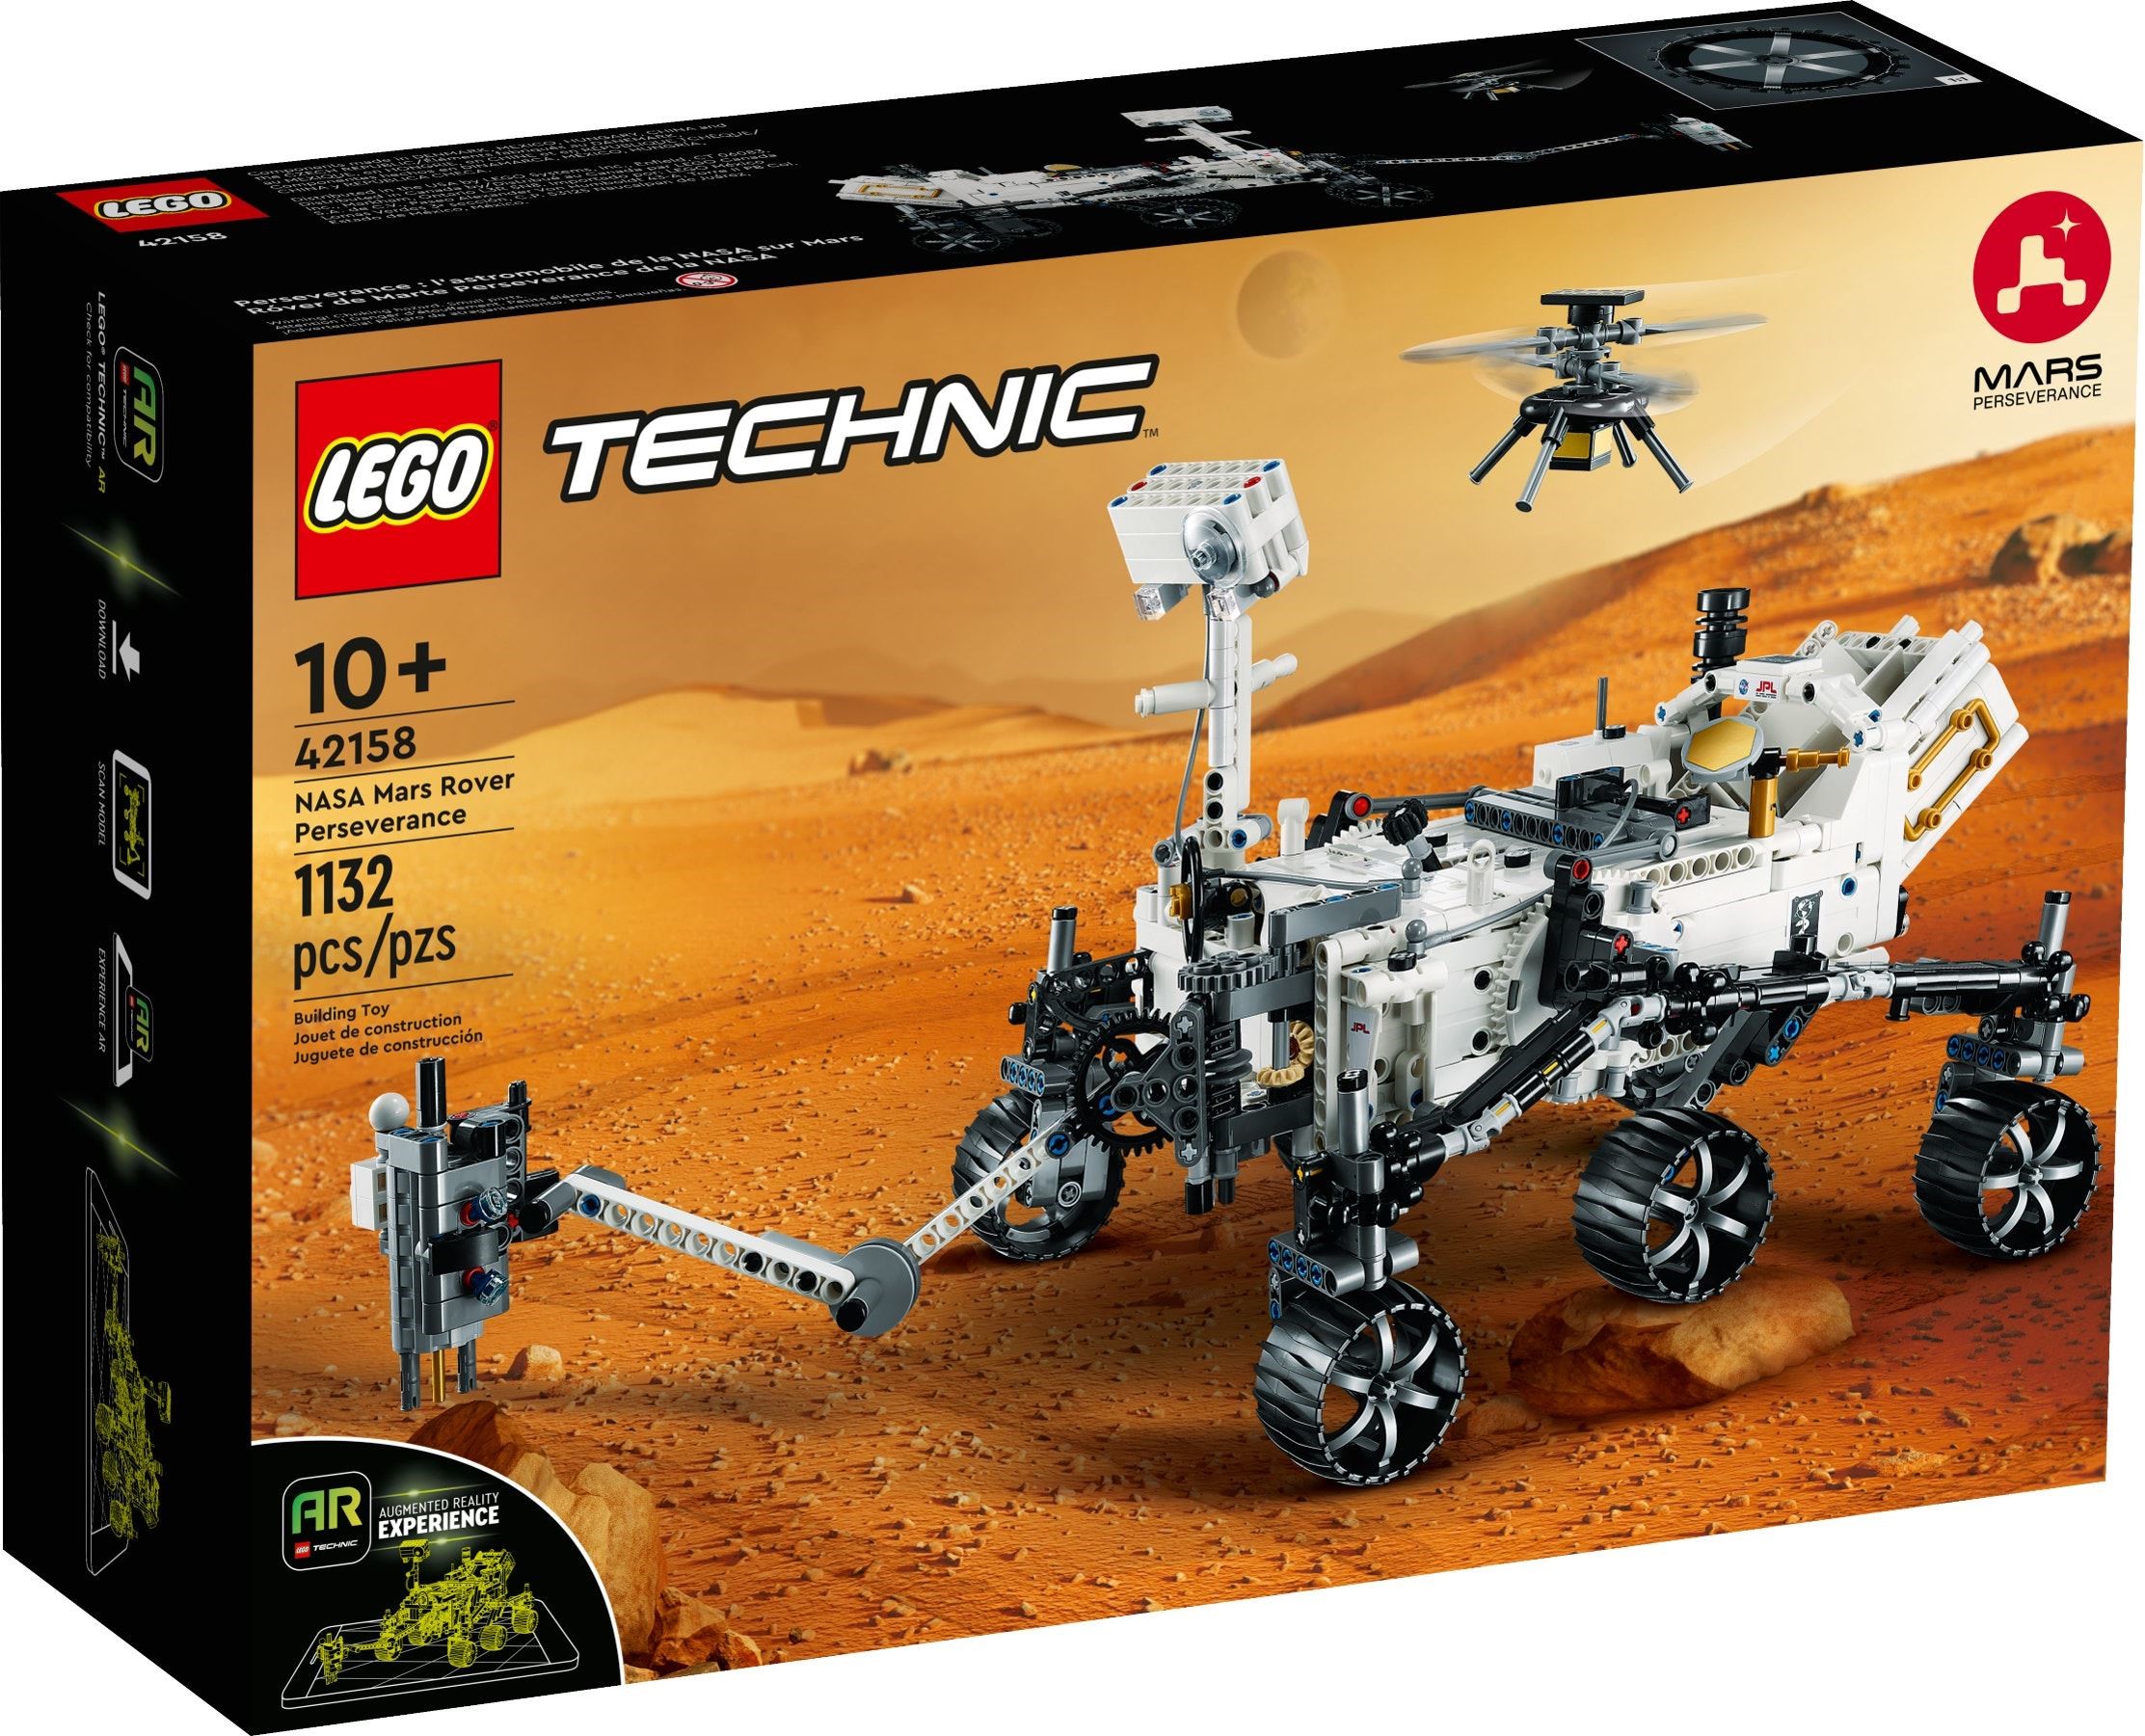
The real Perseverance landed on Mars on 18 February 2021 and the set followed two years later at £84.99 for 1,132 pieces. LEGO’s launch release names Luke Cragin as the designer. There are 19 stickers across two small sheets, one of them silver printed with gold ink, and ten printed round tiles dotted about the model that pick out parts of the rover; the Merlins Bricks reviewer guessed they are there for the companion Technic AR app. Space.com found the app mostly points at parts of the rover and explains what they do, with one good trick, flying a virtual Ingenuity, and it does not really interact with the physical model. The printed tiles are the only prints in the set and do not match the real rover, so if they bother you they come off.
What it actually does
Everything below is worked by hand, from a lever, a wheel and two knobs. Space.com’s summary was that the gears and levers you fit only come good once the model is finished and you start playing with it.
A black wheel with an orange lever through it sits on the top of the body, just in front of the camera mast. Push the lever forward and the rover is in drive mode: it rolls freely, and turning the wheel steers it, hand-of-god style. Only the four corner wheels turn; the middle pair stay fixed. The steering runs from the mechanism in the centre of the body out through the suspension on a run of cardan shafts. Huw said he examined it for some time and still could not get his head round it.
Pull the same lever back and the four corner wheels swivel inwards until they sit on a circle, and the steering locks. Push the rover and it rotates in place, the way a tracked digger does when it runs its tracks in opposite directions. One lever switches between the two modes, so changing over takes a second.
The wheels hang on pivoting arms joined by a linkage between the sections, which Huw called very clever indeed. Roll it over uneven ground and the wheels ride up and down while the others stay in contact. Huw found it hard to find an obstacle it would not clear with all six wheels down, and the Merlins Bricks reviewer got almost all six down over uneven surfaces, with the note that the credit belongs to NASA’s engineers rather than LEGO’s designers. It is the reason to have this one sent.
Two knobs poke out of the back of the power source. One swings the arm out sideways from its stowed position; the other raises and lowers it. The gearing is low, so the arm moves slowly and does not flop, and Space.com found it slow but very satisfying, and the Merlins Bricks reviewer found a bit too much play in the gears, so you turn a little before the arm starts to move. The joints along the arm’s length are not driven; you set those by hand. Huw thought the whole arrangement a bit half-hearted and would have preferred plain click hinges throughout.
The mast with the camera head on top hinges down for the stowed position. It is not a clean movement: Huw notes you have to half remove a pin to let it fold. The Merlins Bricks review lists folding the head and the arm as the least exciting of the functions, though it does let you play with how the rover is deployed.
The helicopter is the first thing you build, a warm-up before the rover. It is simple: a stickered solar panel on top, a gold box underneath standing for the sensor, and rotors that spin. The gold is stickers rather than gold plastic, five of them on a 2×2 brick and tile, and two of the three hands-on reviewers wished LEGO had used a gold-coloured part instead. It stands on its own legs beside the finished rover.
How the build goes
Four numbered bags and one instruction book. Space.com’s reviewer put it at about four hours going quickly and said to expect longer; two evenings at an ordinary pace is realistic.
Ingenuity, then the inside of the rover
The helicopter comes first as a warm-up, then the interior of the rover body with the first of the internal mechanics. The steering mechanism lives in the centre of the body, so most of it goes in across these first two bags. Build it in good light and check each gear turns before anything closes over it.
More mechanics, then the shell
The rest of the internal gearing and the white outer panels. Once the shell goes on the centre is covered, so push the lever both ways and turn the wheel before it does.
The suspension
The whole bag is the wheel suspension, built as separate assemblies and attached to the body only at the end of the stage. Each wheel mount has to be fitted to its bracket at a set angle and held there while you pin it, which the Merlins Bricks reviewer found awkward at this size. The angles matter: the steering relies on them, so do not force one and move on.
Tools, instruments and the arm
The shortest bag and the best one. The arm, the camera mast and the instruments go on, and the axles and gears you buried in the first two bags finally do something. Stickers are scattered through the whole build, and Space.com noted the instructions sometimes call for one after the section is already assembled, so glance a step ahead.
No member notes yet on this one. These are the points the three hands-on reviewers flagged.
- The wheel mounts in bag 3. Each one has to be held at a set angle on its bracket while it is fixed, with the model already big enough to be awkward in the hands. Do them one at a time on the table, not in the air.
- Stickers after the fact. The instructions sometimes bring a sticker in after the section is closed up. Read a step ahead and put the small ones on before the part is buried.
- One sticker sits over a ridge. It goes across a panel edge by design and never lies fully flat. Press it down from the middle outwards and accept it.
- Play in the arm gears. There is a bit of backlash before the arm starts to swing. It is not a fault in the build, so do not strip it looking for one.
- Folding the mast means half pulling a pin. Leave it up unless you want the stowed pose, and push the pin home again afterwards.
On the shelf
Brickset gives the finished size as 32 cm long by 23 cm wide and 23 cm tall; Huw measured the rover at about 32 cm long and 15 cm wide, narrower than the box figure. It weighs 920 g. It is almost entirely white, which shows up two things the Merlins Bricks review noticed: the small pin connectors are a slightly whiter white than the liftarms and panels, and the blue and red pins of the mechanism show through in places, mostly on the top of the camera head. Neither is obvious at normal viewing distance. The underside is mostly white too, so it can sit above eye level.
It is happier on a shelf than most Technic models because it holds a pose. Leave the arm out and the mast up, or fold both for the stowed pose, and stand Ingenuity beside it. Light from the side shows the rocker-bogie best. LEGO listed it from June 2023 to July 2026, so it has now left the shops.
This is the one for you if you want something that is not a car, that builds in two evenings, and that you can hand to anyone in the house to play with when it is done. Members after a long, dense Technic session should look at the 1:8 cars instead; this is a 10+ set and it builds like one, the steering in the middle excepted. The Merlins Bricks reviewer, a self-described Technic beginner with two big Technic sets behind him, found only a few quirks in the build. Before it goes back in the box, check the lever goes fully into both modes and that Ingenuity and the tool on the end of the arm are with it. Both are small.
If you like this one, try
The only other space set in the library is the Apollo 11 Lunar Lander, which is a display build rather than a working one. The other three are the kits with the most in common mechanically: suspension and steering on the All-Terrain Vehicle and the Defender, and a research vessel with its own submarine if it is the exploration theme that appeals.


The NASA Mars Rover Perseverance is in the library
Technic Fan gets up to 6 kits a year, Master Builder up to 12. Delivery both ways is included and the prepaid return label is in the box.