

Porsche 911 GT3 RS (42056): the first of the 1:8 supercars
This is the set that started the 1:8 Technic supercar line, two years before the Bugatti Chiron (42083), and the first official Technic set with paddles behind the steering wheel working a gearbox. LEGO’s own designer said the double-clutch transmission was the hardest part of the whole project. It is also the set where the gearbox instructions got argued over, and LEGO answered with a statement rather than a reprint. Finished, it is 57 cm long, which is longer than the box it came in.
It is in the Brick Club library. Below is what it actually does, how the five boxes split the build, and where to slow down, including the two steps everyone argues about.

Why this one still matters
Everything the later 1:8 cars take for granted was worked out here. The paddle shifter, the numbered boxes inside a lid, the coffee-table instruction book, the marriage of frame onto drivetrain: the Chiron and everything after it inherited the pattern from here. Uwe Wabra, the designer, built the first LEGO version from internet photos of the camouflaged prototype because the real car was still secret, and the project ran from winter 2013 to Porsche’s sign-off in autumn 2015. When the set arrived in June 2016 it was the most expensive Technic set there had ever been.
The gearbox is the reason to build it and also the reason people argue about it. It is a 4+4 design: two parallel driving rings, four arrangements, and both paddles do the same job in a different order. LEGO’s instructions place two gears so that the ratios do not run in sequence, and when reviewers pointed this out LEGO said the order was deliberate, because running the gears in the correct order engaged too many at once and did not run smoothly. If you want it sequential, you switch the build at steps 267 and 269. That decision is yours, but you have to make it before the end of box 1.
The instruction book runs to 856 steps. The Brick Fan counted 580 pages including the covers; New Elementary called it 570. Either way it is glued, it opens flat on the table, and it spends far more of its pages on Porsche than on how the set was designed.
What it actually does
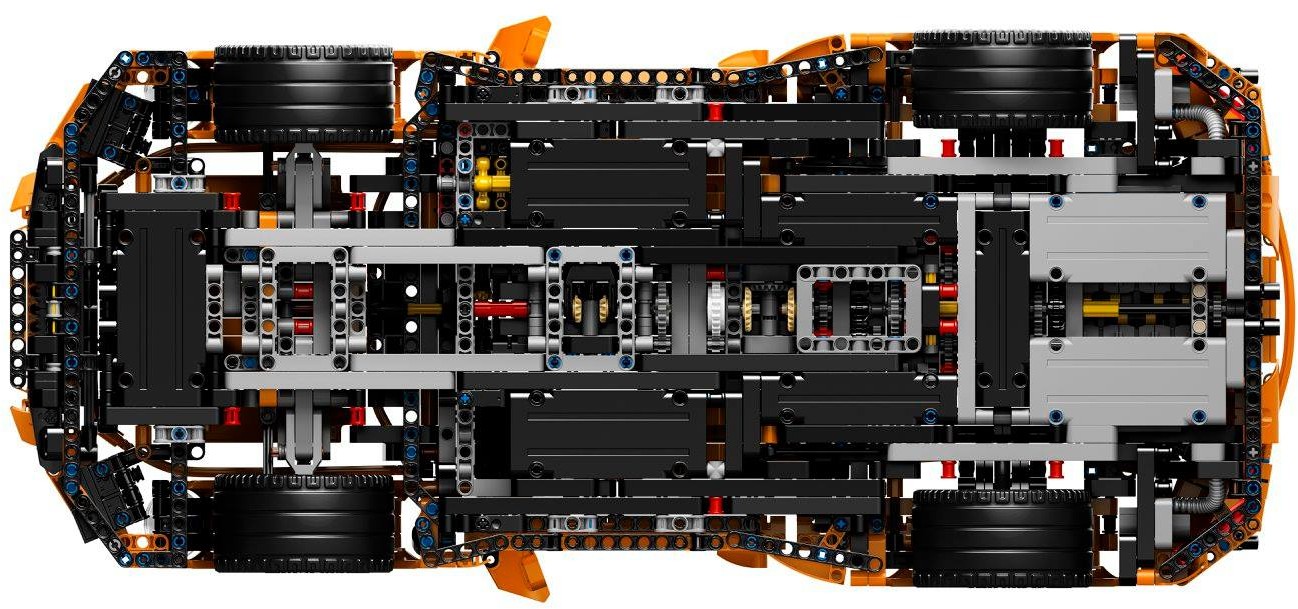
Everything below is worked by hand. There are no motors, and once the panels are on almost none of it is visible, a complaint both full reviews make.
The paddles sit behind the steering wheel in a scissor arrangement held together by two white elastic bands on each side. It is not pretty, and New Elementary could not see how else it could be done. Pull a paddle and both driving rings in the gearbox at the back move together. There are four arrangements of the rings, so four ratios, and the two paddles simply step through them in opposite orders. The shift itself is smooth. The weak point is that a ring sometimes does not seat fully, so a gear that should be resting turns a little.
A second, smaller gearbox sits between the seats and does one job: it switches the drive between forward and reverse. It is the first thing you build. Looking down on the finished car, it and one yellow paddle are the only clues that there is a gearbox in there at all.
Roll the car and the driveline running through the middle of the chassis turns the flat-six behind the rear axle, and the pistons go up and down. Both reviewers make the same complaint: once the body panels go on it is almost entirely hidden. The rear lid opens, which gets you a look at the top of it and not much more.
There is no hand-of-god knob on the roof. You steer from the steering wheel, through a column to a pair of steering hubs that were new for this set. New Elementary found the turning circle disappointingly large, so this is a car you roll in straight lines rather than drive round the carpet.
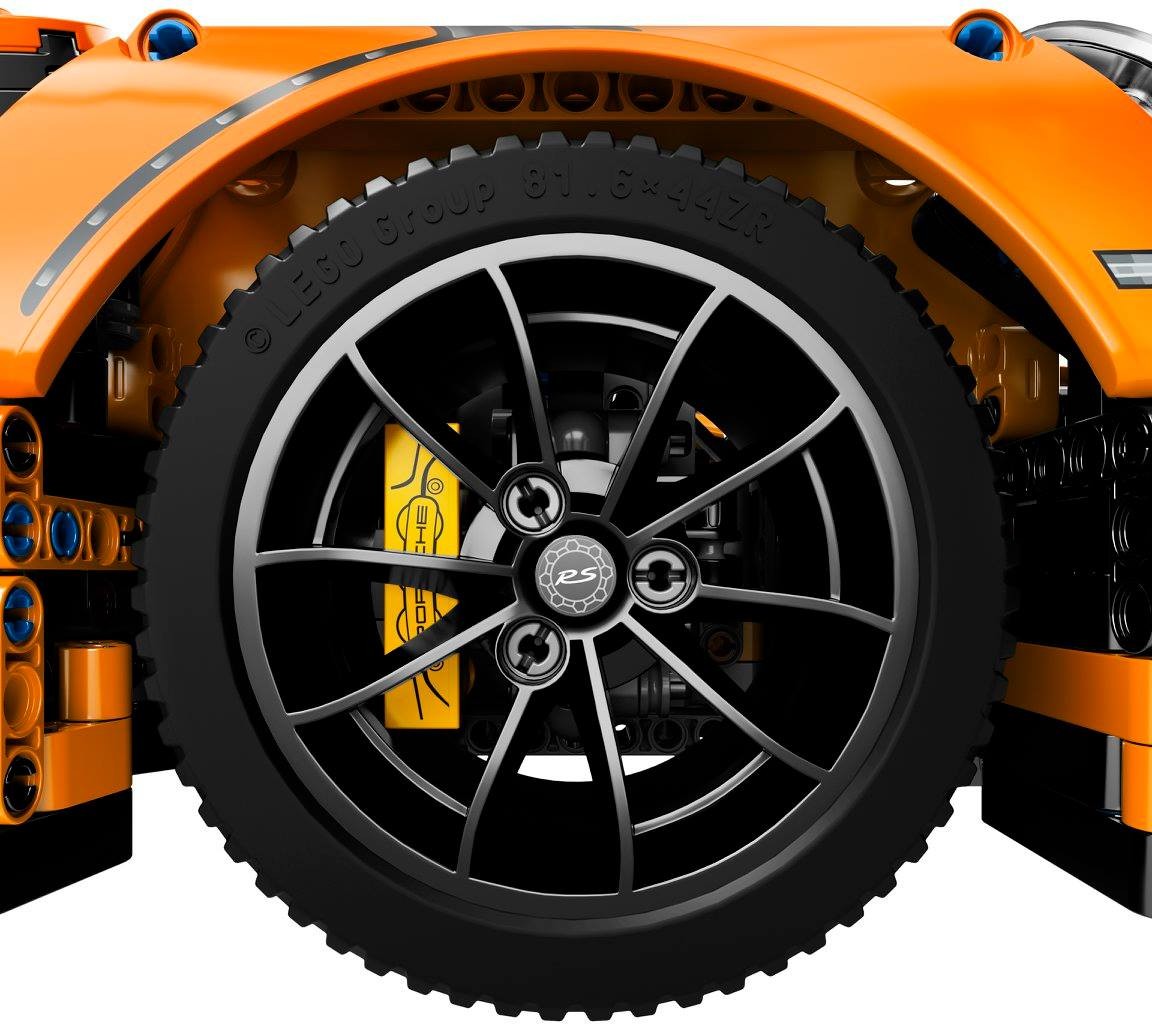
Two red springs at each corner, a new colour for the shock absorber, chosen to match the springs on the real car. Behind each wheel is a yellow brake caliper for the ceramic brakes, for looks only. The rims are deep so they sit round the calipers, and they carry a stud for the printed RS centre tile. Their size more or less sets the size of the whole car.
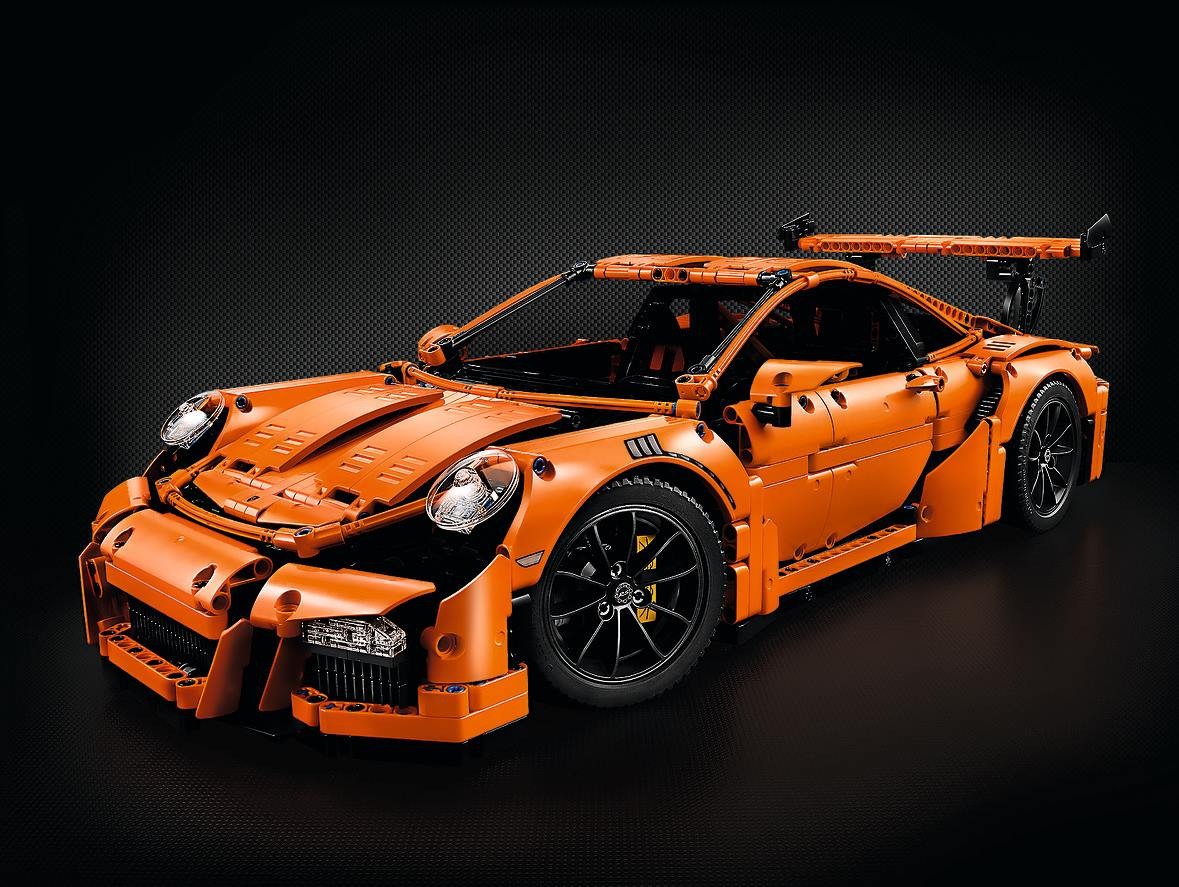
The doors open, the bonnet lifts on a front compartment with a small suitcase in it, and the rear lid lifts over the engine. The rear spoiler is adjustable by hand. Inside, the glove box holds the printed serial number tile, and the centre console has a stickered screen for the Porsche Communication Management system.
How the build goes
Five boxes inside the outer lid: four numbered for parts and one unlabelled box with the rims and tyres. Each numbered box has a picture on it of the main thing you build from it. The Brick Fan’s reviewer, who had never built a Technic set before, put the whole thing at roughly 10 hours over a couple of days.
Gearbox, paddles, axles and engine
Ten numbered bags and one unnumbered bag of orange flex hoses and panels you will not need for hours; put that one aside. The build opens with the forward and reverse gearbox that ends up between the seats, then the main gearbox behind it. By about step 100 most of the gears are in. Then the steering column with the paddles, the front and rear axles with the red springs and yellow calipers, and last the flat-six. This box is roughly 40 to 45 per cent of the parts. Steps 267 to 269 are where the gear order question sits. Decide now, because going back later means taking a lot apart.
Frame, marriage and seats
A frame of beams and liftarms: the front bumper area, the bonnet opening, the roof supports and the roll cage behind the seats. Two orange liftarms cross diagonally, which is why the chassis is slightly asymmetric. Then the frame is lowered onto the drivetrain and pinned through with stop-bush pins, the step Porsche calls the marriage. It fits like a glove if box 1 is right. The two racing seats, built from bent liftarms, finish the box.
Rear bodywork, roof and bonnet
The rear arches use a new 5x13x2 arched panel (six come in the set; the two printed ones are for the front arches), far more solid than the soft axles older supercars used. Then the rear bumper, the rear lights in trans-red and trans-clear, and the roof outline in orange flex tube down each side. The bonnet is simple panelling, and the roof uses the same panels locked in with 9M black and 15M orange beams.
Front, spoiler and doors
The air vents and the panel in front of the bonnet, then the front arches, printed and with room for the headlights. The movable rear spoiler and the doors come next to last. This box also has the first ever 11L axle, in yellow.
Wheels and the suitcase
The unlabelled box holds the four rims and the tyres. Press the RS centre tiles on, fit the wheels, then build the suitcase for the front compartment. Done.
No member diaries on this one yet, so these come from the two full reviews and the comments under them.
- Steps 267 to 269. The Brick Fan says the gears should go 12-tooth, then 20-tooth, then 16-tooth. LEGO says either way is fine and the printed order runs smoother. If you do swap, do not swap the gears on their axles: the black and grey gears do not mesh that way round. Pull out the left and right 4L axles with the gears and bushes still on them and swap those instead, as one commenter under the New Elementary review explains.
- Driving rings not fully home. If a gear that should be idle is turning while you shift, the ring behind it has not seated. Work the paddle again before the frame goes on.
- One 2×4 tile, two stickers. The centre console has a touchscreen sticker and a Weissach map sticker, and only one tile to put them on. Pick one; the other stays on the sheet unless you find a spare.
- The steering wheel badge. The Porsche crest is a sticker on a 1×1 round tile, which one commenter under the New Elementary review called a hard part to sticker. Take your time on it.
- Do not plan on taking it apart to fix a mistake later. The Brick Fan’s reviewer learned this the hard way: it does not come apart cleanly, so check each sub-assembly against the picture before it goes in.
On the shelf
At 57 cm long, 25 cm wide and 17 cm high it is bigger than the box it came in, and it needs a full shelf. The colour is LEGO’s plain orange rather than Porsche’s lava orange, which is a shade more intense. New Elementary’s three cosmetic complaints still stand: the wing mirrors made from Technic panels look odd, there is a dent in the bonnet curve near the headlights, and the rear lights are rough.
Everything mechanical is under panels. Once the body is on there is little to point at beyond the forward and reverse lever between the seats and the top of the engine under the rear lid. The Chiron (42083) fixed this two years later with a gap in the floor that shows the selector rings. The Porsche has no such window.
Build this one if you want to understand where the 1:8 cars came from. Box 1 is the best part, and the paddle shifter still has its novelty. Allow around ten hours over three evenings. Read the note on steps 267 to 269 before you open box 1, decide which way you are building it, and check the paddles shift cleanly before the frame goes on. If you have already built the Chiron (42083), expect the same shape of build with a simpler gearbox and less to look at when it is finished.
If you like this one, try
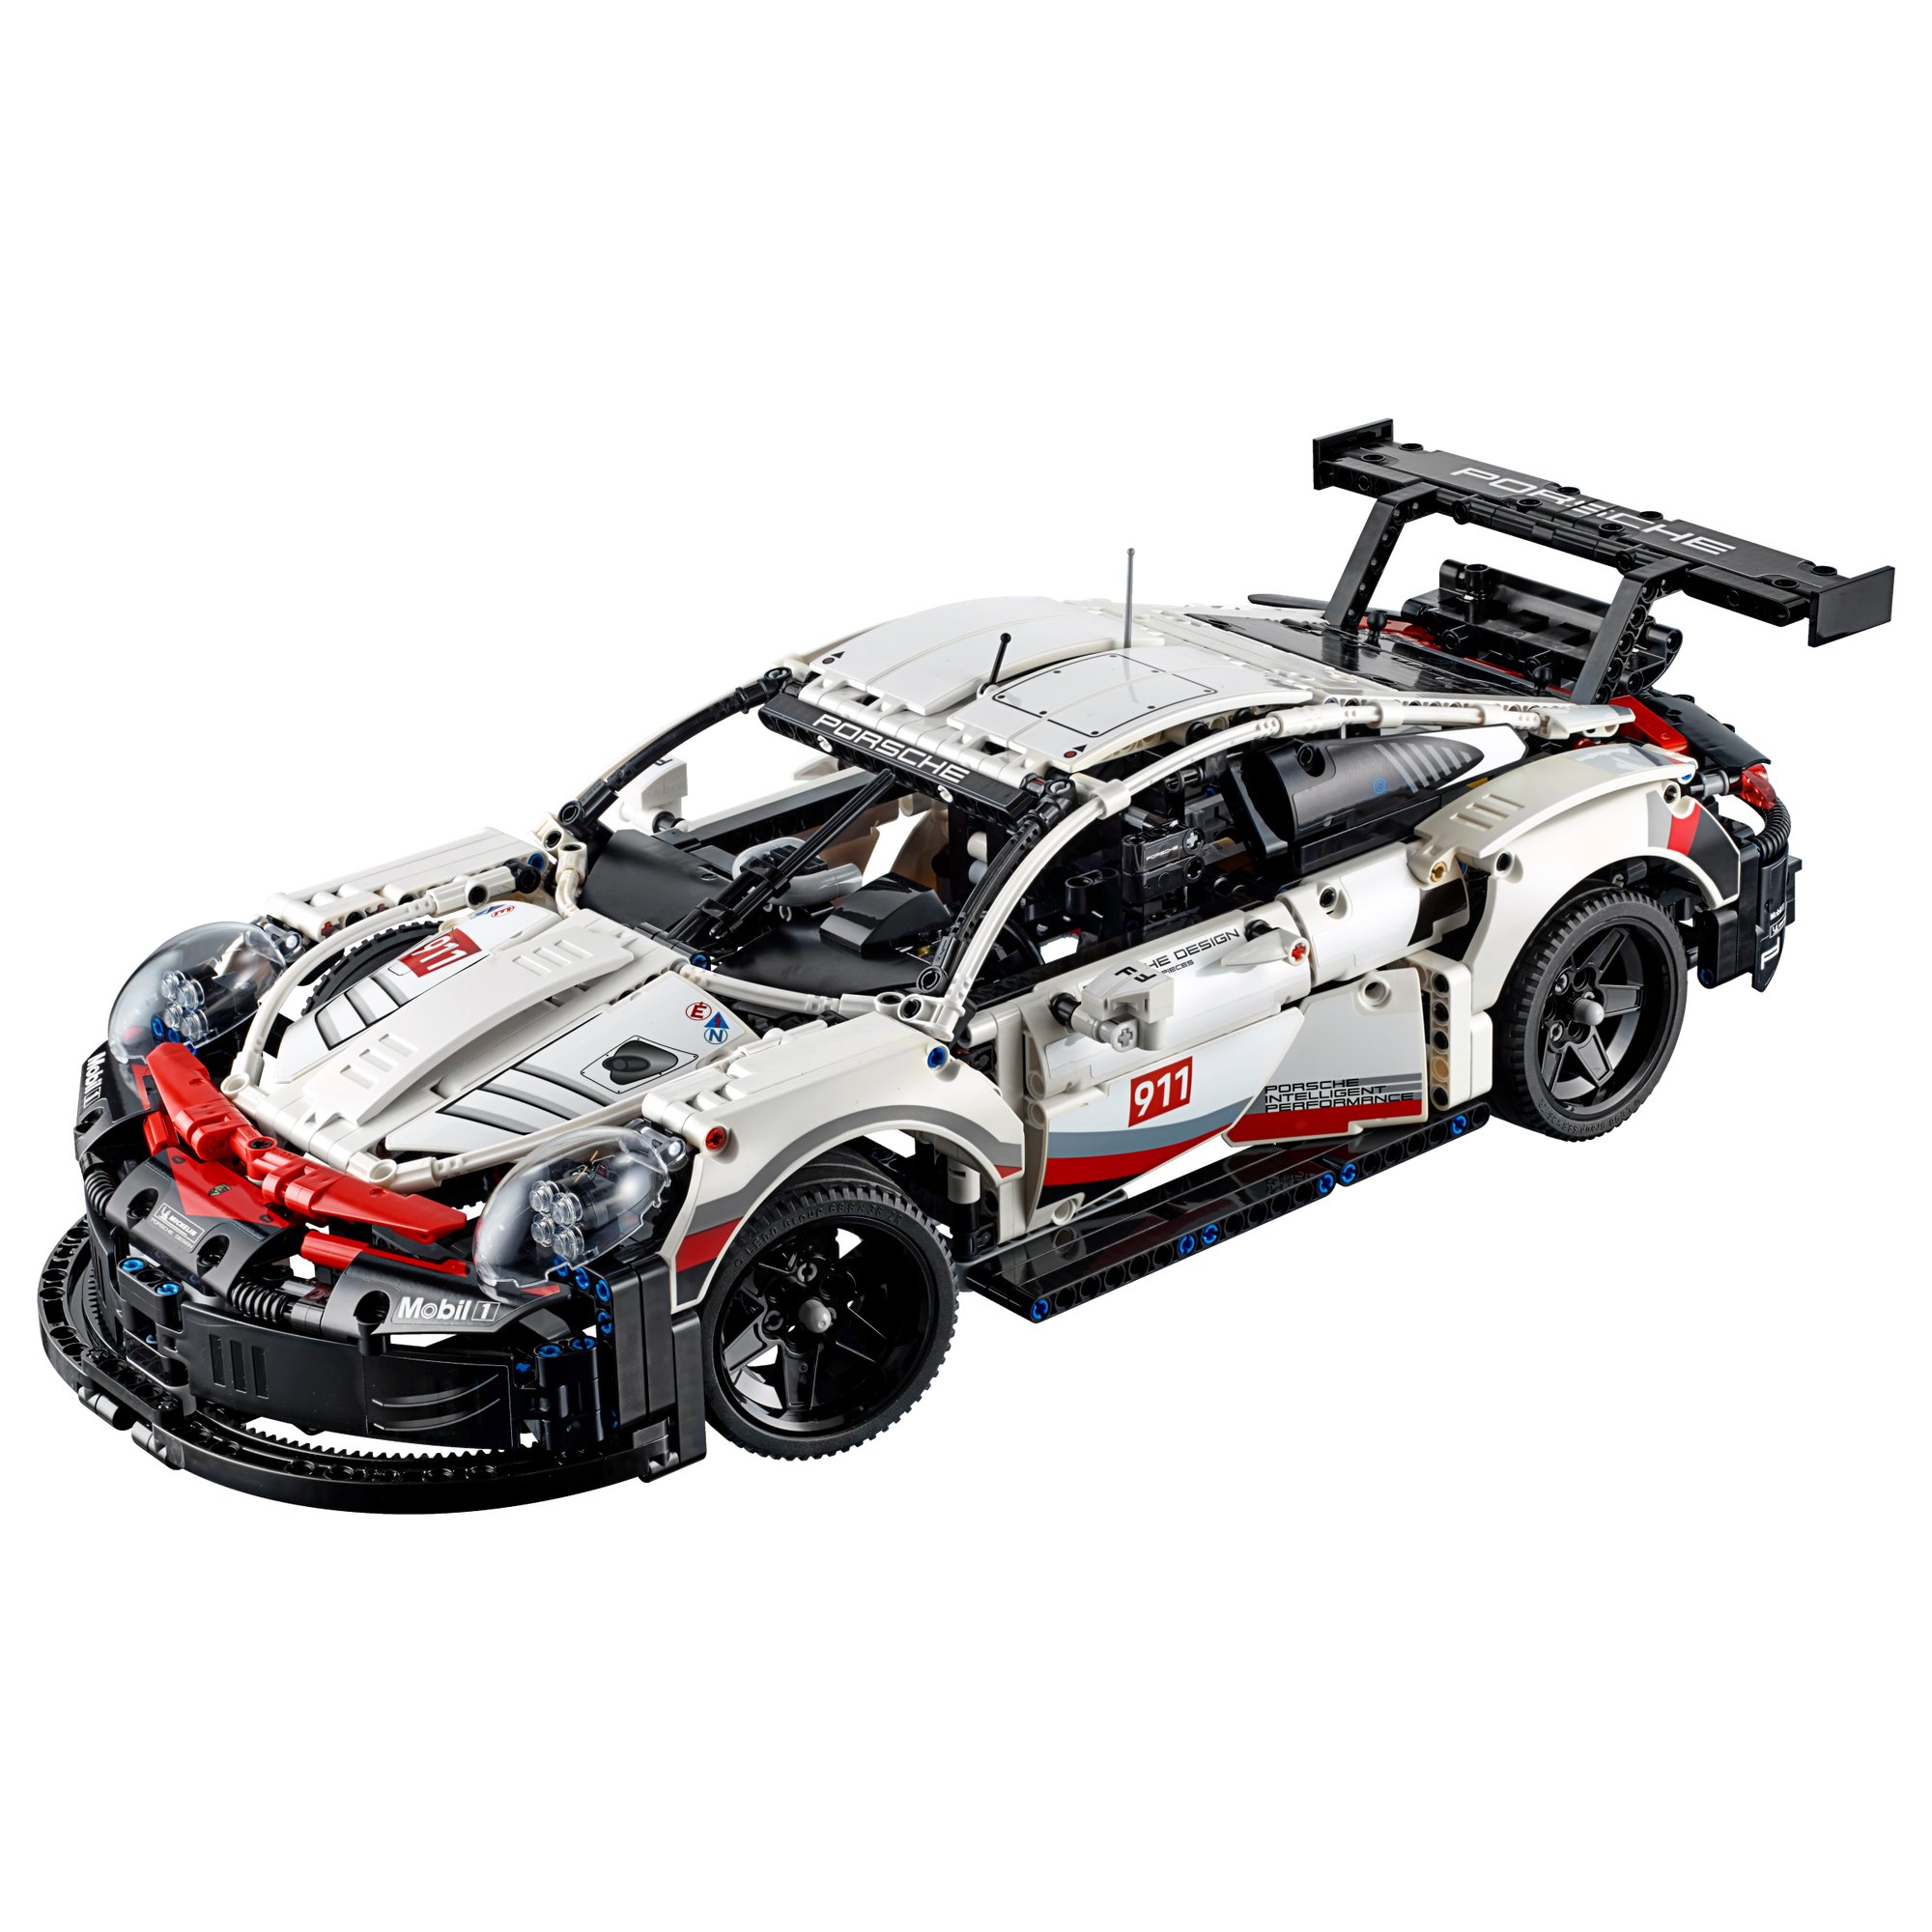
The Chiron is the direct successor and the natural one to build next. The 911 RSR is the smaller, simpler Porsche, with no working gearbox. The Sián and the McLaren P1 are the later 1:8 cars.



The Porsche 911 GT3 RS is in the library
Technic Fan gets up to 6 kits a year, Master Builder up to 12. Delivery both ways is included and the prepaid return label is in the box.