

Rally Car (42077): a big car for a small piece count
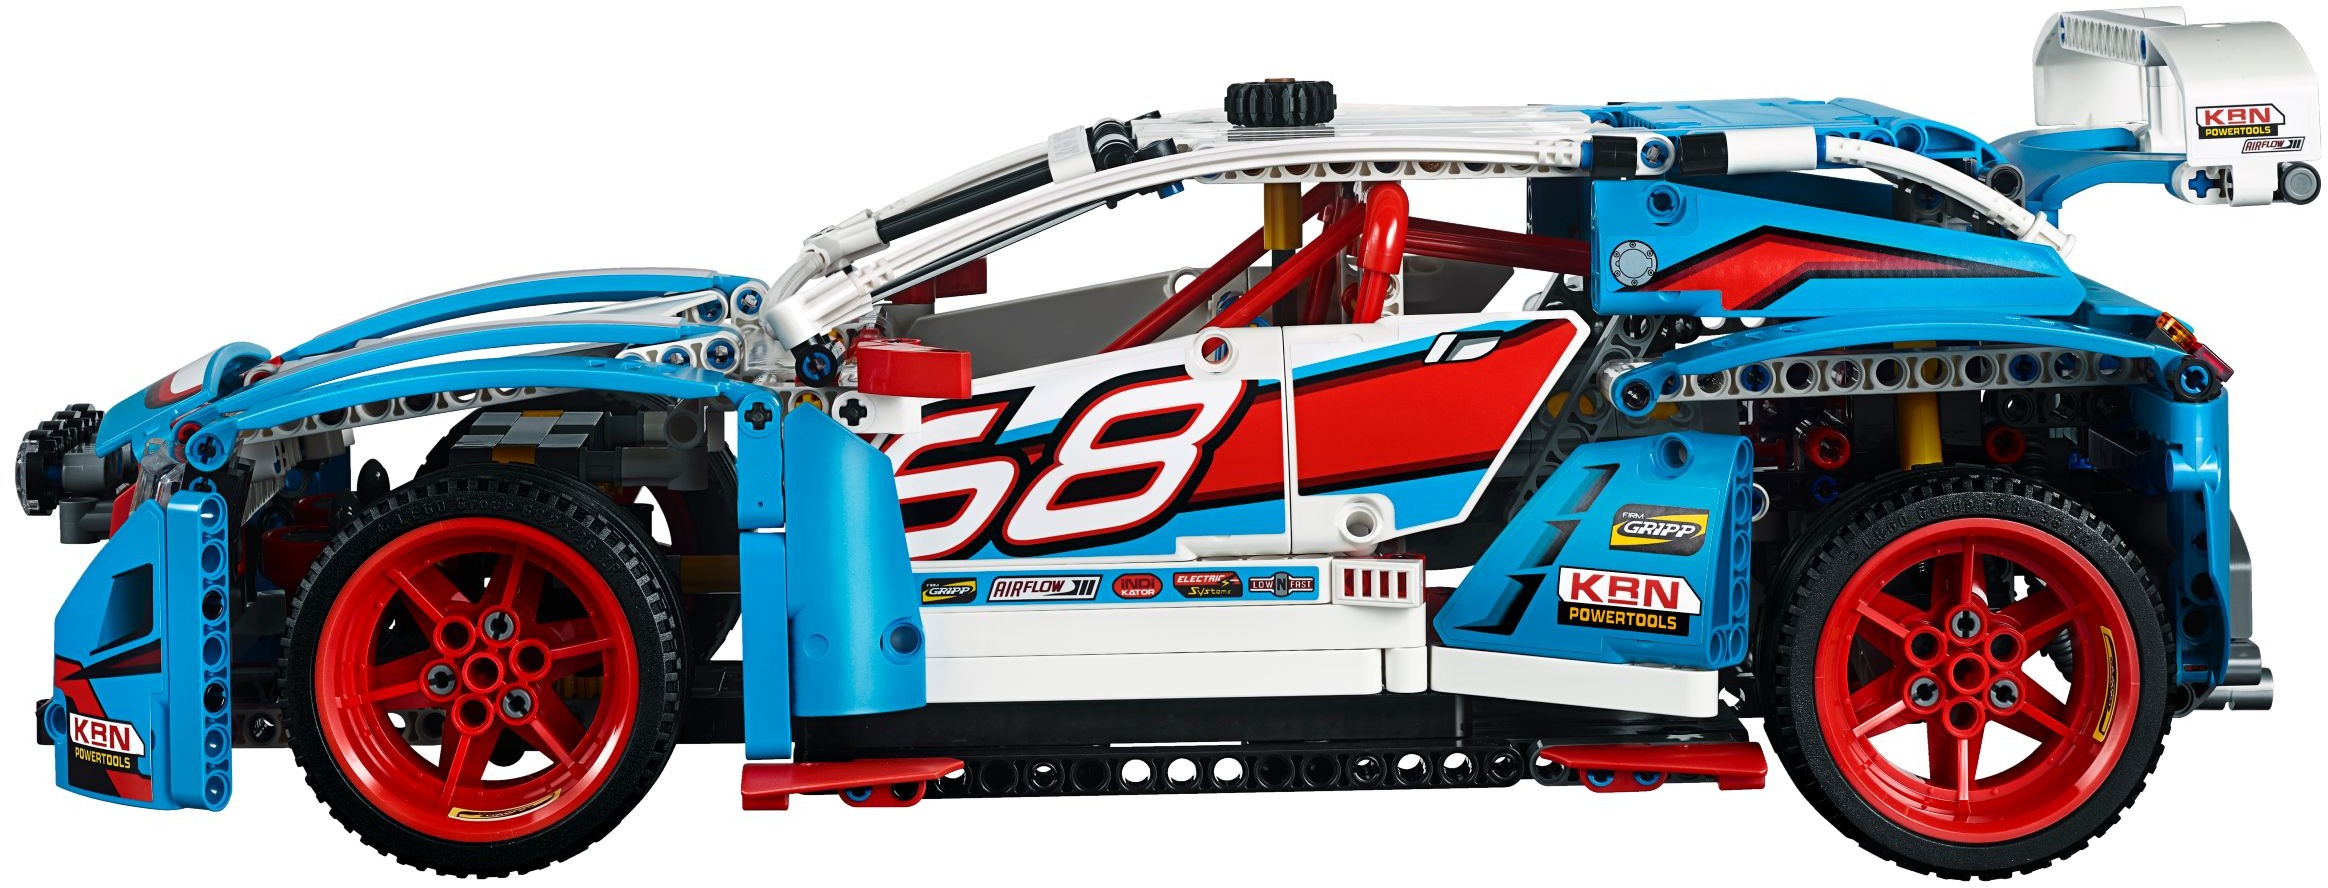
The Rally Car is a 1,005-piece set that builds to about 43 cm long, the size of the Technic supercars of the nineties, and the reviewers keep coming back to that size; The Brothers Brick found it bigger than the box pictures suggest. It is a rear-engined V6 with suspension on all four wheels and steering from a knob on the roof, in dark azure, white and red, with a red roll cage showing through the windows. There is no gearbox, whatever our product page has said.
It is in the Brick Club library. Below is what it does, how the build runs, and where the stickers catch people out. Nobody has sent a build diary in for this one yet, so this page is written from four reviews and Brickset’s data rather than a member’s notes.

Why this one is worth having sent
Two things. The first is that it is an honest introduction to how a Technic car is put together. The Brothers Brick called it one of the best introductory sets they had seen for anyone interested in Technic, and Huw at Brickset called it an ideal first set, with no complicated assemblies and no repetition. You build a suspended rear axle, an engine, a steered front axle and a roll cage, and every one of them is still visible when the panels are on. If you want to understand the chassis before you take on a Chiron, this is the one.
The second is the colour. The set arrived when dark azure was new to Technic, and it carries a dozen large panels in that colour, plus more curved and flat ones, along with connectors and panels that at the time came in no other set. Much of the red and white livery is stickers, a lot of them, and the reviewers agree the look depends on them; Huw’s view is that without the stickers there would be jarring contrast between adjacent panels of different colours. On a library copy the stickers are already on, so you get the look without doing the work.
What it is not is a functions set. Eurobricks scored the features six out of ten and said the set screams for more, and Mylenium calls the functions limited. That is the trade: a big, well shaped car with the basics working, in an evening or two, and the reviewers who liked it least still called the build enjoyable.
What it actually does
Everything is worked by hand and there are no motors. The five functions below are the ones the reviews describe and the ones LEGO lists on the back of the box; none of this comes from our product copy.
The black gear on the roof steers the front wheels. The steering wheel in the cabin is for show; Huw says plainly that it is not linked to the steering mechanism. Milan at Eurobricks found the action smooth but the range poor, because two limiters in the front axle stop the wheels turning all the way, and he would have liked a faster ratio. The instructions build the car left-hand drive, and Huw notes you can convert it to right-hand drive by swapping the steering wheel and the fire extinguisher over.
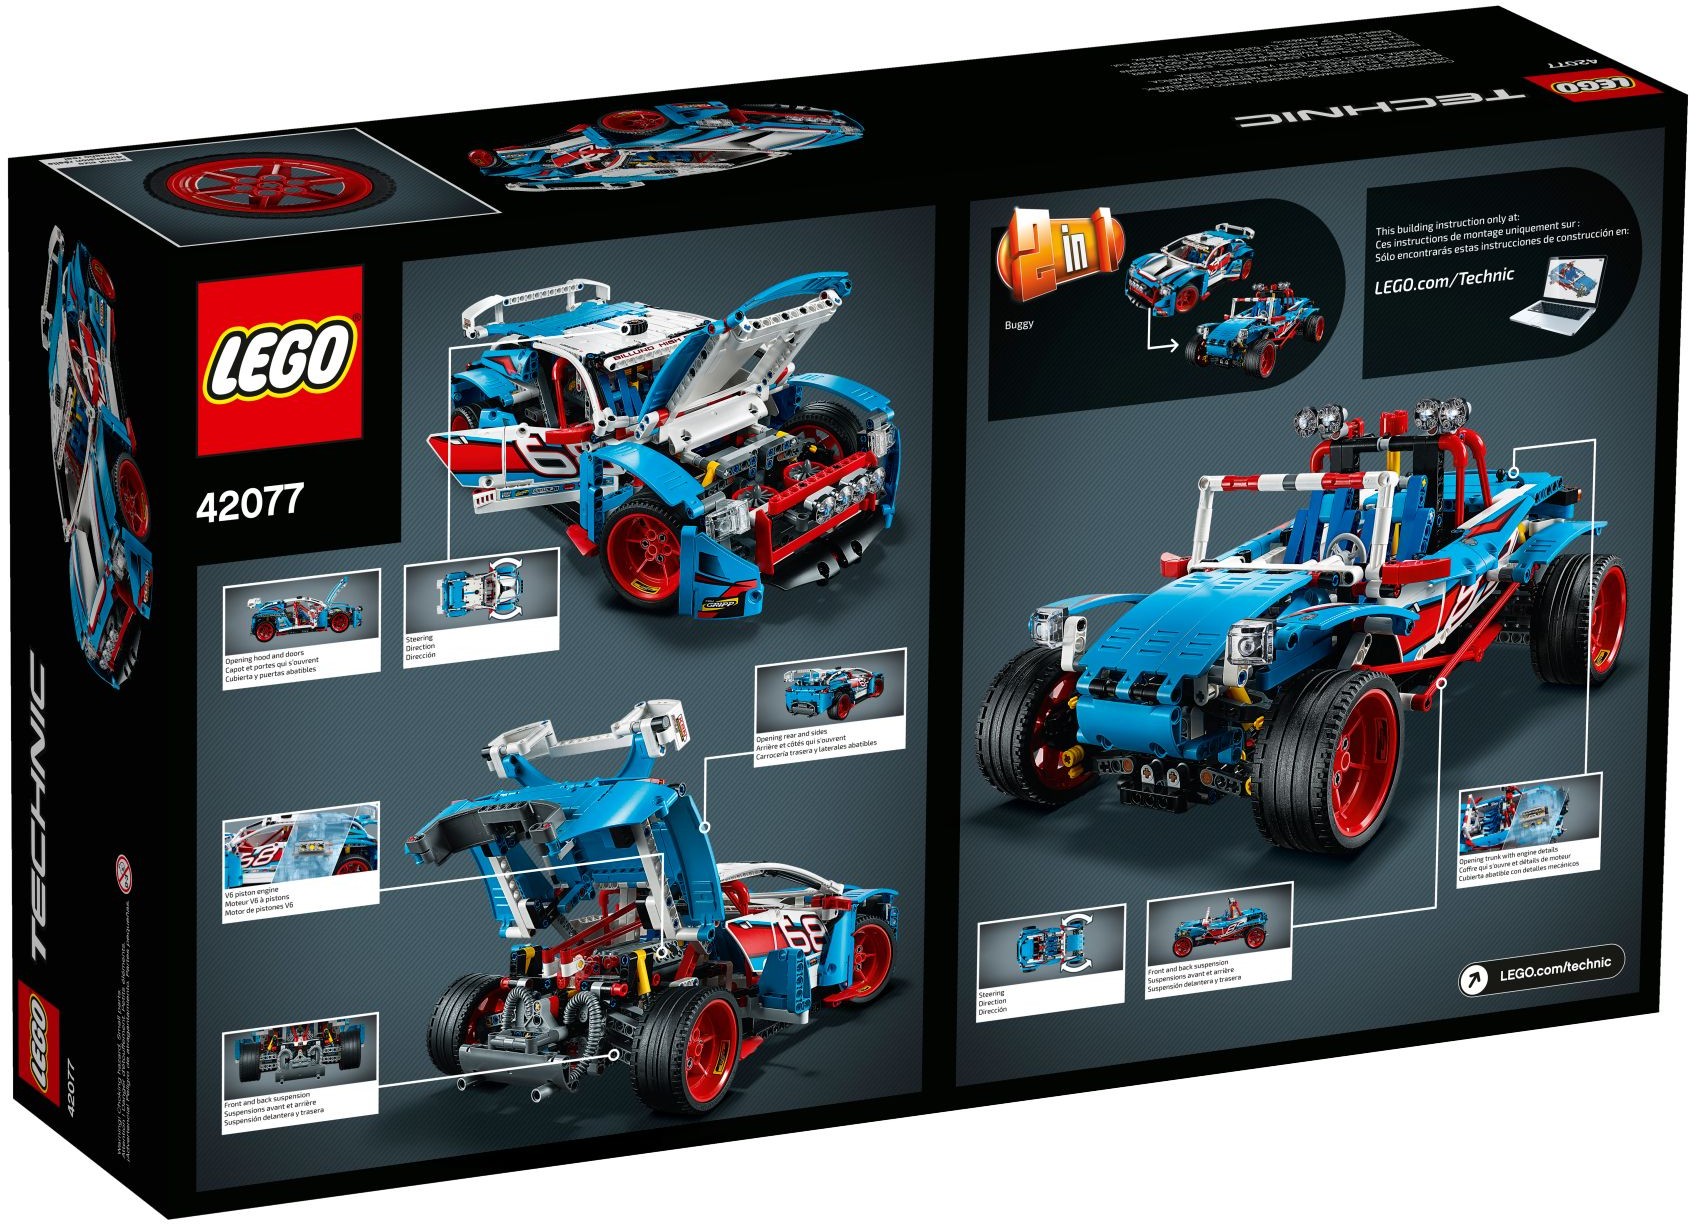
Push the car along and the rear wheels turn the six-cylinder engine mounted behind the seats. The engine is built early and connected to the driven rear axle. The front axle is not driven, which Milan called a shame on a rally car, and the box art of the car blasting along a hilly track had him half expecting all-wheel drive. With the rear bodywork lifted you can see the engine, the roll bars, the suspension and the exhaust system together.
Each corner is sprung. The rear uses two of the yellow hard shock absorbers and the front has its own, along with the steering. Press the car down and it moves a reasonable amount, but the body touches the ground at the bottom of the travel, and Milan’s note is that the low clearance would be a problem on a real hill stage. Huw’s suggestion is to turn it over: the suspension, drive shaft and steering are all visible from underneath.
Lift the boot lid and the side panels behind the doors swing out at the same time, moved by levers connected to the lid. Huw could not think why a rally car would do this; Mylenium thought it was borrowed from luxury sports cars that need the extra access. Milan’s practical explanation is the useful one: the engine sits a long way forward, towards the middle of the car, and opening the sides is what lets you see it. The Brothers Brick found it works smoothly and called it the main play feature of the set.
The doors open to show the seats, the roll cage and the fire extinguisher, and Milan notes each door hangs on a single pin. The bonnet lifts to reveal two large fans that LEGO calls engine cooling fans. The engine is at the other end of the car, and both Huw and Mylenium point this out; the fans are not connected to anything and do not turn. Under the bonnet otherwise is the bare front axle.
How the build goes
Ten bags, none of them numbered, one instruction book and one sticker sheet. Huw pre-sorted into trays before he started and it is worth doing the same. No reviewer gave an hour count; Huw called it a relatively quick and easy build and Mylenium said you get a result pretty quickly, so allow an evening or two. The reviewers describe the first steps in slightly different orders, so treat the first two stages as one block.
Chassis rails and the rear axle
Milan starts with the chassis and its side steps, and says the final width of the car is obvious from the first steps: 27 studs. Then the rear axle, driven and suspended, with its two yellow hard shock absorbers. Huw describes the engine and rear axle assembly as the first thing built, so expect the two to come together quickly whichever way your book reads.
The V6 and the first roll bar links
The six-cylinder engine goes onto the driven rear axle, and two of the red 16-stud links go in as the start of the roll bar. Roll the rear wheels now and watch the pistons; this is the easiest point to check that the engine turns freely.
Front of the chassis, seats and the cage
The chassis is extended forwards and the seats and the roll cage go in. The cage is the part of the interior everyone likes: Milan calls it beautifully designed and the Brothers Brick a highlight of the model, built from a handful of pieces including the red macaroni pieces on the corners, four of them. Mylenium is the dissenting voice on the colours, with red cage bars, blue seats and yellow axles all fighting the azure.
Front axle and the nose
The front axle is sprung and steered but not driven. Attach it and the front section, with the two fans, and the length of the car becomes apparent; Huw measured about 43 cm and the Brothers Brick says it is not until step 82 that you grasp the size. Check the steering moves freely now, before the bodywork closes in around the front axle.
Panels and stickers
With the mechanisms done, the rest is a large number of panels, more than 45 of them, many carrying stickers. The rear wing hangs off a single wheel arch panel, the 5 x 15 piece first seen on the Porsche 911 GT3 RS (42056). The white soft axles across the roof go on near the end. It all comes together very quickly, as Huw puts it, and on a library copy the stickers are already applied.
No member notes on this one yet, so these come from the reviews. Most are about stickers, and on a library copy the stickers are already on, which turns the list into things to check rather than things to do.
- Stickers across adjacent panels. The livery runs over several panels at once, and the Brothers Brick warns that two stickers on neighbouring panels are easily misaligned. On our copy, look along the door and the arches before you decide anything is wrong with the panels themselves.
- The Billund High Point beam. A very long, narrow 1 x 12 sticker sits on a 1 x 13 white beam above the windscreen. The Brothers Brick reviewer called it the real pain of the build. The beam itself is only loosely attached to the roof, and Milan found that any touch moves it, so do not lift the car by the roof.
- Pick it up by the side steps. Milan’s advice, and it follows from the point above: hold the black side steps under the doors rather than the roof or the panels.
- The wheel stickers. Four small yellow stickers go on the inside faces of the wheels, one each. Huw left his off because he judged they could not be applied straight and consistently. If a library copy has some and not others, that is why.
- The doors and the bonnet. Each door sits on one pin, so open them from the edge rather than the middle. Huw thought the bonnet was the weakest looking part of the model, and from some angles it does not sit right; that is the design, not a missing part.
On the shelf
It is about 43 cm long and 20 cm wide, close to the size of the old supercars such as 8448, and it needs a full shelf. Huw’s verdict was that it is very much a display model, and that is how most members will use it. The dark azure, red and white are vivid in daylight, and there are no stickers at all on the back, which Milan thought left the tail looking a bit pale next to the sides.
Two things to know before you photograph it. The wing mirrors fold, and Huw forgot to fold his out. And the car sits low, so it looks best at eye level rather than from above, where the gaps between the tyres and the arches are most obvious.
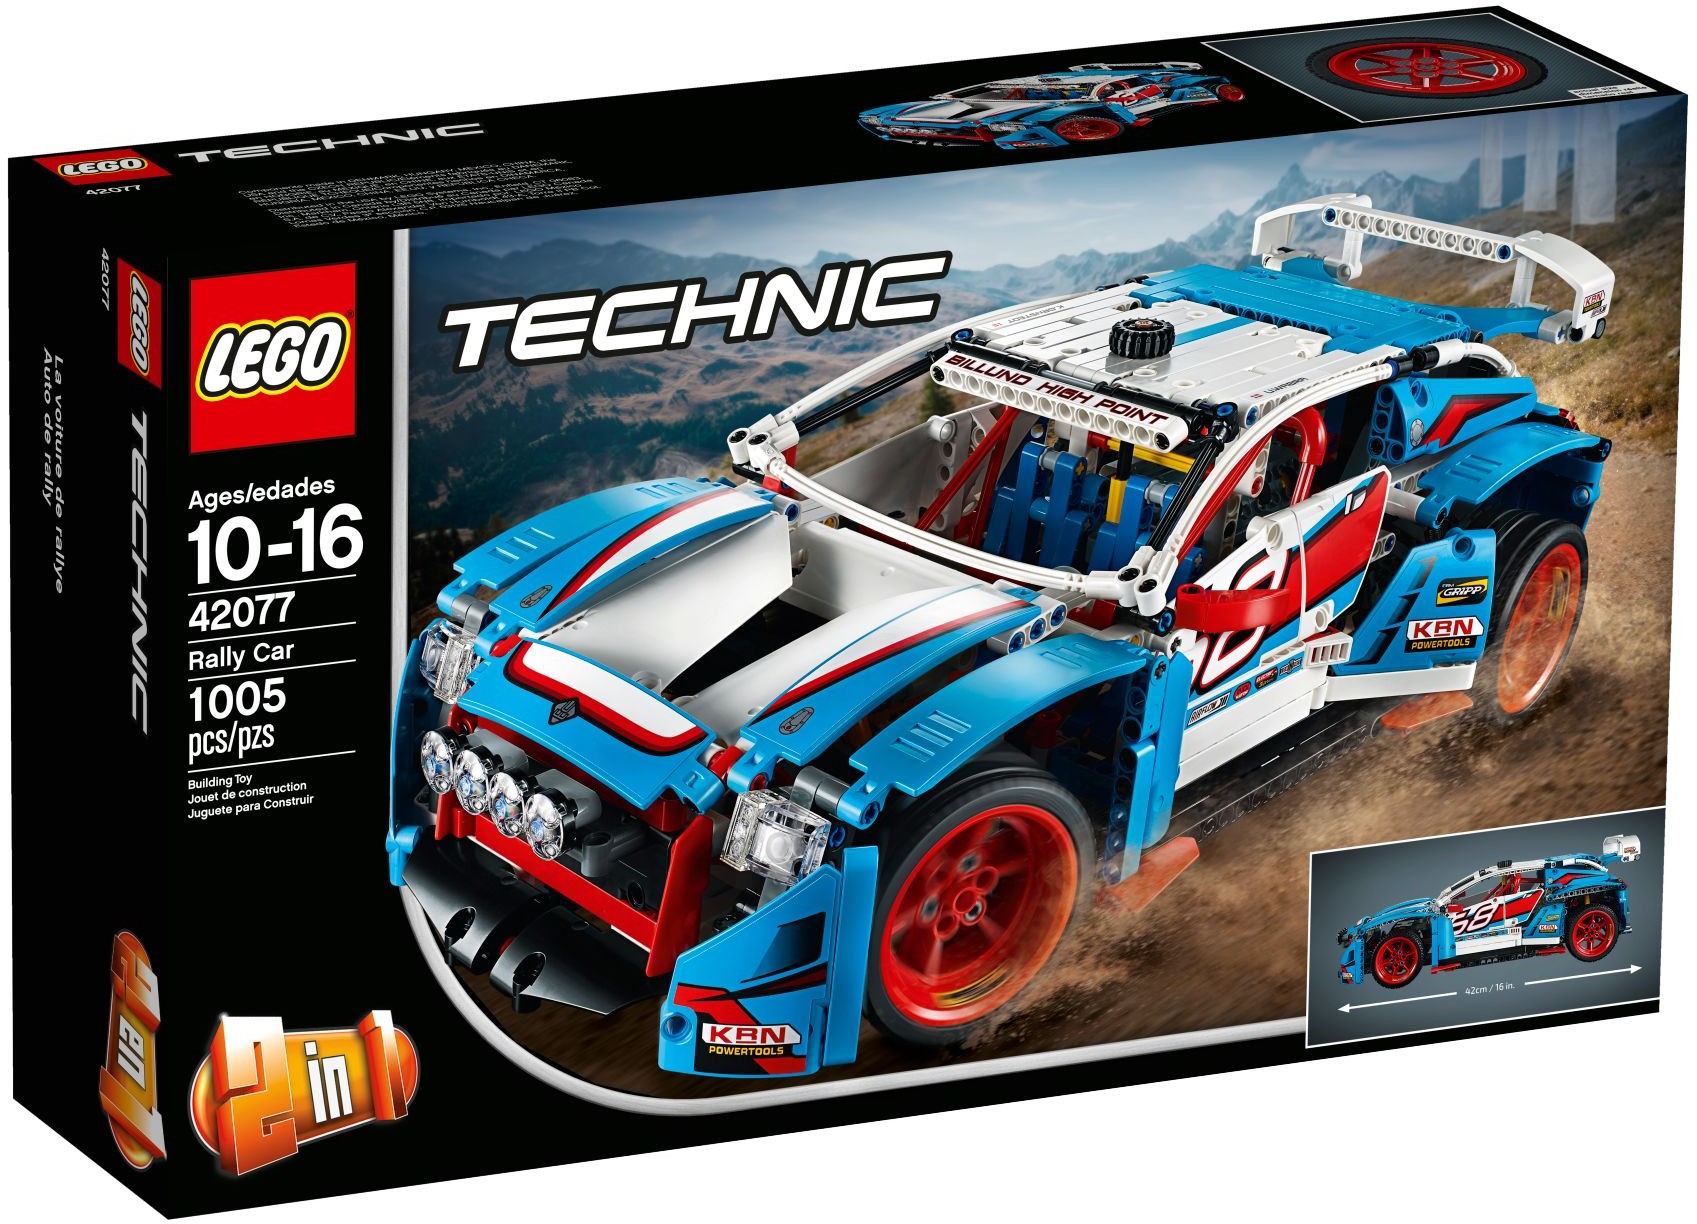
It is the one for you if you are new to Technic cars, if you want a large finished model without a large build, or if you have a younger builder in the house who is ready for a 1,000-piece set. Do not want it expecting a gearbox or four-wheel drive, whatever our product page says. Allow one or two evenings, test the steering before the nose goes on, and lift it by the side steps.
If you like this one, try
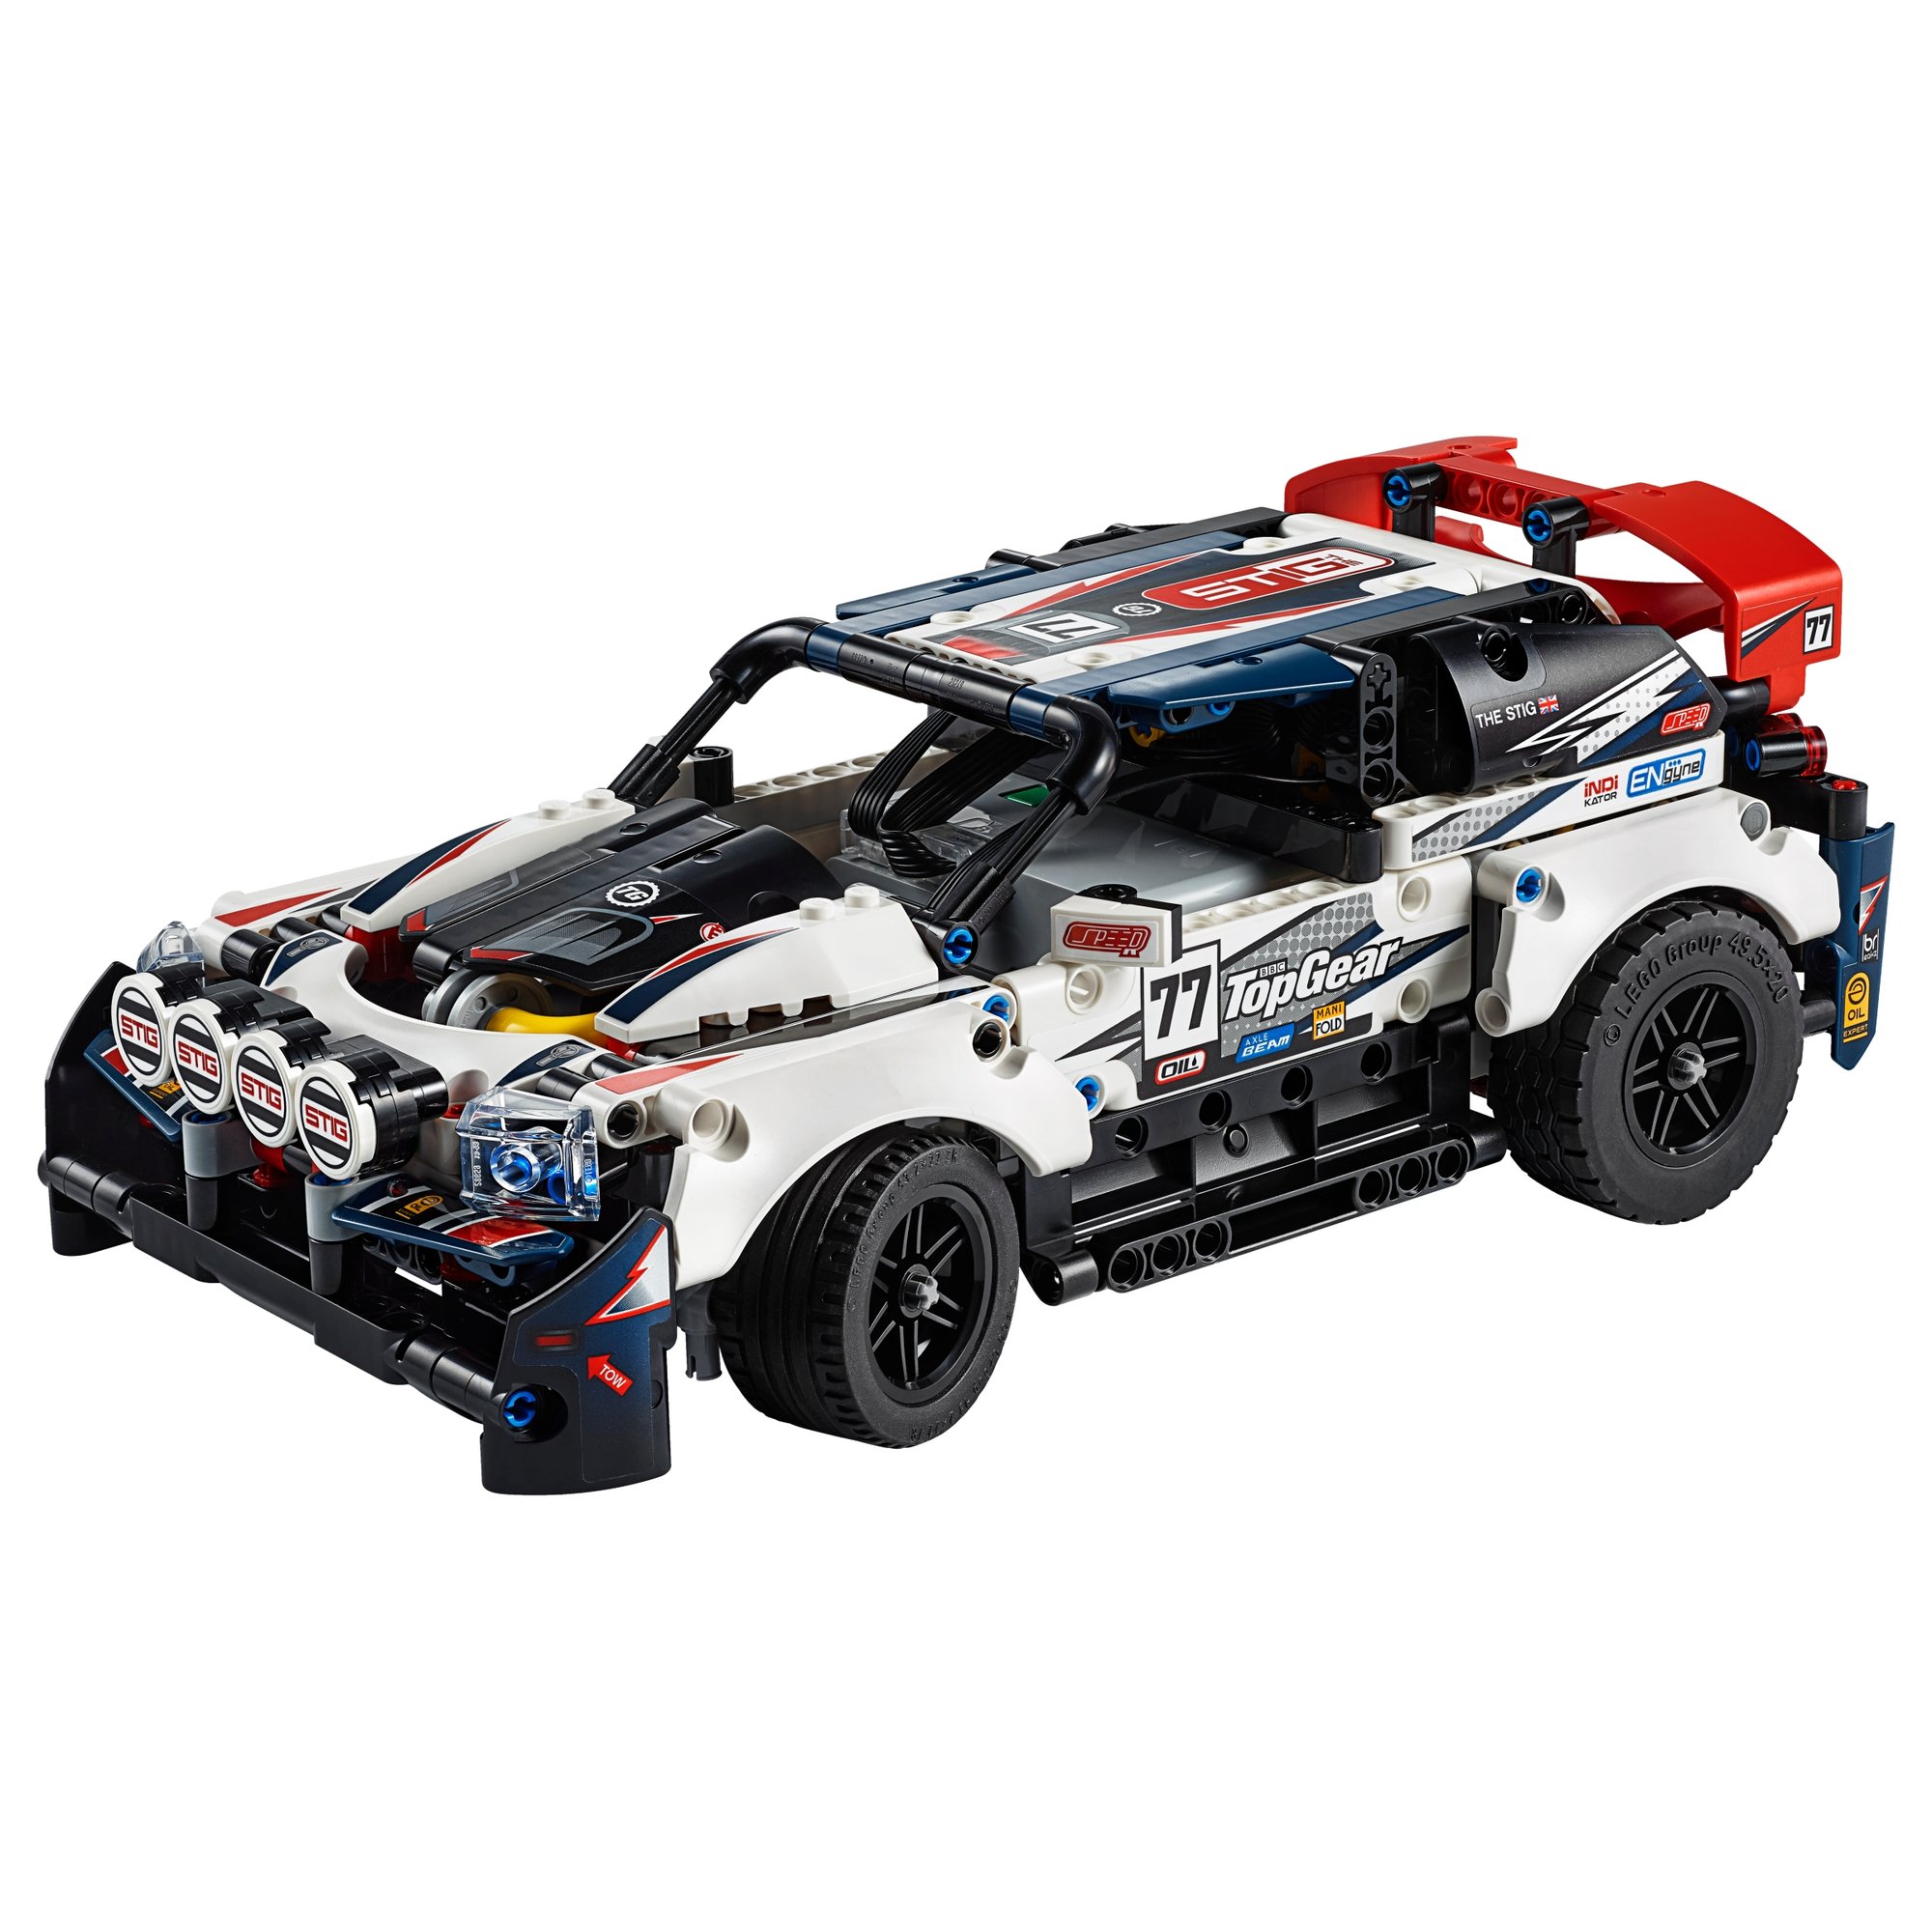
The other mid-size cars in the library. The Top Gear Rally Car is the app-controlled one, smaller and driven from a phone; the Porsche, the Ferrari and the Ford GT are the licensed cars that came after this one, with more pieces and more going on inside.

The Rally Car is in the library
Technic Fan gets up to 6 kits a year, Master Builder up to 12. Delivery both ways is included and the prepaid return label is in the box.