

Volvo L350F Wheel Loader (42030): four motors and nothing to shift
Most big Technic sets put one motor through a gearbox and make you pick a function with a lever. This one gives every job its own motor. An XL drives the wheels and the engine, a Servo swings the articulated steering, an L lifts the boom and an M tilts the bucket, and two infrared remotes cover all four, so you drive with one hand and dig with the other and never switch anything. It was the 2014 flagship, designed by Uwe Wabra over about eight months with a Volvo engineer helping, and the black bucket on the front was the largest single piece LEGO had moulded.
It is in the Brick Club library. Below is what each motor drives, how the build splits into a back half and a front half before they meet, and the one place a reviewer fitted a linear actuator upside down.

Why this one matters
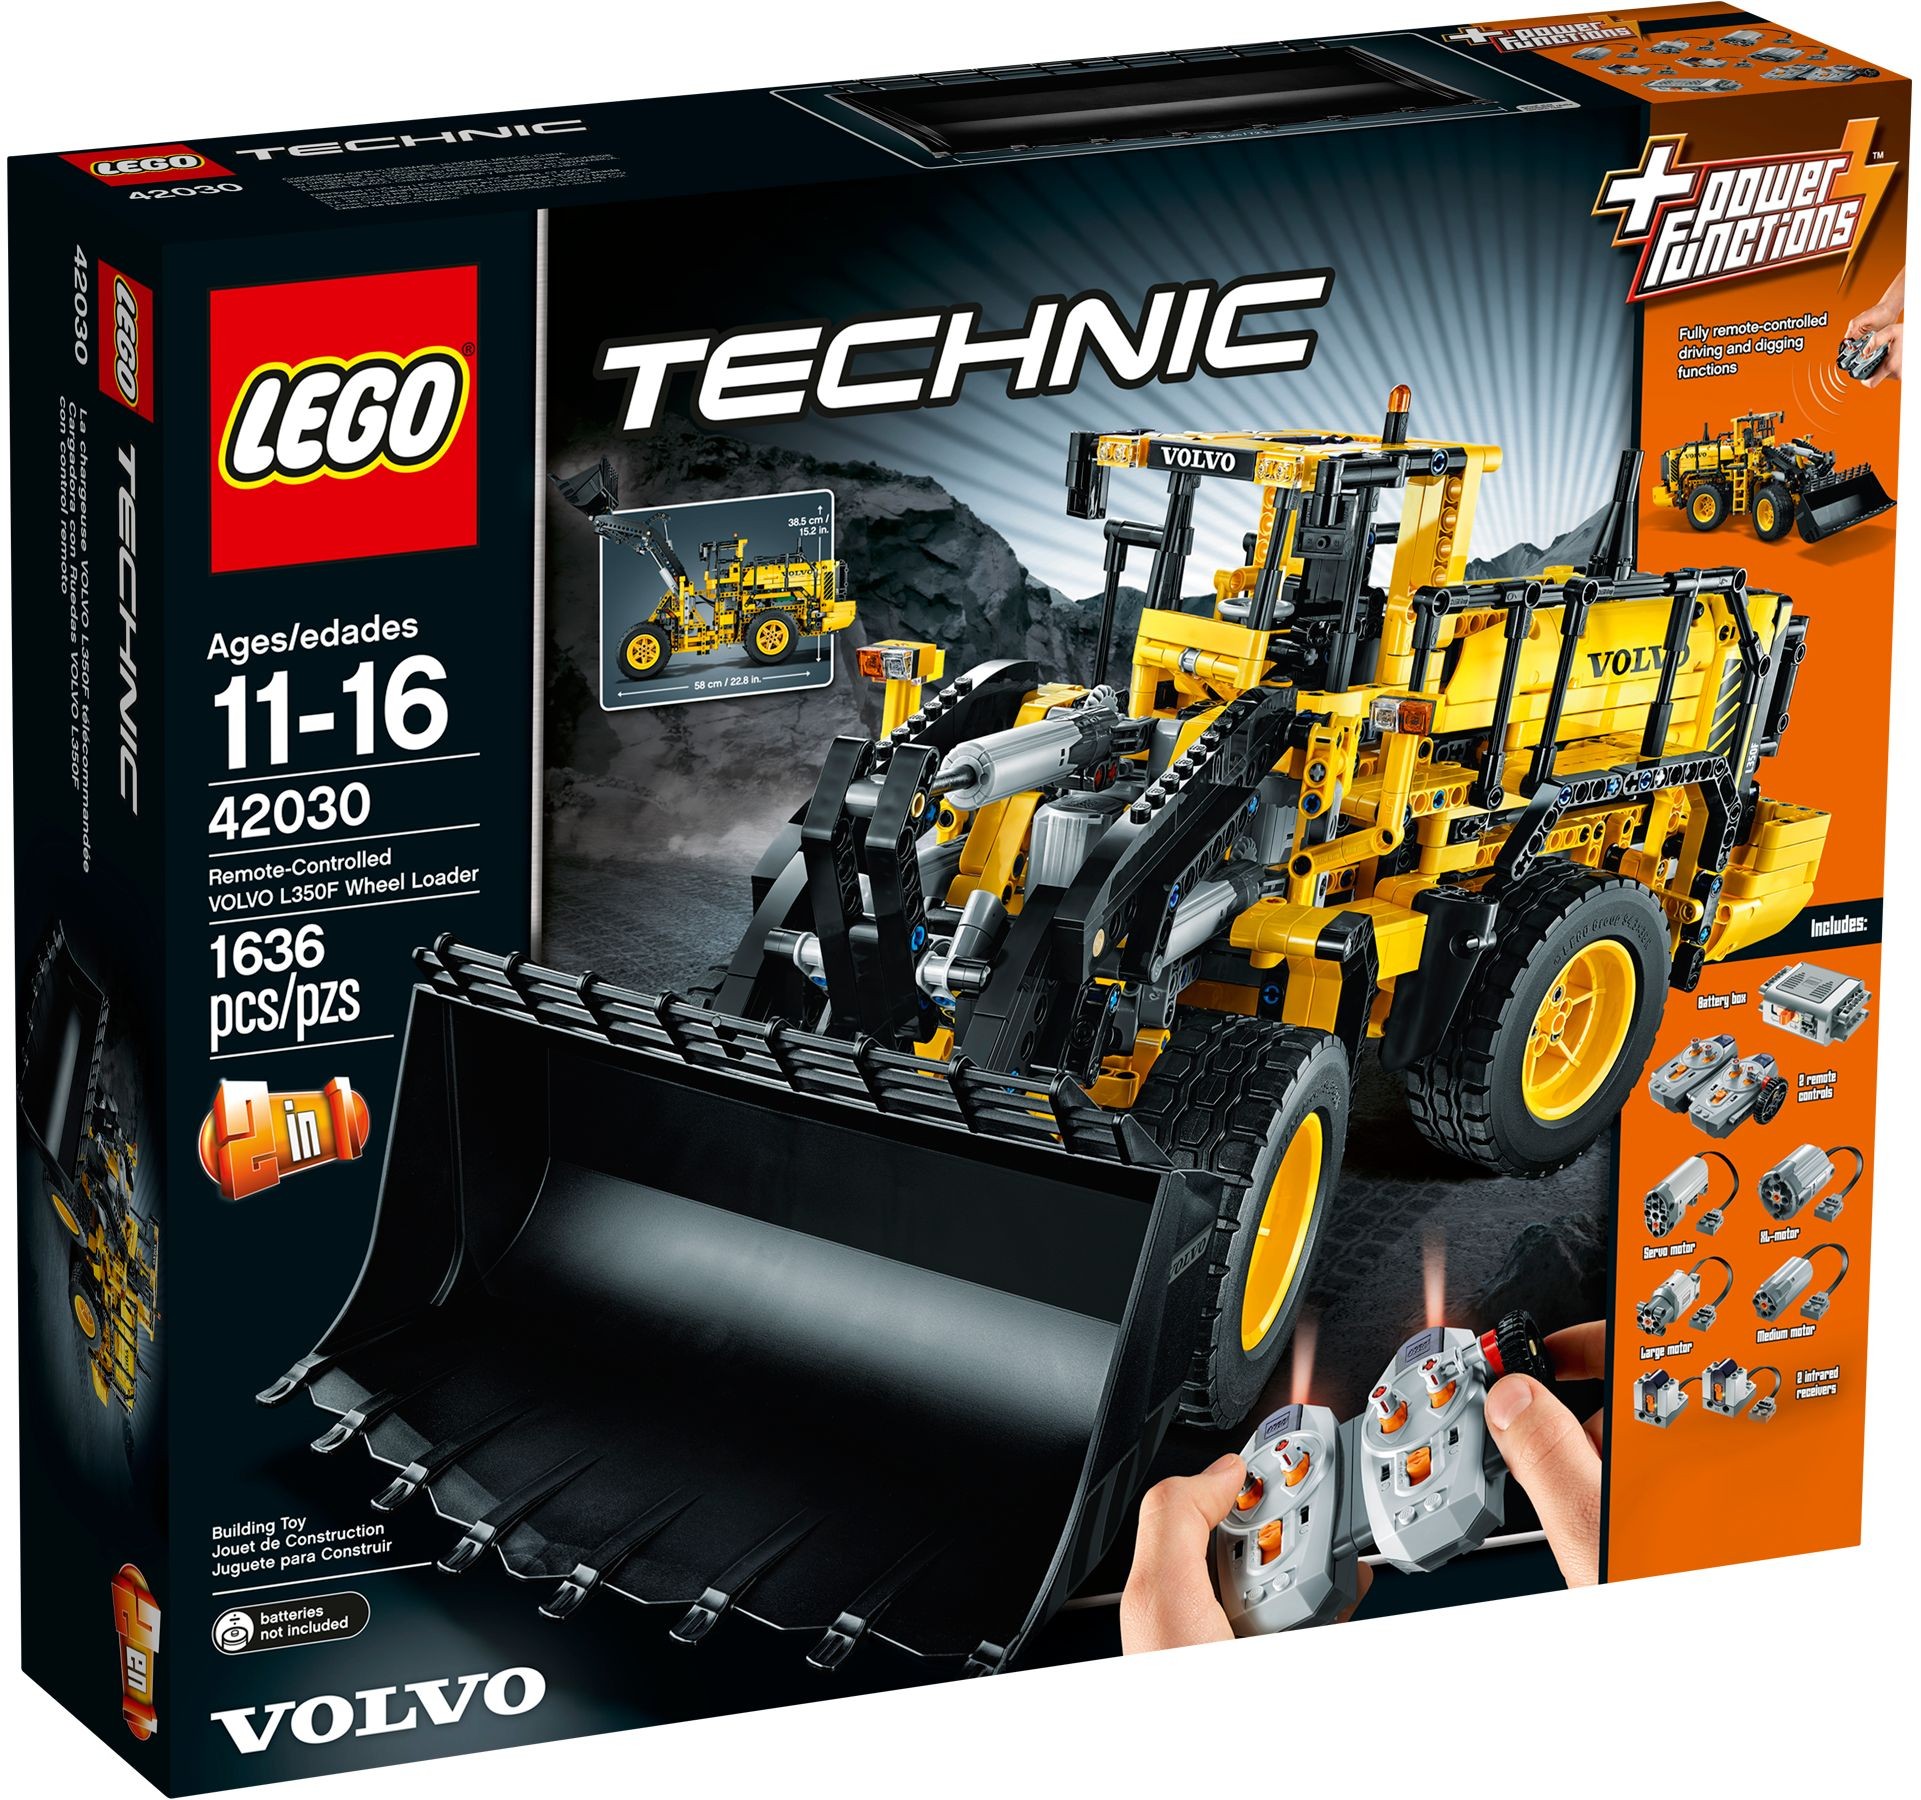
The point of the set is the electrics. Jim at Eurobricks counted nine Power Functions parts: a battery box, two infrared receivers, two remotes and all four motor types, and no Technic set had carried a spread like that before. The XL motor was the surprise. It had not appeared in an official set since the 8258 Crane Truck in 2009, and Jim was glad to see it on the drive because an XL coasts to a stop when you let go where an L motor stops dead. He suspected torque was the real reason, 40 N.cm against 18.
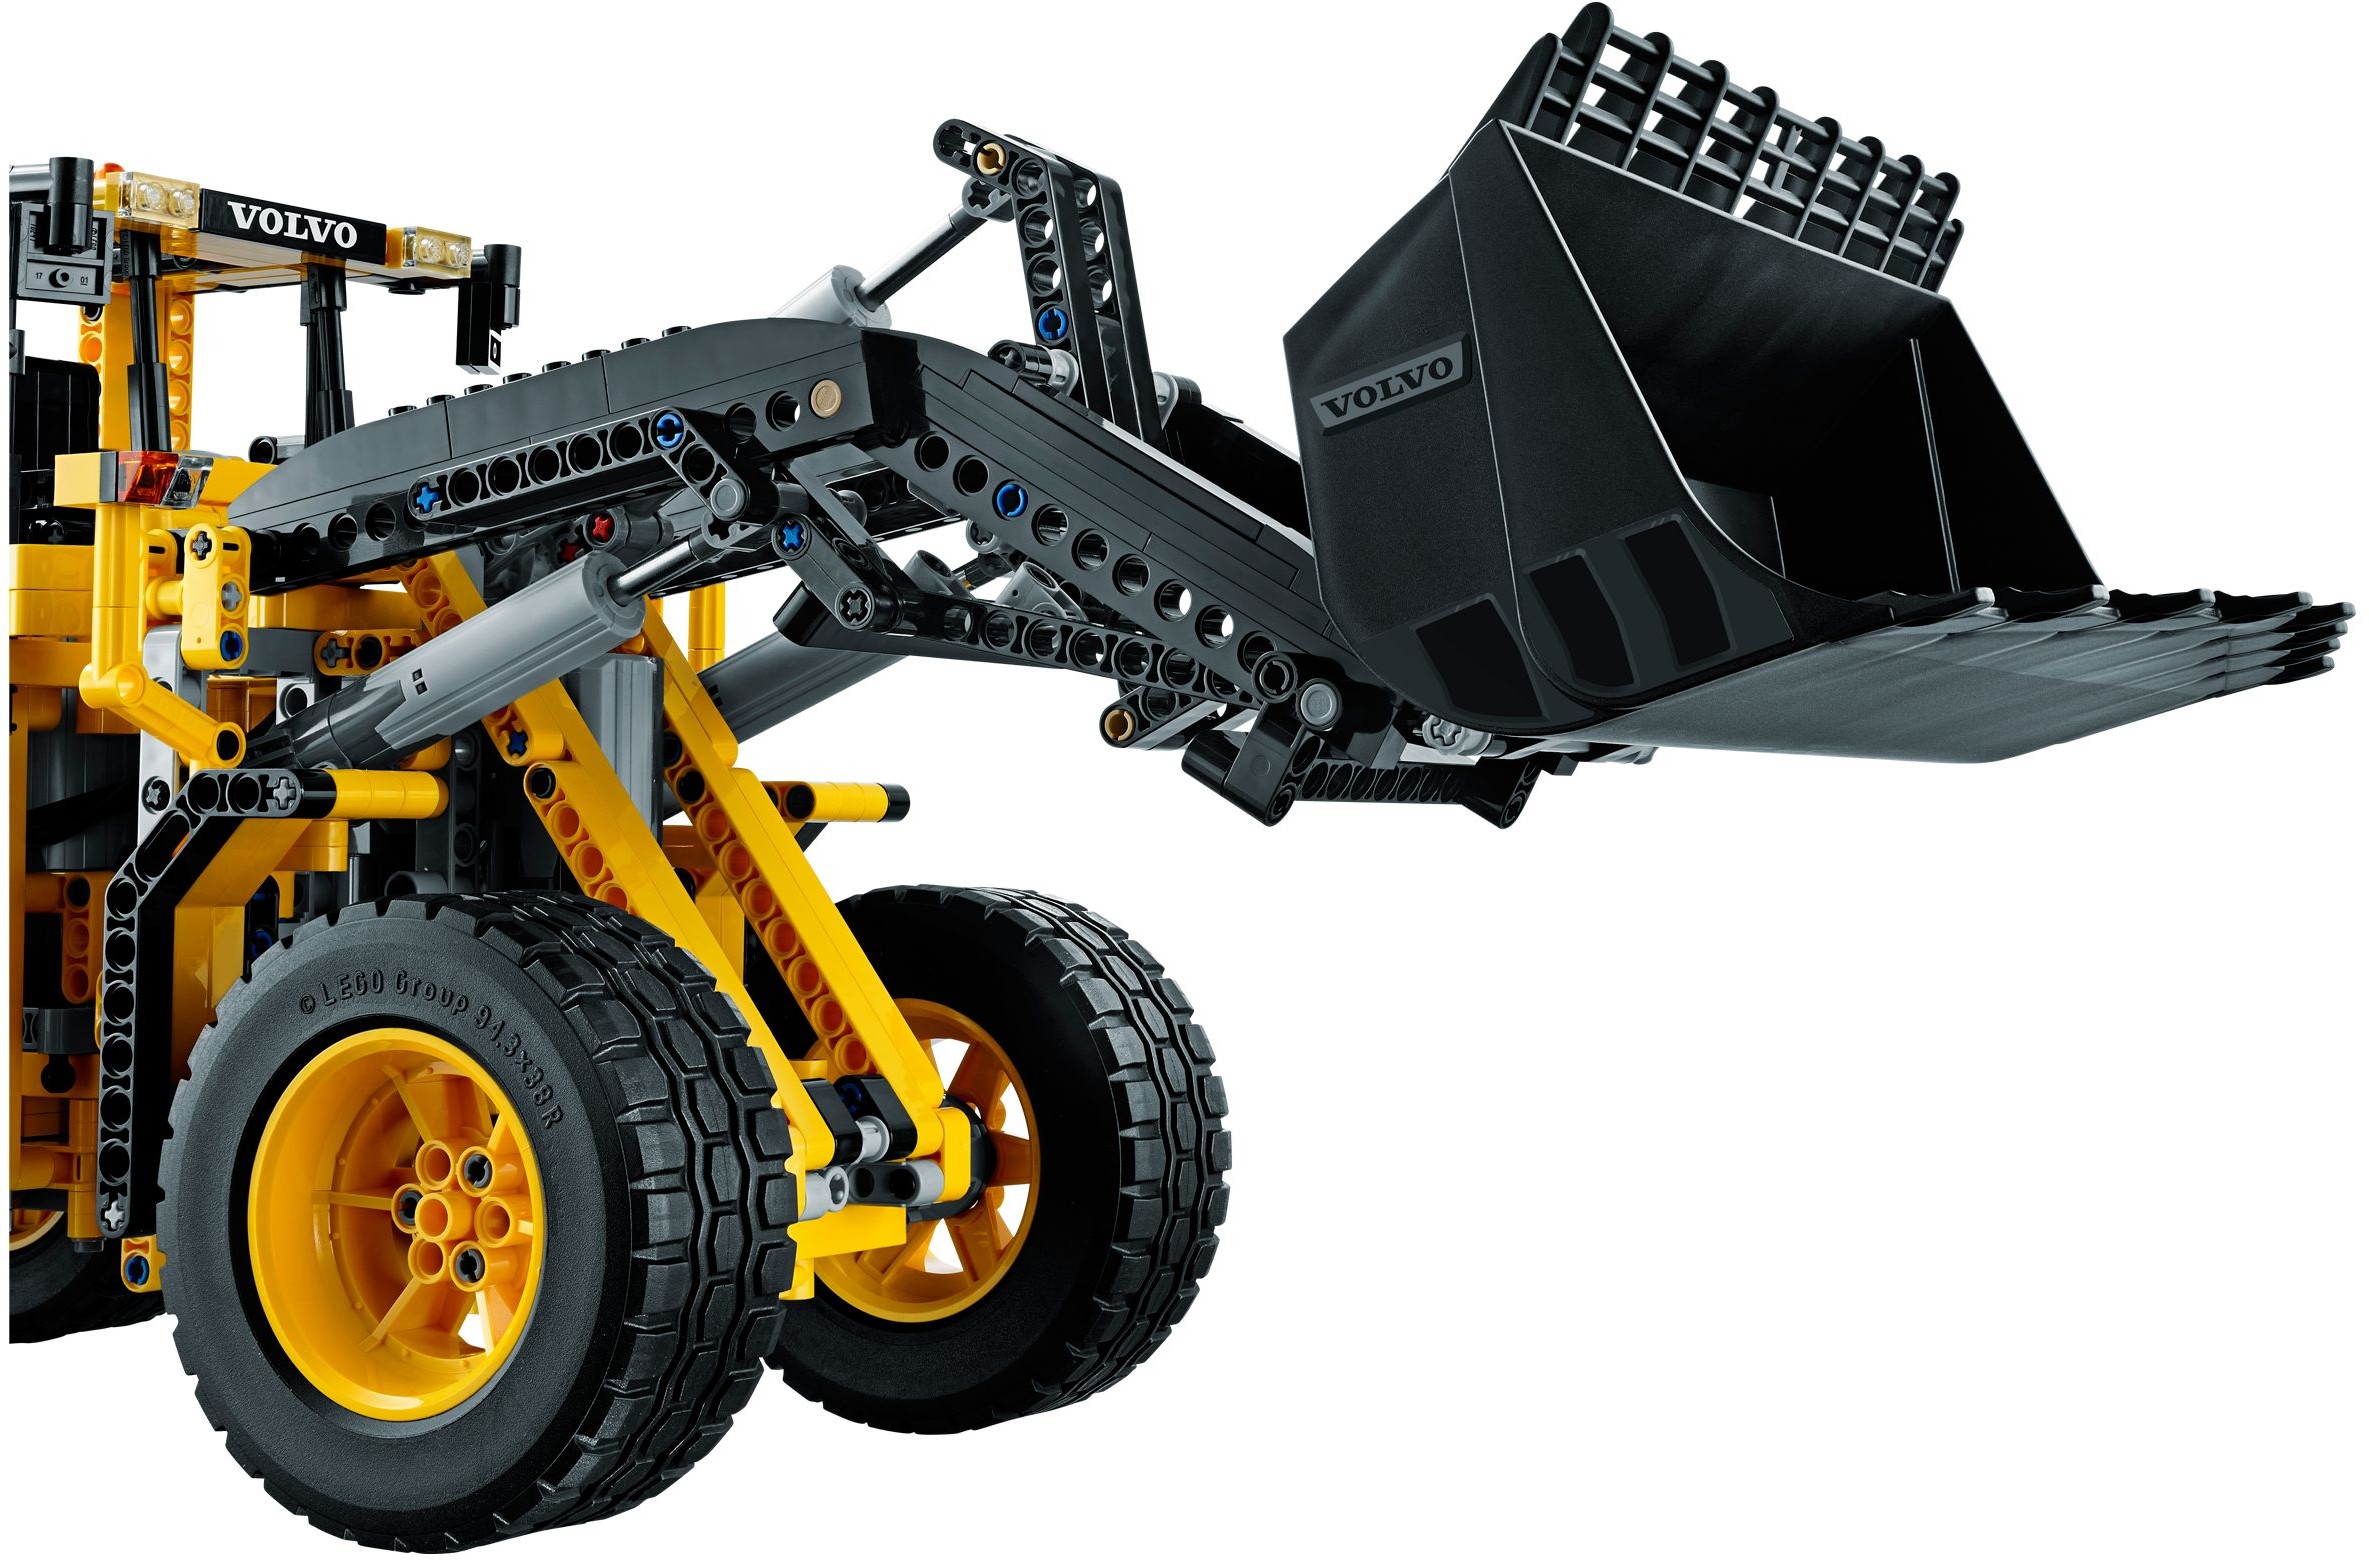
The other headline is the bucket. Volvo would call it a spade nose rock bucket, it measures 18.2 cm across, and the old big bucket from the 8265 Front Loader fits inside it. It is the reason this box is 3 cm deeper than the Mobile Crane Mk II’s (42009) when the other two sides are the same. Around it the parts are familiar Technic chosen with care: the yellow 56 mm rims were new, the Unimog tyres came back for another flagship, and the straight six has its cylinders moulded in green, which is the colour Volvo paints its diesels.
Inside are 14 bags, one thick instruction book rather than a stack of thin ones, and one sticker sheet that also carries the stickers for the B-model, a Volvo A25F articulated dump truck. This is the old Power Functions system: infrared remotes, a battery box, no app. Jim’s build took about seven hours; The Lego Car Blog did it in three or four.
What it actually does
Four motorised functions, each on its own motor and its own remote channel, plus a few things you do by hand. There is no gearbox, and The Lego Car Blog reckons that is why the build is so much easier than the other big sets of its day: not many gears and nothing to shift.
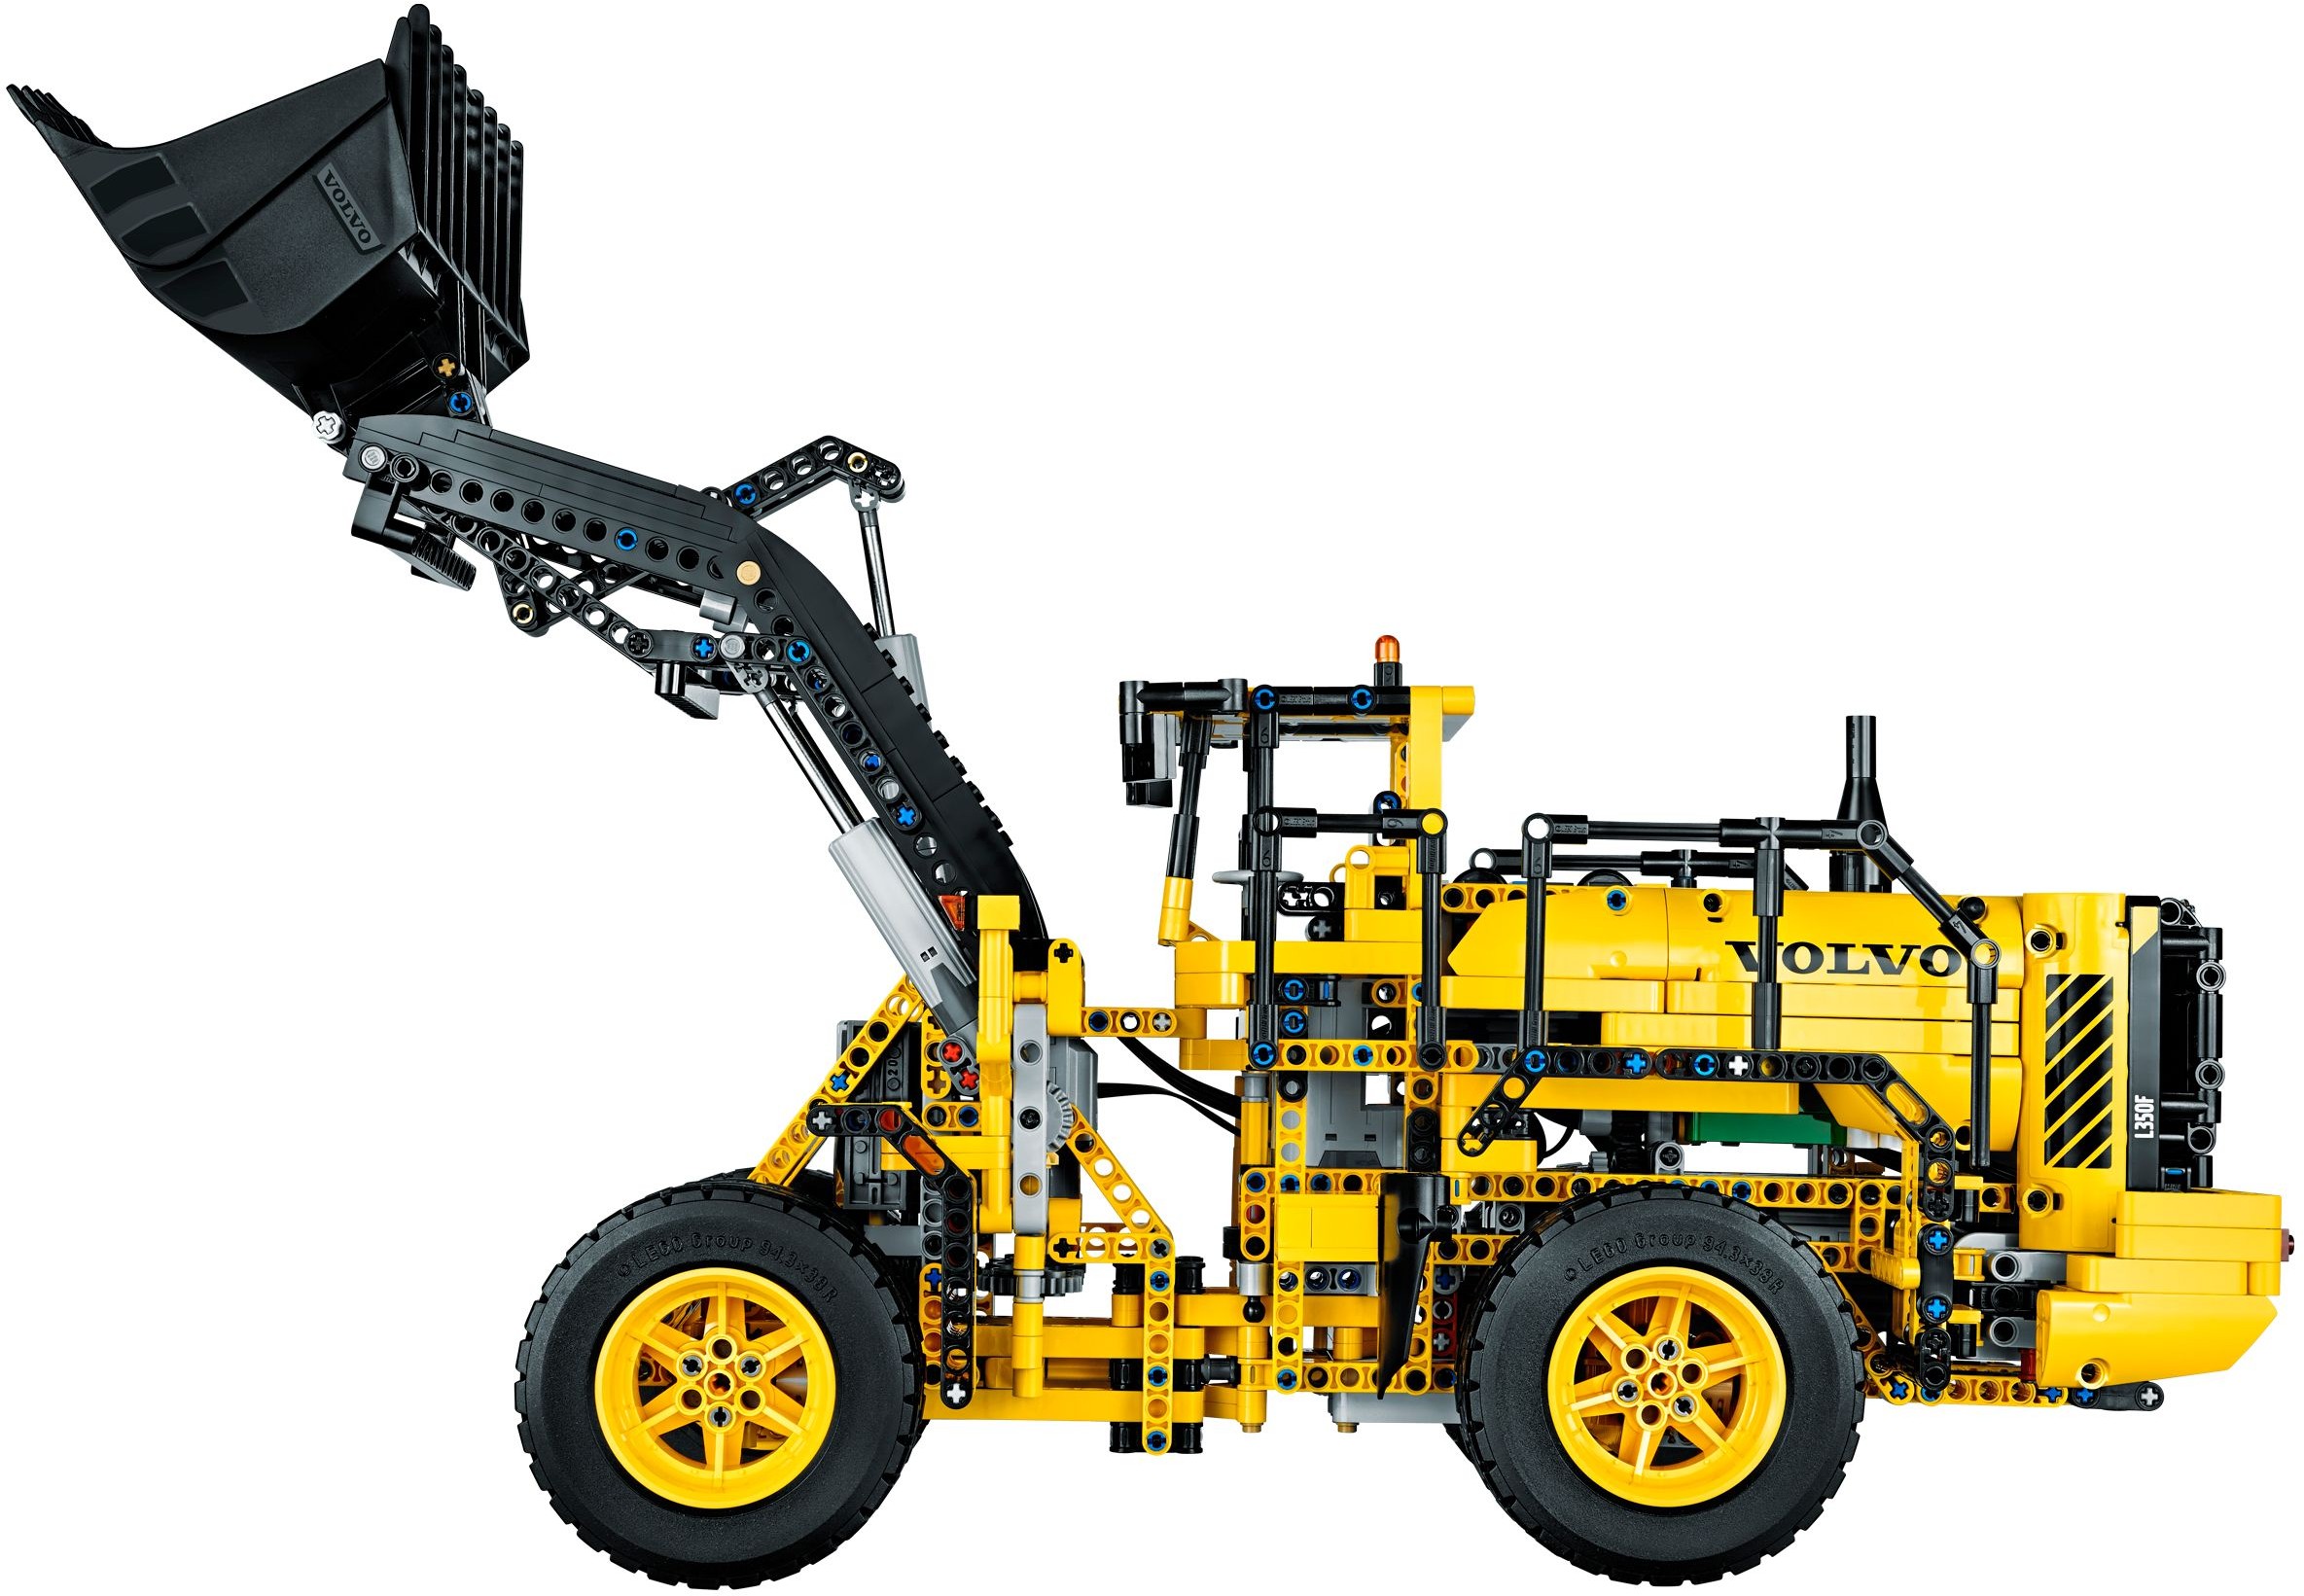
The XL lies on its side at the very back, under the engine, the only motor of the four not stood on end. It drives all four wheels and turns the green inline six above it as you go. The Lego Car Blog called the pace appropriate, not too fast and not too slow, though the engine itself does not spin quickly. The three white pin connectors on the block are the oil filters. You can get at all of it: the rear grille hinges open, both side panels open, and if you unlatch the rear mudguards another panel comes away and you are looking straight at the block and its cooling fan.
There is no steering rack. Like the real machine the chassis is split into a front half and a back half joined by a vertical hinge below the cab, and the Servo motor swings one half against the other. The Servo is either on or off, so on the standard remote it is hard left, hard right or straight on, nothing in between. The steering in the Nuremberg toy fair videos looked jerky and Jim found it is a bit, but not enough to spoil the playing. One thing that pleased The Lego Car Blog: the steering wheel in the cab is connected and turns with it.
The L motor stands upright in the front half and drives a pair of large linear actuators, one each side, that swing the boom arms up. There are three actuators in the model standing in for the loader’s hydraulics, and these are two of them. The boom goes to an impressive height at a decent speed, and because the linkage is a Z-bar like the real one the bucket keeps its angle through the top two thirds of the travel instead of tipping forward. The box says it lifts a kilogram. The Lego Car Blog confirmed that it will, and that it absolutely will not lift 1.1 kg.
The third actuator sits on top of the boom and is driven by the M motor, also upright in the front half. It works the bucket through a linkage that turns one short stroke into a wide range of angle, and The Lego Car Blog found it seamless and strong enough for the job. When the loader does give up under weight, The Lego Car Blog suspects the actuators’ internal clutches rather than the motor, so there is nothing to be gained by leaning on it.
The back axle pivots on a small turntable so all four wheels stay on an uneven floor; it is unsprung, and The Lego Car Blog was glad it was there at all. The steering portal axle housings are used lying flat rather than upright, which you rarely see. On the cab there is a small rotating beacon, and the access steps are on the right, which is where Volvo moved them on the real machine after deciding that a driver climbing in on the left with a lunch box was not safe. The two infrared receivers hide behind the cab where you barely notice them.
How the build goes
Fourteen bags and one book. Neither review ties bags to numbered stages, so this is the order the book takes you in. Jim took about seven hours and thought most people would do it in six; The Lego Car Blog says three to four.
The back half and the pendular axle
You start with the chassis, and within a few steps the rear axle is taking shape on a small turntable so it can rock. The steering portal axle housings go in lying flat rather than upright, where they normally sit to give ground clearance. This is the half that will carry the XL motor on its side and the Servo standing up. Nothing to test yet beyond rocking the axle by hand.
The front half and the hinge
The front section is built separately and carries the M and L motors standing upright, which Jim points out is why nothing has to be geared across the joint from the back. Then the two halves meet at the vertical hinge. At this point the wheelbase looks short and the whole thing looks small; the boom and the bucket change that later.
Engine, motors and bodywork
The green straight six goes in over the XL with its cooling fan and the three white oil filters, then the panels, railings and covers that make the back half look so much heavier than the front. The battery box sits at the rear, where from a normal angle you hardly see it. By the end of this stretch, Jim says, the chassis and bodywork are almost finished.
Boom, actuators and the bucket
The three actuators and the Z-bar linkage, then the arms, then the bucket pinned on with its 5-stud hole spacing. Jim fitted the top actuator the wrong way round, with the attachment point at the top instead of the bottom, and a reader had to point it out; in his write-up that happens before the bodywork is finished, so check each actuator as it goes in. Check each one against the drawing before the arms are pinned over them. Last come the cab details, the rotating light, the steps on the right and the two receivers tucked behind the cab.
No member has sent us a diary for this one yet, so these come from the two reviews.
- The top actuator goes in the other way up. Jim at Eurobricks fitted it with the attachment point at the top when it should be at the bottom. Compare all three actuators with the drawing before the boom arms are pinned over them.
- 5L stop axles are not 4L stop axles. The set has the newer 5L axles with a stop, and The Lego Car Blog was thankful they are a different colour from the older 4L ones, so if a stop axle sits proud or short, check its length.
- One sticker sheet, two models. The sheet carries the stickers for the A25F dump truck as well as the loader. Match the sticker number to the book, not the nearest Volvo logo.
- Steering that snaps is not broken. The Servo has no in-between position on the standard remote. Hard left, hard right or straight on is how it is meant to behave, so do not strip the hinge looking for a slipped gear.
- Spare axles at the end. Jim finished with three axles left over (5L, 6L and 7L) as well as the usual spare pins, with the model complete. Three spare axles is not a sign you have skipped a step.
On the shelf
It is 58 cm long and 38.5 cm high with the boom raised, and 18.2 cm across the bucket, so it wants a floor or a long sideboard. The box weighs about 3.5 kg. The rear half is the good side: railings, panels, the beacon, the Volvo lettering. Both reviews find the front weaker than the back: Jim says the area in front of the cab looks unfinished and the underside of the boom could use more bricks, and The Lego Car Blog found the areas beneath the cab and under the bucket a bit sketchy. Jim also wanted wheel caps to fill the yellow rims.
Batteries come out without a strip-down. Pull the two axles with the red bushes, unlock the long black pin with the stop bush, and the battery box lifts out of the back. The B-model is the Volvo A25F articulated dump truck, a tipper, and the second set of stickers on the sheet is for it.
This is the one for you if you want a remote-control model that works properly on the floor and does not ask for a weekend. It is a short build for the size, three or four hours by one count and seven by the other, so one long evening or two short ones, and the payoff is a loader you can drive round the kitchen and load with whatever is lying about, up to a kilogram. It is not the set for a gearbox person; there is nothing to shift and not many gears at all. Check the actuator orientation before the arms go on, and leave the B-model stickers on the sheet. If it is the big mechanical build you are after, the Rough Terrain Crane (42082) is the one with the levers.
If you like this one, try
The other loaders and Volvo machines in the library. The Concept Wheel Loader ZEUX (42081) is Volvo’s other Technic loader, the EC500 Hybrid Excavator (42215) is the newest Volvo in the library, and the Rough Terrain Crane (42082) is the big Power Functions build if it is levers and gearboxes you want.




The Volvo L350F Wheel Loader is in the library
Technic Fan gets up to 6 kits a year, Master Builder up to 12. Delivery both ways is included and the prepaid return label is in the box.