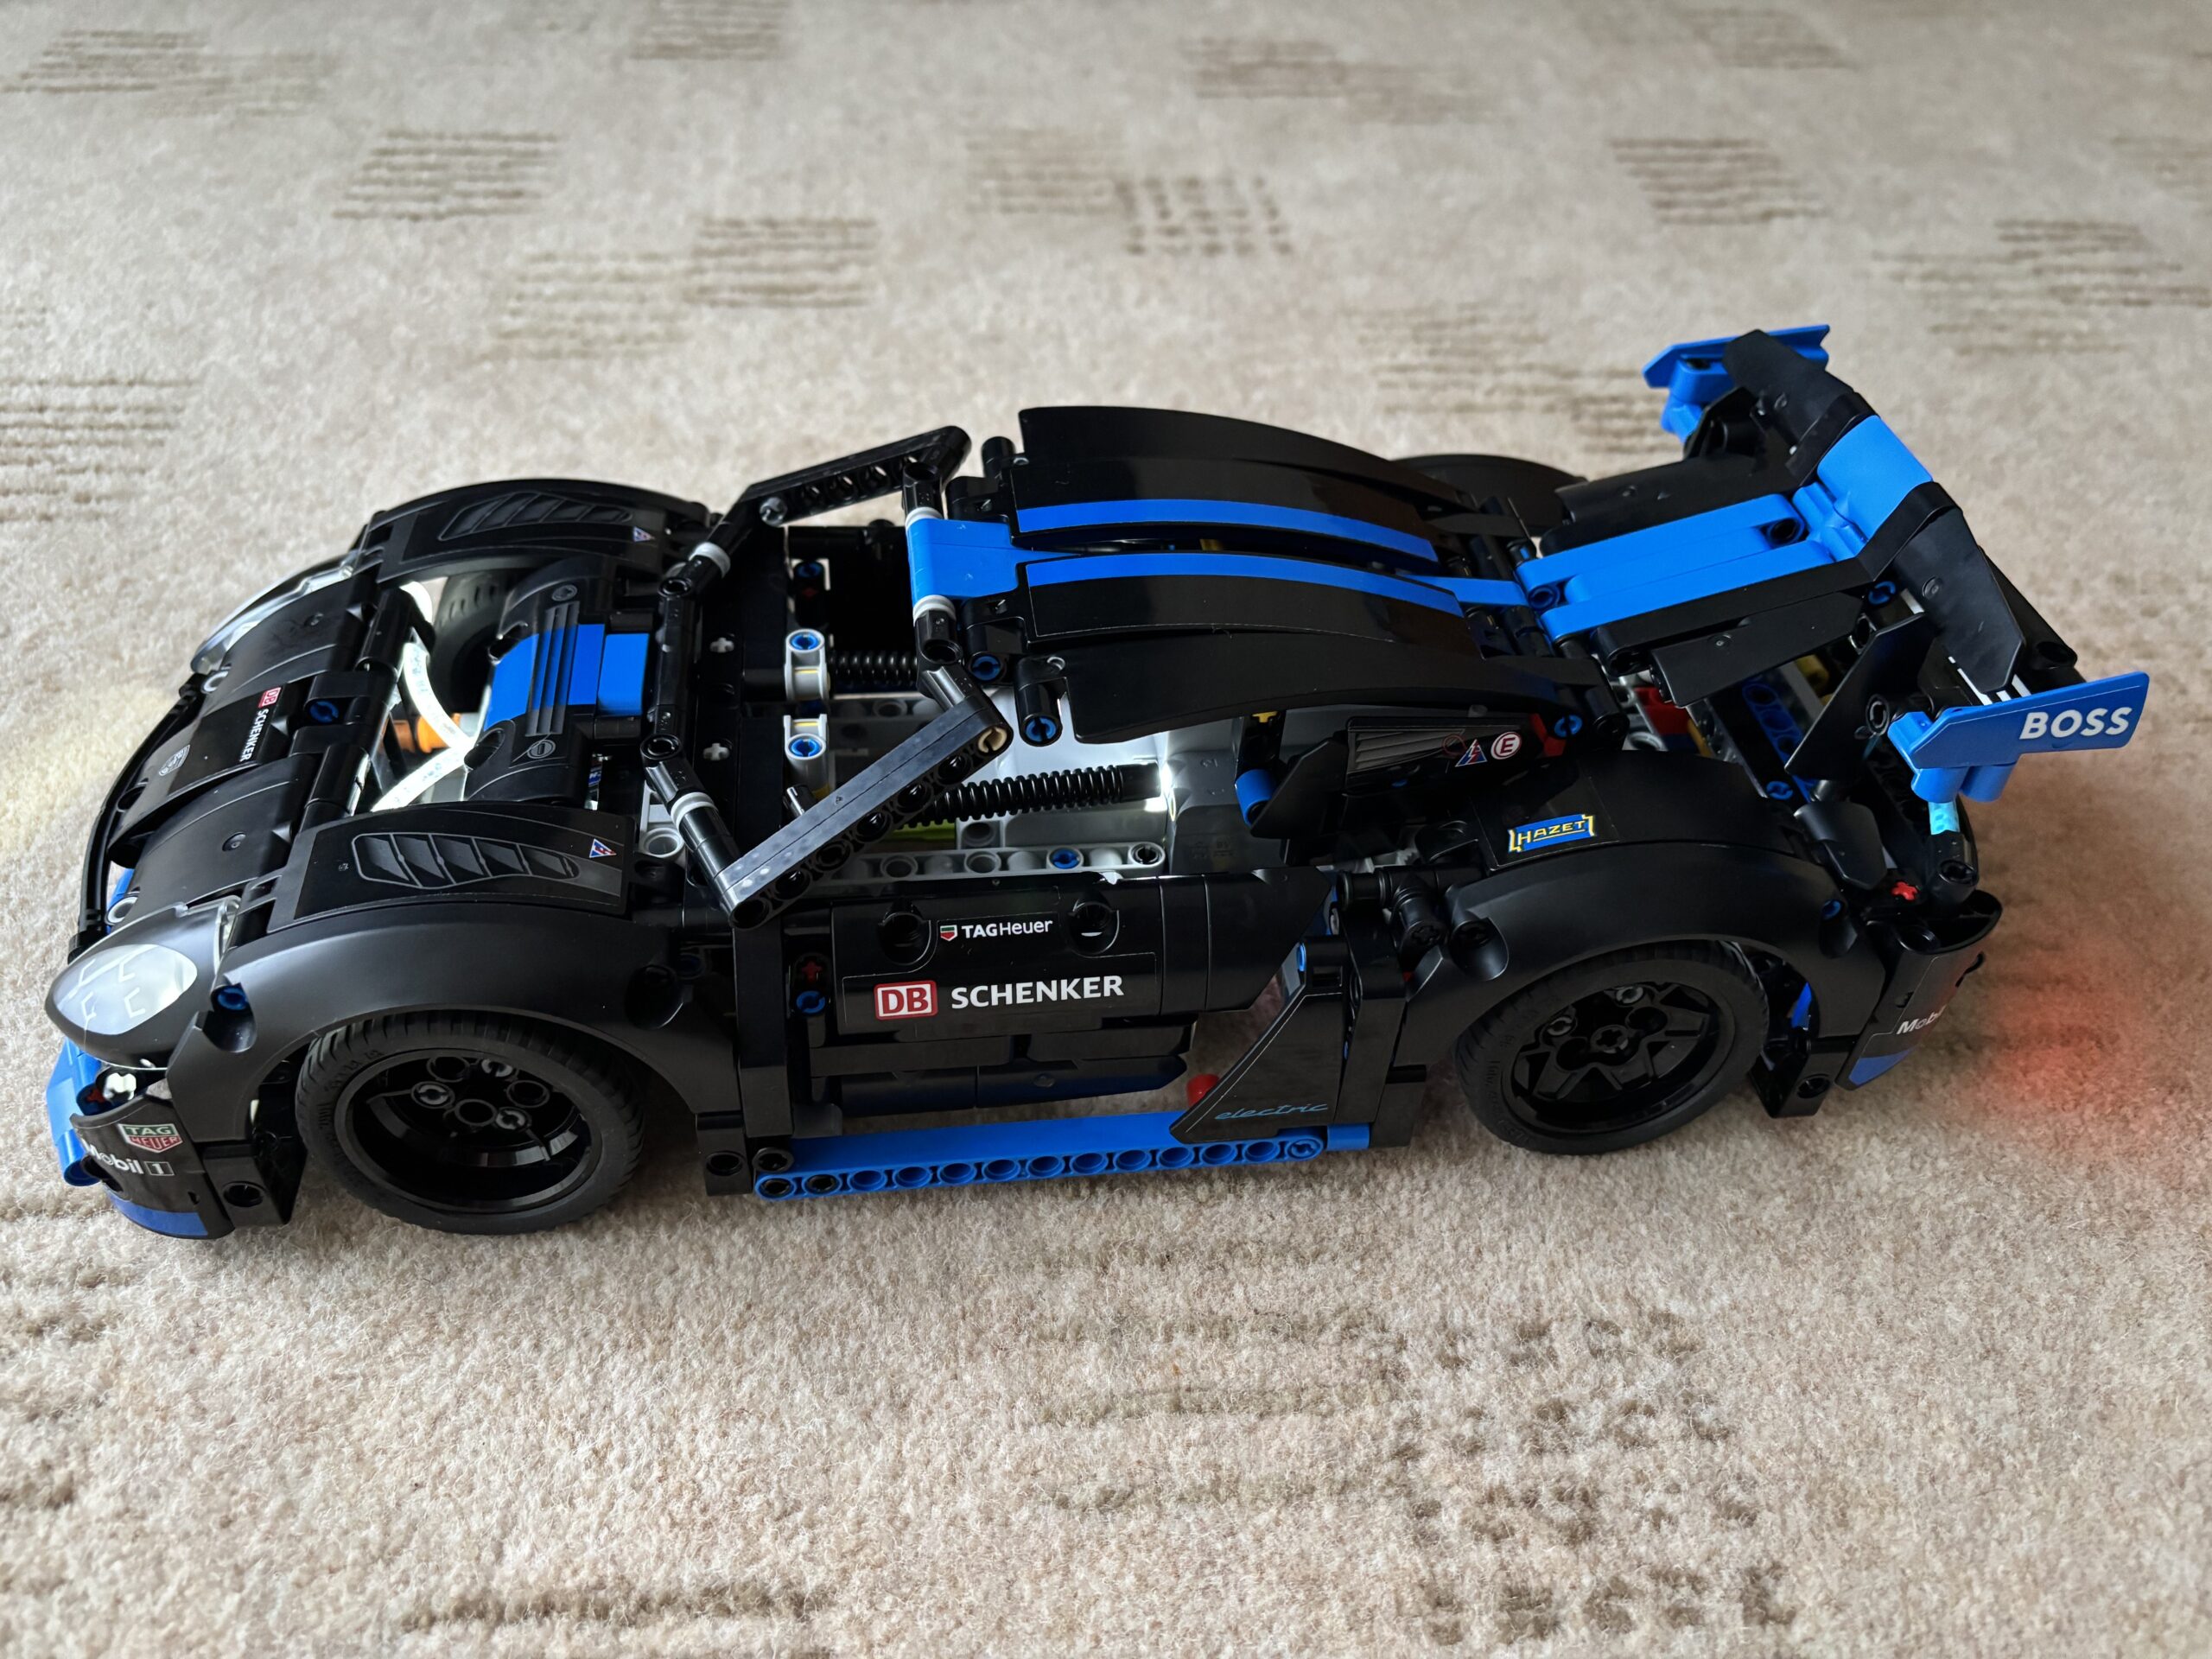
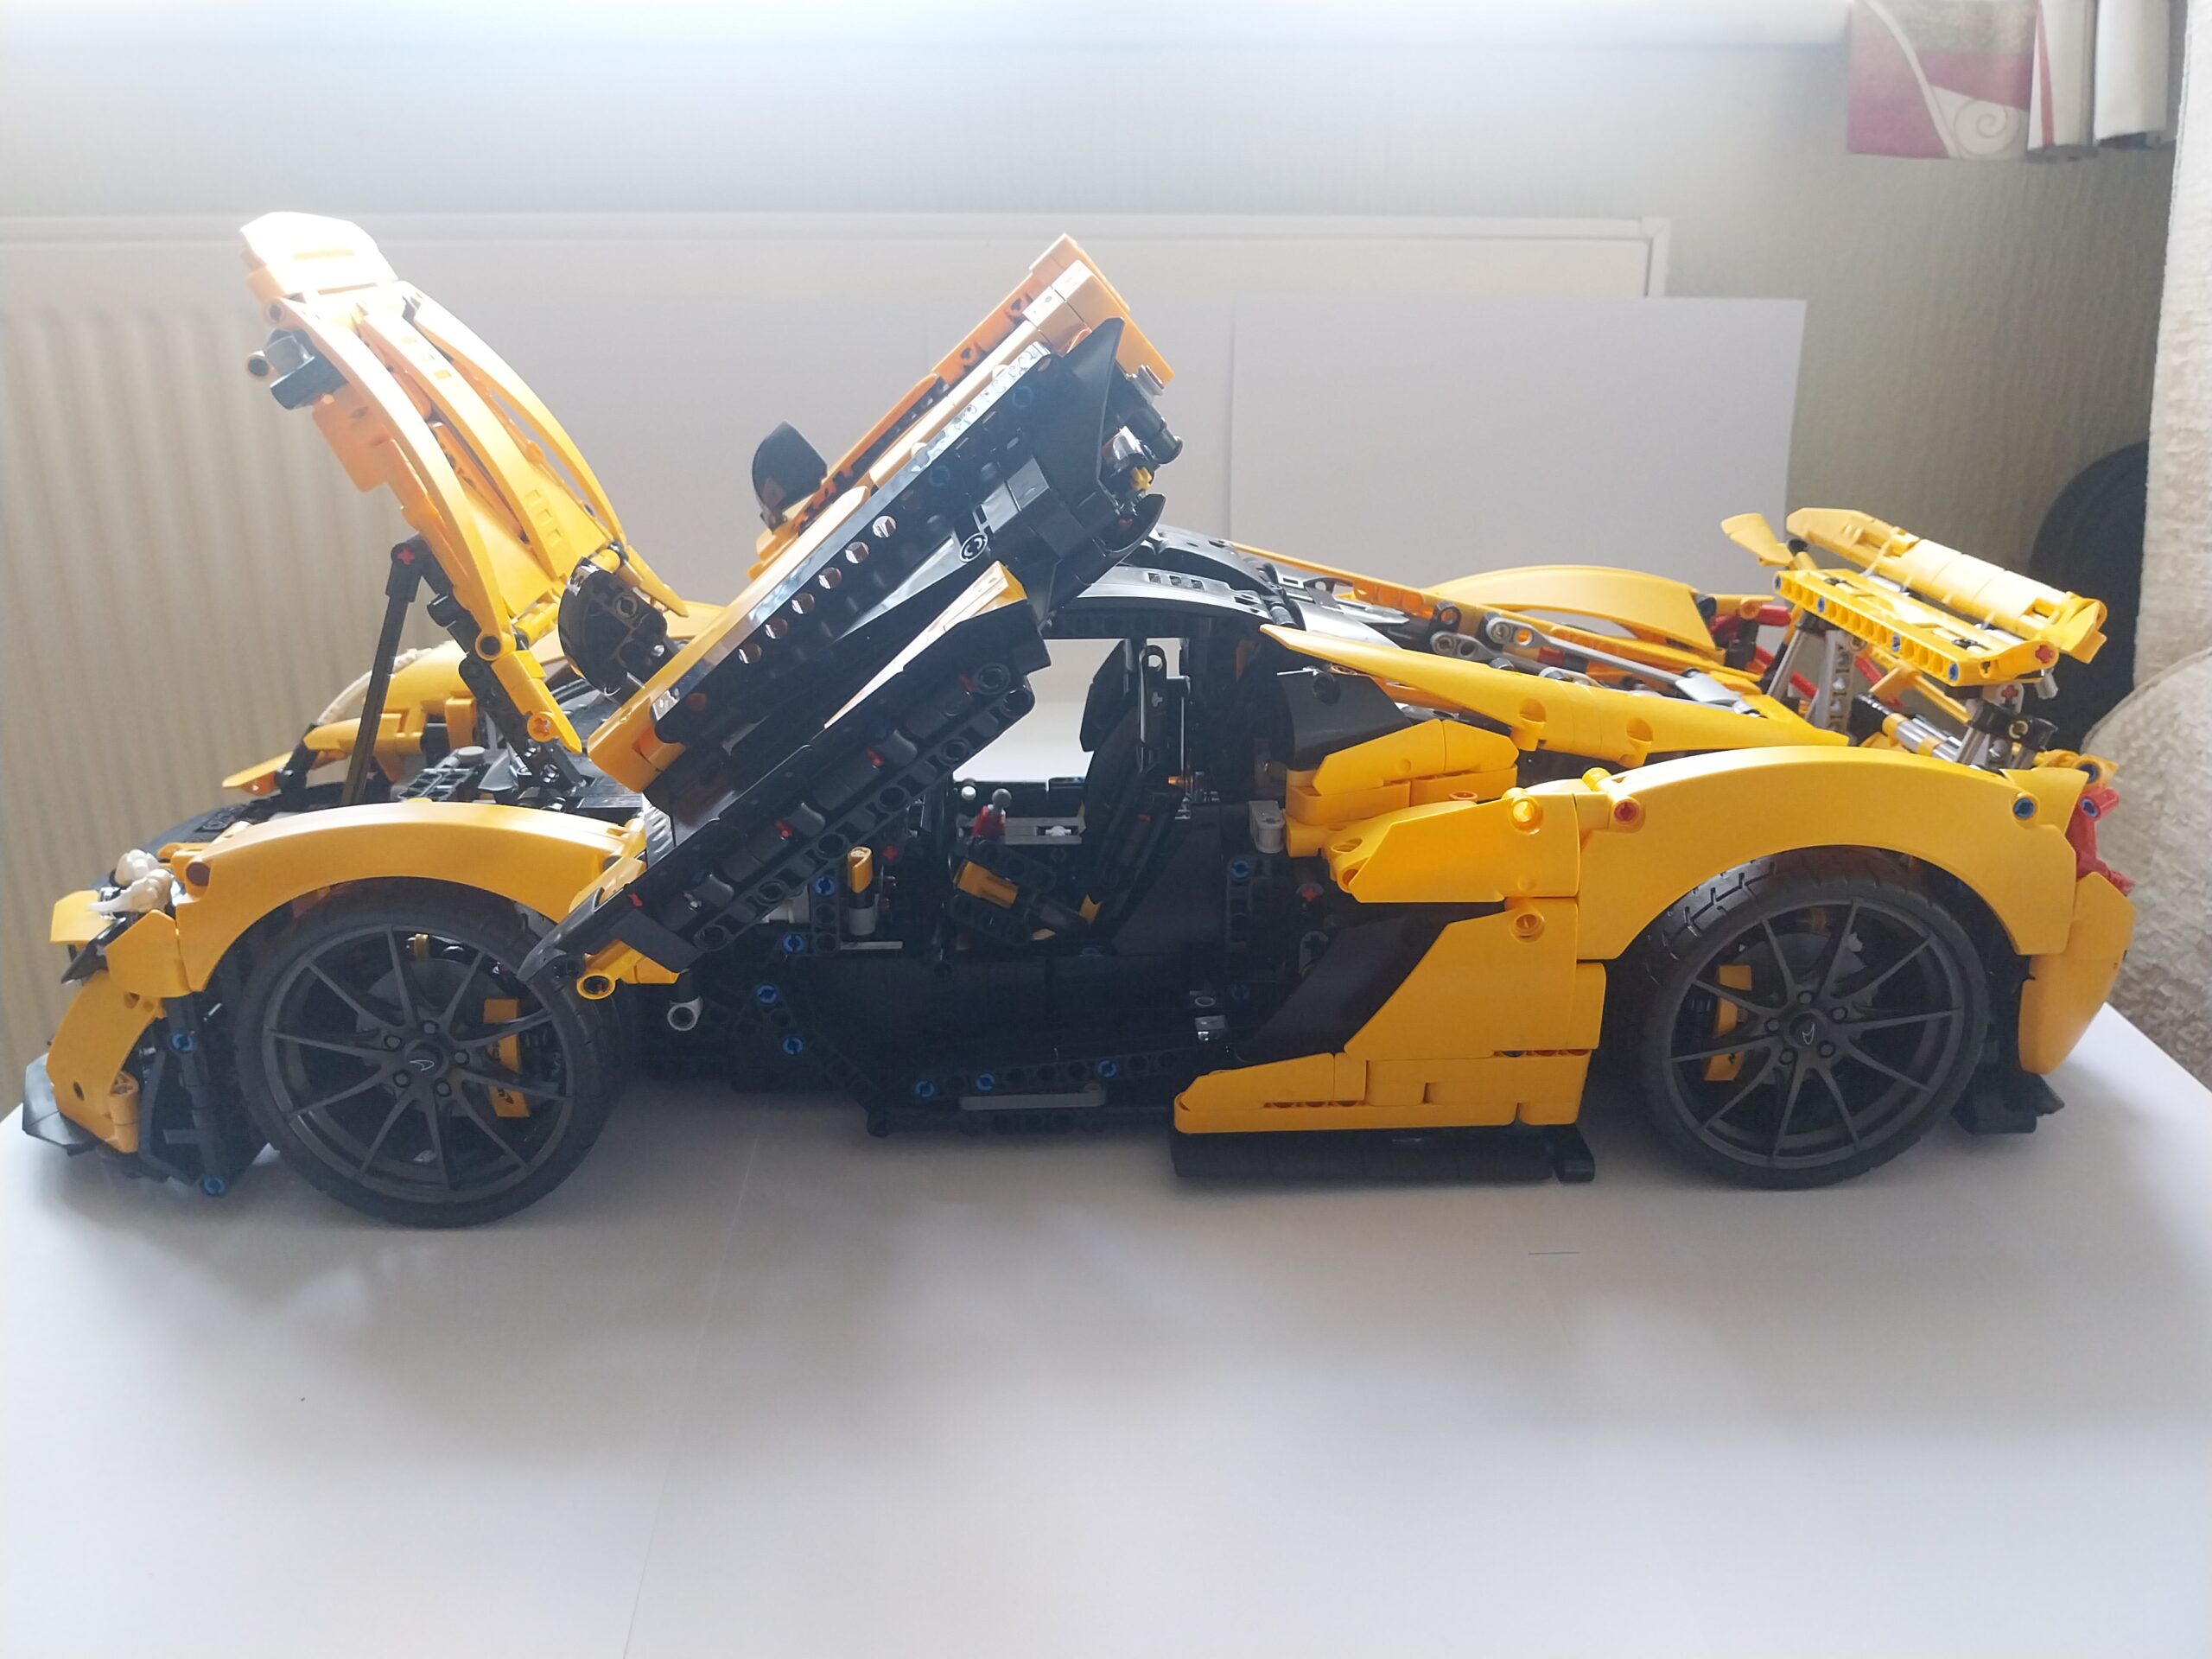
One of our members sent these over last week and I wanted to get them up on the blog. They built the 42172 McLaren P1 from first bag to final panel, all 17 photos, and you can tell straight away they know the real car. The yellow is spot on for the P1 signature colour and they even placed a genuine McLaren P1 spec card in front of the finished build for the last shots. That is a proper build diary and it deserved a proper post.
LEGO Technic McLaren P1
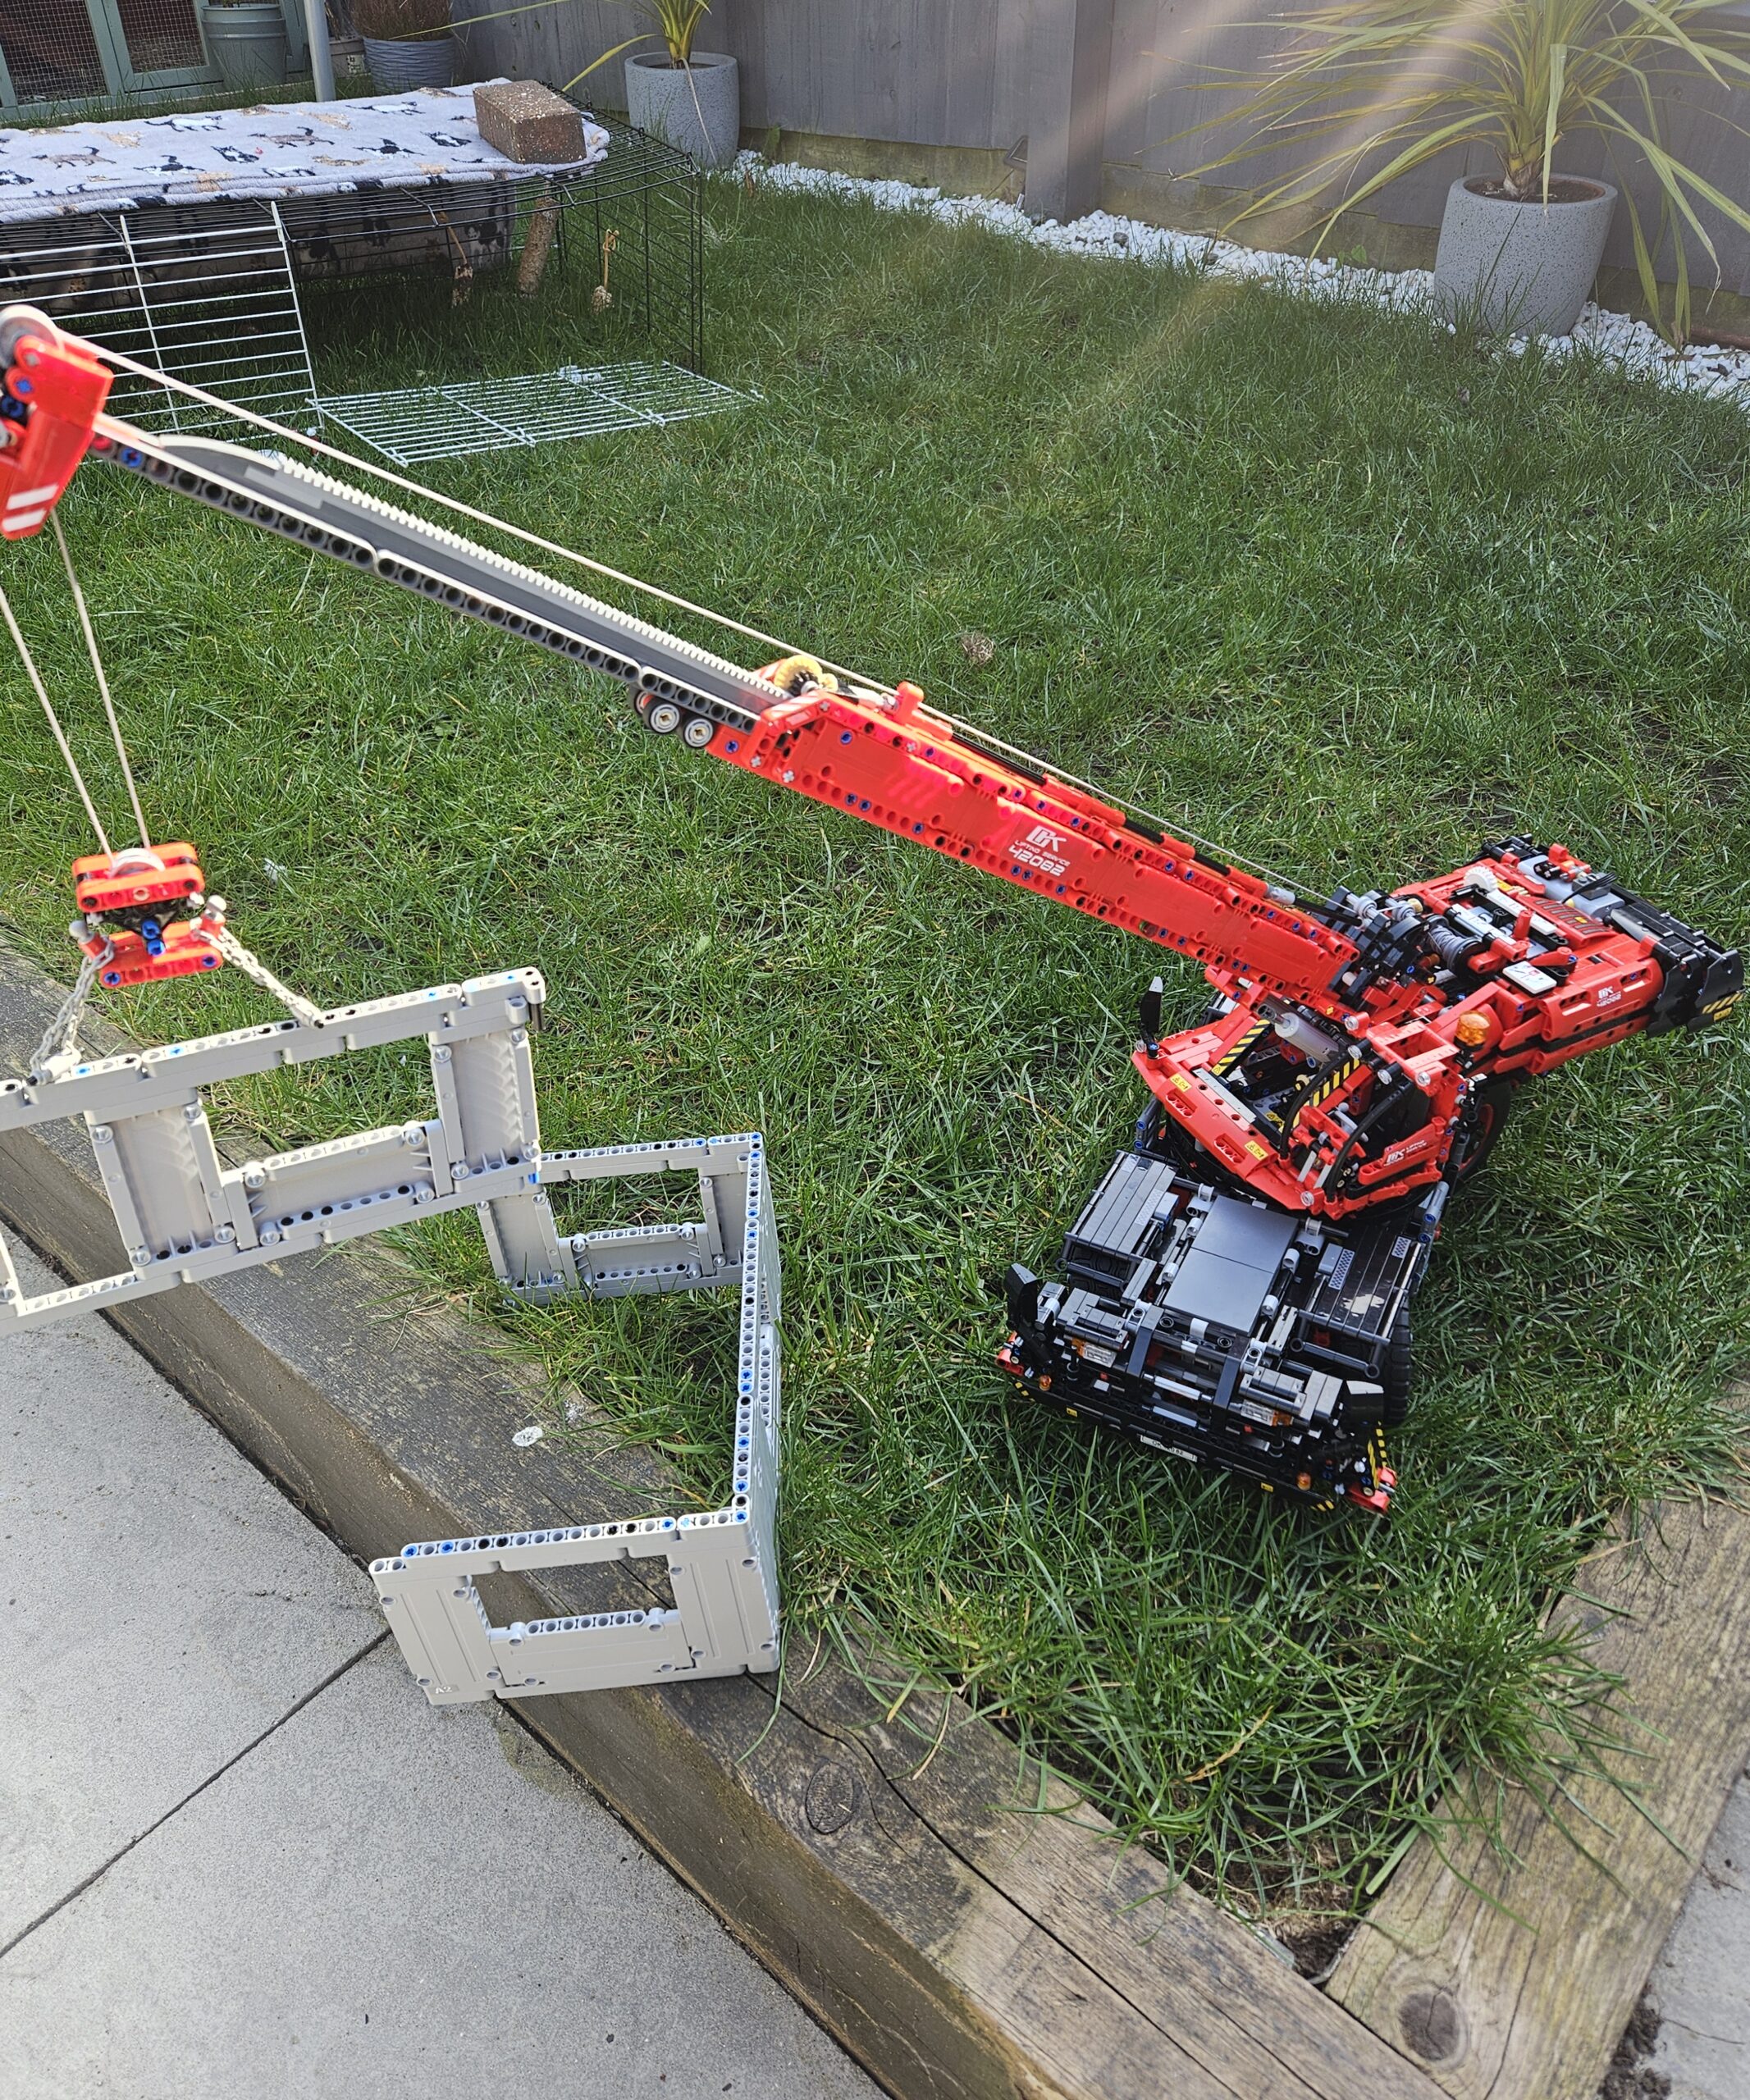
The 42172 is LEGO Technic’s take on the McLaren P1, the hybrid hypercar McLaren built in a limited run of 375. The set captures the key visual details (those butterfly doors, the active rear wing, the sculpted yellow bodywork) and packs in working functions that give you a feel for what the real car’s engineers had to solve.
Under the body you get a V8 engine with moving pistons, a 6-speed sequential gearbox you can shift with a paddle on the roof, an active rear wing that deploys on command, and those signature dihedral doors that open upward. The front hood opens too, so you can get to the engine. It is a satisfying kit to display with everything open.


What to expect when you build it
The early part of the build is all drivetrain. The V8 block goes together with a dense gear cluster that has to be right before any bodywork goes near it, and the 6-speed sequential gearbox sits just behind it with a selector rod running up through the chassis to the roof paddle. Getting those connections to click cleanly takes patience, but it is worth it.
The rear wing mechanism is the highlight. A push rod runs back through the chassis to a rocker under the rear bodywork, so when you press the button the whole wing tilts up in one smooth motion. It works every time. The butterfly doors are fiddly on the hinges but once they are on properly they open and close with no sag.
This is a build that rewards going slowly through the drivetrain section rather than rushing to get the body panels on. Once the chassis is sorted, the rest goes on quickly and the finished car looks the part from every angle.
The active rear wing on the 42172 is one of the better-executed mechanisms in a set of this size. A single push rod runs the length of the chassis and connects to a rocker at the rear, so the wing deploys with a clean, consistent action. It is the kind of detail that makes you want to keep pressing the button after the build is done.


Big thanks to this member for taking the time to photograph every stage and send them over. If you have built one of the kits from the library and want your photos on the blog, send them to [email protected]. It does not matter how many you took or whether the lighting is perfect. Seventeen photos, a kitchen table, and a yellow McLaren. That is all it takes.


A build diary is more useful than a single finished photo because it shows where the time goes. You can see when the frame starts making sense, where the mechanisms sit, and which stage turns a pile of beams into an actual machine.
If you are building McLaren P1 and you remember to take photos as you go, send them over. The half-built stages are often the bit other members want to see before choosing their next kit.
Ready to build something?
Subscribe to Brick Club and get LEGO Technic kits like this one sent to your door. Build it, enjoy it, send it back. No clutter, no commitment beyond your subscription tier.