

Audi RS Q e-tron (42160): one motor per axle, like the real car
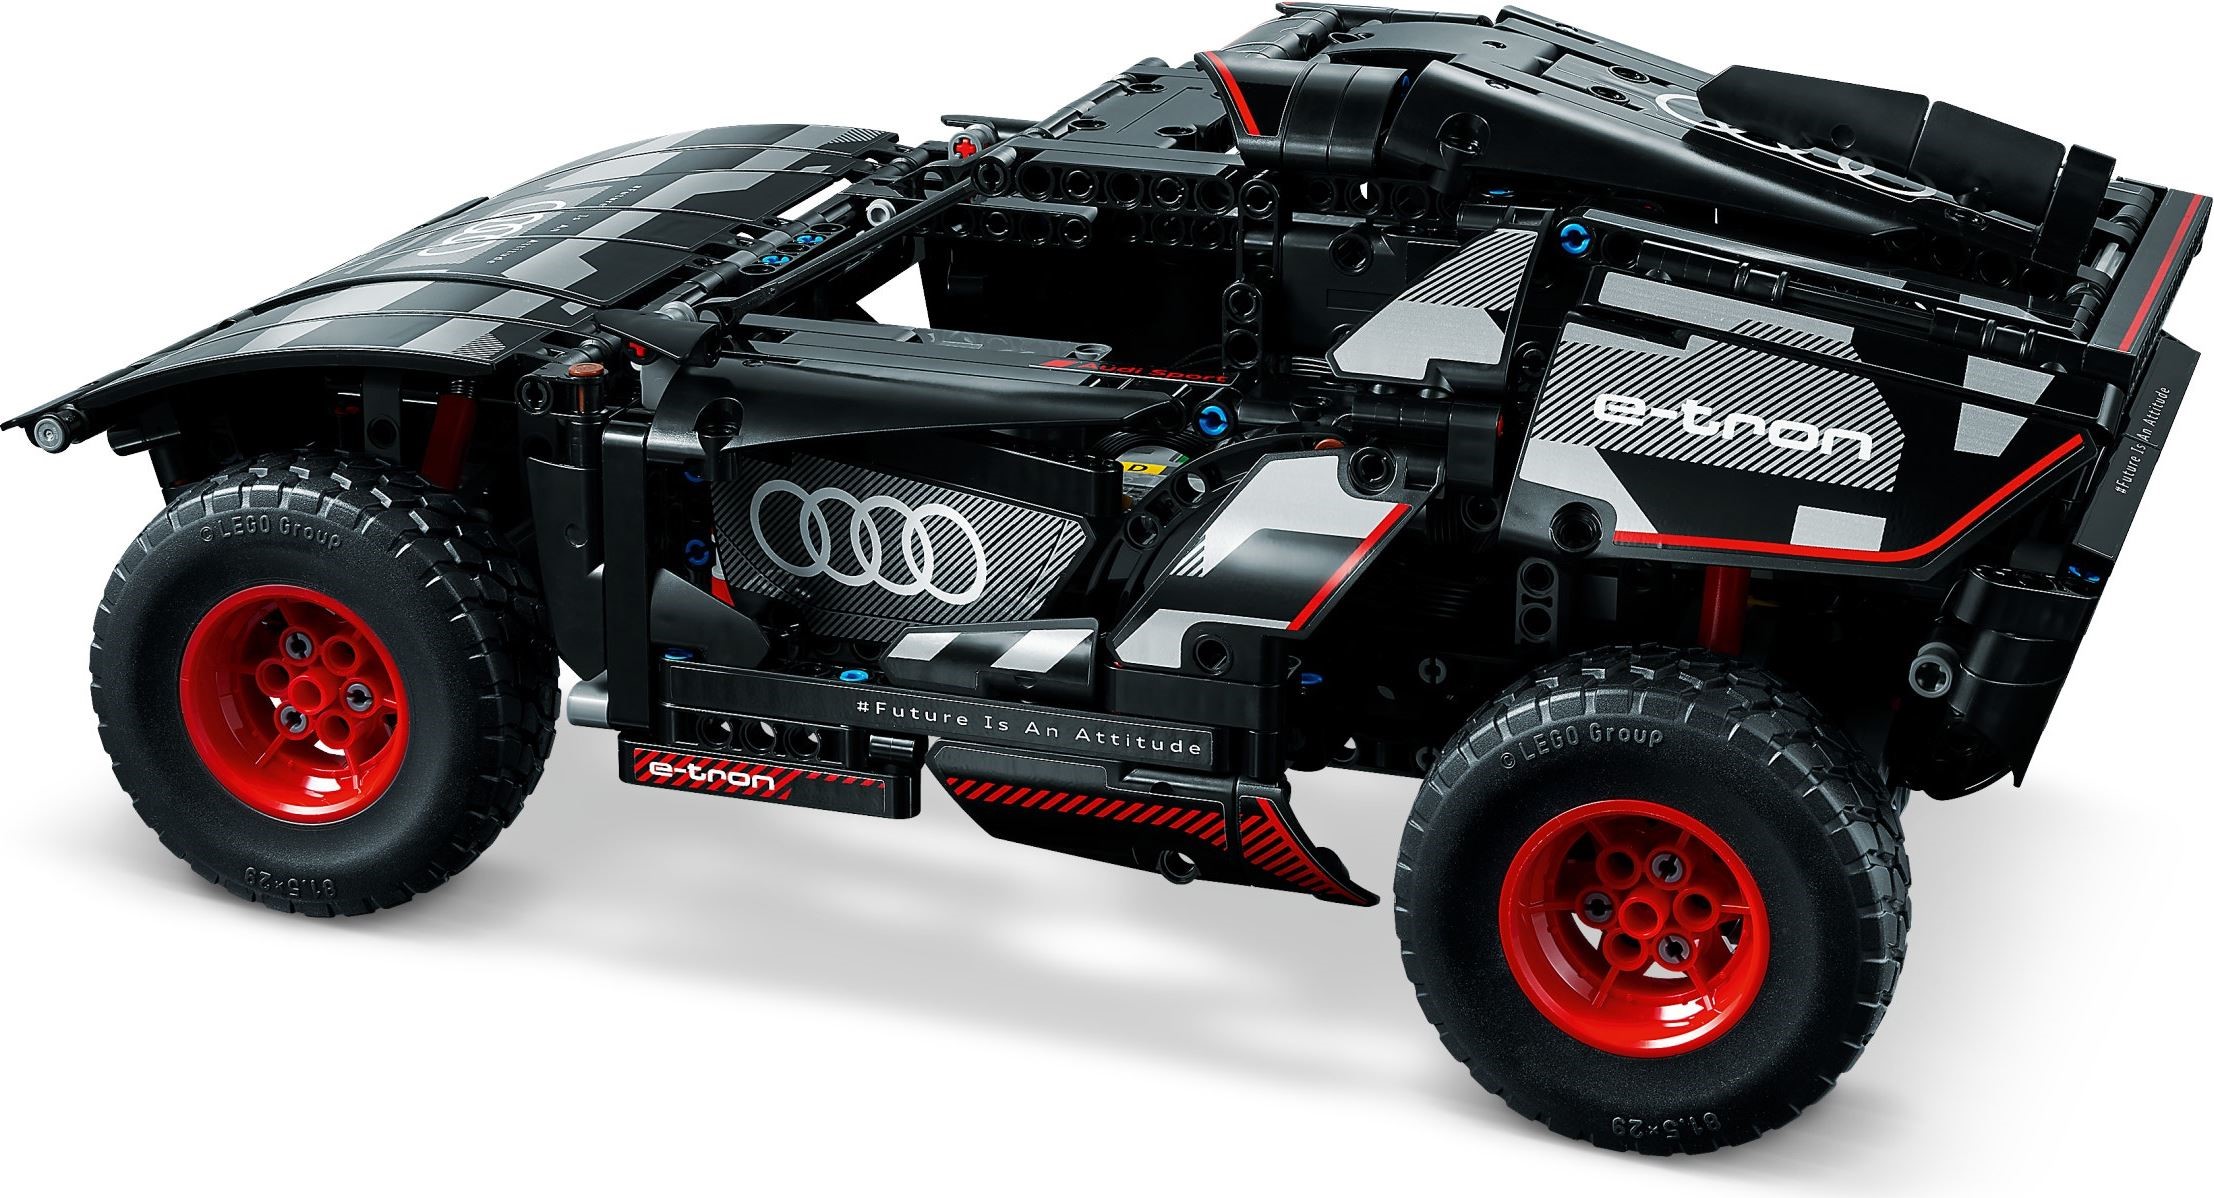
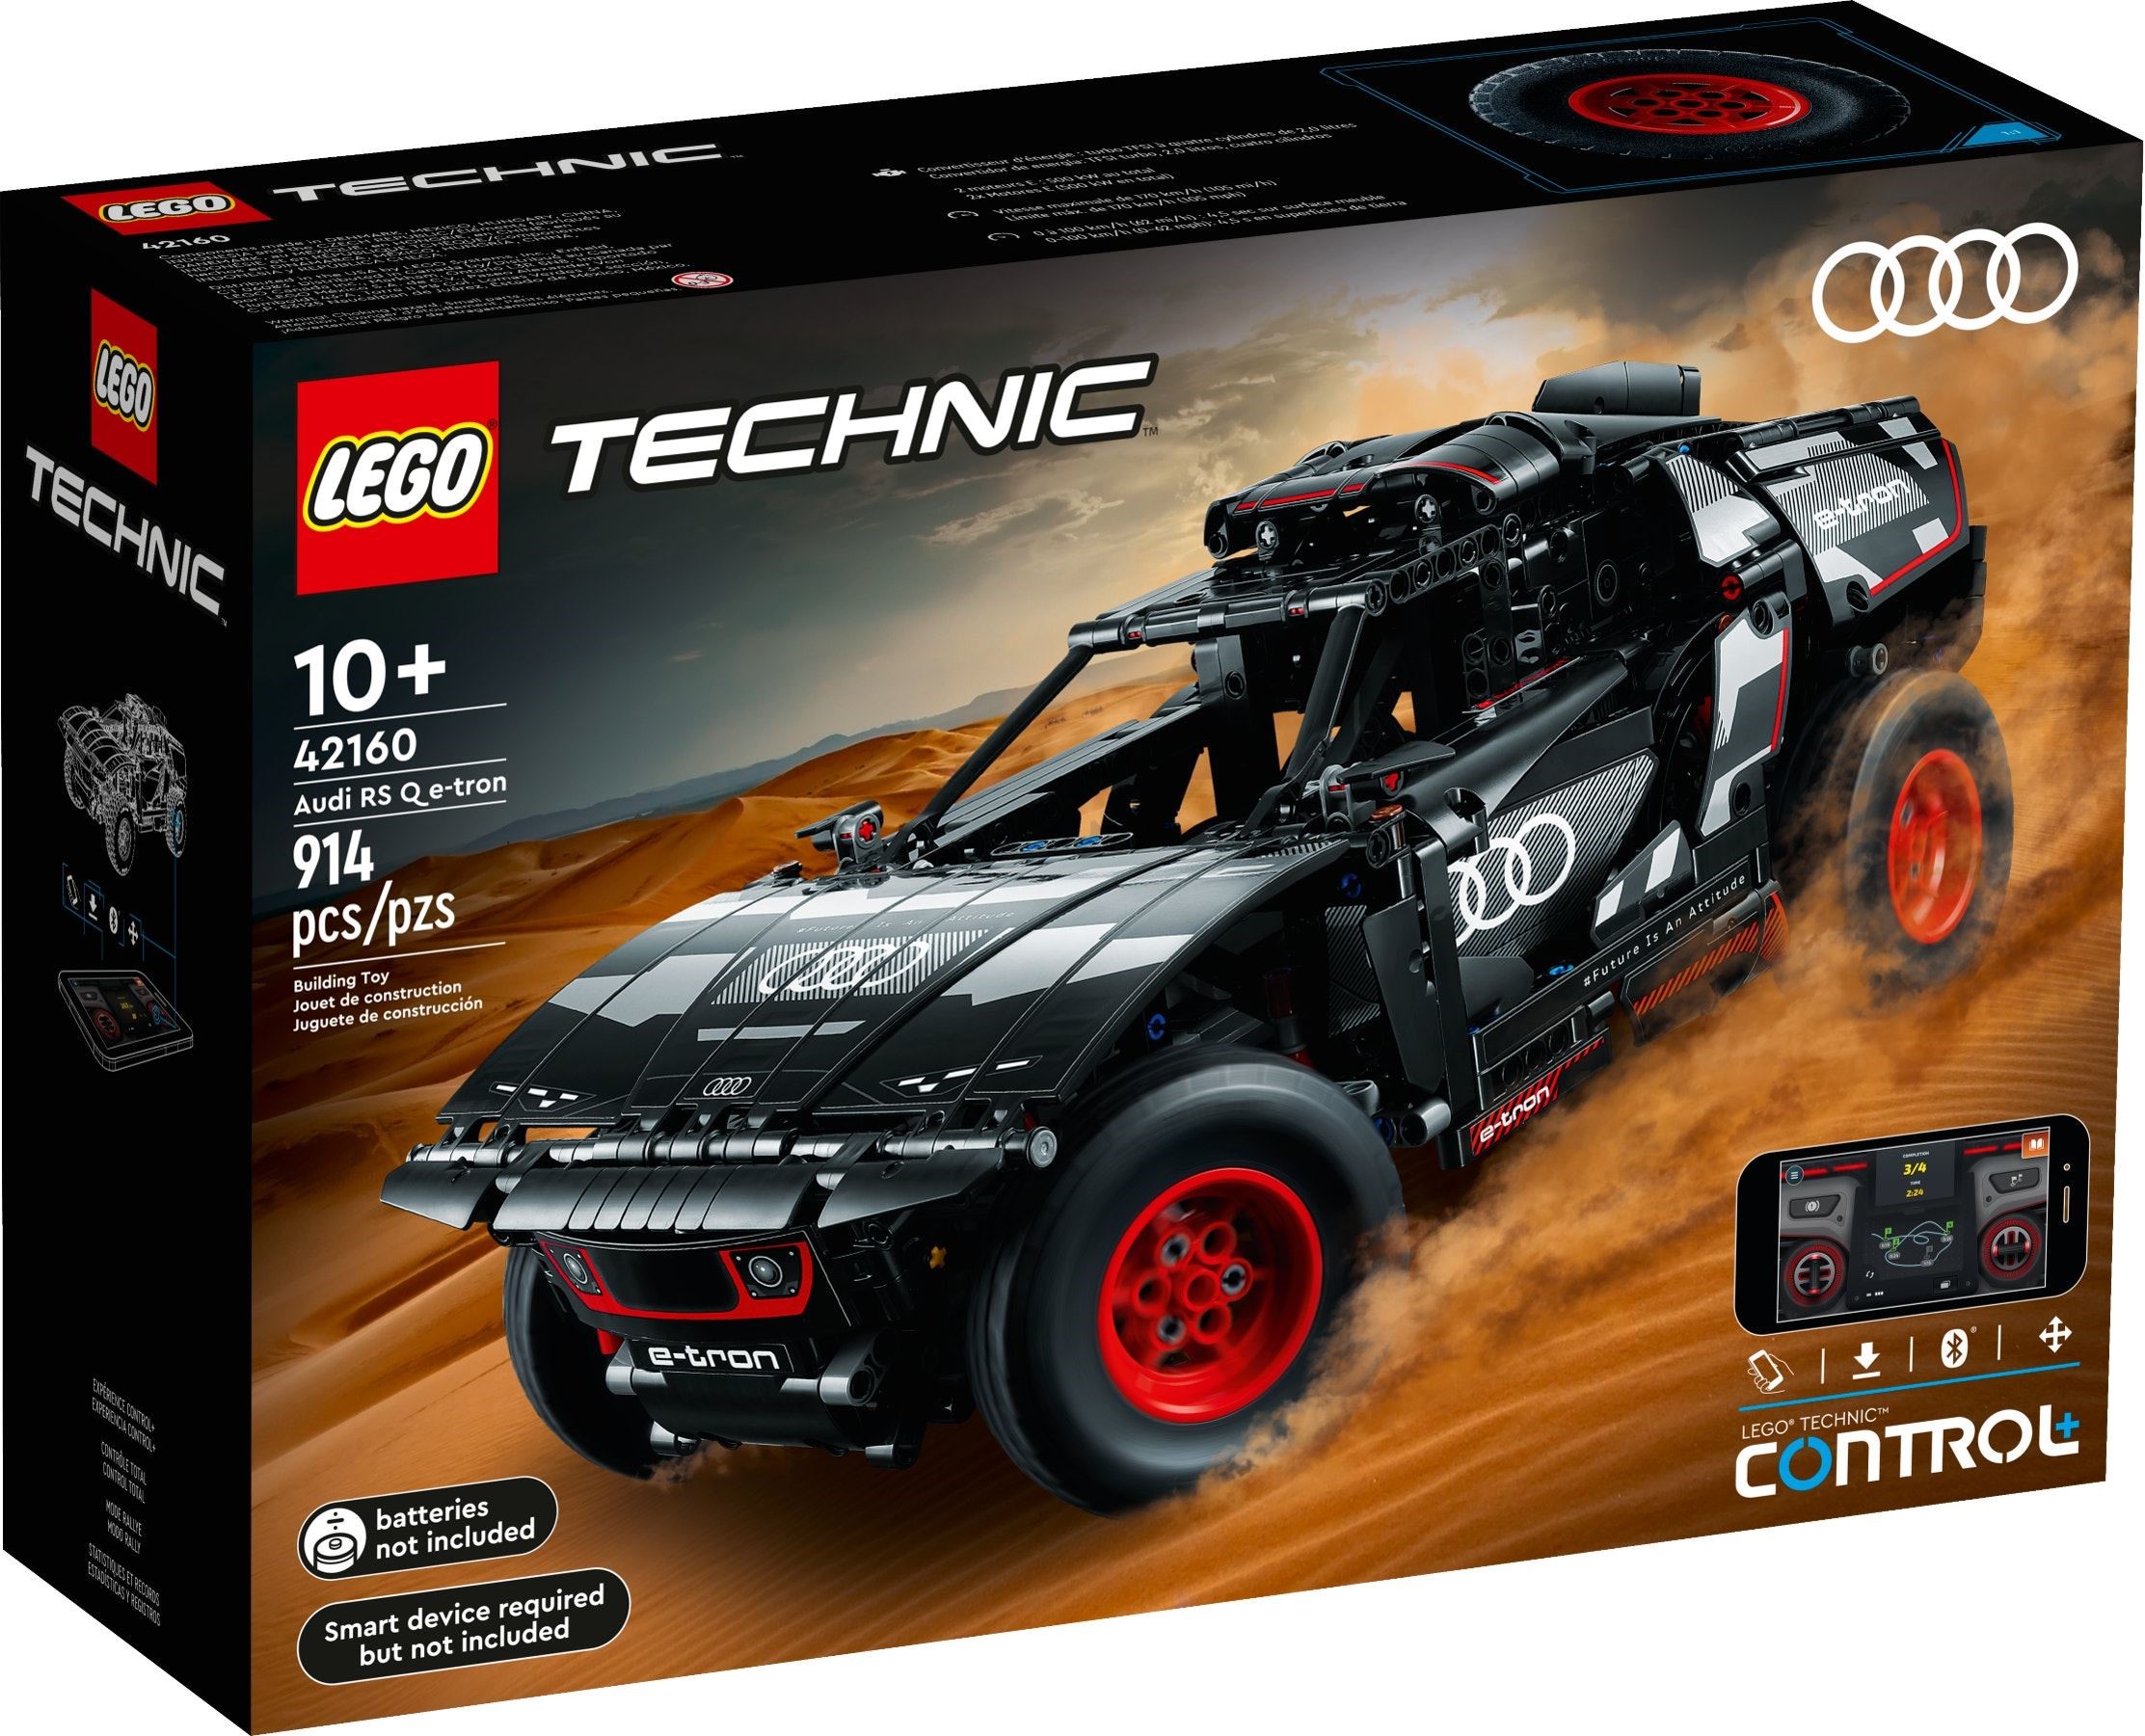
The Dakar Audi has no driveshaft between its axles. Each end of the real car has its own electric motor, and LEGO copied that: three L motors and a hub in a 914-piece Control+ chassis, one motor driving the front wheels through a differential, one driving the rears, and the third working the steering as a servo. Finished, it is 37 cm long, weighs a little over 1.2 kg, and sits high on four new 81.5 by 29 off-road tyres on red rims.
It is in the Brick Club library and one member has built it and sent photos. Below is what the three motors do, how the four build sections split, and where two hands-on reviews (Hothbricks, July 2023, and zusammengebaut, August 2023) say people slip up.

Why this one matters
The RS Q e-tron is the car Audi took to the Dakar from 2022. LEGO’s model went on sale on 1 August 2023 at £149.99, 16.4p a piece, and the run ended on 31 July 2026, so it has left the shops. Hothbricks put the price down to what is in the box rather than the brick count: three L motors and a Powered Up hub that doubles as the battery box, plus more than 400 pins. The instructions run to 208 pages and the two sticker sheets carry 20 and 27 stickers, 47 in all.
It had a cool reception before anyone had built it. The Eurobricks thread opened on 31 May 2023 with a catalogue photo, one poster called it a glorified 42124 with a licence, meaning the earlier Control+ buggy, and one poster wondered whether the gear-lever icon on the box meant a two-speed gearbox. Another replied that the icon usually means an alternative control screen in the app; there is no gearbox. Brickset’s owners have since rated it 4.1 from 58 ratings.
The honest framing comes from the two reviews. Hothbricks calls it a simple indoor toy, short of torque and with a very limited turning circle, and points anyone who wants real off-road ability at the Zetros (42129). zusammengebaut calls it a robust vehicle with passable performance that you can pick up almost anywhere without anything coming loose. For a member that adds up to a sturdy Control+ car that builds in an afternoon and drives the same evening, with the electronics included in the rental.
What it actually does
Everything here runs from the app, through the hub, to one of three motors. There is no knob on the roof, no gearbox, and nothing opens: zusammengebaut notes there are no opening doors or bonnet, and the cabin holds the hub and motors rather than a steering wheel and seats.
There is no propshaft joining the two ends of the car. The wheels on each axle are connected through a differential to their own large motor, front and rear, and the hub drives the two motors together. That is how the real car is laid out, one electric motor per axle, so the two axles are linked only electrically. In the hand it means the front section and the rear section are each a complete drive unit before they meet in the middle.
The steering motor sits in the front section and works as a servo: the app tells it an angle and it holds the front wheels there. The first time you connect, the app updates the hub firmware and then calibrates the steering by swinging the front wheels to full lock left and right a few times so the hub learns where straight ahead is. zusammengebaut found it tracked straight afterwards, and you can rerun the calibration whenever it drifts. The catch, from Hothbricks, is a very limited turning circle: wide arcs, not slaloms.
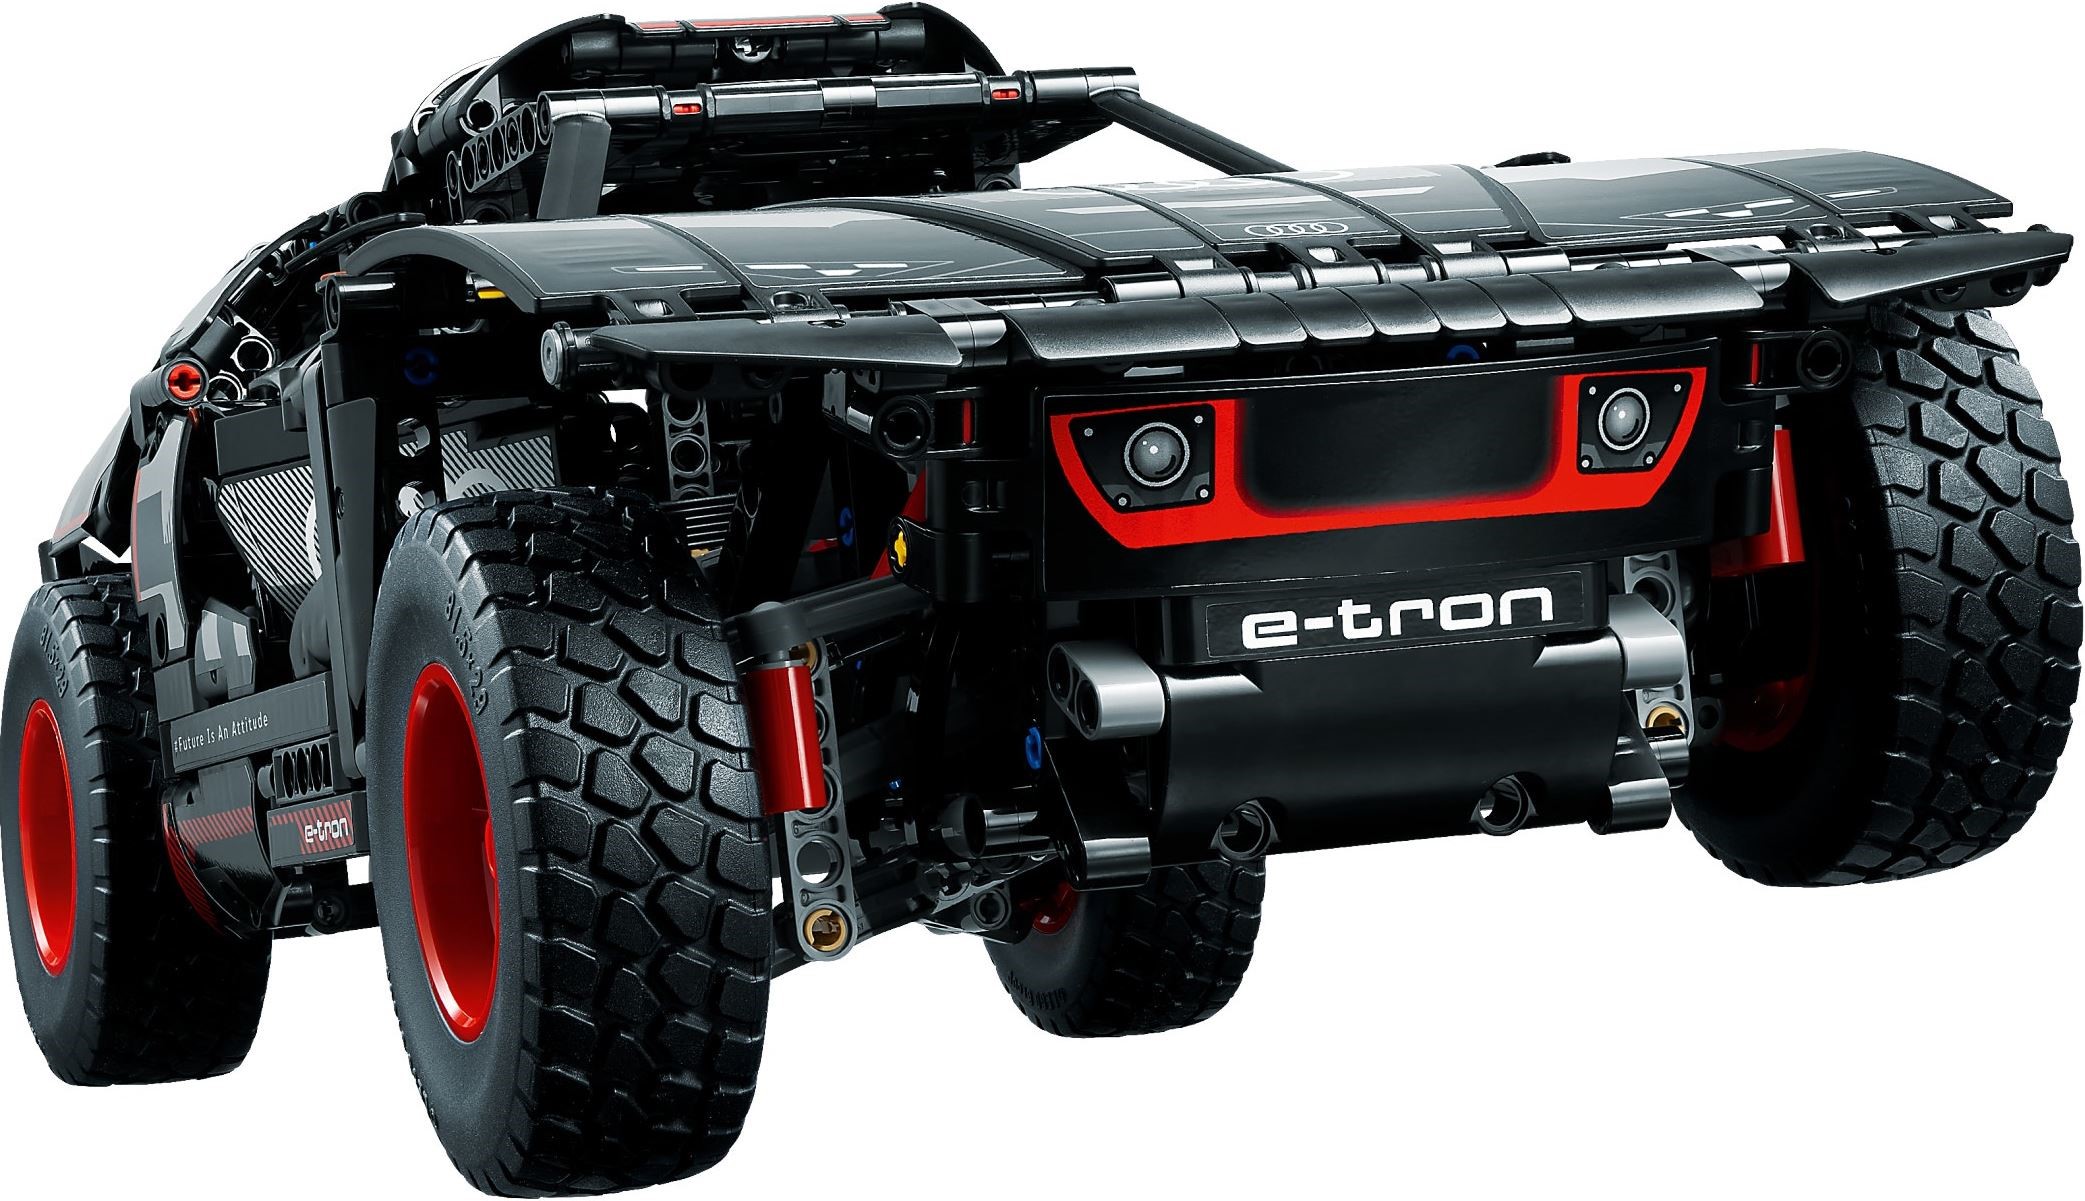
Each wheel hangs on its own arm with a single red-sprung shock absorber, upright behind the front wheels and fully on show under the tail. The two reviews read it differently. Hothbricks calls the suspension very soft and notes the generous wheel arches and sufficient ground clearance; zusammengebaut says that even with one spring per wheel the car barely settles under its own weight and feels stiff enough. Both agree it works. The red uprights beside the wheels are the new hubs, described below.
The hub is the Bluetooth receiver and the battery box in one. It takes six AAs behind a new cover held on by four screws, which both reviewers mention: zusammengebaut calls the screwed lid a nuisance at battery-change time even though the flat underbody gives easy access to it. Hothbricks found 1.6 V NiZn cells made the car noticeably quicker and less prone to stalling on small obstacles than ordinary rechargeables. Without a phone the car is a static model; LEGO offers no separate remote for it.
One joystick steers, the other is forward and reverse, and there is a separate brake button. Lift off and the hub winds the motors down so the car coasts; press the brake and it stops almost at once. The main screen shows a battery gauge that goes red when you drive and green when you brake, as if the car were recuperating energy. It is a simulation: the AAs are not being recharged. There are read-outs for tilt and a fictional speed in km/h, a trip computer with distance and drive time, and rally challenges that send you to a series of targets at set distances and headings.
The four tyres come loose in the box and the tread is the first thing you notice: a blocky off-road pattern, new for this set, moulded 81.5 x 29 on the sidewall. They sit on a familiar Technic rim in red for the first time, and behind each wheel is a new red hub that one Eurobricks poster, working from the catalogue photo, took to be a gearless design built for a stronger CV joint. If you do not care about parts, you will still notice that the wheels look enormous on a 37 cm car.
How the build goes
Four build sections in the 208-page book, and Hothbricks describes how the mechanics split across the first two. Our member’s diary puts the whole thing at two to three hours, and Brick Car Garage says the same.
Front section: drive motor, steering motor, new hubs
Two of the three motors go in here: one to drive the front wheels through their differential and the new red hubs, and one for the steering. The cables are the thing to watch. Hothbricks found the book clear about where each lead runs and which port it goes to, so follow it exactly rather than tidying the cables your own way, because the panels close over them later.
Rear section, two big frames and the hub
The rear section joins the front through two large Technic frames and carries the third motor, which drives the rear wheels. The hub, with its four-screw battery cover, goes in along the way. This is the point Hothbricks tells you to stop: fit six AAs, pair the hub, and run every function before you go any further, because getting the bodywork back off to fix a wrong connection is, in his words, sometimes a bit complex.
Bodywork, roof and stickers
The black panels, the raised roof unit, the tail panel and the wheels. Neither review breaks the last two sections down further, so I will not pretend to. Hothbricks says this half of the build is about stickers rather than mechanics: 47 of them, no printed Audi logo anywhere, and the whole front bumper, intakes and headlights included, is one large sticker.
Two hands-on reviews point at the same few places; the member diary has no build notes.
- Test at the end of section 2, not at the end. Hothbricks is explicit: once the hub is in and all three motors are connected, test every function before a single body panel goes on. If a motor runs the wrong way or a lead is in the wrong port, that is the last moment it is easy to reach.
- Cable routing. The book shows where each lead passes and which port it plugs into. Follow it. The panels close over the lot, and Hothbricks found them fiddly to take off again.
- Do not overtighten the gears. zusammengebaut’s one build warning is the usual Technic one: stubborn pins and connections, and gears that need a light touch. Do not jam them together too tightly.
- Stickers, 47 of them. Two sheets, 20 and 27, and Hothbricks says you soon get fed up with lining the patterns up. On a rental they may already be on. If they are not, do the bonnet blocks across the panel joins with the panels flat, and leave the big bumper sticker until the nose is finished.
- The screwed hub lid, and the batteries. You need a small screwdriver to change the six AAs, so have one out before you start. Batteries are not in the box, and if you are buying some, Hothbricks found 1.6 V NiZn cells made a real difference.
On the shelf
It is 37 cm long and 19 cm wide, and 15 or 16 cm tall depending on whether you take Brickset’s figure or zusammengebaut’s tape measure. It fits a normal shelf with room to spare; the tyres and the ride height give it presence rather than the length. Nothing opens and there is no cabin to look into, so it is a shape to look at rather than a model to explore.
It is also very hard to damage: zusammengebaut picked it up by whatever was nearest and nothing came off. The one job before it goes back in the box is the batteries, which means the screwdriver again.
Members who have built it
One Audi has come back through the door with photos. The diary is linked under each picture; it calls this an afternoon build.


It is the one for you if you want a Control+ car you can build in an afternoon and drive the same evening, or to try app control before giving a fortnight to the Zetros (42129). Put six AAs and a small screwdriver on the list, install Control+ before the box arrives, and test all three motors at the end of section 2. Do not want it for the driving alone: it is an indoor car with a wide turning circle and not much torque, and if you want a gearbox the G 500 (42177) has one and this does not. What you get instead is the clearest demonstration in the library of one motor per axle, which is how the car it copies is built.
If you like this one, try
The other off-roaders in the library. The X-treme Off-Roader and the Zetros are the other two Control+ sets; the All-Terrain Vehicle is the hand-built one at a similar size; the G 500 is the big hand-worked Mercedes with two differential locks.


The Audi RS Q e-tron is in the library
Technic Fan gets up to 6 kits a year, Master Builder up to 12. Delivery both ways is included and the prepaid return label is in the box.