

Lamborghini Revuelto (42214): the Lamborghini you drive, not the one you crank
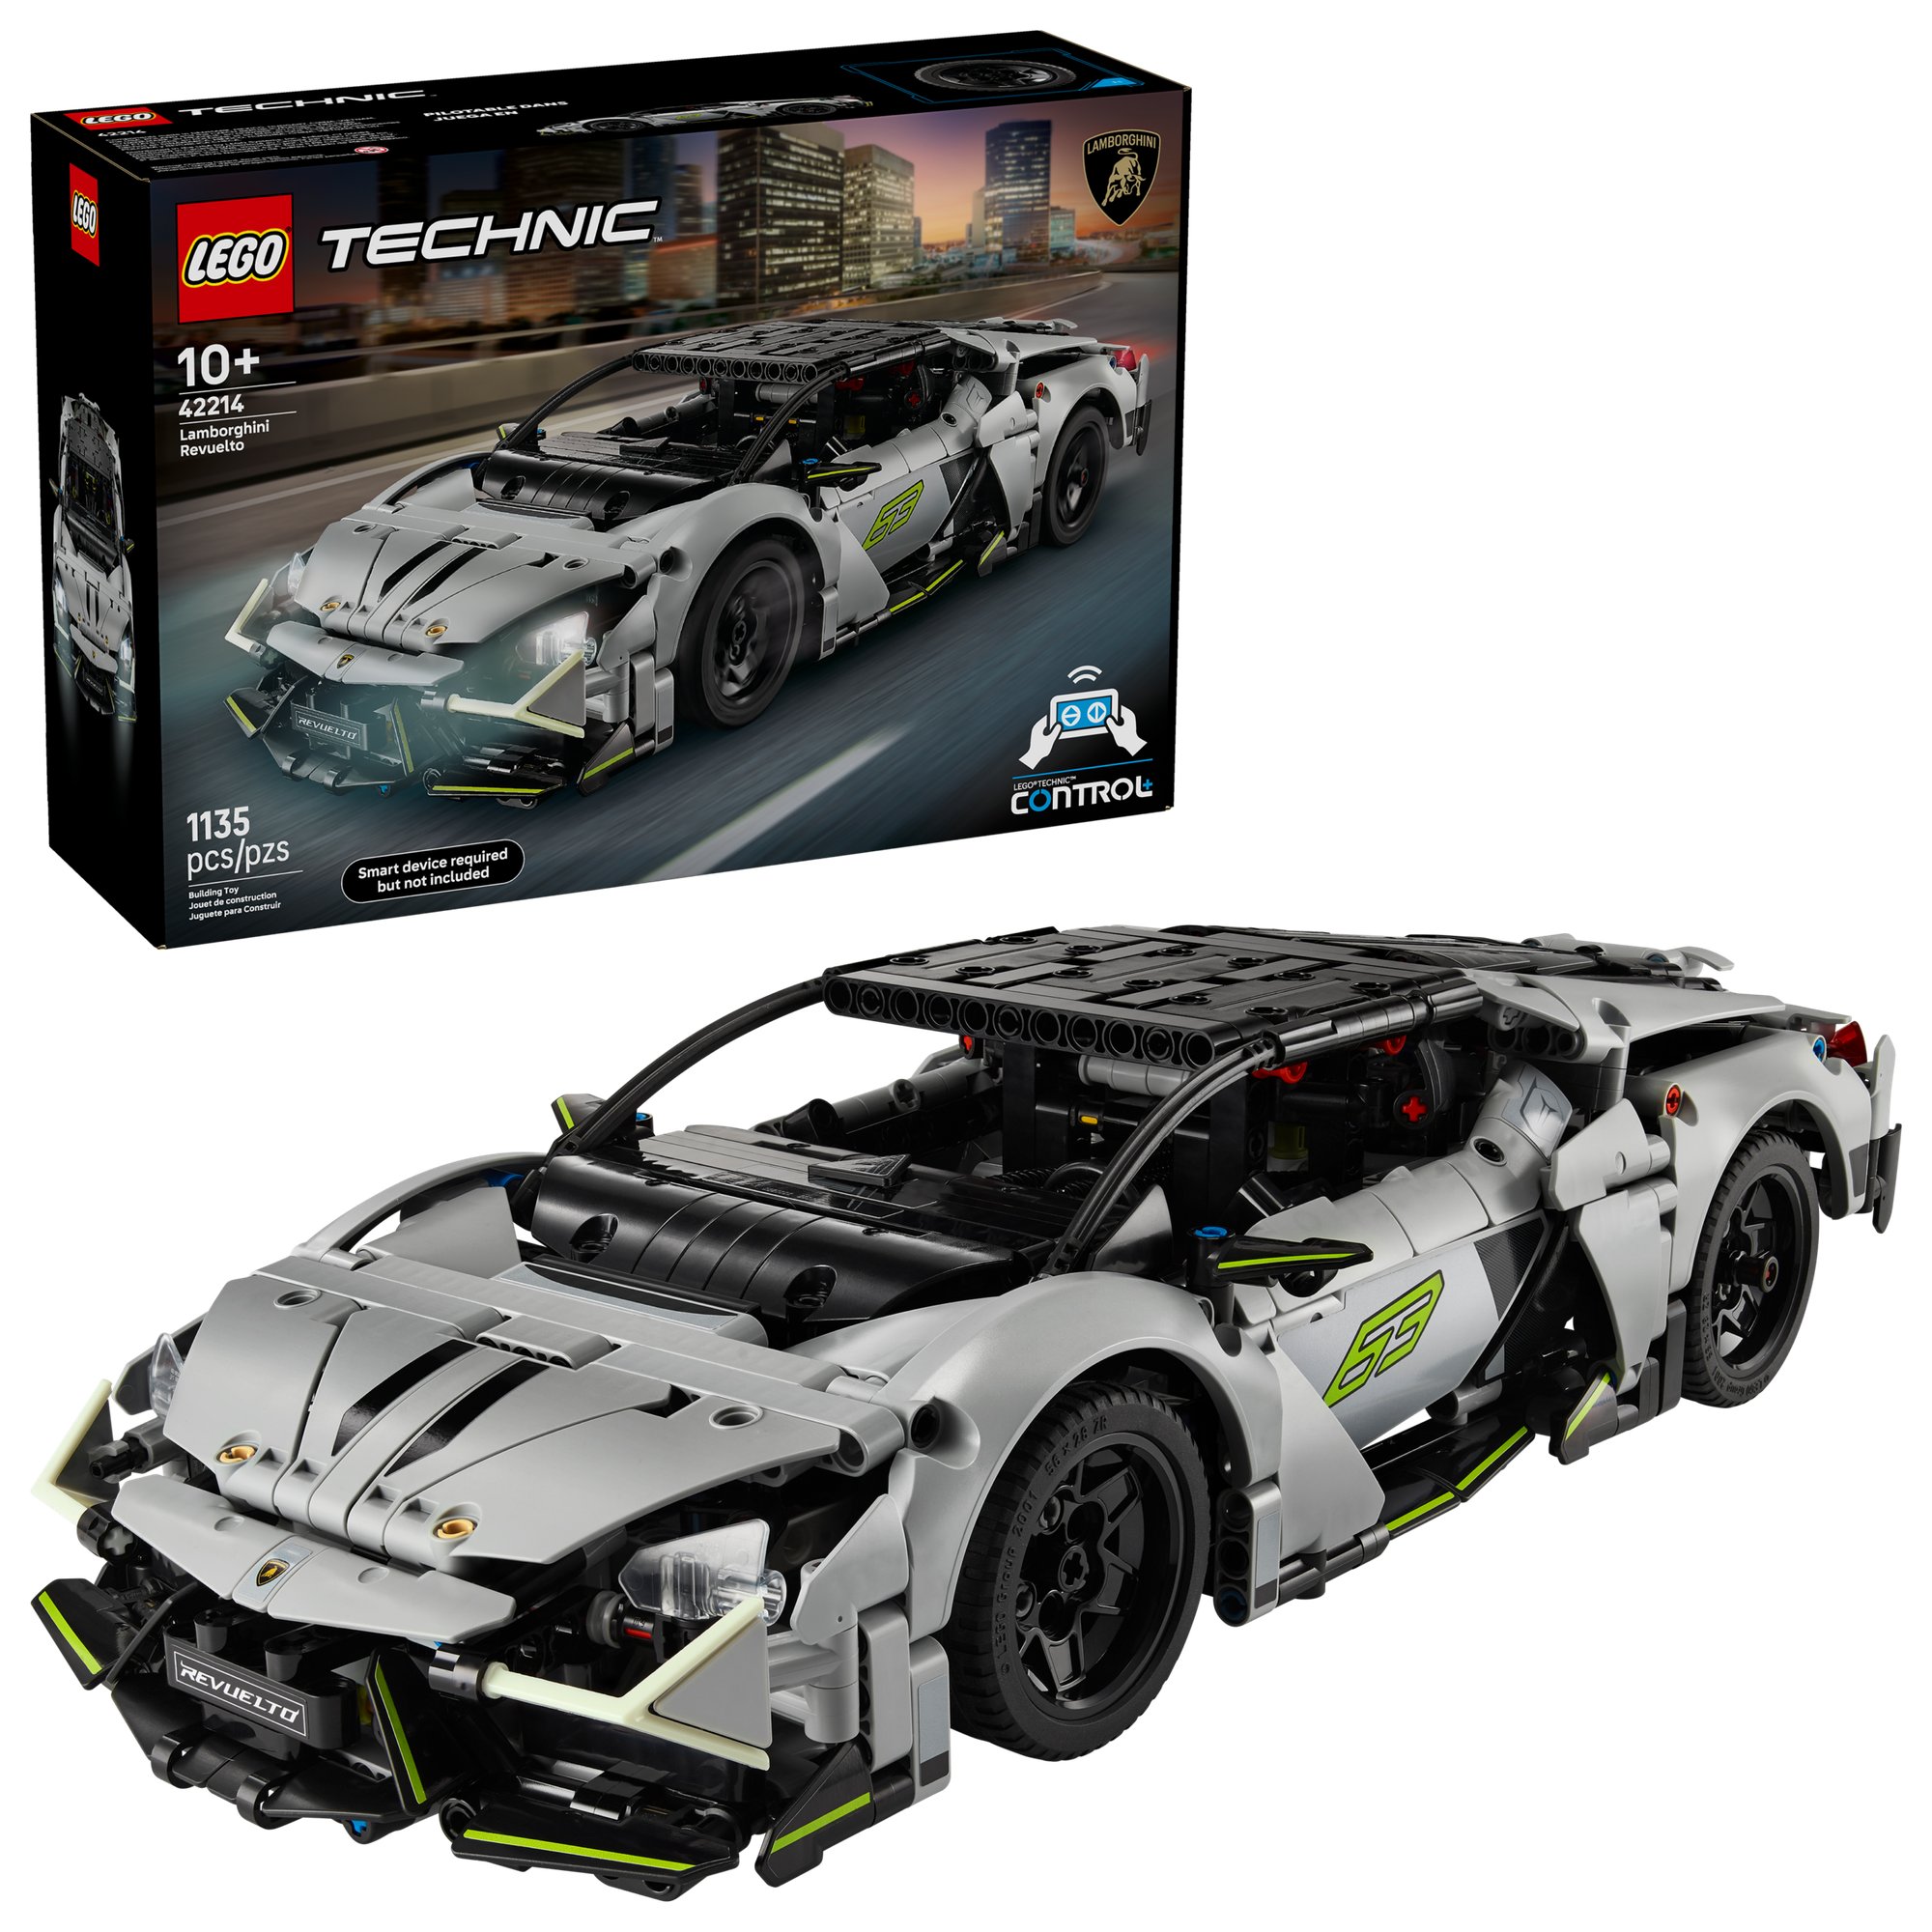
This is the Technic Lamborghini you drive from your phone. There is no V12 with moving pistons, no gearbox and no suspension to speak of. The mechanical side is a Powered Up hub with three motors built in, sitting at the back where the engine would be, driving the rear wheels directly, with one axle running forward to steer. Around that go 1,135 pieces, a good share of them light grey panels, four working lights, and the Control+ app on a smart device that is not in the box. Finished, it is 40 cm long.
It is in the Brick Club library, and one member has sent in photos of their finished car, further down. The rest of what follows comes from two builders who reviewed it, the launch thread, and Brickset. Below is what the hub does, where the eight bags stop being a Technic build and turn into bodywork, and the points the reviewers kept going back to.

Why this one is different
Read this set two ways. Paul B, a Technic builder since the 1980s, titled his review Great Fun, but Everything That’s Wrong with Modern Technic, and both halves are fair. His first Control+ set surprised him, and once it was finished he found it hard not to pick up and drive. But the functional part of the build is over by about step 65 of 395. From bag 3 to bag 8 you are adding panels, and he had to resist putting the wheels on early.
The hub is the same three-motor Powered Up unit that first appeared in the Porsche GT4 e-Performance (42176), now with pin holes so the battery can be pinned in place. New Elementary points out that it still cannot be used in the Powered Up app or in Pybricks, so it only works through Control+ and in a layout close to the set’s own. That is a mark against buying it and a point in favour of renting it: you get the drive without owning a hub you can do very little else with.
For the parts-minded, the box is a light grey panel pack, with a new antenna mould in glow-in-the-dark white for the headlights and fibre-optic cables in a new 9L length. Nothing is printed. There are two sticker sheets, and even the Lamborghini badge on the nose is a sticker.
What it actually does
Both working functions are electric and app-driven. There is no hand-of-god knob and no crank. If you want a gearbox to click through, the Sián FKP 37 (42115) is in the library for that.
The hub goes in first, sits at the rear and drives the rear wheels directly. There is nothing to build between the hub and the rear wheels, which is why New Elementary sums up the Technic content in one line: the hub in the back, an axle to the front, and that is it. On the floor it drives fine over a flat surface with a decent turning circle. The handling through the app is clumsy and the speed is what you expect from Powered Up motors, which is not high. Paul B’s verdict is the one that counts for a household with children: once it is done you want to pick it up and use it.
An axle runs from the hub to the front for steering. Brickset tags the set with functional steering, and that is as much as the write-ups say about the linkage, so I will leave it there. What you get is a car that turns from the phone screen and needs a quick check in the app, before the bodywork goes on, that everything is connected correctly.
The car has four lights but the hub has six, so two outputs go unused, as on the Porsche. The light reaches the corners through fibre-optic cables. The front pair has a long way to travel and the first stretch is covered to stop light leaking. The rear pair is not covered and leaks a lot, so the red is harder to see. Paul B called the lights the thing he genuinely loved about the set, and on the shelf they are what makes it look finished.
The Y-shaped headlight bars are a new antenna mould in glow-in-the-dark white, and the triangle road signs of the headlights sit at their tips. New Elementary found the antenna exactly the right length to reach the sign and assumes it was designed for this job. Each sign hangs on a single pin, which is the source of the set’s most repeated complaint, covered below.
The doors are built as loose assemblies, held in with two pins each, and they do not open. The driver’s door has to come off to reach the charging port for the battery. The battery is pinned in place in the hub, which New Elementary guesses is to stop it being pulled out or vibrating loose, but it also means charging is a small disassembly job rather than a flap.
How the build goes
Eight numbered bags and 395 steps. Neither reviewer gives a time, so two evenings is our estimate, and the first will be the shorter one. The instructions are clear and logical; Paul B says he never felt lost.
Hub, rear drive and the steering axle
The hub goes in at the rear, the rear wheels hang off it directly, and an axle runs forward to the steering. This is the whole mechanical content of the set, and by about step 65 you could put the wheels on and drive it. The bodywork closes over the hub and the cables, so anything wrong here means taking panels back off.
The app check
Open the Control+ app and connect. New Elementary stops here for a quick check that everything is connected correctly, and so should you. This is the last point where a fix costs nothing.
Chassis extension and the light cables
The rest of the build is extending the chassis and adding the bodywork, with the lights hooked up along the way. The front fibre-optic cables run a long way forward and the first section is covered. The rear cables twist more and they are the ones that leak. If you want the tail lights to read properly, think about it now, not after the engine cover is on.
Panelwork, headlights and mirrors
This is where Paul B found the build repetitive: panel after panel, with no new mechanism arriving. The headlight road signs go on their single pins here and will need straightening more than once, as will the mirrors and a few panels. The #7 stickers go on the #7 panels and the #8 on the #8, a small detail New Elementary liked.
Engine cover, roof and doors
The engine cover and roof go on and the car is recognisably a Revuelto. The doors come last, pinned in with two pins each. Remember which one is the driver’s side: that is the one you take off again to charge.
These come from the two review builds and the launch thread. None is difficult; they are the points where a panel will not stay where you put it.
- The headlight road signs. Each sits on a single pin and New Elementary had to realign them repeatedly, along with the mirrors and some other panels. Someone on the Eurobricks launch thread predicted from the first pictures that those triangle bits would fall off, and in the review build they needed realigning again and again. Check them before you photograph the car and before you drive it.
- The black line along the sills. A run of stickers is meant to continue the black band across the bottom of the car where light grey parts interrupt it. The stickers are far too small for the parts and leave a small square instead of a line. Line them up carefully or leave them off.
- Rear light leak. The rear fibre-optic cables are twisted more than the front ones and are not covered, so the red at the tail is weak. New Elementary suggested covering more of the cable run, and wondered whether the rear cables were left bare because the ribbed hose could not make the tighter bend.
- Charging means taking a door off. The battery’s port sits behind the driver’s door, and the door is held by two pins. Pull it straight, charge, pin it back. Do not lever it.
- Two sticker sheets, nothing printed. The nose badge and the exhaust are stickers, which drew comment on the launch thread. Apply them with the panel flat, before it goes on the car, wherever you can.
On the shelf
It is 40 cm long, 17 cm wide and 9 cm high, so it fits a standard shelf with room either side. The body is light grey with a black roof and lime accents, the 63 on the doors, and the pale glow-in-the-dark headlight bars, which read as white in daylight. The flat roof drew some ribbing on the launch thread; the answer given there was that a motorised set should be simple and sturdy rather than accurate, which is the right call for something that will meet a skirting board.
New Elementary thought it a good representation of the real car and a clear step up from the Porsche on the same hub: a complete car with a hub inside rather than a hub with a shell round it. Display it with the lights on, from the front.
Members who have built it
One member has sent in photos of their finished Revuelto, and the nose-on shot shows the white headlight bars at the corners. The diary is linked under each picture.


This is the one for you if you want something to drive when it is finished, if there are children in the house who will take it over, or if you want a light grey panel study without a weekend-long chassis. Do not come to it expecting a Technic build in the old sense: the mechanical work is done by step 65 and the rest is bodywork. Allow two evenings, run the app check at the end of bag 2, and keep a finger on those headlight signs.
If you like this one, try
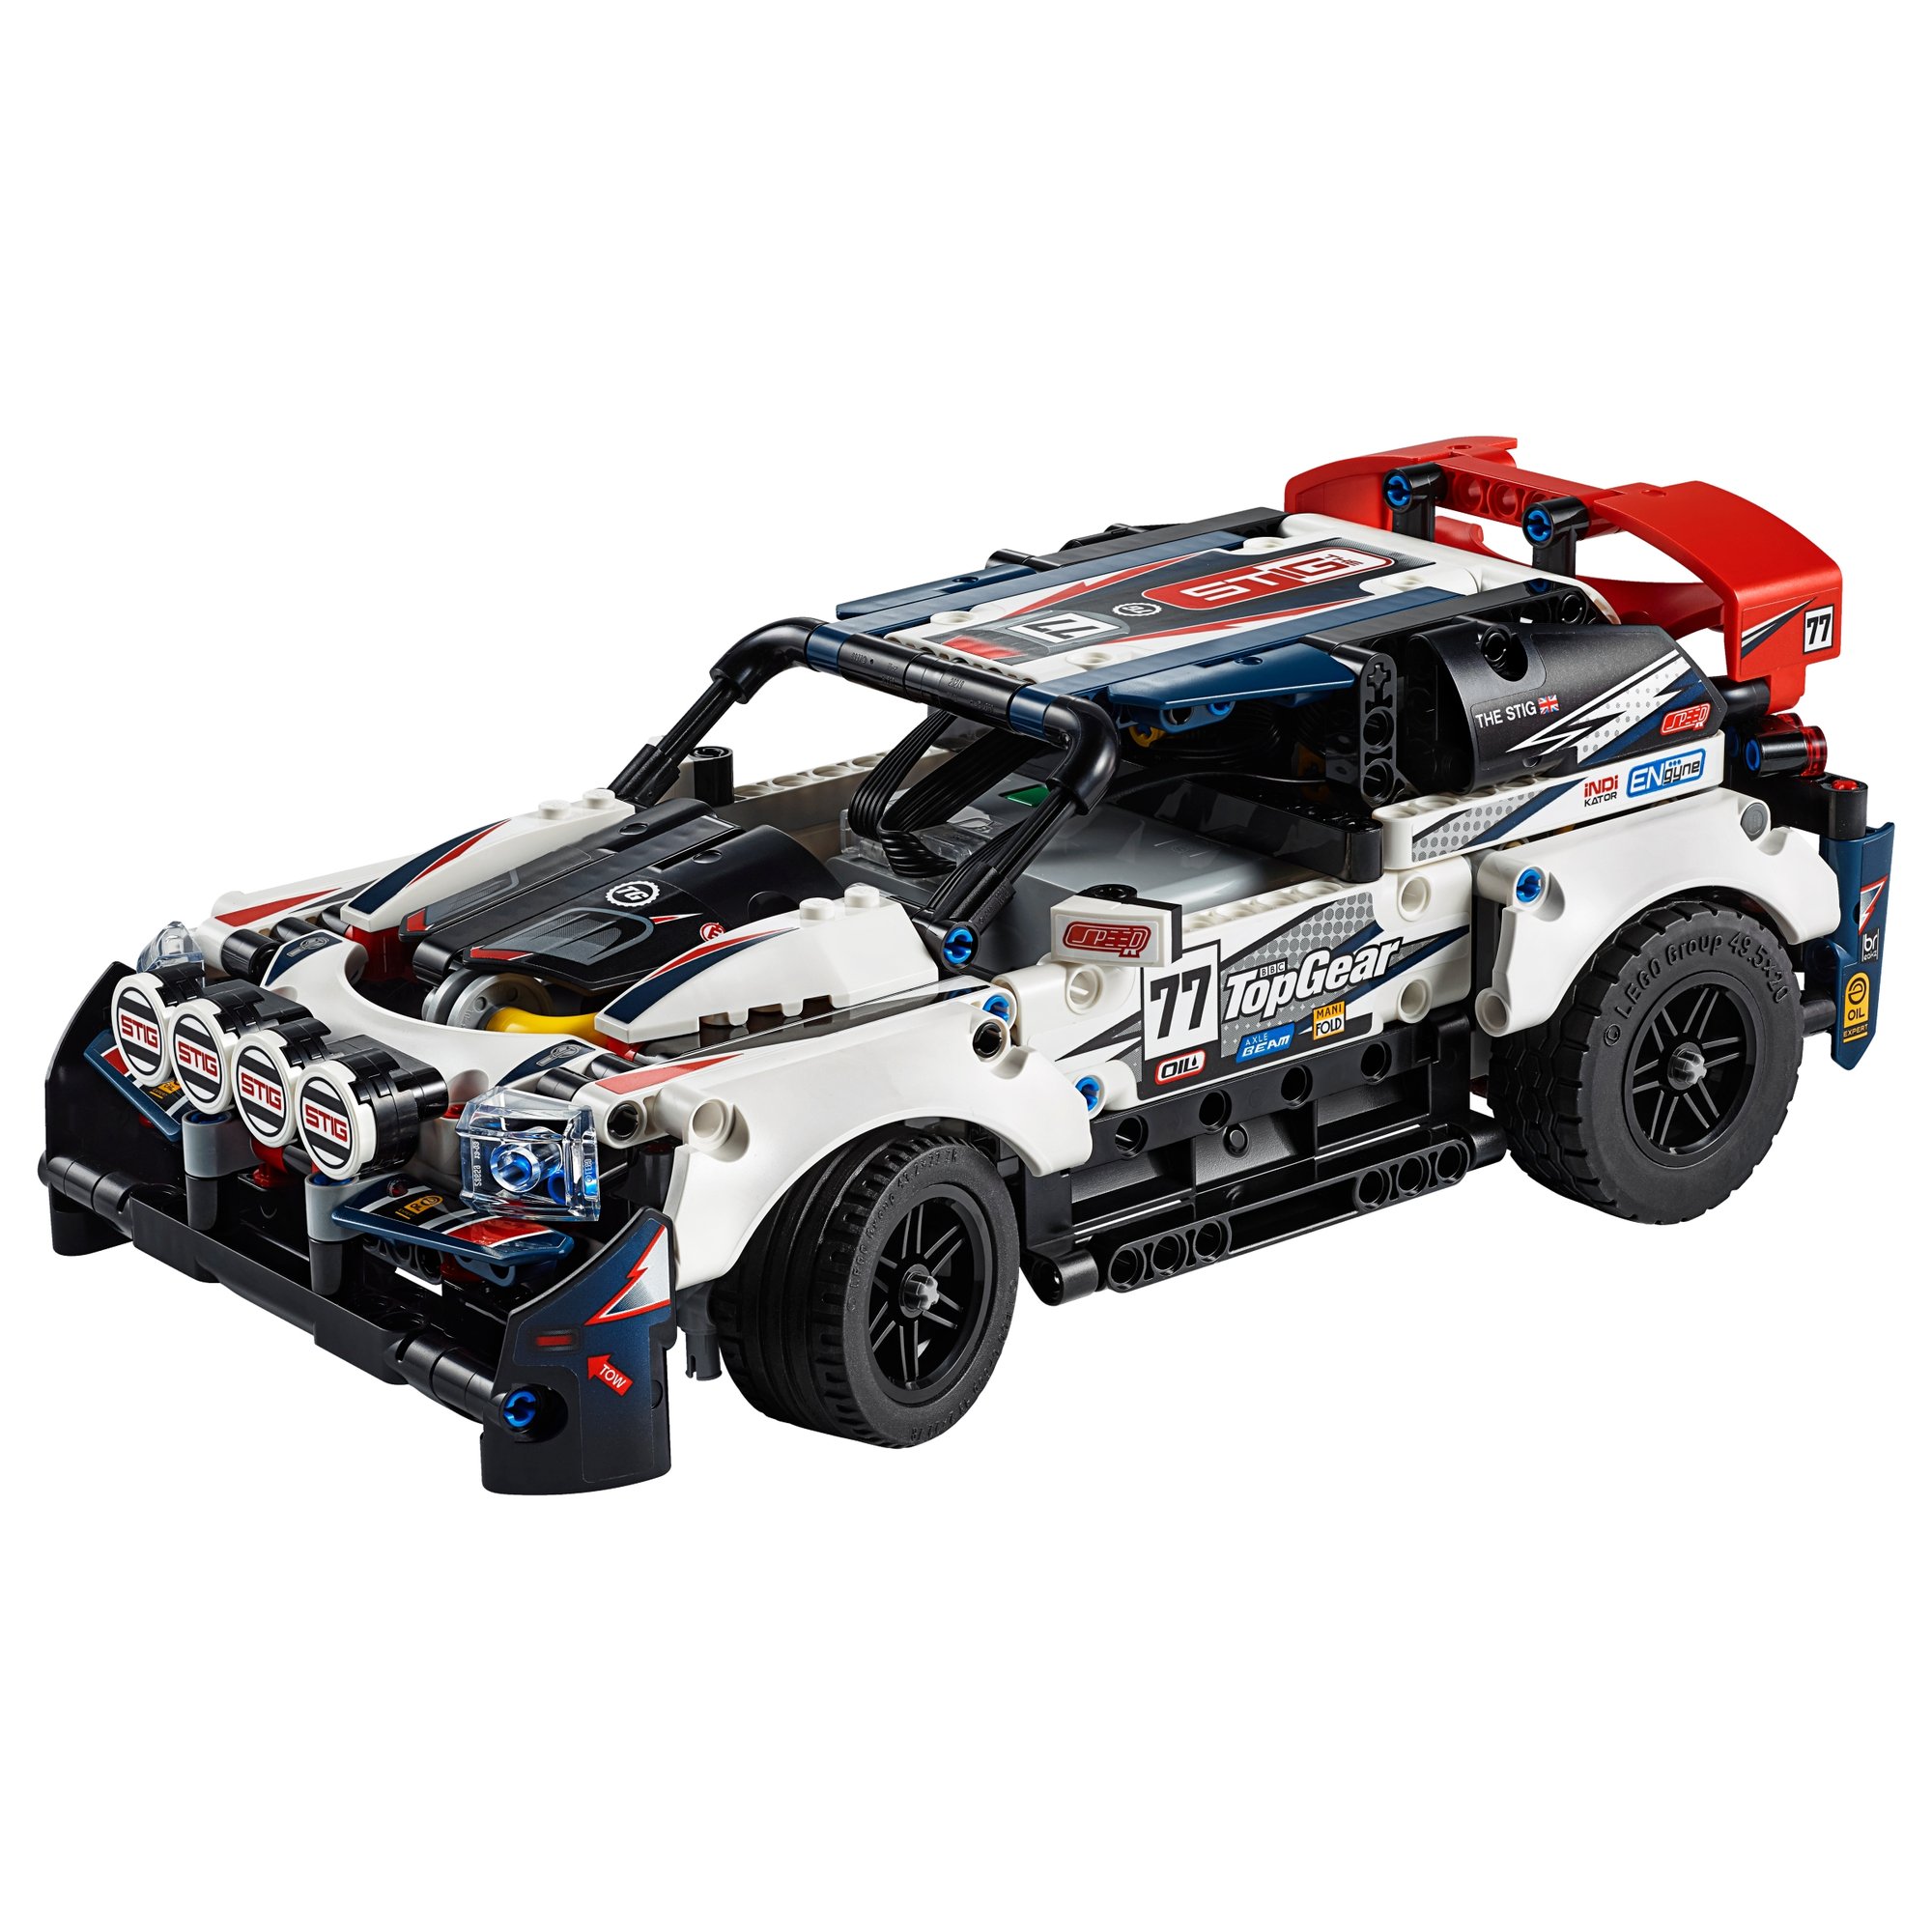
The Porsche runs on the same hub and app. The Sián is the big Lamborghini for anyone who wants pistons and a gearbox after all. The Ford GT and the Top Gear car are the other mid-size options in this part of the library.


The Lamborghini Revuelto is in the library
Technic Fan gets up to 6 kits a year, Master Builder up to 12. Delivery both ways is included and the prepaid return label is in the box.