

Heavy Lift Helicopter (42052): two rotors on one mast, and no tail rotor
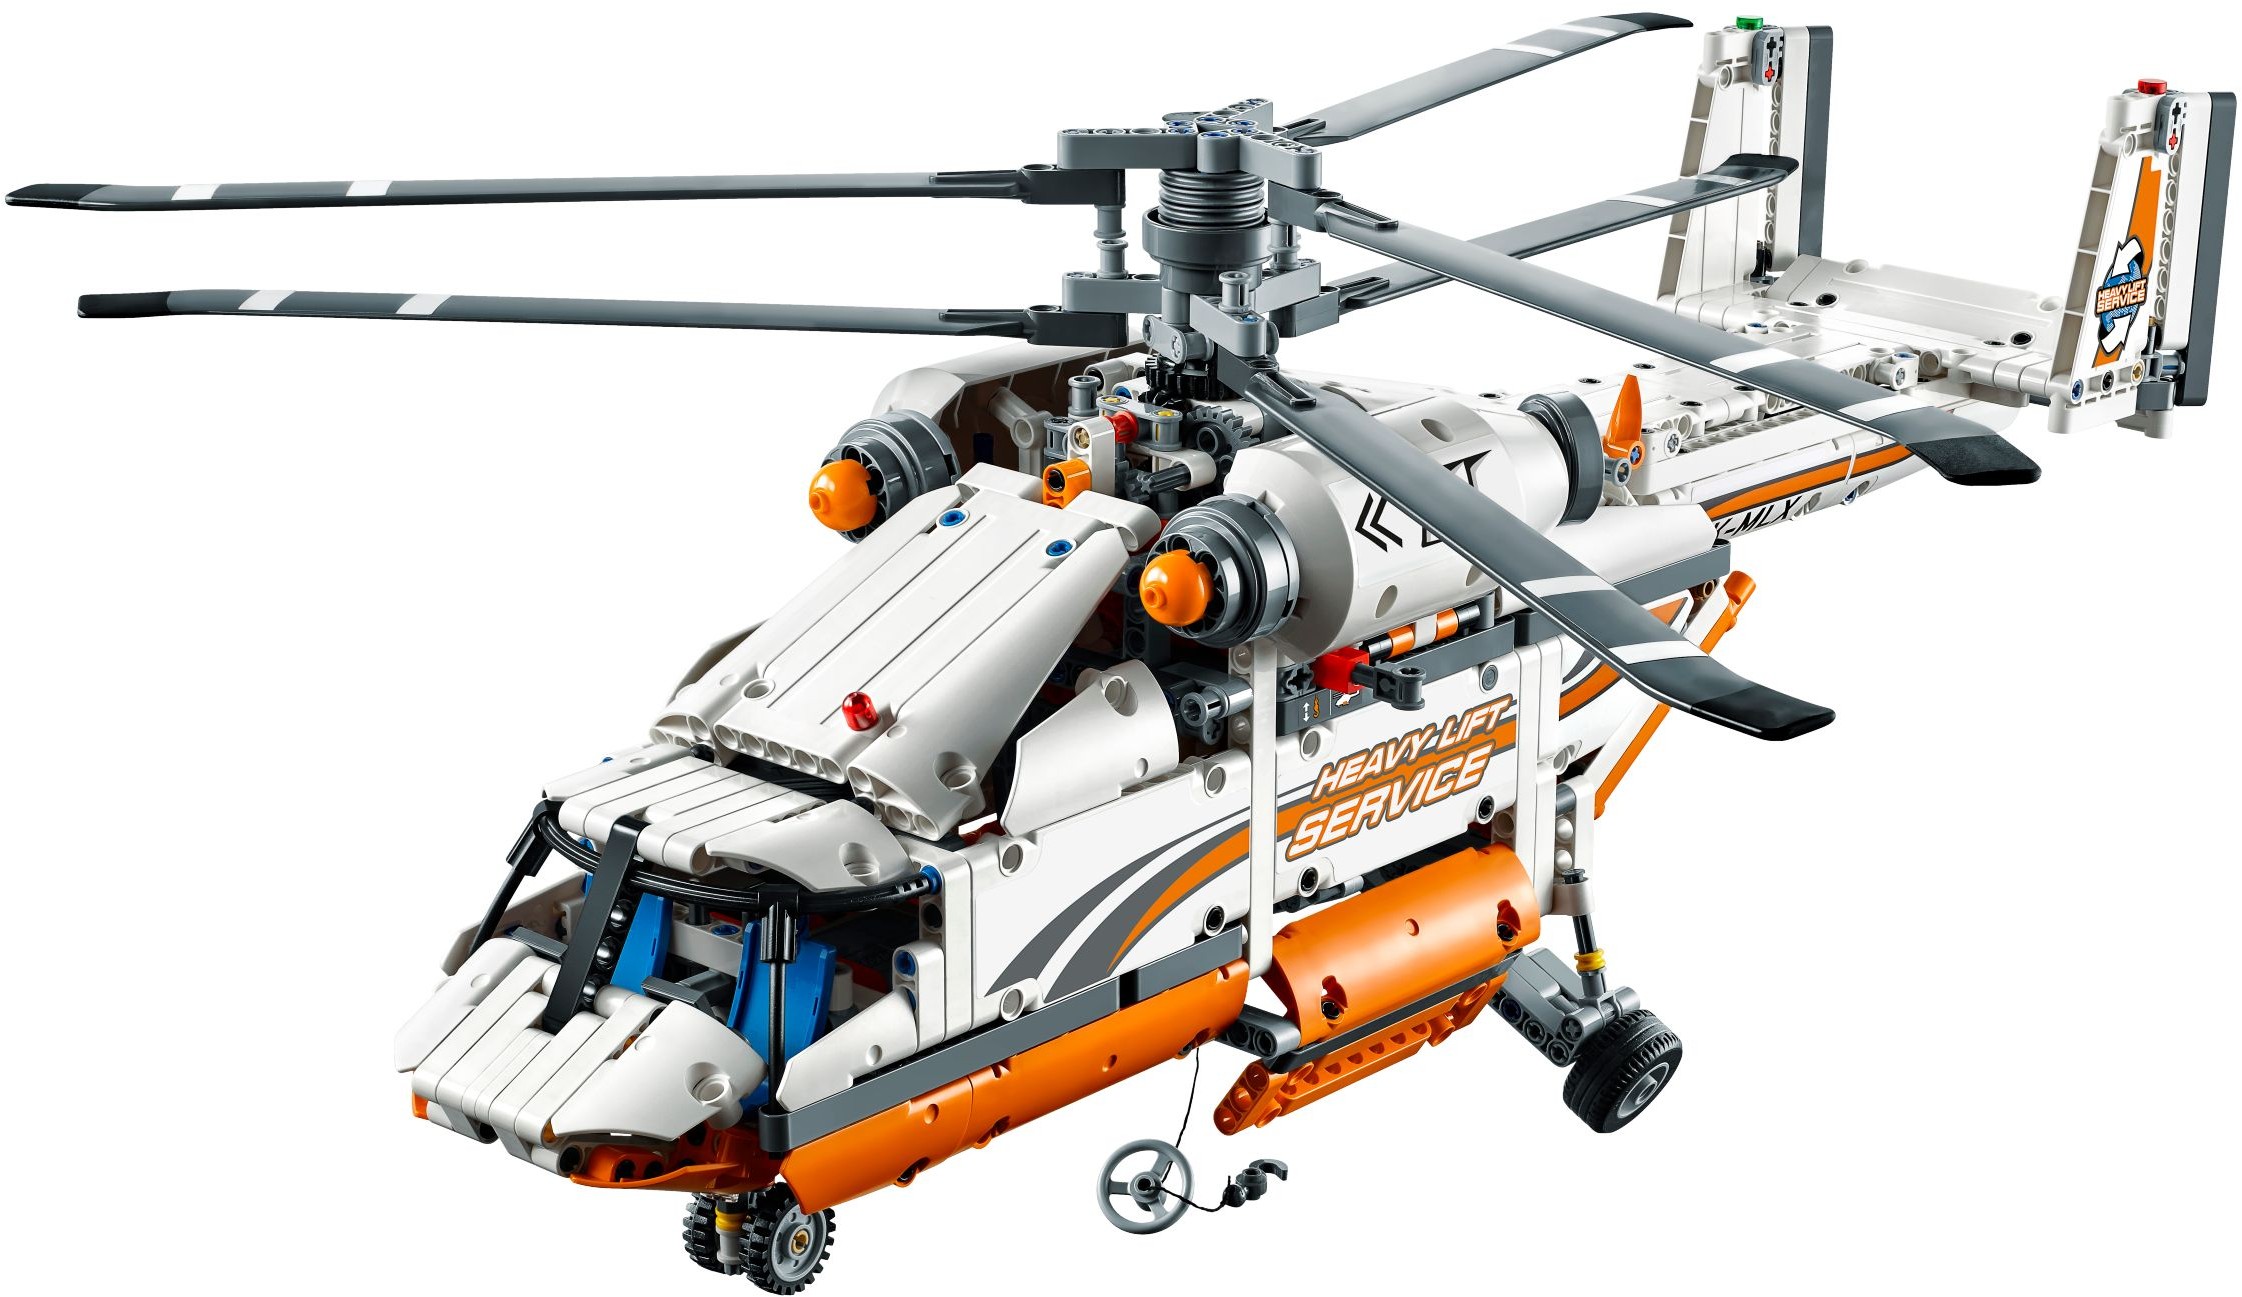
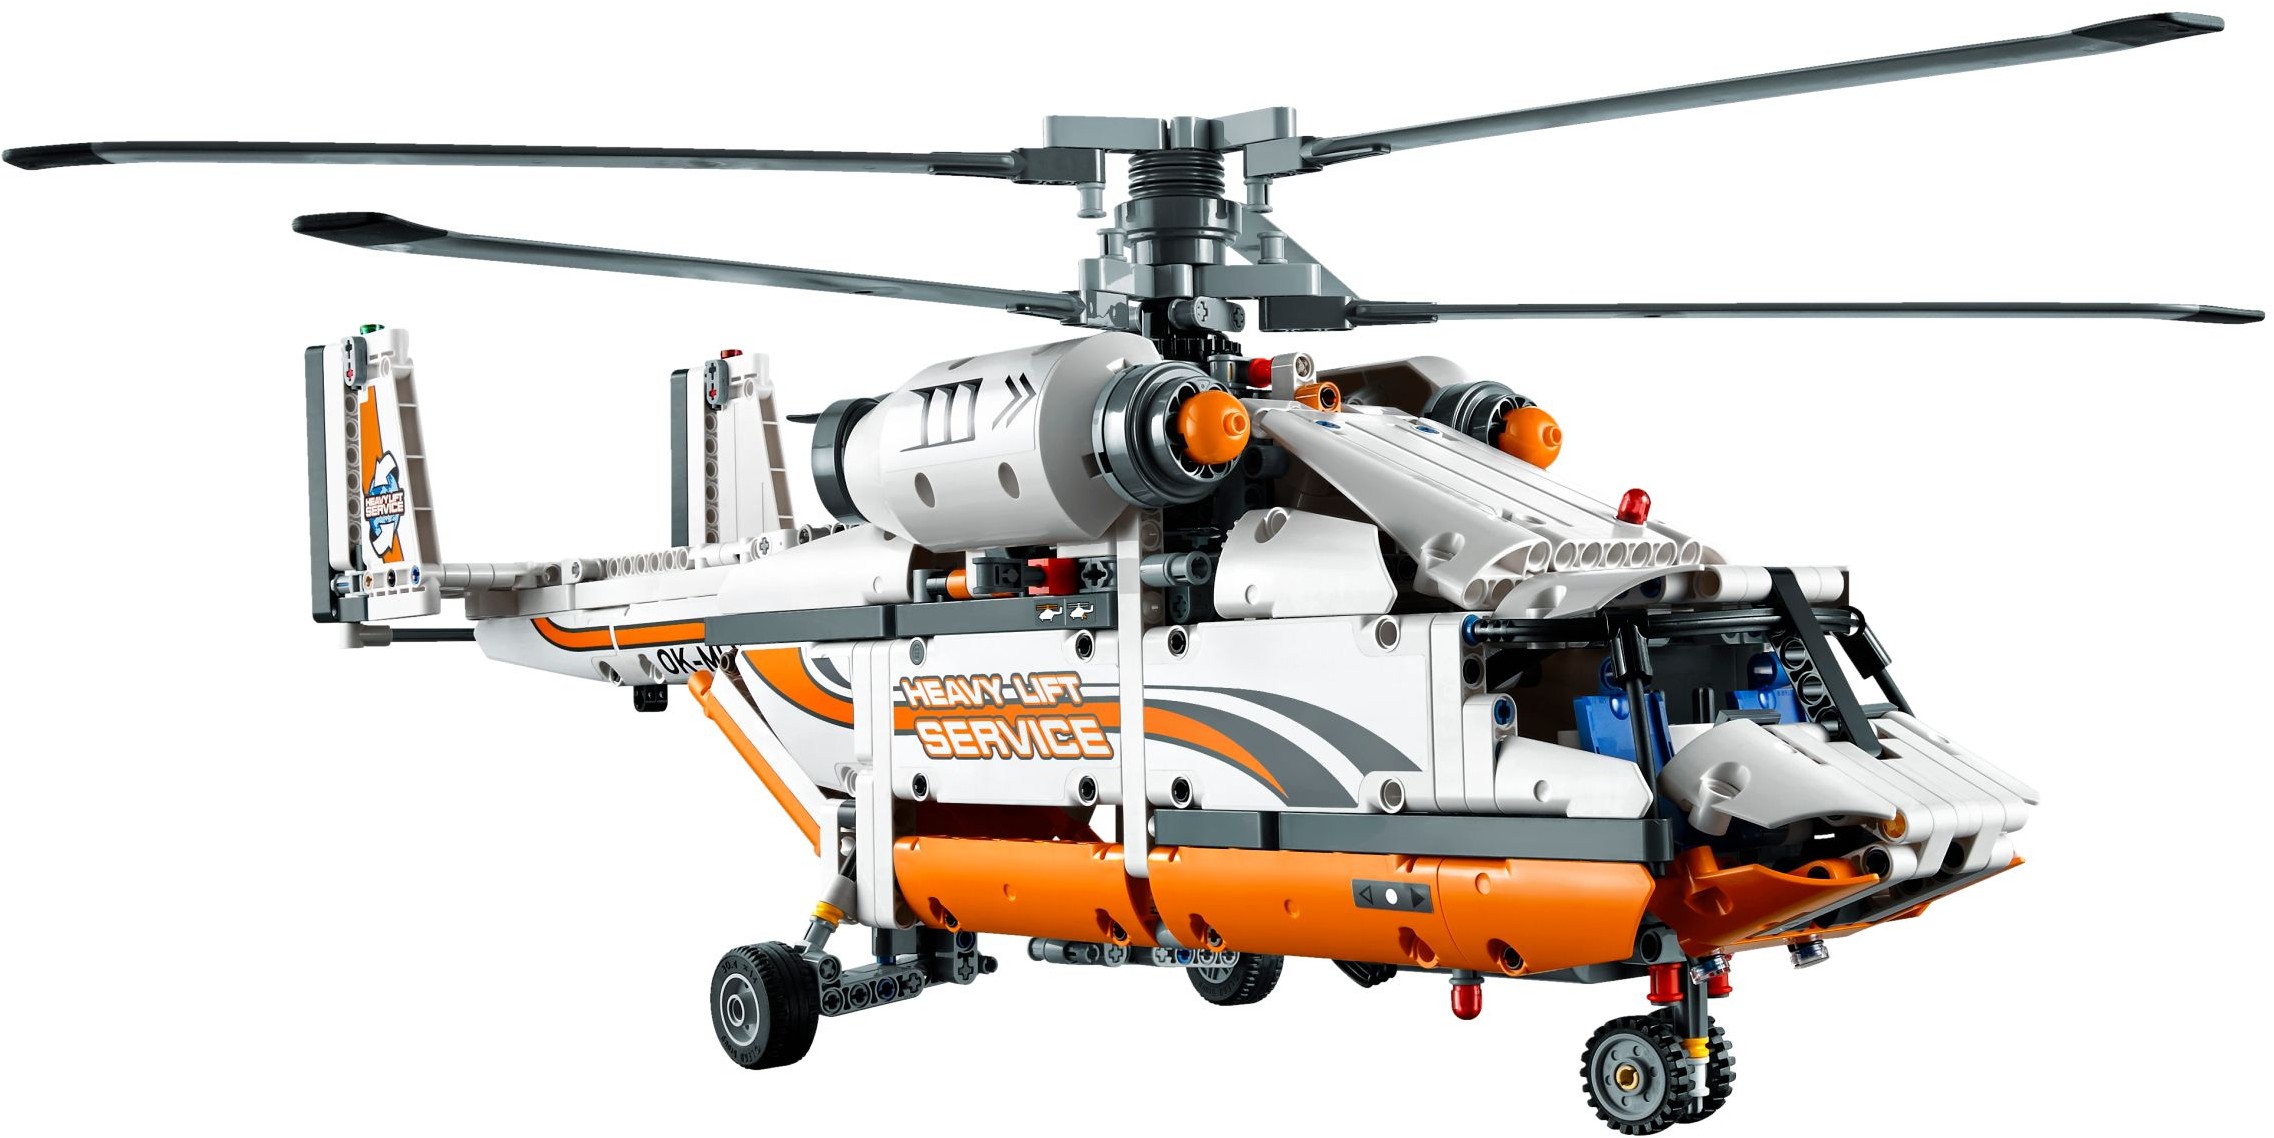
It is the tenth Technic helicopter and the first with coaxial contra-rotating rotors. The Heavy Lift Helicopter stacks two three-bladed rotors on the same mast and spins them opposite ways, so the torque cancels and the tail carries only an elevator and two rudders. It was also the first Technic helicopter with Power Functions in the box: one M motor drives both rotor discs, the cargo doors in the floor, the rear ramp and a winch, through a gearbox with a lever each side.
It is in the Brick Club library and one member has sent photos back. Below is what each lever does, how the single 188-page book orders the build, and where one reviewer went wrong.

Why this one still matters
Milan Reindl designed it, and the registration on the tail says so: OK-MLX, OK being the aircraft code for the Czech Republic. FlagsNZ at Brickset counted it as the tenth Technic helicopter and the first with coaxial contra-rotating rotors, and noted the strong likeness to the Russian Kamov Ka-32, a working heavy-lift machine that also fights fires by dumping water through its cargo doors. That is why the cargo handling gets most of the mechanism: doors in the floor, a ramp at the back and a winch wire through the bay.
The other record was panels. Both reviewers counted 51, one more than the Cargo Plane (42025) from 2014, and Jim at Eurobricks split them as 34 white and 13 orange. The fuselage is almost entirely closed as a result, which is either the best or the worst thing about the set depending on how you feel about panels. Jim loves them.
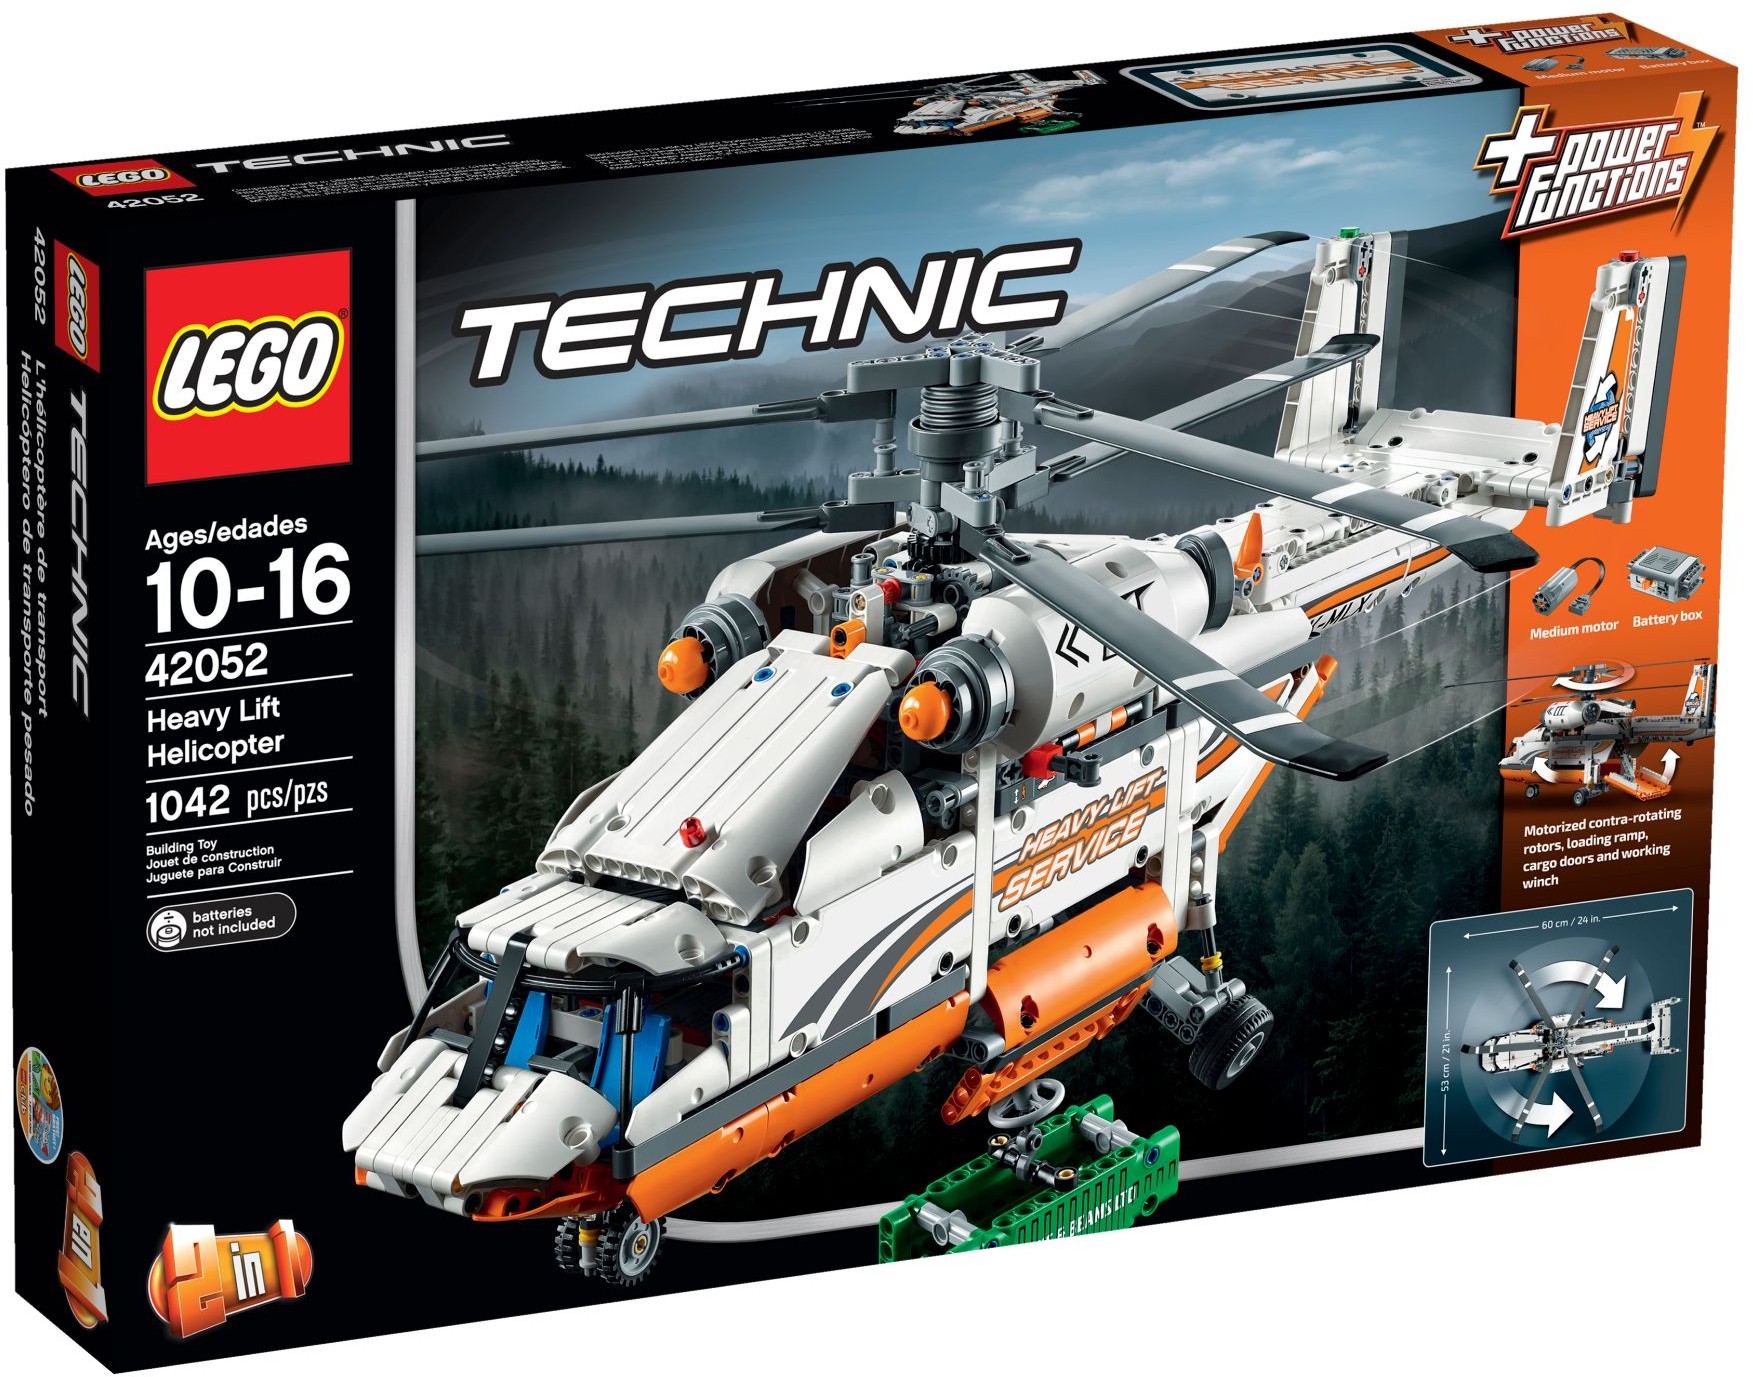
1,042 pieces, £109.99 at launch by Brickset’s record, on sale through 2016 and 2017. One bound book of 188 pages, a large sticker sheet sealed in the same bag as the book, and no numbered bags: Brickset counted eleven and Eurobricks ten, so expect to sort parts first. The battery box, the M motor, the six 31L rotor blades and two black 19L soft axles come loose in the box. Only one soft axle is used in the main model; FlagsNZ counts the other as a spare, Jim thinks the B model may use it. Either way, builders were glad to see the part back.
What it actually does
One M motor, switched at the battery box, feeds a gearbox with a lever on each side. Two functions per lever, and everything else is by hand. Nothing is remote controlled out of the box; Jim added an IR receiver for his video and says most adult builders will do the same.
The two rotor discs sit on two 28-tooth small turntables, one above the other. A 24-tooth gear drives two 12-tooth double bevel gears, one for each direction. The lower rotor is fixed to a turntable; the upper rotor is on an axle that runs up through the upper turntable by way of a 3M gear shift connector, so the two discs turn opposite ways on the same centre. There is no collective and no cyclic, and FlagsNZ says why: coaxial control gear would be near impossible in Technic with these turntables. What you get is two three-bladed discs counter-rotating under power, which is a good sight all the same.
Both levers sit just below the engine covers on the roof, one each side, each moving a 3L driving ring inside. Left picks between the cargo doors and the winch; right picks between the rotors and the ramp. The on-off switch is the battery box switch, dressed as the red anti-collision light on the belly, neat to look at and awkward to reach. One quirk: a torque coupling sits right after the motor, so when the doors, winch or ramp hit the end of their travel the rotors slow or stall. Move the lever off that function and they pick up again.
The two long panels under the bay are the doors, hung on an H-frame that drops through three positions as the motor turns, which Jim found very intriguing. They open in flight, the way the real Kamov dumps water, and there is enough clearance to open them with the model on its wheels.
The wire raises and lowers the green Bricks and Beams container from the bay, and it is the slowest of the four powered functions, which is about right for a winch. The back door is a single 5×11 panel that folds down as a ramp, on the right lever opposite the rotors. Drop it, and the winch will drag the container up the ramp and inside; FlagsNZ remarks on how much room there is in there.
The elevator moves on a lever under the tail, so close to the elevator itself that Jim thought it a bit useless. The twin rudders are joined by a connecting axle and move together, but nothing drives them; you push a rudder. Both reviewers wanted a linkage like the Cargo Plane or the Fire Plane (42040) had, and both point at the orange claw part near the tail gate as the piece that could have done the job.
It does not retract. The nose wheel is on a castor, and the two rear wheels drop down when the model is lifted, on nothing more than gravity, then fold back as it lands. Simple and it works, as Jim says. Our listing calls it retractable landing gear, which overstates it: expect a drop-down, not a fold-away.
How the build goes
One book, around 300 steps, no numbered bags. The order is unusual: fuselage first and gearbox second, where most Technic sets start with the drive train and close the body around it. Neither reviewer timed the build; two evenings is our guess for a steady builder who sorts the bags first.
Fuselage
The main fuselage frame is done by step 46, and it is built empty. The drive train has to be slotted into this shell later rather than growing outwards from the middle.
Gearbox, winch and cargo door drive
The gearbox, the winch drum and the cargo door mechanism go together as one unit off the model. Two white double-angular beams appear here as a stand for the unit; they are not part of the gearbox. Jim’s photo of this stage shows a single layer of gears with a 3L driving ring at each side.
Rotor drive and motor
The coaxial gearing is finished by step 139: the two turntables, the 24-tooth gear, the pair of 12-tooth bevels and the axle up through the upper turntable. Step 141 joins the gearbox to the rotor drive and adds the M motor; step 142 drops the whole drive train into the fuselage. Run the motor before you go further; this is the last point where the gearing is easy to reach.
Cargo bay, doors, rear wheels and battery box
The bay is closed in, the two floor panels are hung on the H-frame, the rear undercarriage goes on and the battery box is fitted. Test the doors from the switch now, while you can still see the H-frame move through its three positions.
Tail
The tail, the elevator with its lever and the two rudders, built as a separate assembly to step 238 and joined to the fuselage at step 240. The rudders are the tall white 5×11 angled panels first seen on the Fire Plane, and the OK-MLX sticker goes on the boom.
Cockpit, rotors, engine covers, container
The cockpit is done by step 279, with the 19L soft axle framing the glazing and the two new blue curved panels as seats. Both pilots get an instrument panel: a sticker on a 2×2 tile for the gauges and artificial horizon, plus a printed 1×1 round tile. Then the two rotor discs, the white engine covers over the top, and the green cargo container in the last few pages.
Jim tripped in the rotor head and FlagsNZ warns about the same area. The one member who has sent photos built the alternative model (more on that below), so these are the reviewers’ points.
- The two turntables. Jim fitted the two 28-tooth turntables the wrong way round and had to go back. They look alike and only one carries the through-axle for the upper rotor, so check which is which before the gearing goes over them.
- The upper rotor axle. The upper disc is driven by an axle through the upper turntable on a 3M gear shift connector. FlagsNZ warns that any misalignment of this part raises the friction of the whole system, and the rotors are the function most likely to stall. If they labour under power, look here first.
- Unnumbered bags. Ten or eleven bags, none numbered, and mostly white parts. Sort by type before step one or you will be hunting white panels among white panels for the whole build.
- The rotors stalling is not a fault. The torque coupling is right behind the motor, so the rotors give way whenever the doors, winch or ramp reach a stop. Move the lever off that function and let the rotors run on their own.
- The switch on the belly. It is the battery box switch dressed as a red light, and once the model is on its wheels it is hard to reach. Decide early whether you are happy leaning under the fuselage or whether, like Jim, you want an IR receiver in the bay.
On the shelf
Reviewers put it at about 60 cm long, 53 cm across the rotor disc and 23 cm high: the same rotor diameter and height as the 9396 Helicopter but 13 cm shorter, because there is no tail rotor to carry. The blades still reach well past the fuselage on every side, so it wants a clear shelf rather than a gap between other sets.
White and orange with grey stripes and Heavy Lift Service down both flanks. Jim reckoned it looked better than the 9396, and it photographs well. Because the panels close the fuselage almost completely, none of the gearbox shows once it is finished; the levers under the engine covers and the floor doors are the only clue to what is inside.
Members who have built it
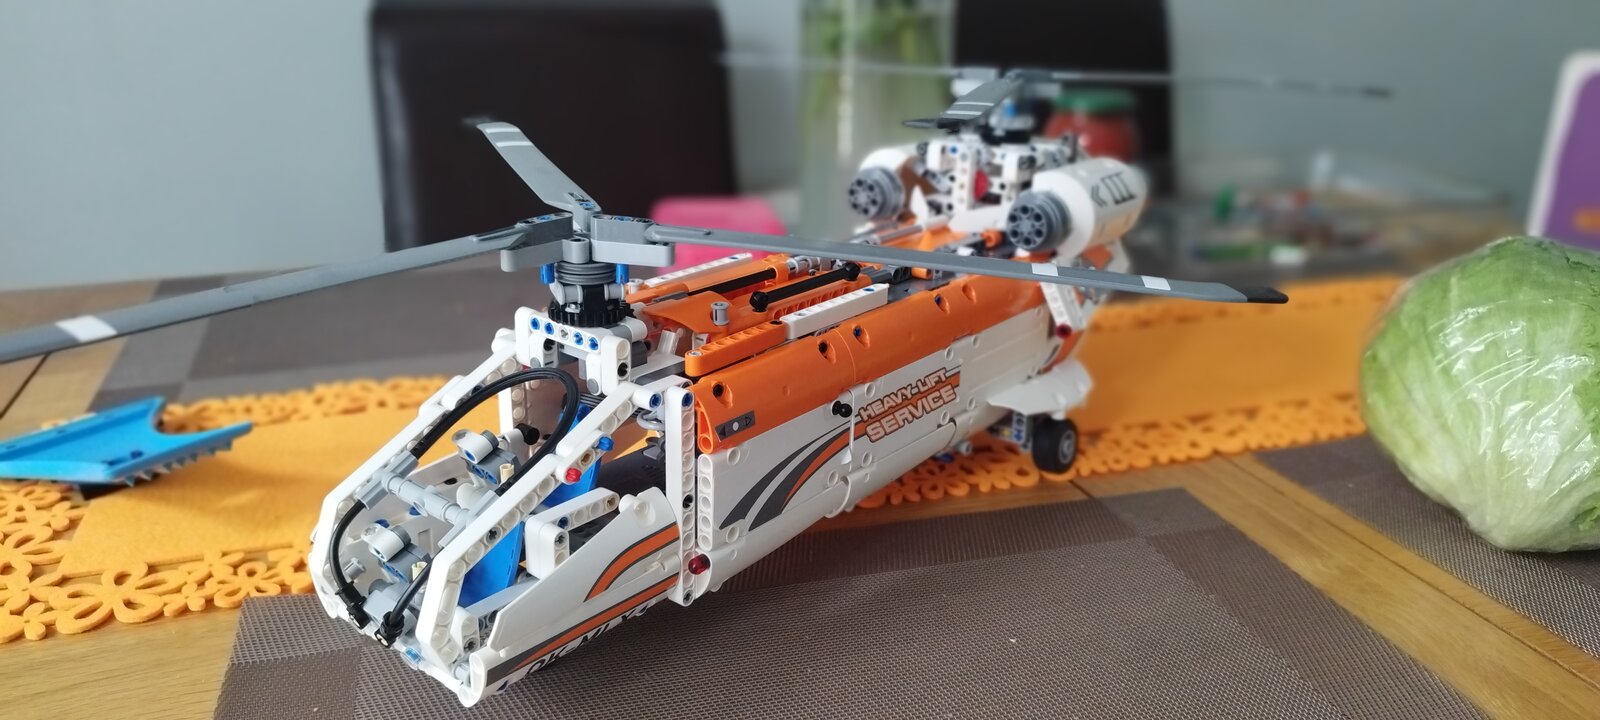
One member has sent photos of this set, from a build in July 2023. What they built is the B model, the tandem-rotor alternative on the back of the box, with a rotor at each end of the fuselage rather than two on one mast. Both reviewers were rude about it (a flying guinea pig), but it uses the motor too. The diary is linked under each picture.
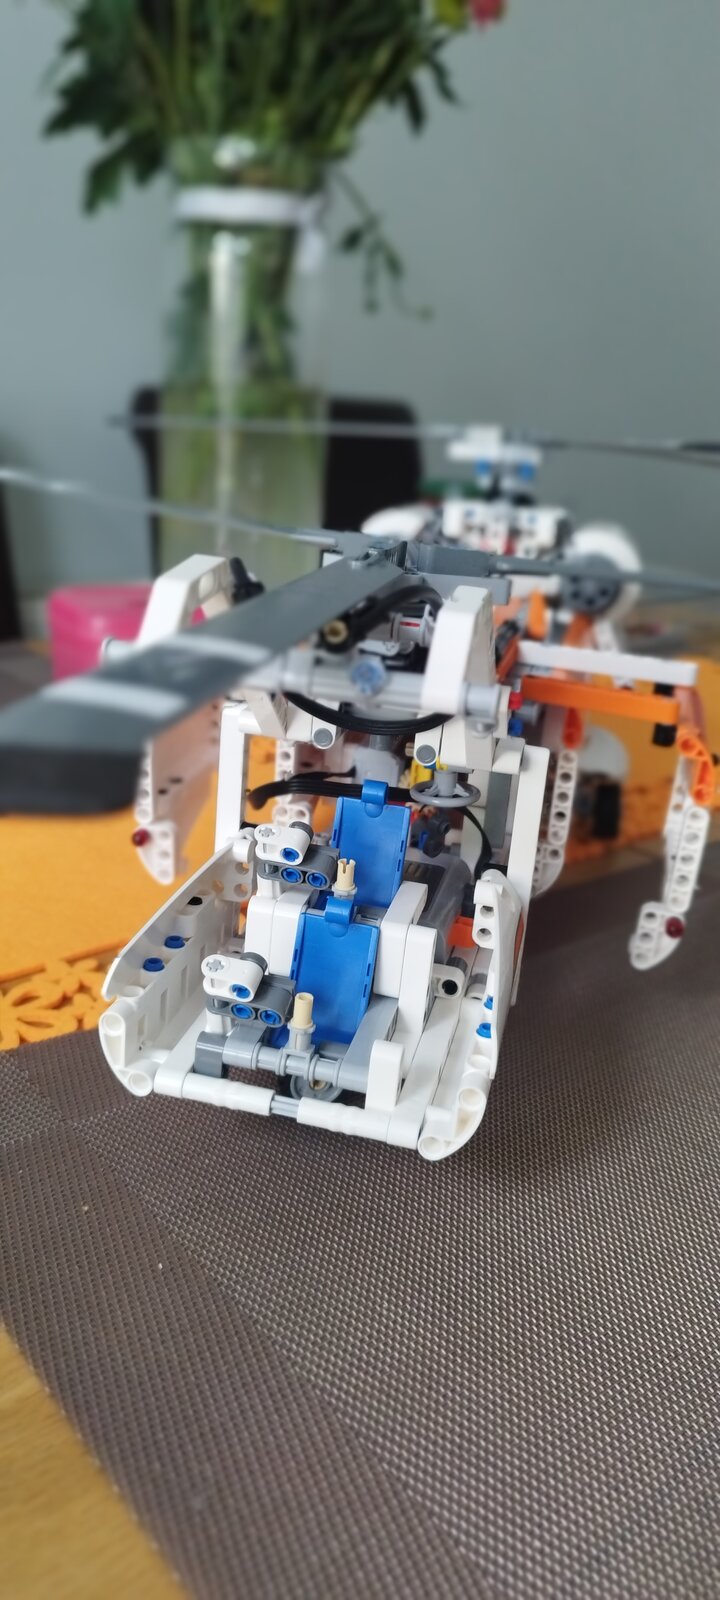
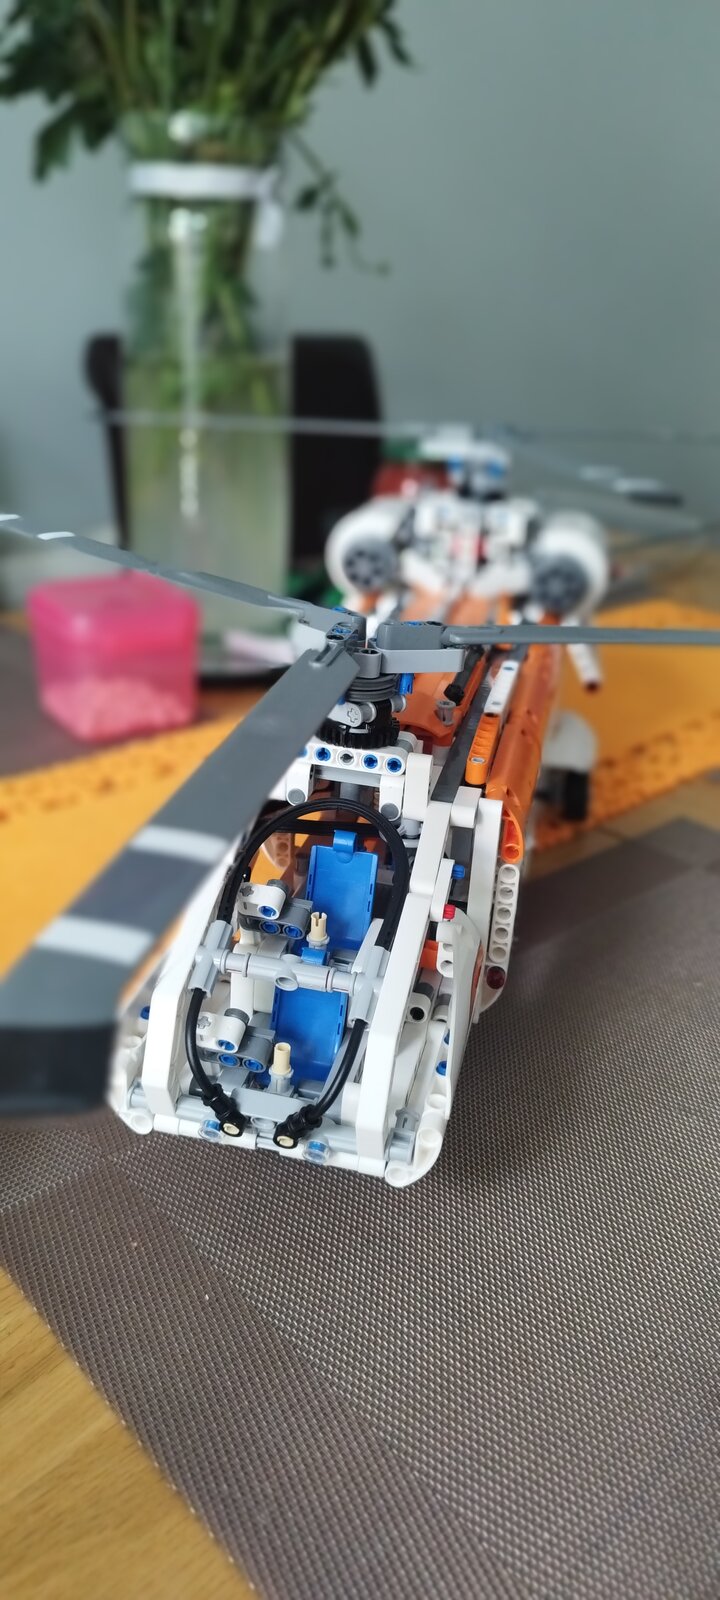
This is the one for you if you want a motorised model that is not a car and you like building the mechanism as a unit and dropping it into a finished shell. The difficulty sits in one place, the rotor head, where both reviewers stumbled. Sort the bags first, check the two turntables twice, and run the motor at step 142 before the fuselage closes over it. Then load the container, drop the ramp, and let the winch drag it in. That is what the set is built around.
If you like this one, try
The other helicopters and aircraft in the library. The Airbus H175 (42145) is the newer, bigger motorised helicopter; the 9396 is this set’s direct predecessor at the same scale; the two planes are there for anyone who would rather have wings.

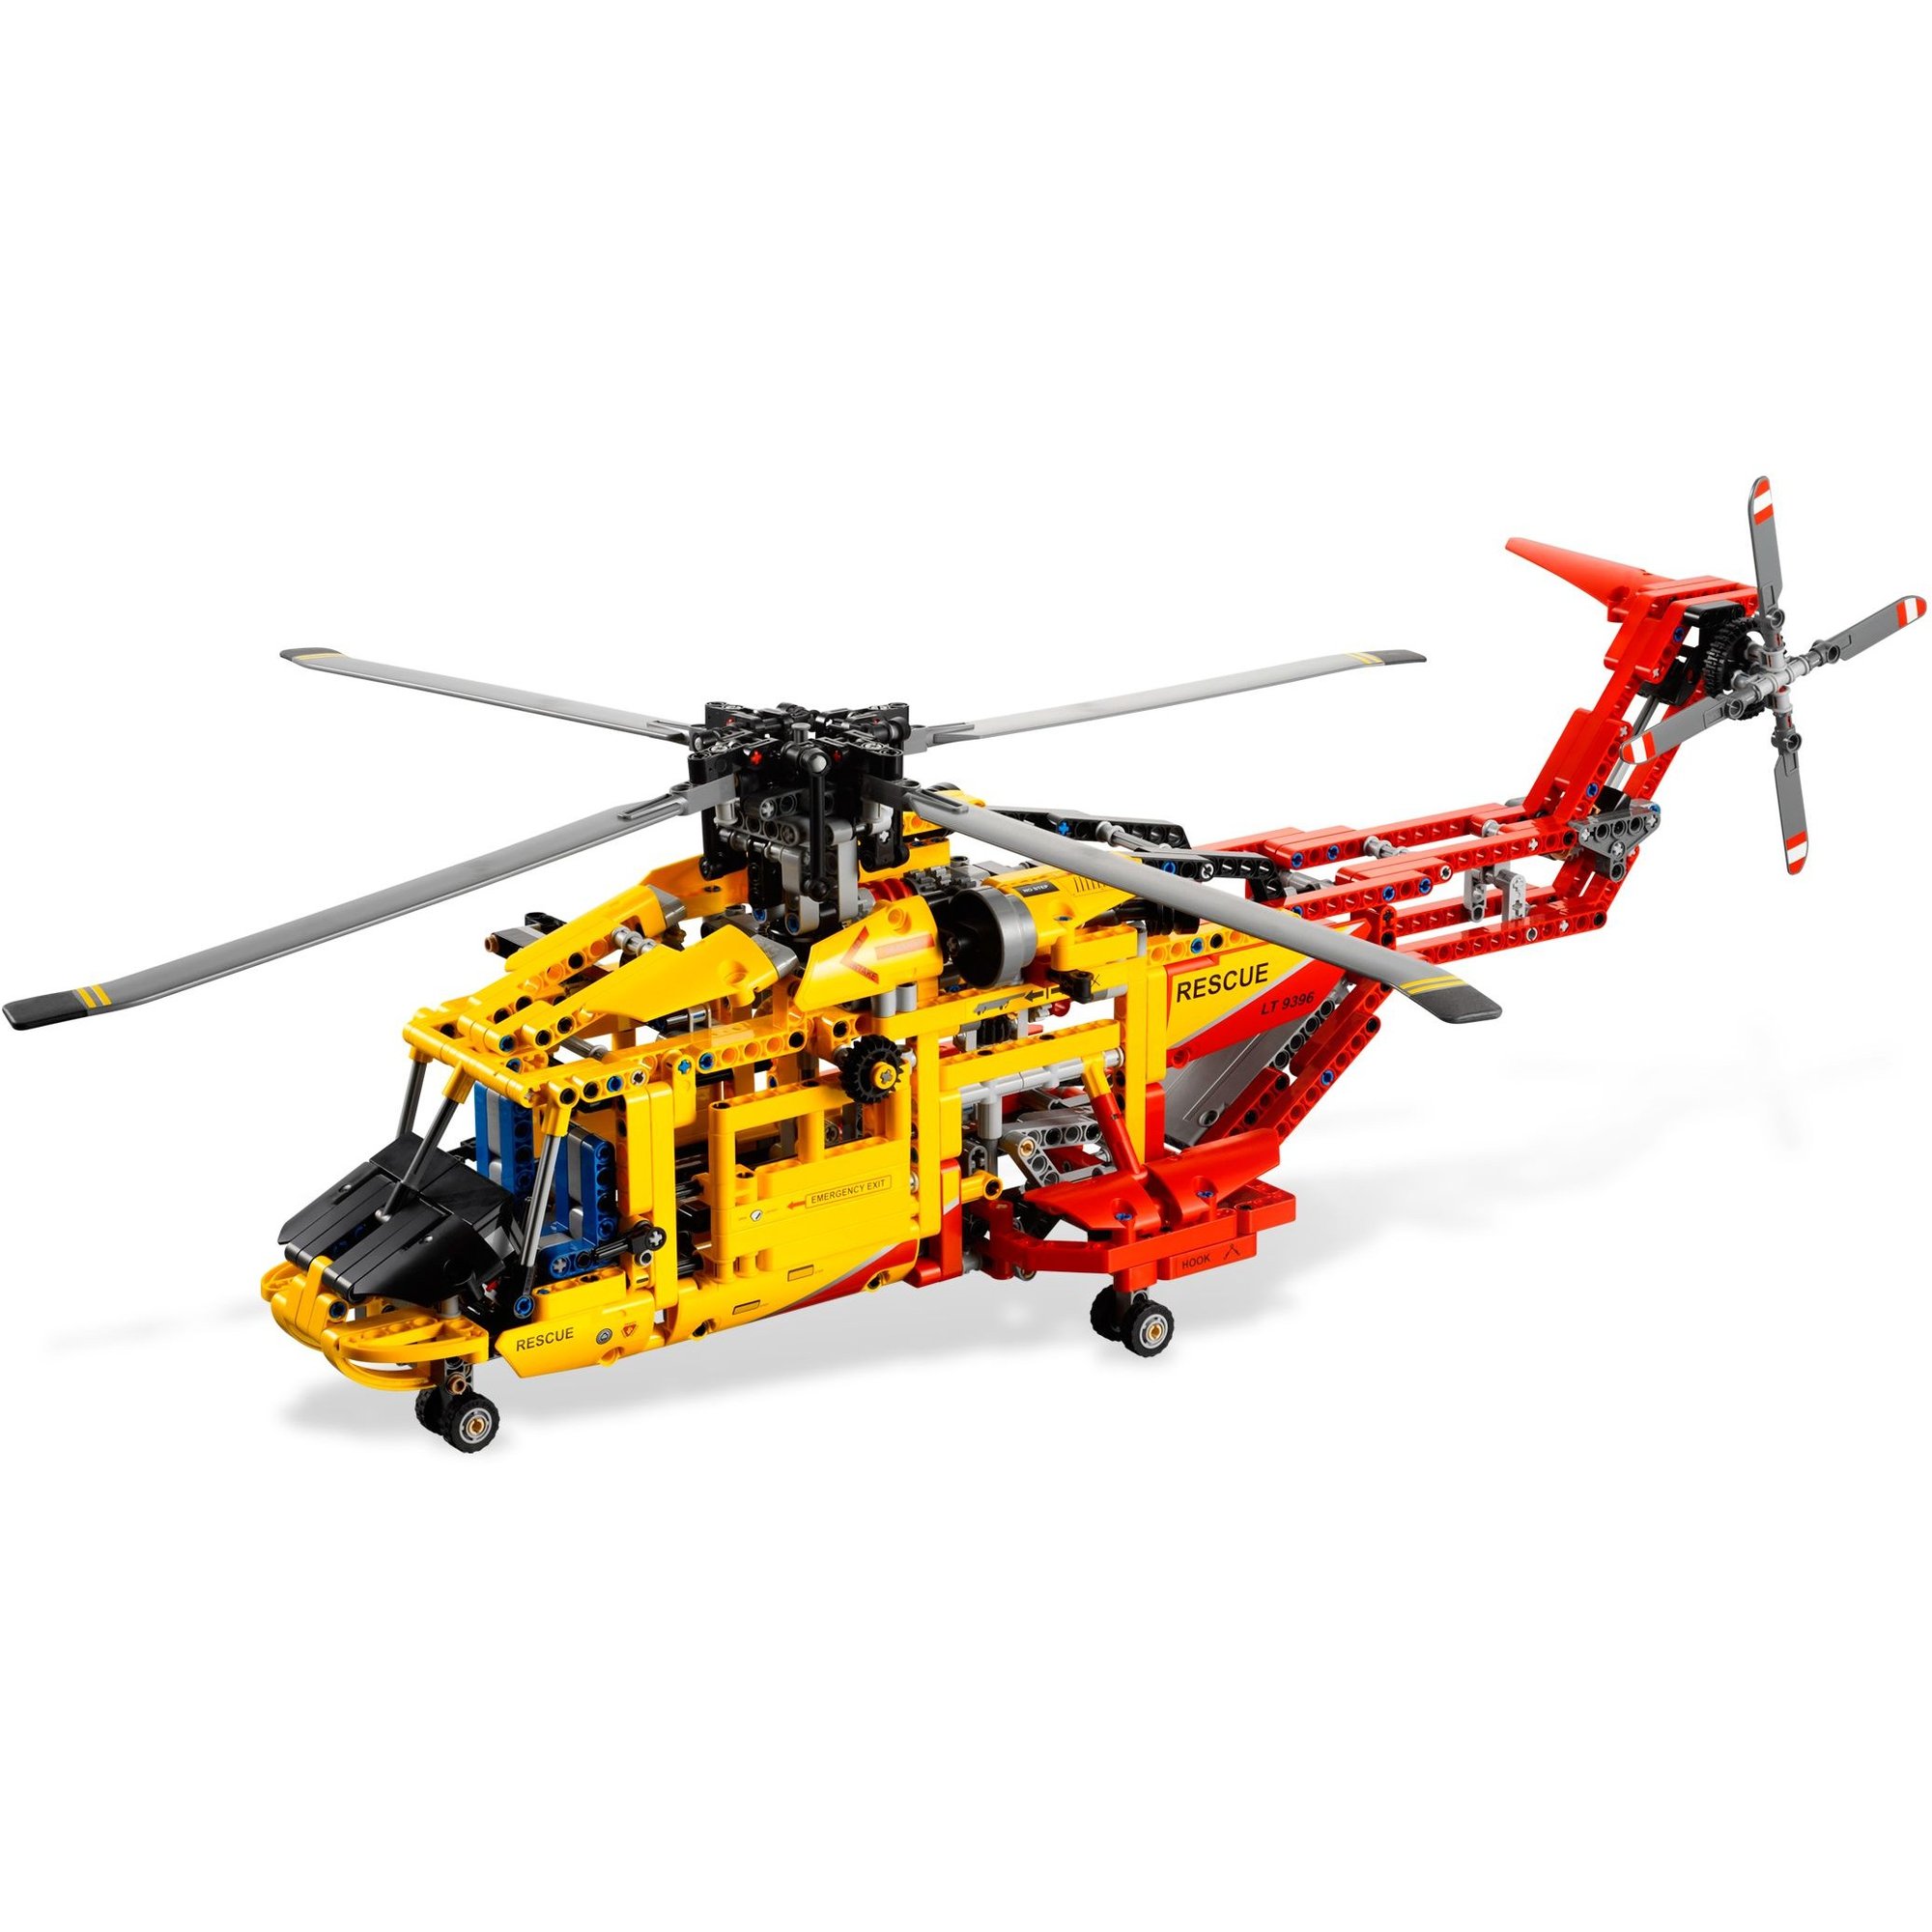


The Heavy Lift Helicopter is in the library
Technic Fan gets up to 6 kits a year, Master Builder up to 12. Delivery both ways is included and the prepaid return label is in the box.