

Porsche GT4 e-Performance (42176): the Technic car you drive instead of push
Most Technic cars are pushed along a table to make the pistons go round. This one has no pistons and no gearbox. Inside it is a new Technic Move Hub, a sealed grey brick with three motors and six LEDs built in and a removable rechargeable battery, and you drive it round the room from a phone. The lights are real, carried from the hub to the headlamps along thin transparent rods, a trick LEGO last used in 2010.
It is in the Brick Club library. At 834 pieces and six bags the build is one evening, and the rest of the rental is driving. Below is what the hub does, how the six bags go together, where the reviewers slowed down, and what to have ready before it arrives: a phone or tablet with the Control+ app, and a USB-C cable.

Why this one is different
Other Control+ models use a hub with four ports and separate motors plugged into it. The Move Hub has no ports at all. Three motors live inside it: two at the back, one each side, driving the rear wheels, and a third at the front for the steering. Six LED outputs sit in the ends, four at the front and two at the back. The battery slides out of the top and charges over USB-C on the side. The on/off button is on the bottom, which sounds odd until you turn the finished car over and find it under the floor.
The lights are the other new thing, or rather an old thing back. Transparent light links plug into the LED sockets on the hub and run to the headlights and tail lights, 28 studs long at the front and 10 at the back. Brickset traces them to the Exo-Force sets, last seen in 2010. The Rambling Brick goes further back, to the 1990s Technic and UFO fibre optics that needed a micromotor to make them pulse. Here it is all solid state, and there is a spare short rod in the bag.
What you do not get is any of the usual Technic car mechanics. There is no suspension, no engine and no gearbox, and the steering wheel in the cabin is not connected to anything. Brickset put it plainly: the doors open, and beyond that everything is done through the app. Brickset also calls it the best looking Control+ car to date, black and blue with splashes of red, and says the sticker sheet is modest for a licensed car.
What it actually does
Nothing here is worked by hand except the doors. Everything else goes through the hub and the Control+ app on a phone or tablet, which is not in the box, and the box says so.
The hub is the core of the chassis. It is 16 studs long, 9 wide and 5 high, plus another stud and a half where the battery sits proud, and the car is built outwards from it. Motors A and B sit at the rear corners, each with an output on the side and one on the end that turn together; motor C faces forward in the centre and looks like the end of a normal large motor. There are no ports, so nothing can be added to it, and it has a gyro of its own, which is how the app knows when you have crashed. The battery is a 7.6 Wh lithium pack, about 2,100 mAh, and it charges without a screwdriver: open the left door and plug in a USB-C cable.
The rear wheel hubs go straight onto the two side outputs at the back of the hub. There is no suspension and no gear train between motor and tyre, and the two motors are independent of each other. In the Rambling Brick’s speed trials it pulled away quicker than the Boost hub and held its speed, and they found a turning circle of about 135 cm. Brickset points out that LEGO’s claim that this is the fastest Control+ car is not true: RacingBrick’s timing put the Off-Road Buggy (42124) marginally ahead.
Motor C at the front of the hub drives a rack and pinion onto the front hubs, and the steering slider in the app drives motor C. The motors carry position sensors, which is how the steering calibrates its centre. The steering wheel you fit in bag 6 is not attached to any of it; it is there for the look. Brickset’s word for the chassis is sturdy, and steering is the first thing the instructions have you test.
Four of the six LED outputs are used. Transparent light links plug into the sockets on the hub and carry the light to the printed headlight pieces at the front and the tail lights at the back; the front pair are wrapped in ribbed black hose through the cabin so they do not light up the interior. The lights come on when the hub powers up and toggle from a button in the app. Press the brake and the tail lights get brighter. They are bright, more so than the old 88005 headlight set according to Brickset. The one complaint is leakage: light escapes through gaps in the bodywork front and rear, around the edges of the headlight piece, and from the unsheathed section under the bonnet.
Two sliders, one for steering and one for throttle, switchable for left-handers. A blue button is qualifying mode, which sharpens the acceleration; a purple one starts a stopwatch; a brake pedal does what you expect. After the tutorial you can pick a second remote that steers from your phone’s own gyro, which The Brothers Brick liked with one warning: tip the phone forward by accident and the car takes off. Crash and the lights flash while the phone makes a thunk. Brickset’s view of the app is blunter: soulless, hard to use accurately, no tactility, and the Bluetooth pairing before every drive takes the edge off wanting to. Both are right.
Each door swings on its hinge and a ball on the door clicks into a connector hole to hold it shut. That is the whole of it. The cabin behind them is empty; The Brothers Brick notes there are not even seats.


How the build goes
Six numbered paper bags, one unnumbered bag with the light links (the Rambling Brick found the wheels in it, The Brothers Brick found the tyres loose), and a small white box holding the hub and battery. The box has a flip-top lid rather than opening from the side. Nobody gives an hour count; at 834 pieces, with the hub doing most of the structural work, plan on one evening, and charge the battery before you start.
The hub becomes a chassis
You start with the hub in your hands and build outwards. The rear wheel hubs go straight onto the two motor outputs at the back, the front end and its rack-and-pinion steering onto motor C, and there is no suspension at either end. The structure is mostly frame and beam connections, and the result is rigid. Then the instructions stop and have you pair the hub with the app and test steering and drive, because after this you lose access to the inner workings.
Rear end and tail lights
The first stickers go on the tail, and the first light links go in: the short 10-stud rods from the two rear LED sockets to the brake lights. Somewhere in here you also fit the piece that stops the battery sliding out. The Rambling Brick built this straight after the McLaren P1 (42172) and was struck by how dense the structure is for the piece count.
The cage
The back end is closed off and a cage is built around the central chassis. Nearly every connection is doubled up for rigidity. Not much happens visually.
Front end and headlights
The Porsche nose, the printed headlight pieces and the two long 28-stud light links. These sit inside a black sheath and have to be threaded through the structure as the front end goes on, then pushed home into the hub sockets. The new black wheel arches go on here too.
Roof and rear wing
The spoiler and the roof are built together, joined across a row of pins, then dropped onto the chassis and held with a single bar. The roof panels take the stickers that carry the blue stripe from front to back. These are the stickers that matter; Brickset reckons you could leave every other one off.
Pillars, doors, steering wheel, wheels
The rear pillars take longer than you expect, their angle set by an upright bar and a one-stud spacer. Then the windscreen arches, the doors on their ball catches, the steering wheel that connects to nothing, and the four wheels. Done.
Three reviews, one of them built bag by bag, agree on where to slow down.
- Test at the end of bag 1. The instructions have you pair the hub and try the steering and drive before anything is closed in. Do it. After bag 1 you lose access to the hub, and a wrong output would mean stripping the car.
- Threading the front light rods. The 28-stud links run in a black sheath from the headlights back to the hub, and the Rambling Brick calls the route challenging. Check both rods are seated in the hub sockets before the nose is pinned down.
- The rear pillars. Their angle comes from an upright bar and a one-stud spacer, and the Rambling Brick found it took a curious amount of time. Match the picture before moving on.
- The roof stripe stickers. The three-wide blue line runs across the roof panels front to back, and it is the one set of stickers the car needs. Hold the panels together so the line meets before you press anything down.
- Light leakage is not your mistake. Brickset saw light escaping through gaps in the bodywork and around the headlight piece, and the rods are exposed under the bonnet by design. Do not take the front apart looking for a fault.
On the shelf
It is 37 cm long, 15 cm wide and 10 cm high, so it takes about half the shelf of a 1:8 car. Black and blue with a few red pins showing reads well from across a room. The stickers are the race liveries, TAG Heuer, Mobil 1 and DB Schenker, and Brickset thinks the car would look fine with all but the roof ones left off.
It is built for a hard floor rather than a shelf, and not for the garden either: Brickset scratched the wheel arches driving it round furniture, and the Rambling Brick calls it a vehicle for the track rather than off-road. Pull the rear wing off and it goes back in its own box, which is exactly the right size for it. The hub only talks to the Control+ app; at launch there was no way to drive it from a physical controller, though both Brickset and the Rambling Brick hope Pybricks will get there.
Members who have built it
One member has sent in photos of their finished GT4, and the nose-on shot shows the two sleeved light links running forward from the hub to the headlights. The diary is linked under each picture.
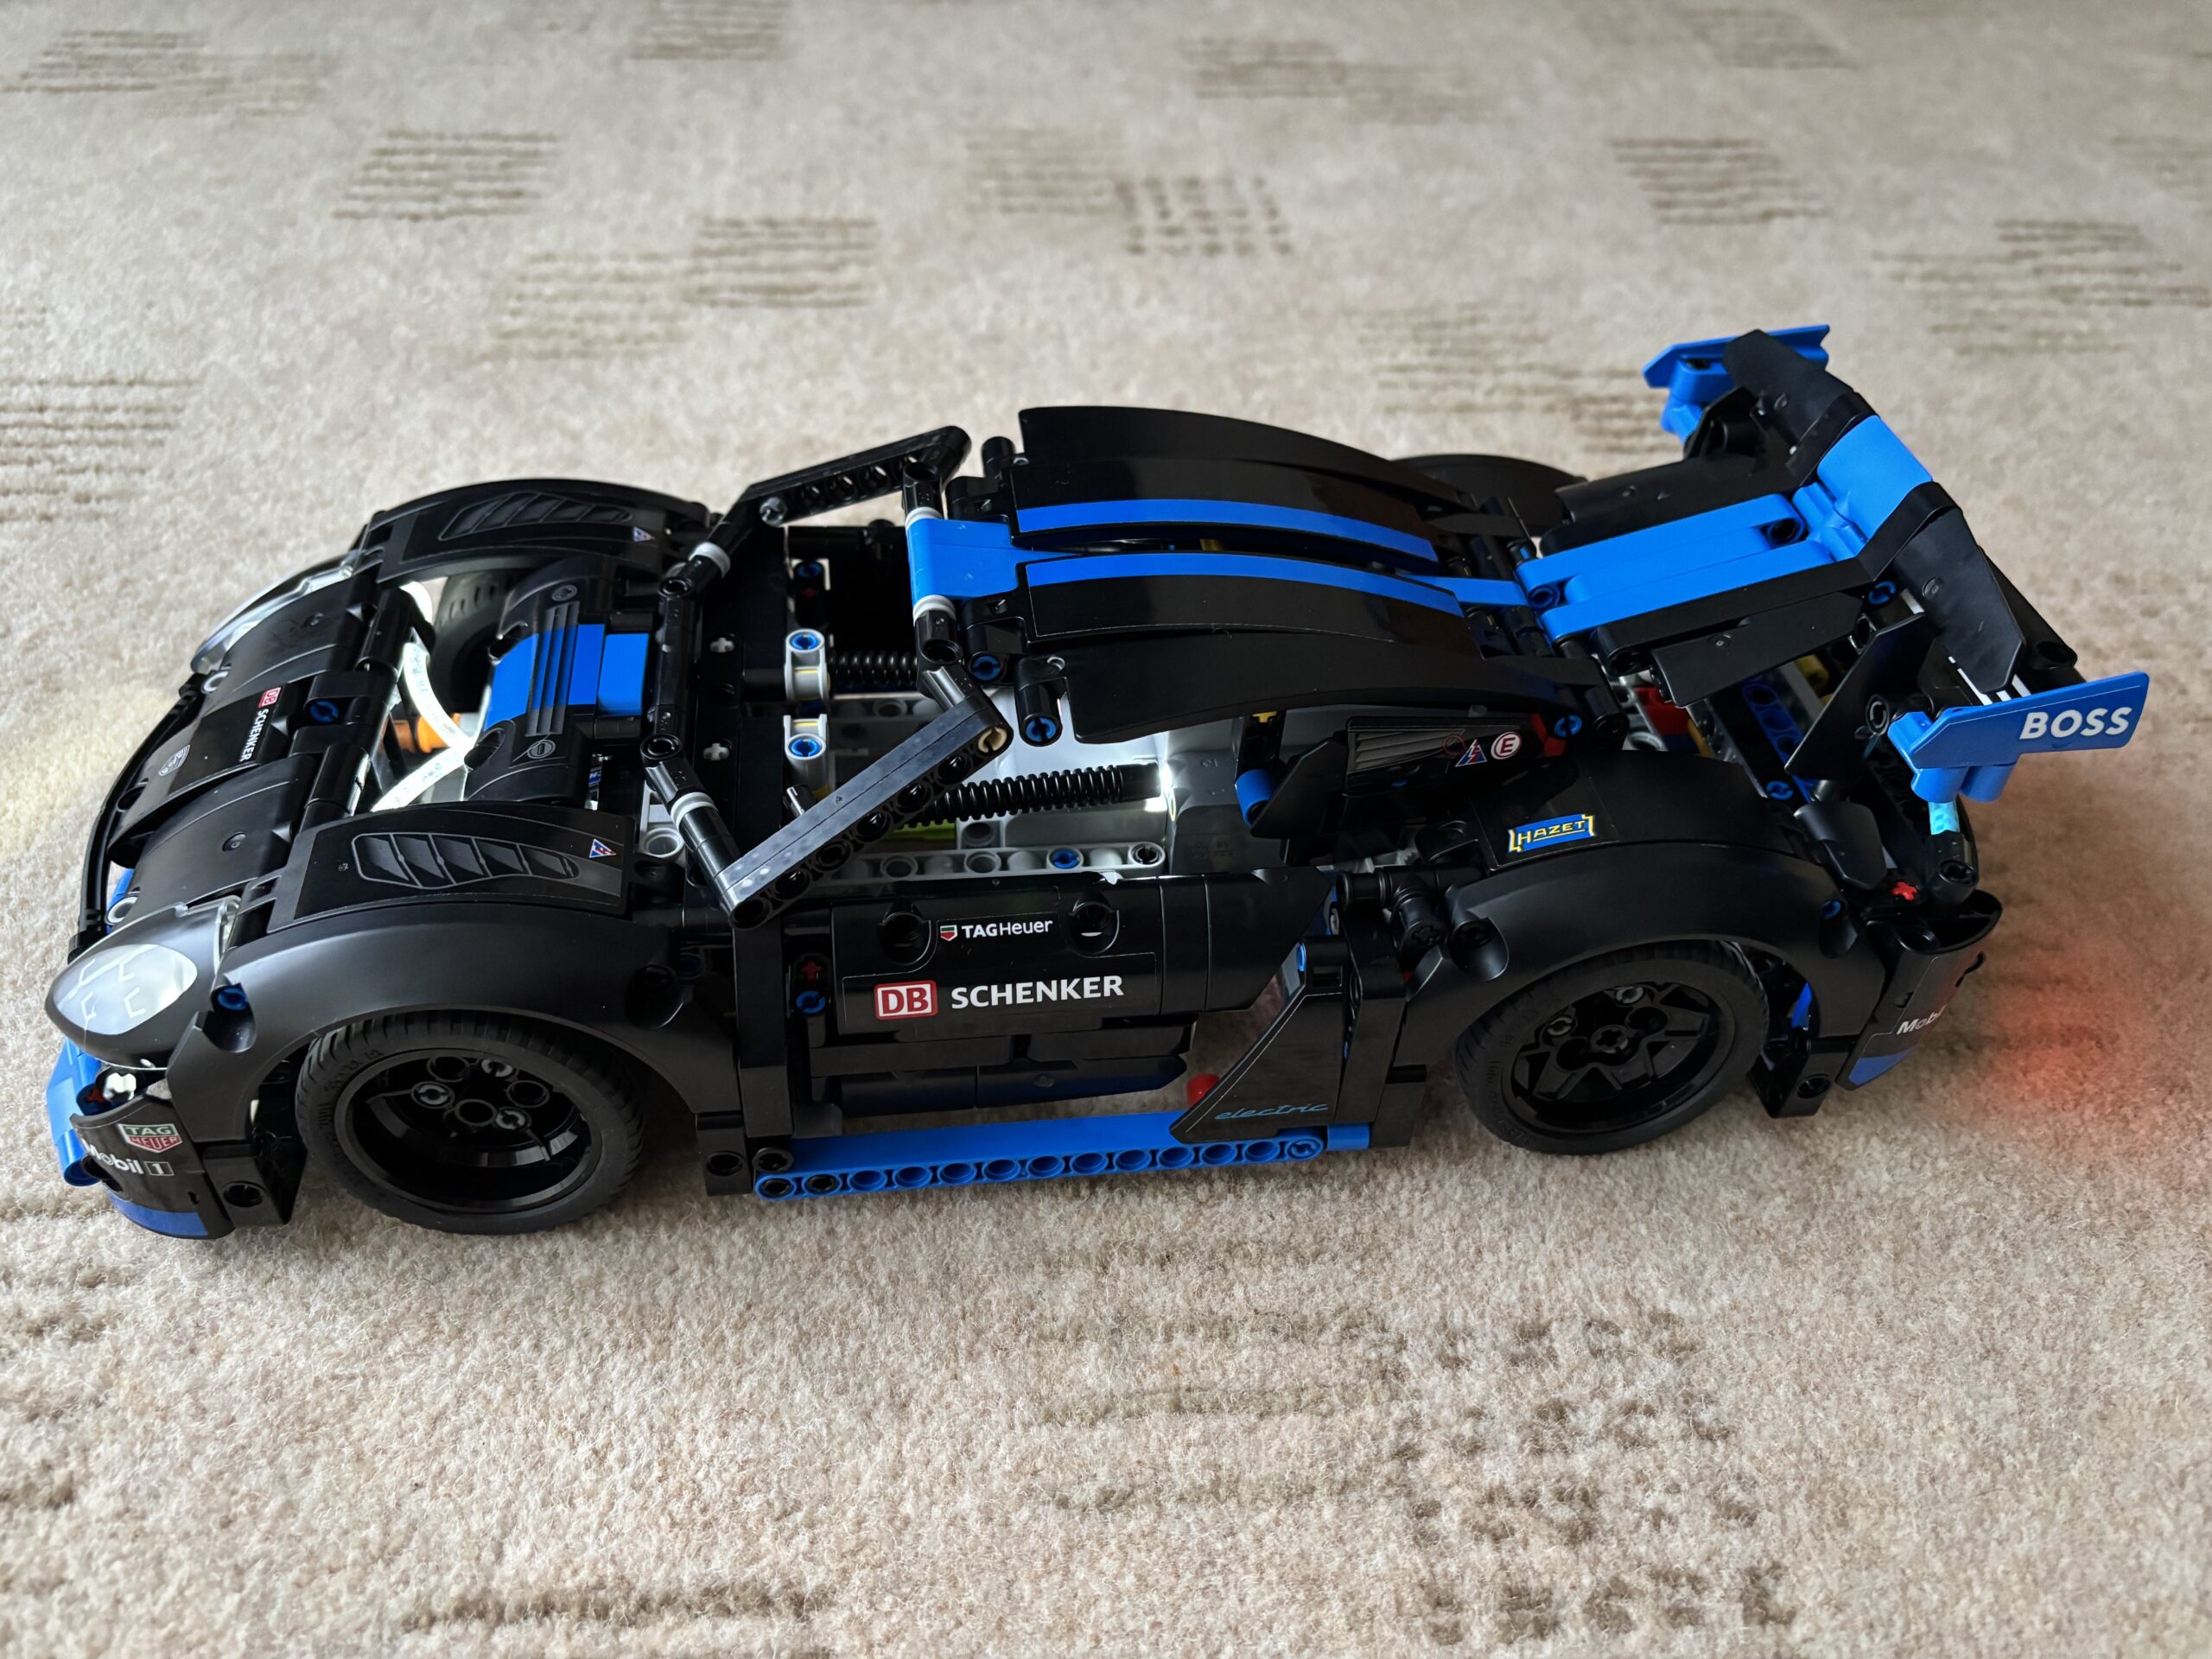
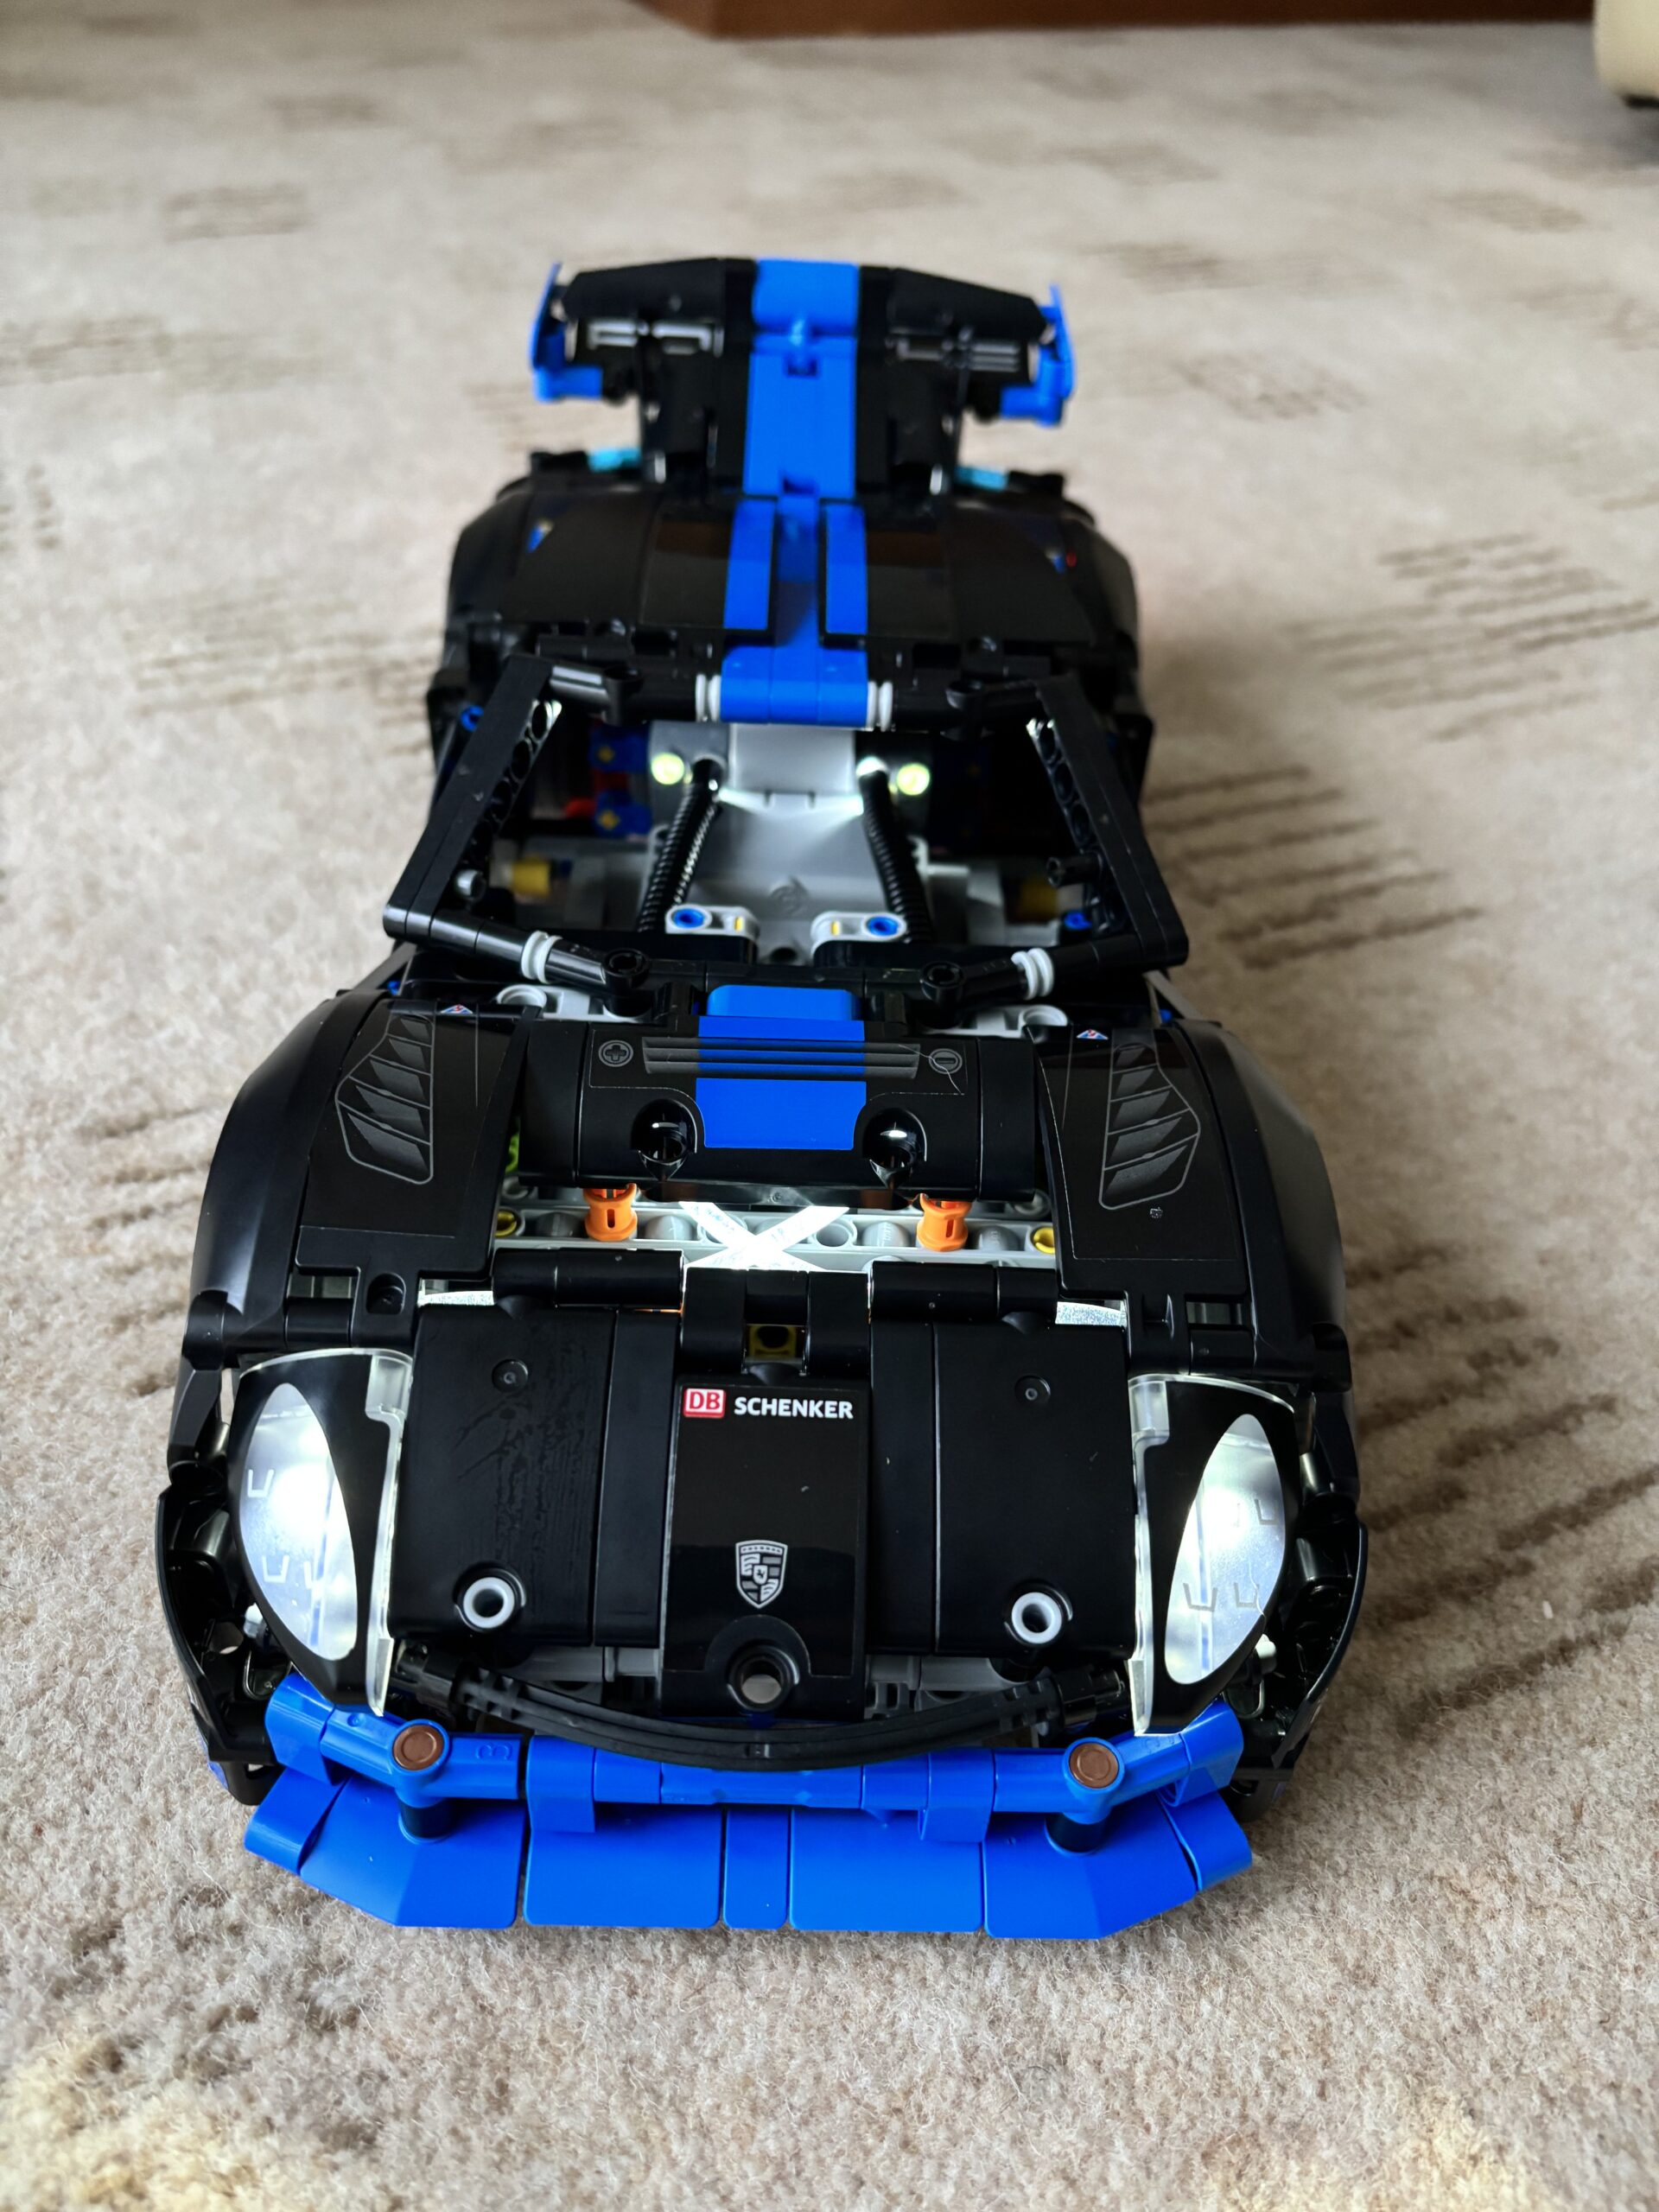
Have it sent when you want a change from three evenings of gearbox and a car that does something on the floor at the end. It is one evening to build, it is not a Technic mechanism set, and it will not scratch the itch the 1:8 cars scratch. Before it arrives, install Control+ on a phone or tablet and find a USB-C cable and charger, because the box does not tell you that you need one. Test at the end of bag 1, clear a run of hard floor, and go easy on the throttle slider for the first few laps.
If you like this one, try
Two more Porsches in the library, both the kind you push, one of the other Control+ cars, and the Ford GT that first used this set’s headlight piece.
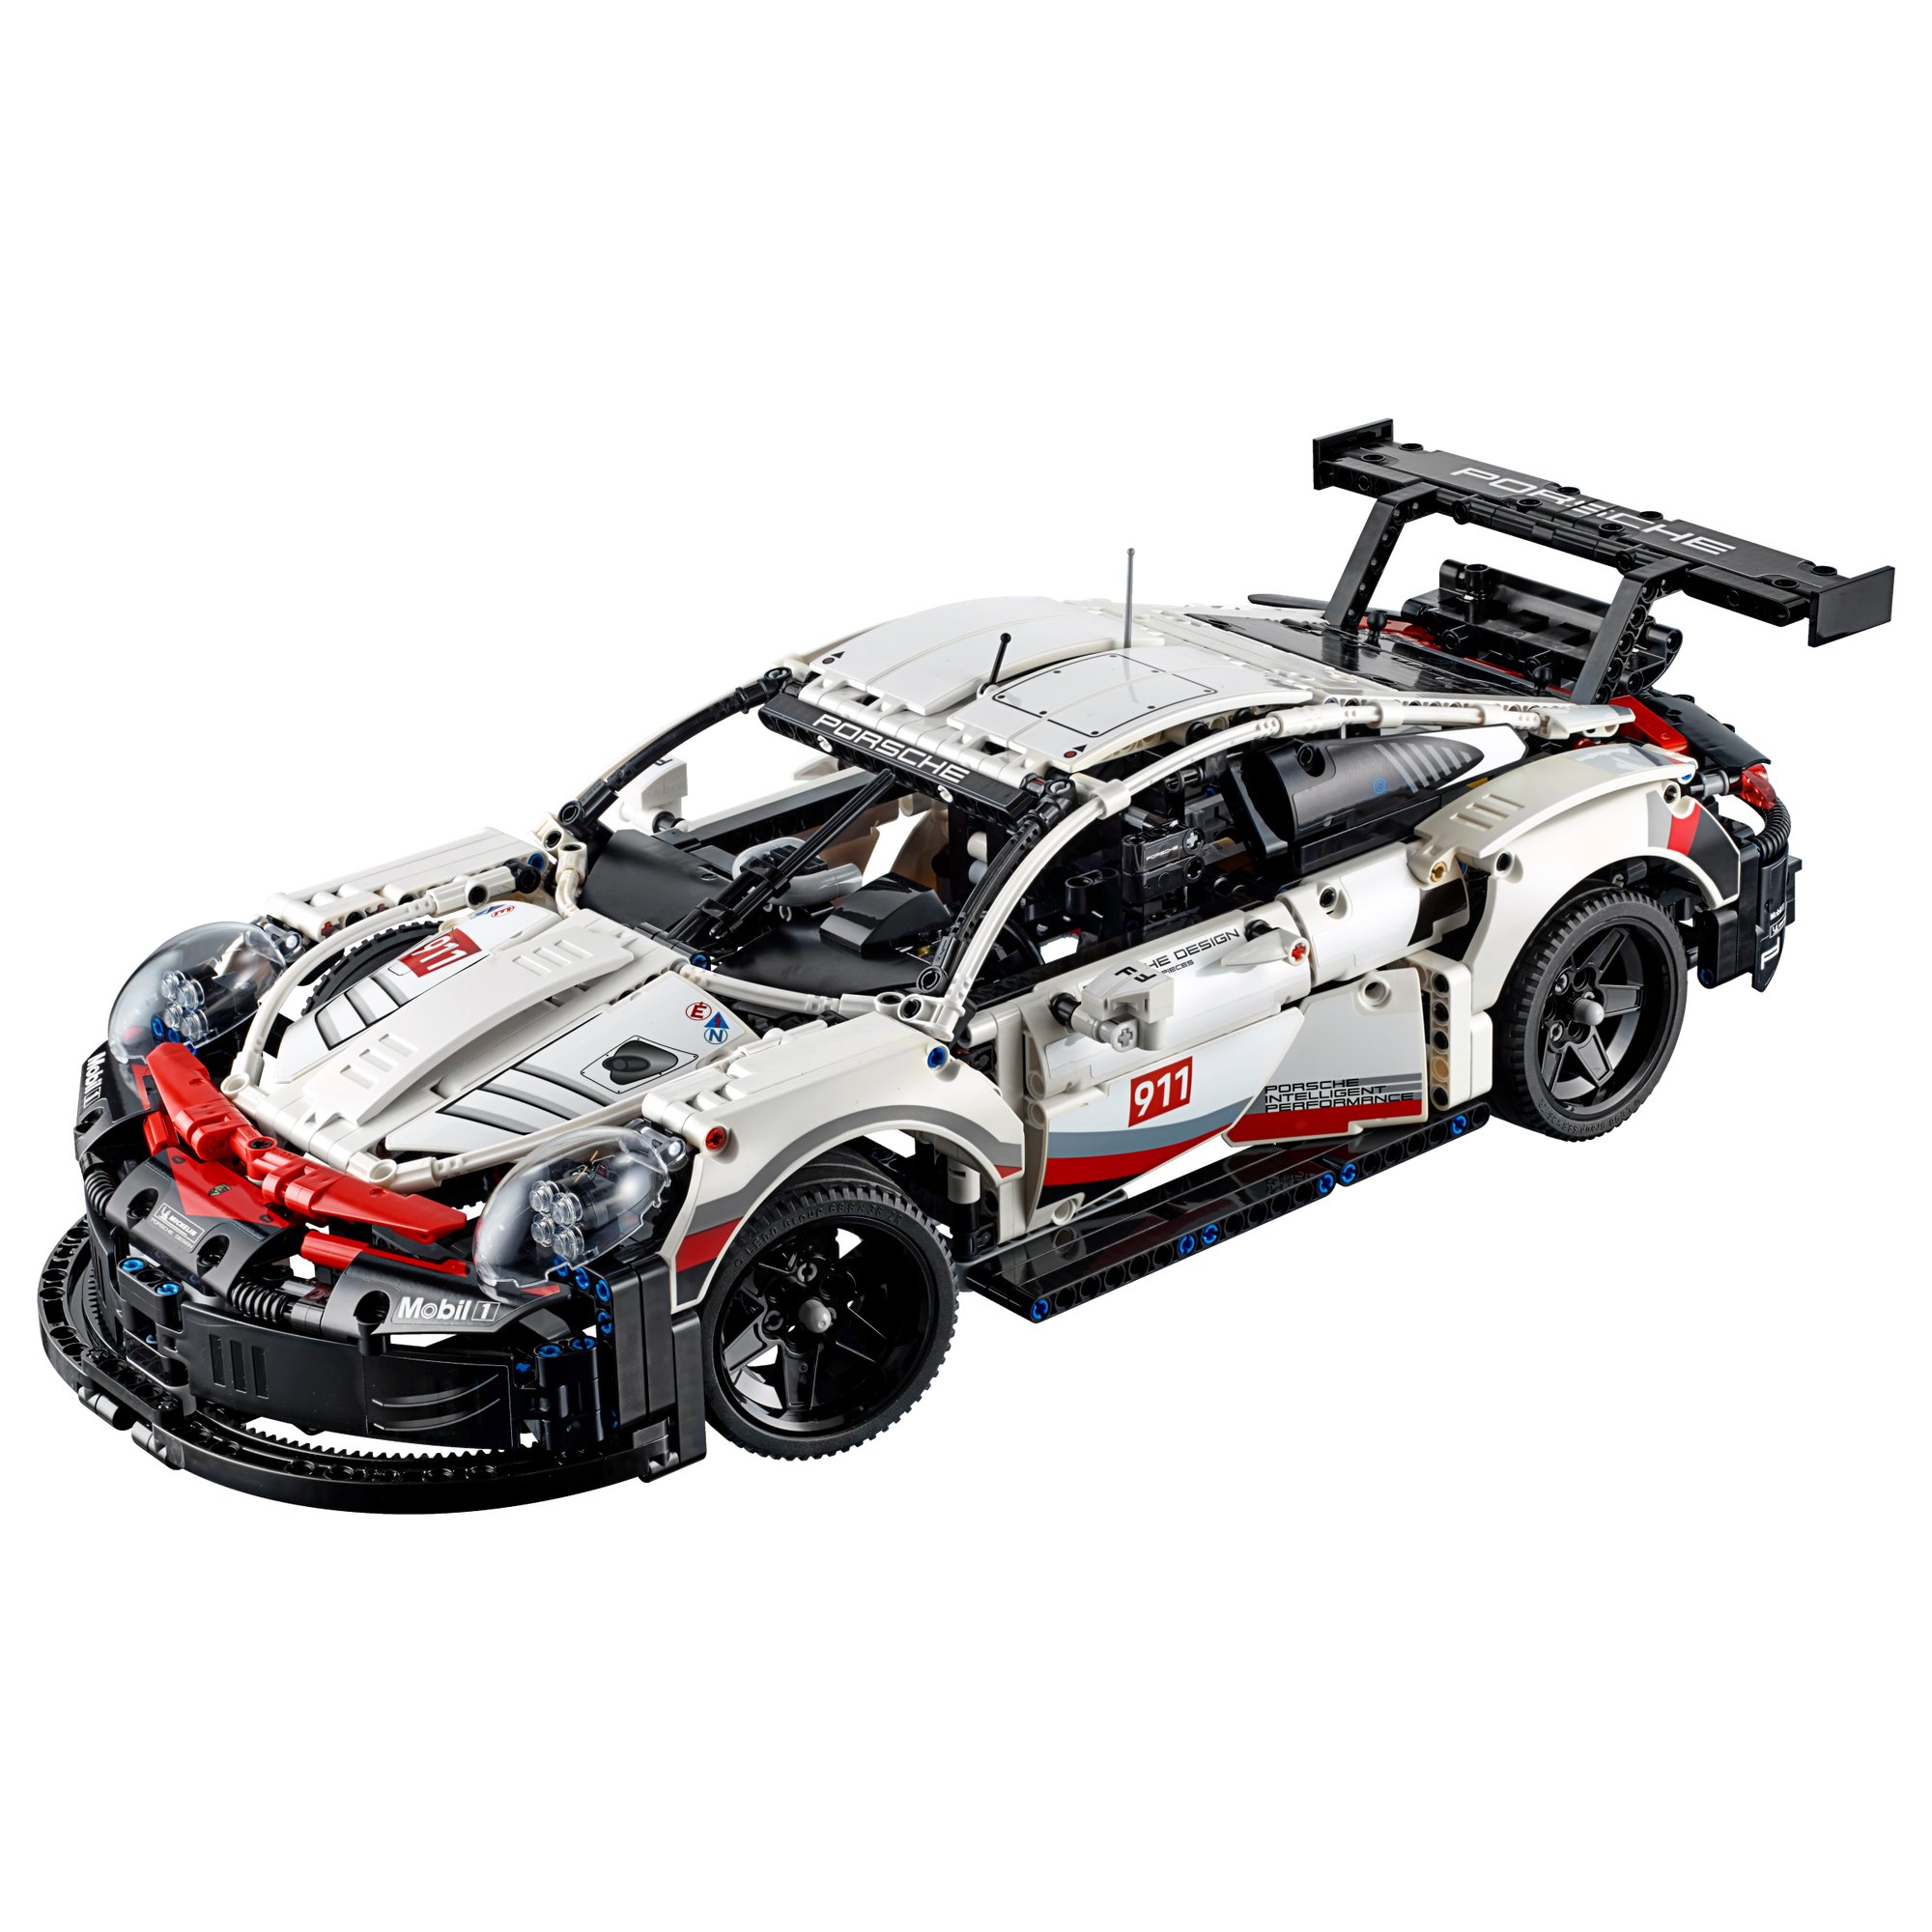

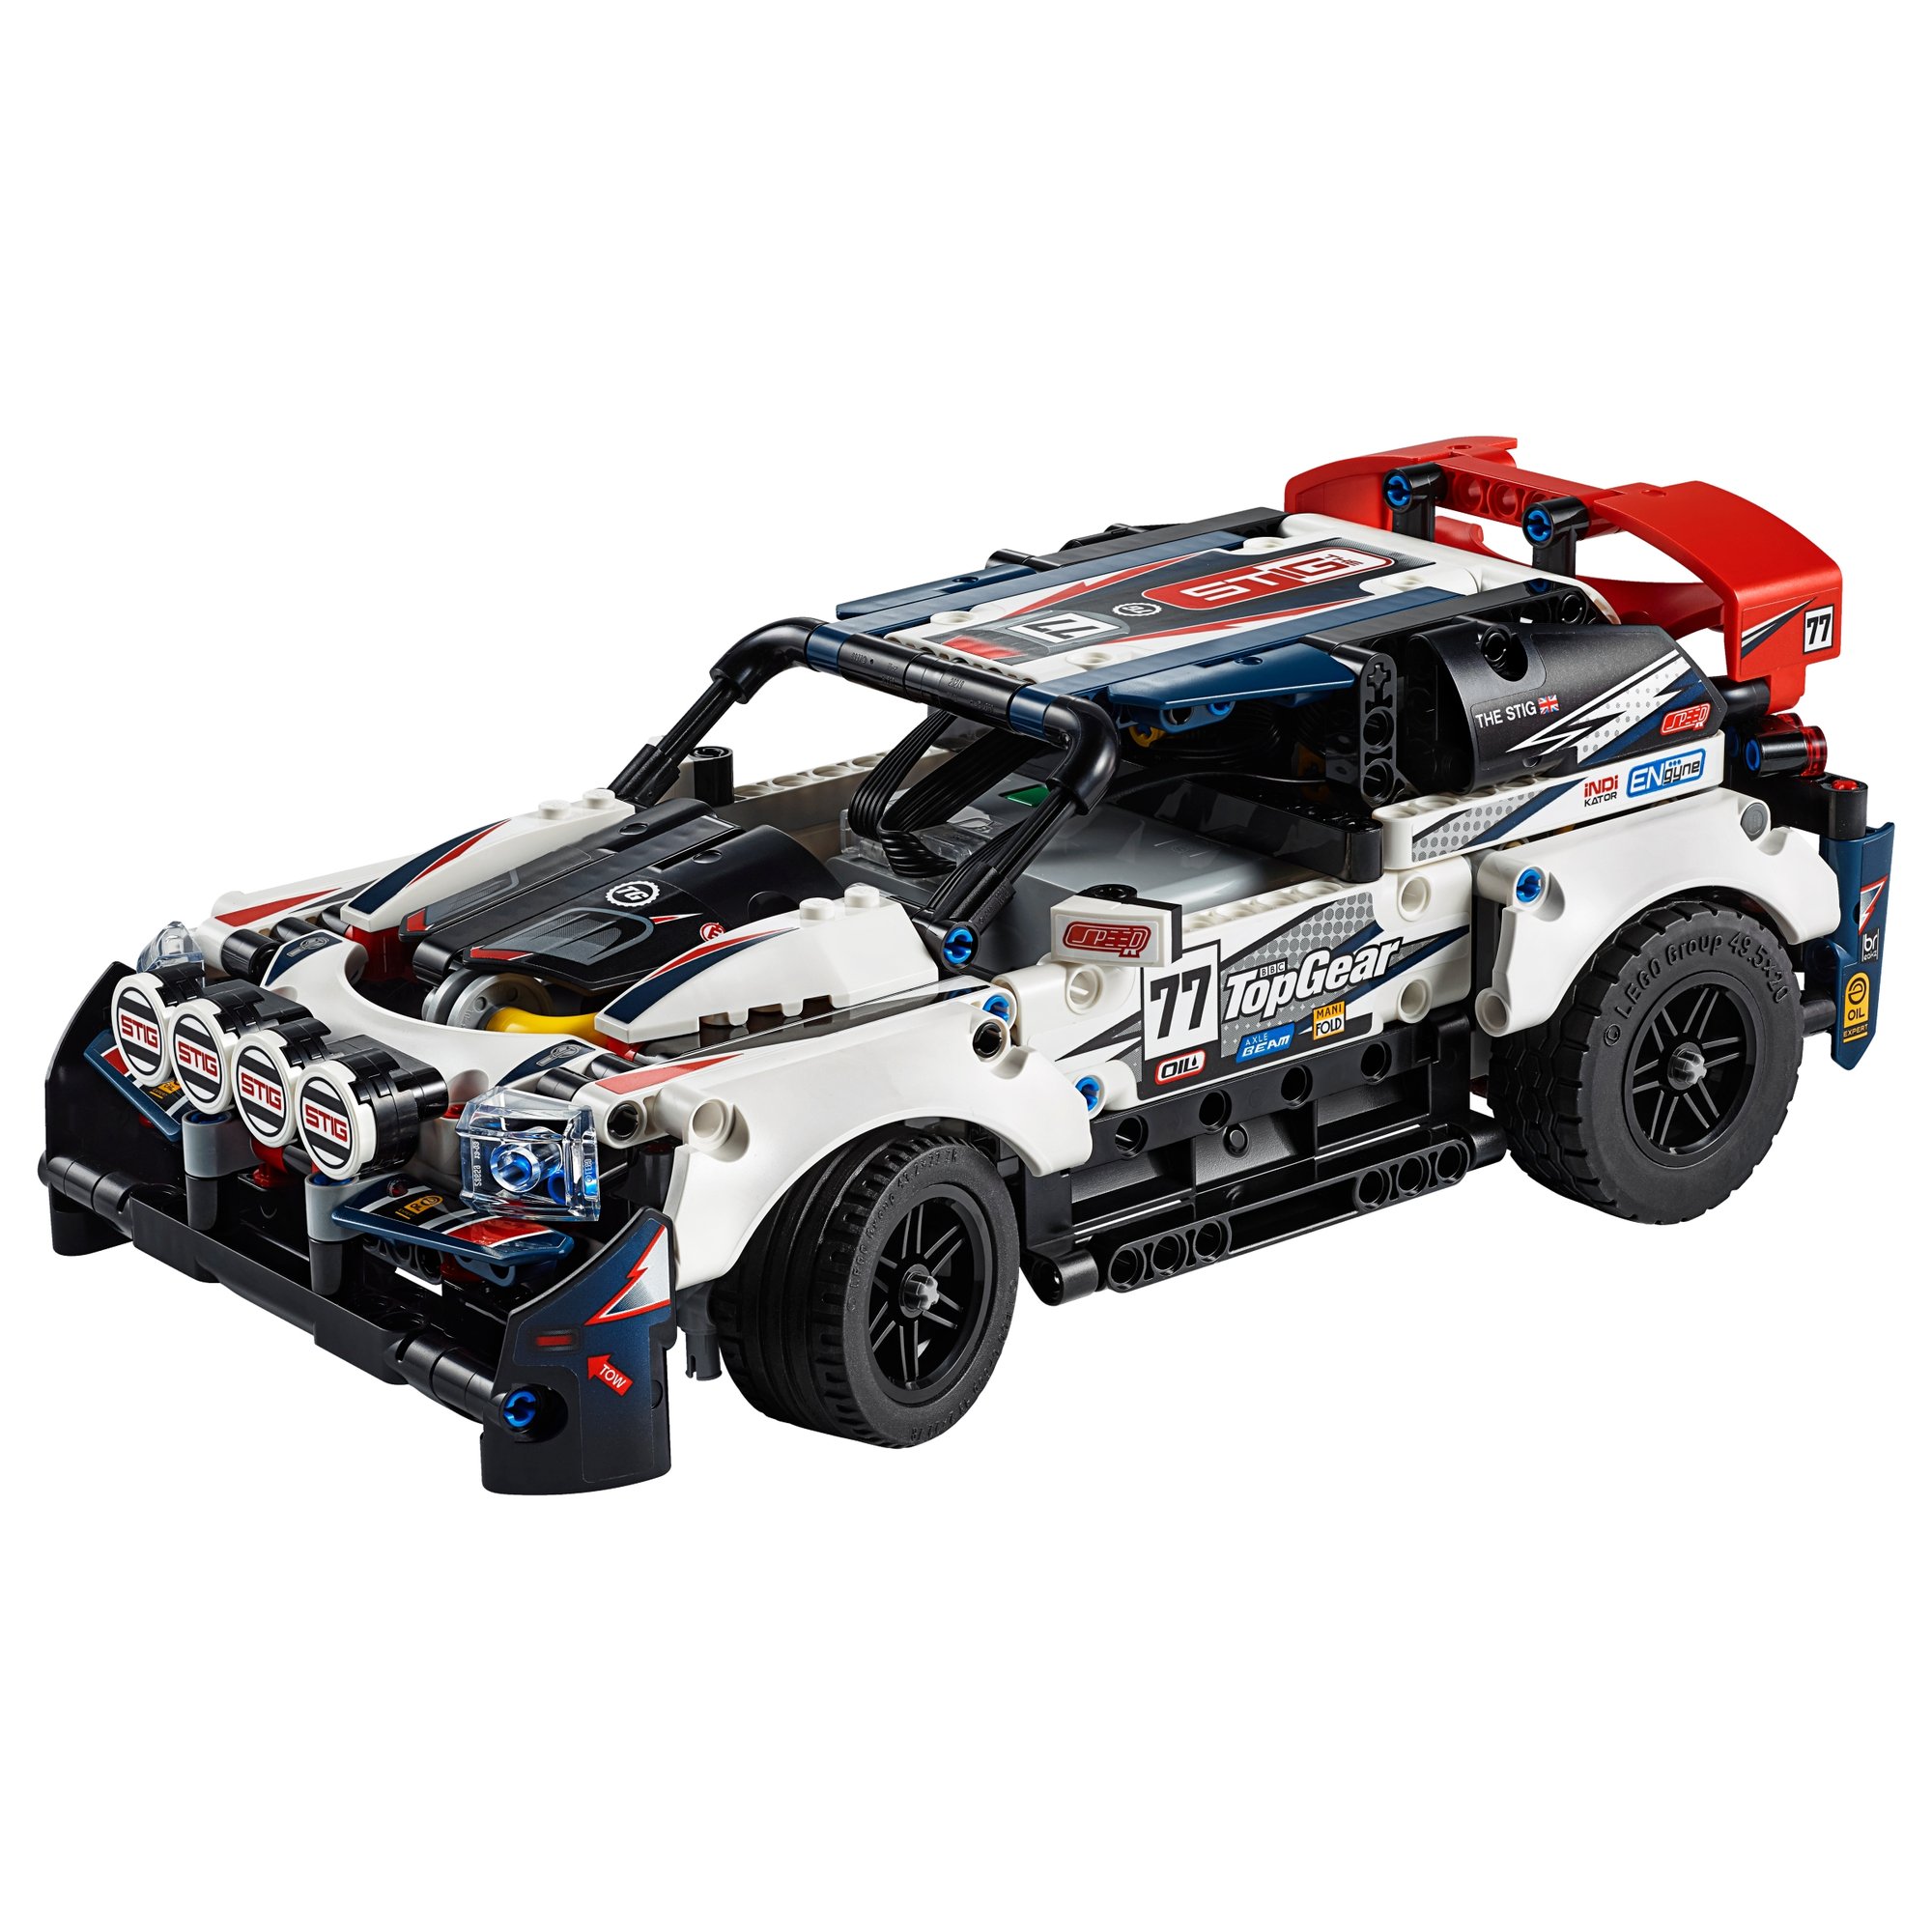

The Porsche GT4 e-Performance is in the library
Technic Fan gets up to 6 kits a year, Master Builder up to 12. Delivery both ways is included and the prepaid return label is in the box.